Exactly one month since my last update and I’ve made some great progress on the Rock Creek trestle model that I’d like to share.
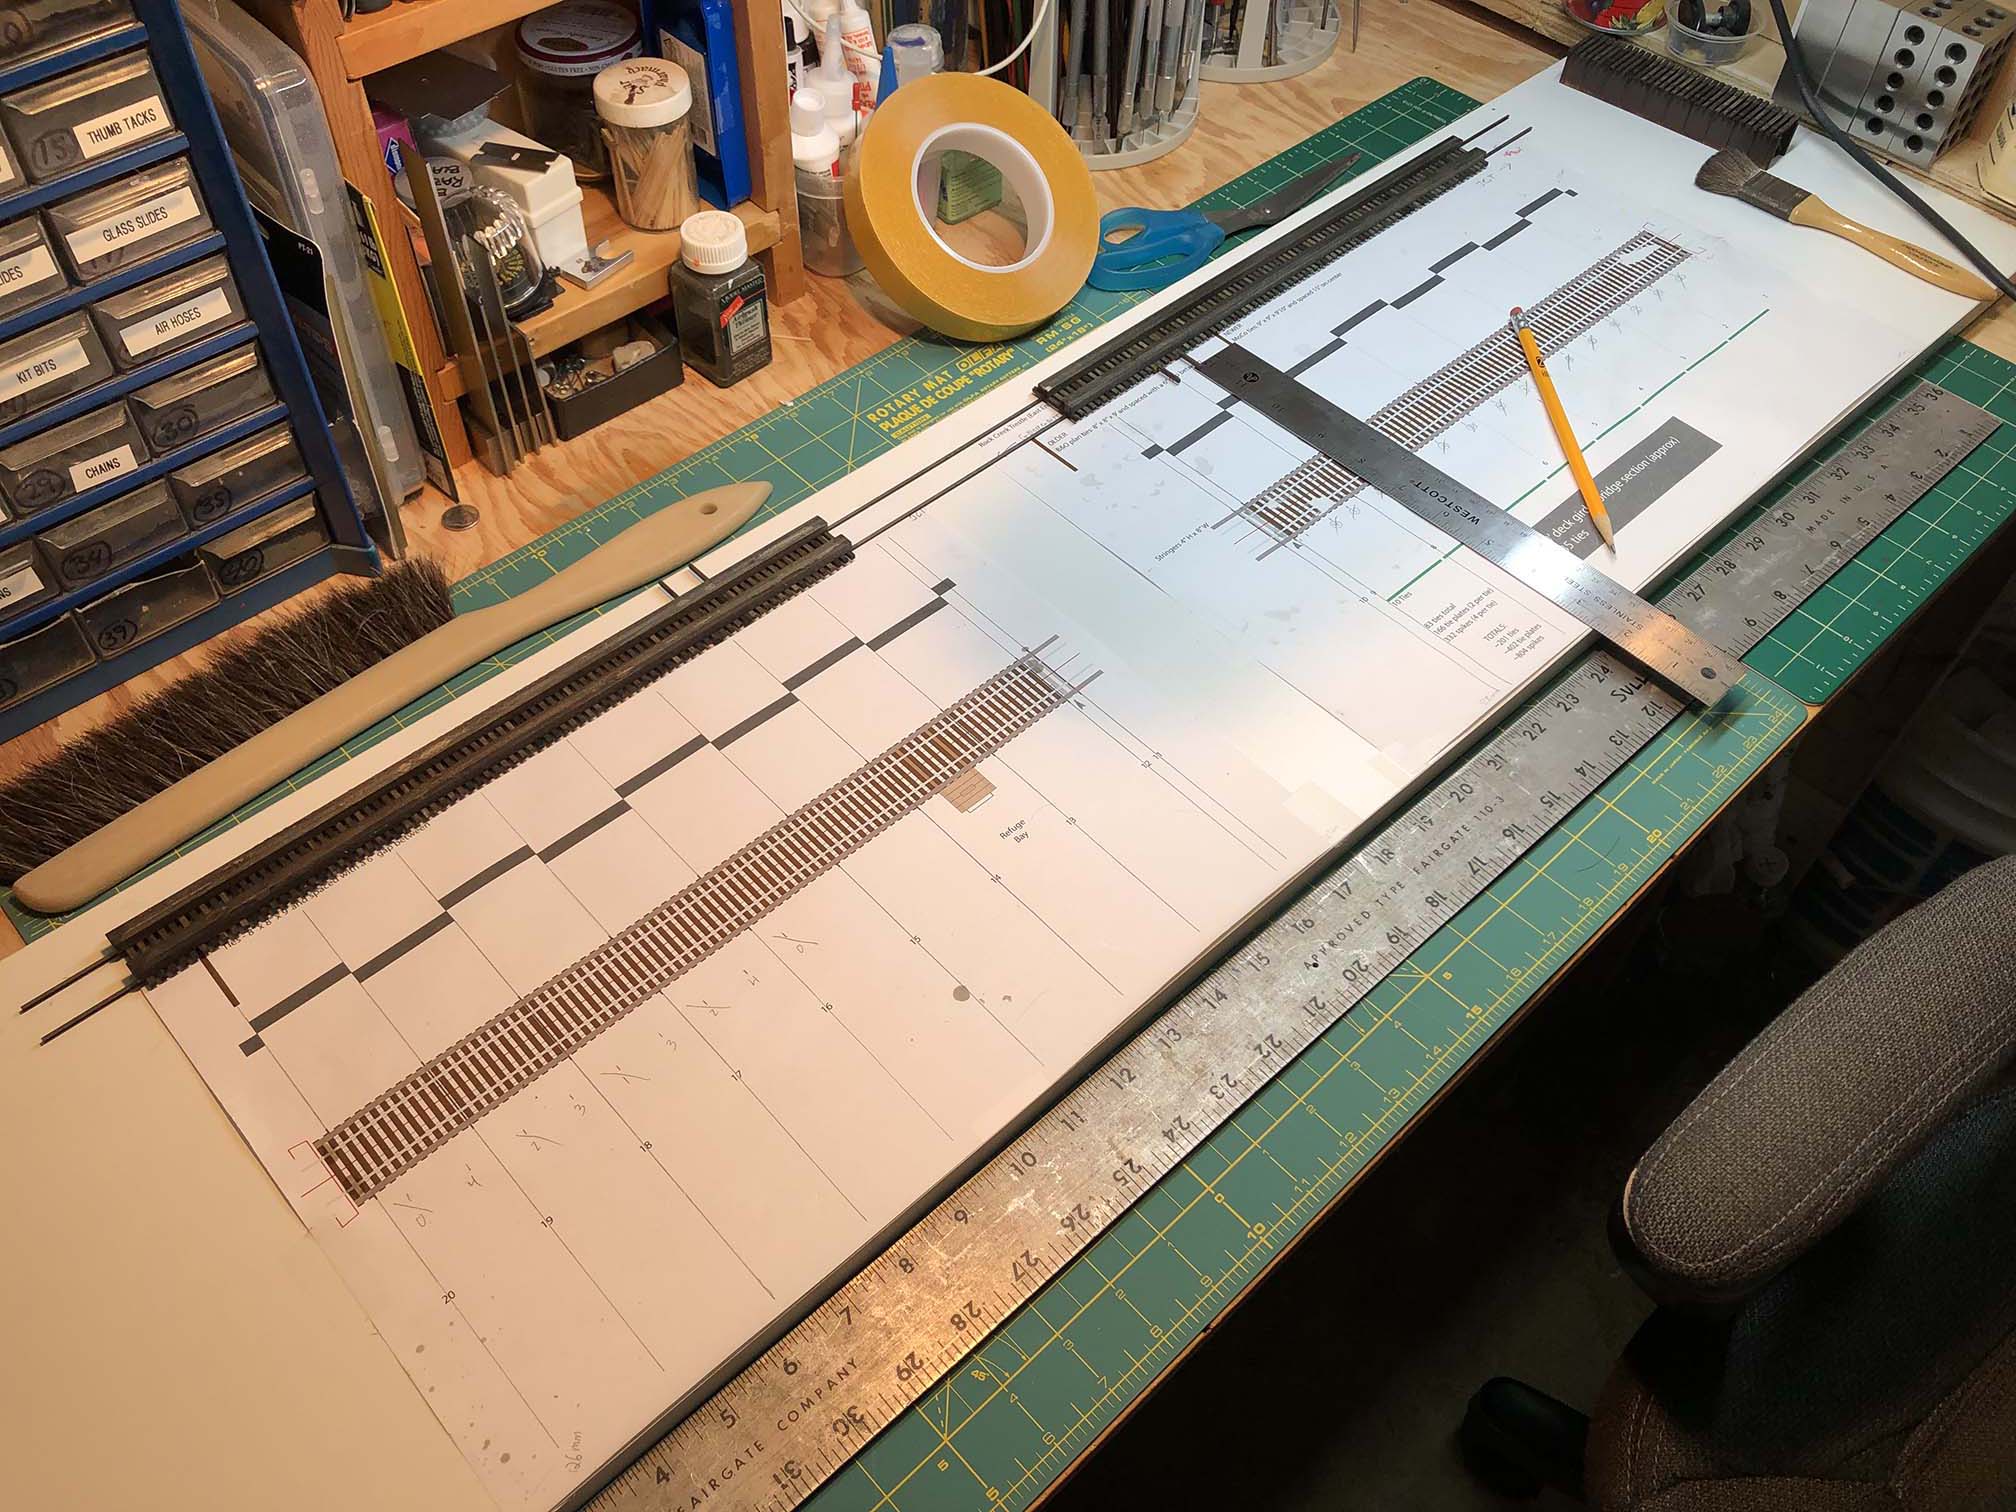
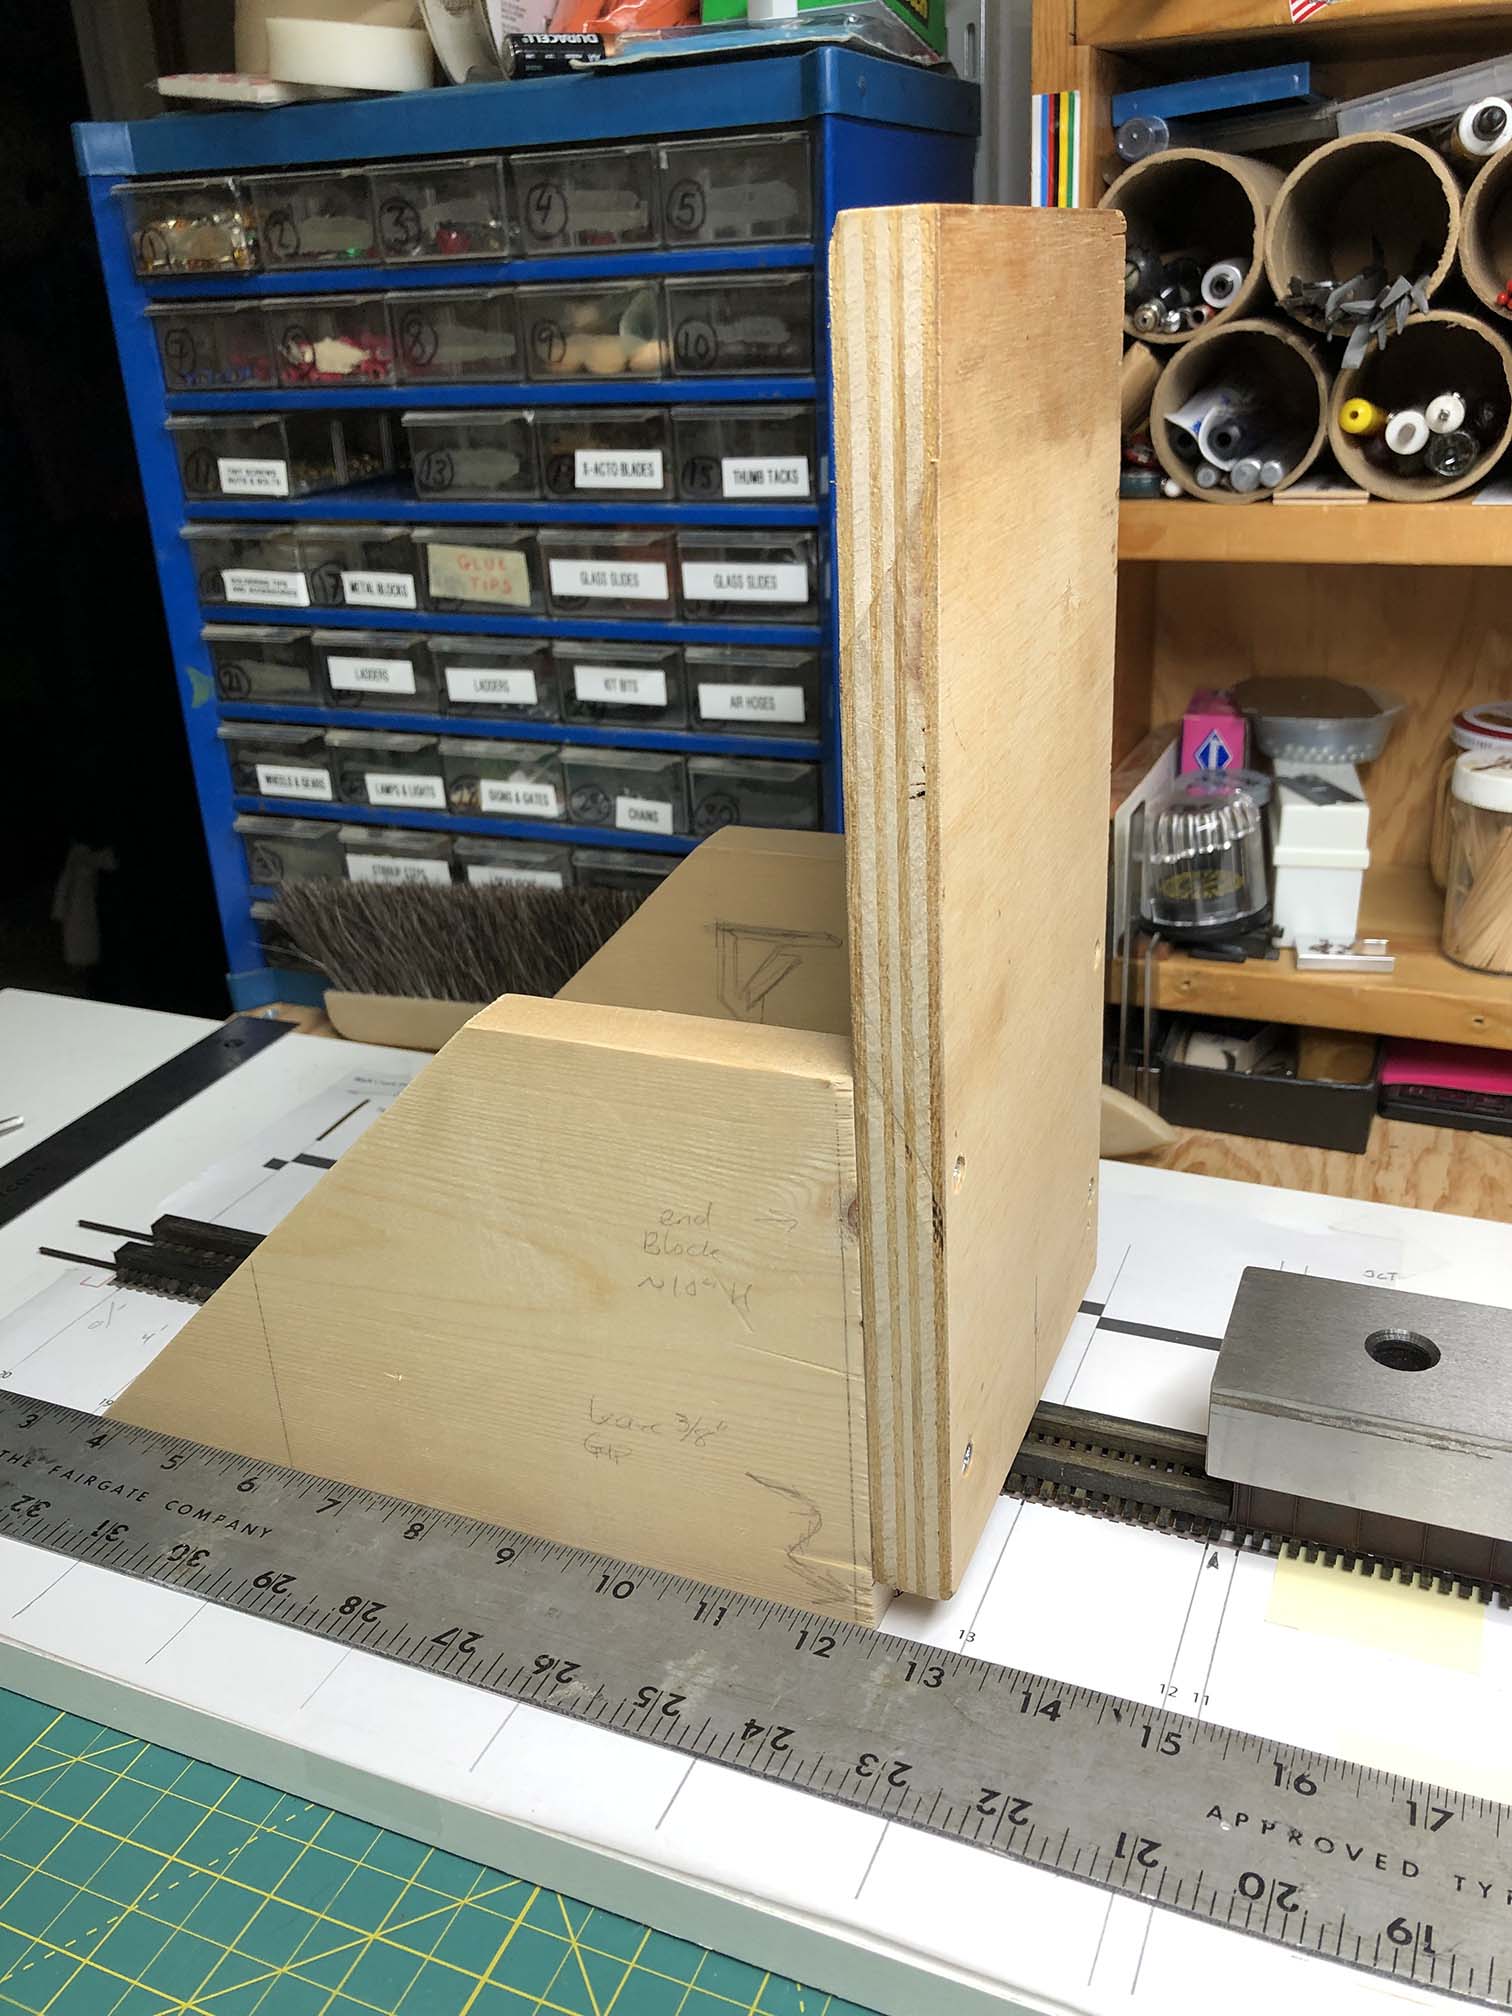
On Friday I built a sled/jig thing to facilitate installing the bents perpendicular and square. More on this in a moment. First up, I needed to flip the top of the bridge over, as it was mounted with track side up. I then took the opportunity to extend the lines that indicated where the bents would be installed, as this would guide my sled/jig later. I also measured where I wanted the straight edge to be and installed it with double-sided tape.
Next it was time to install the center deck girder section (which I had previously built, painted, weathered and installed ties and tie plates). I prepared some 5-min epoxy and lightly brushed it to the back side of the rails. I carefully positioned the bridge in place and weighed it down while the glue dried.
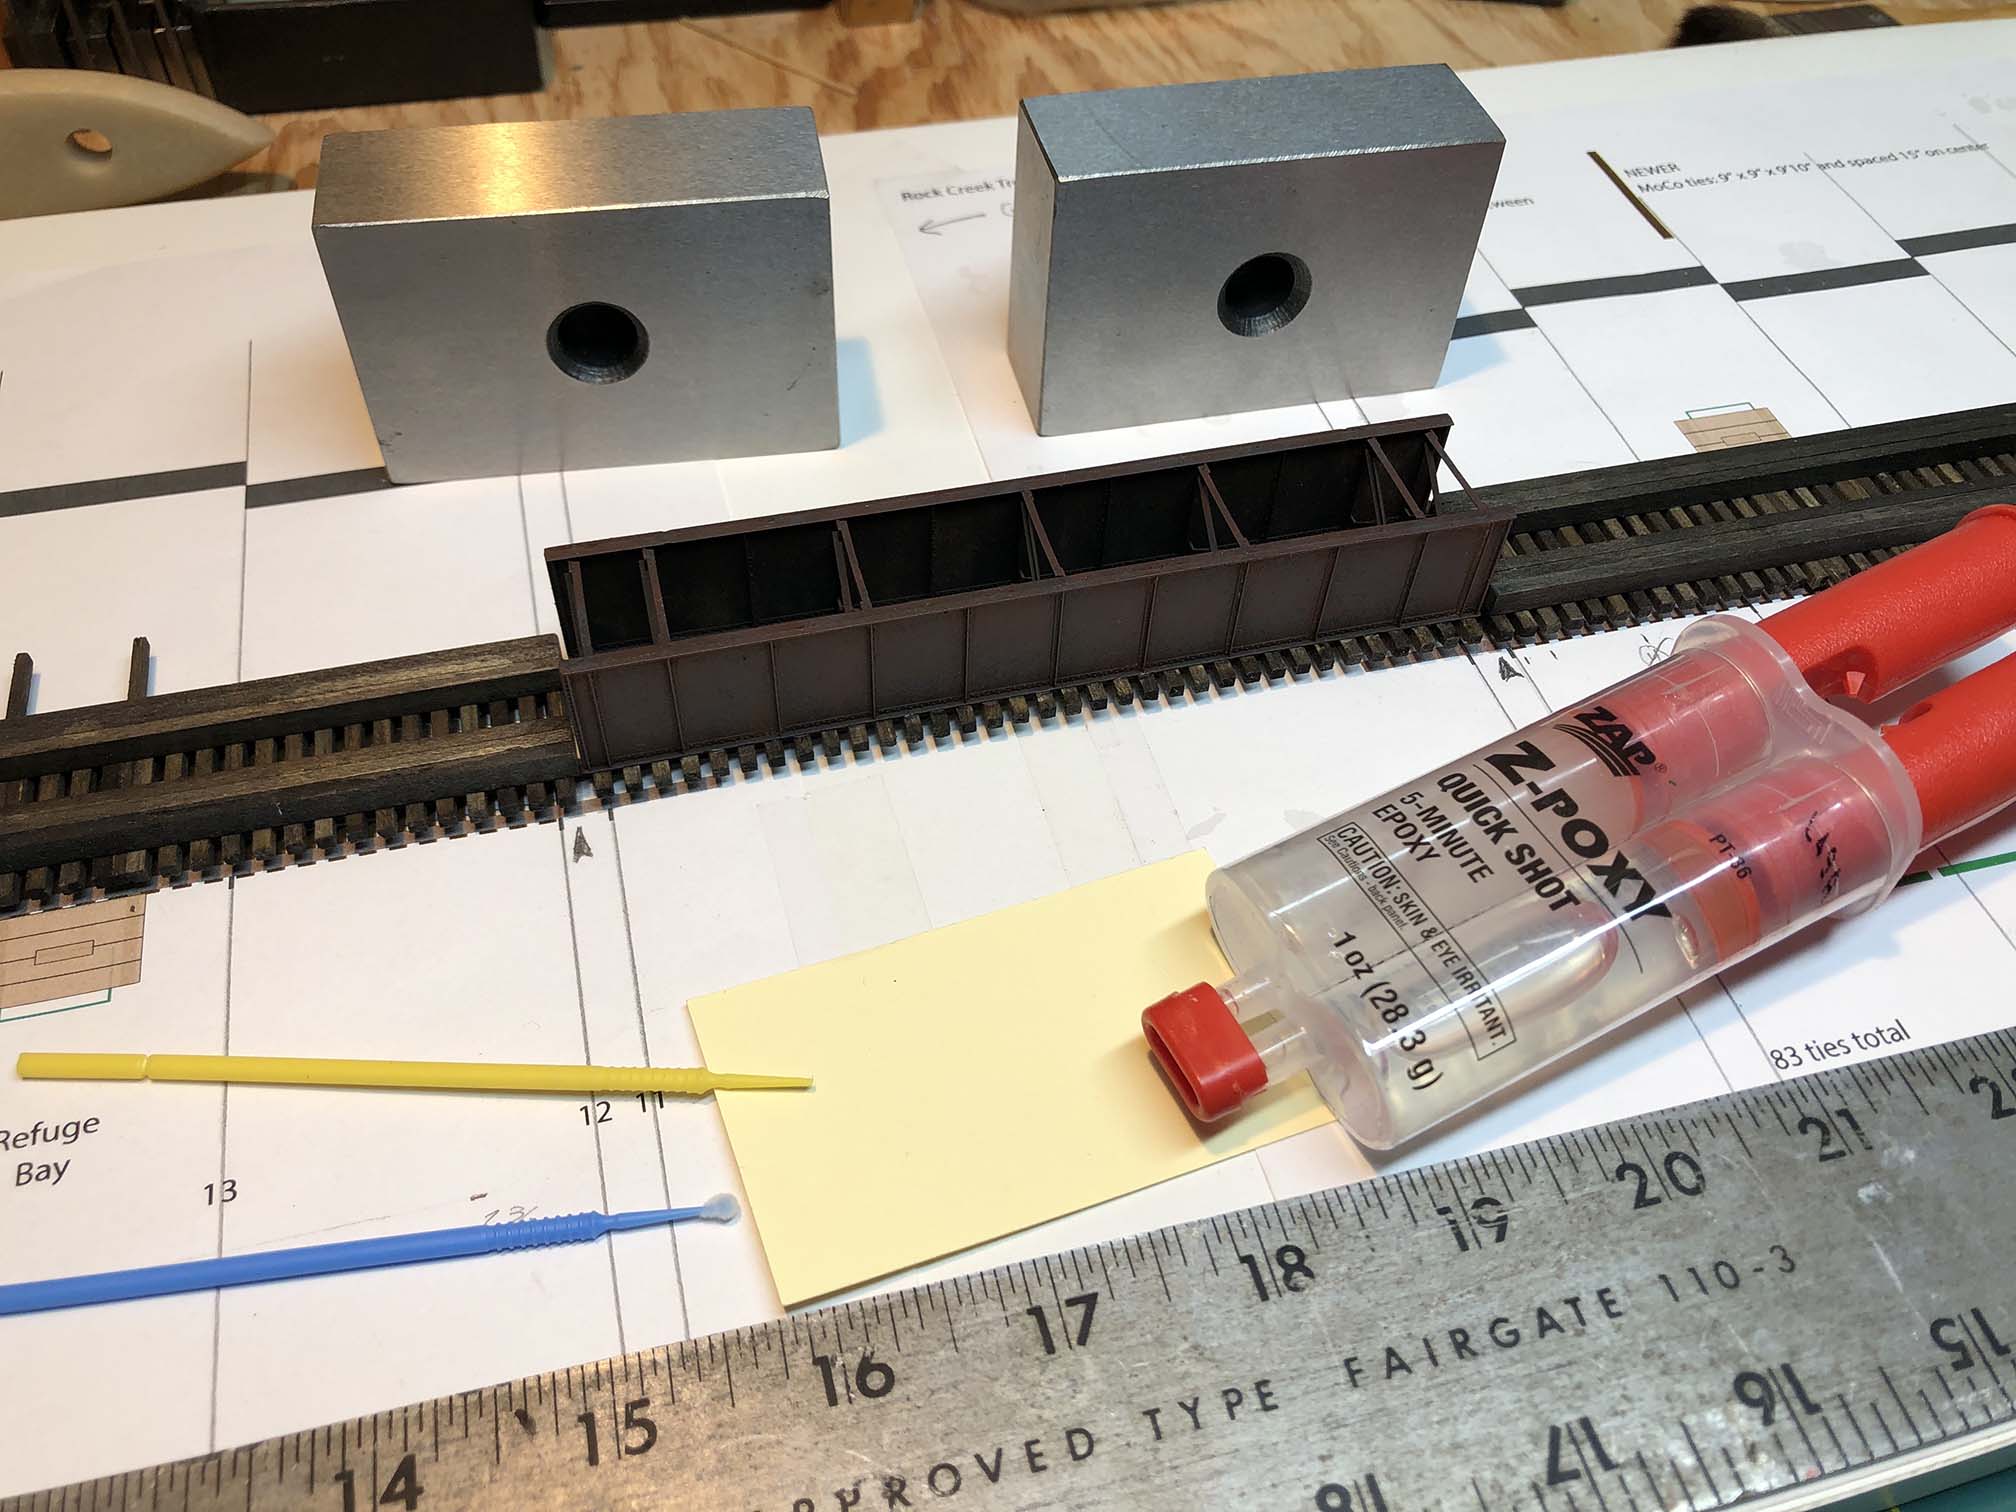
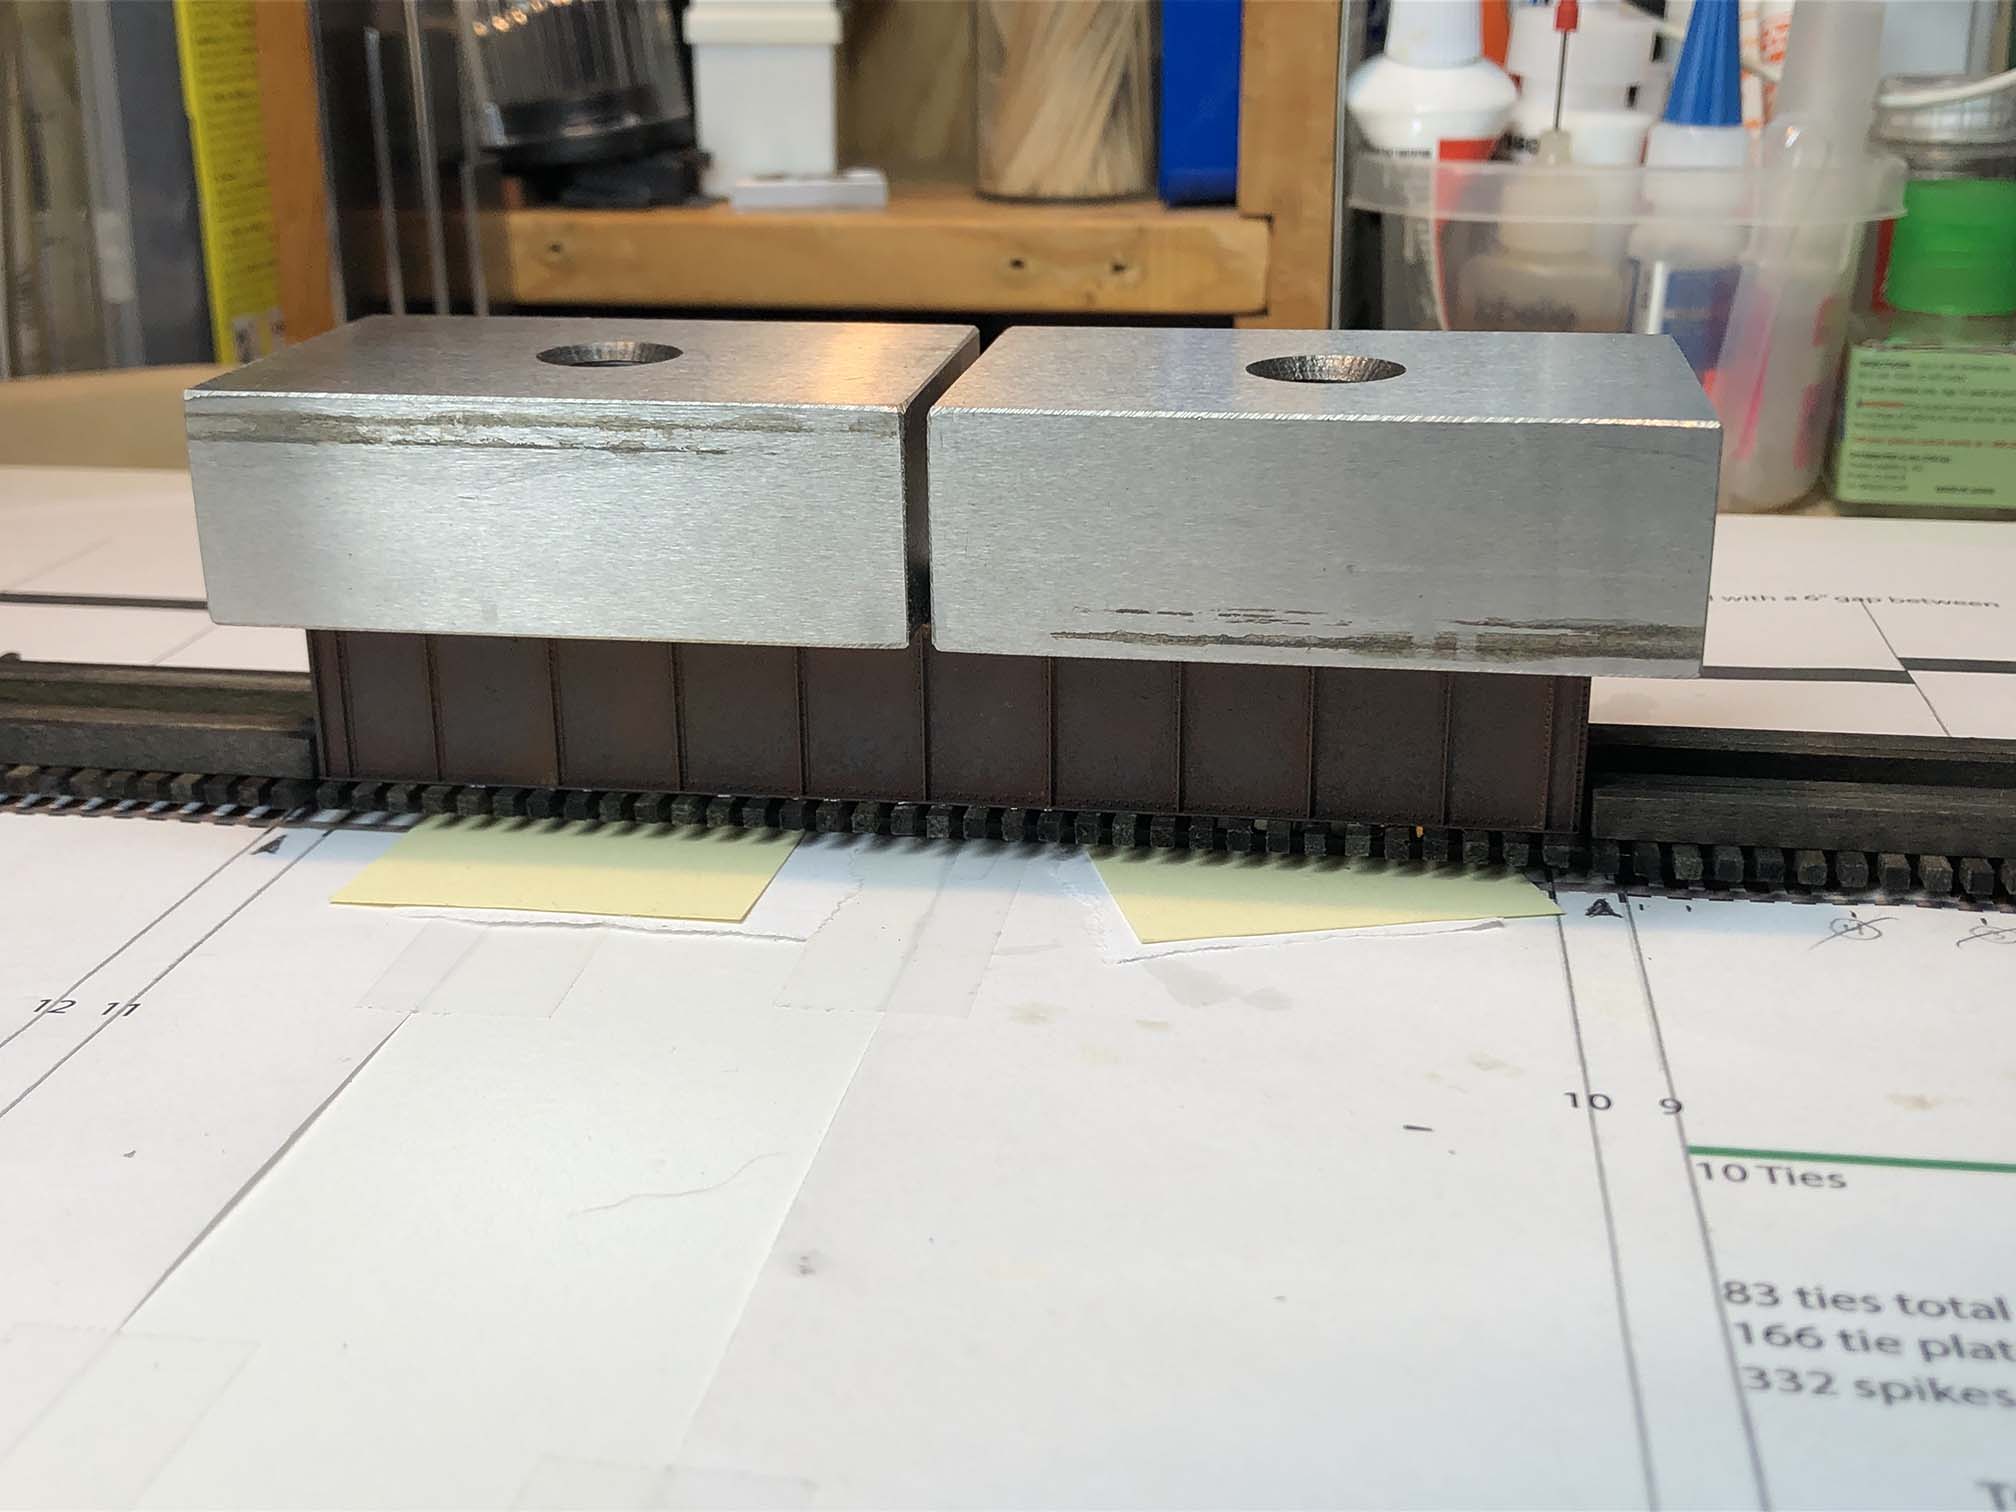
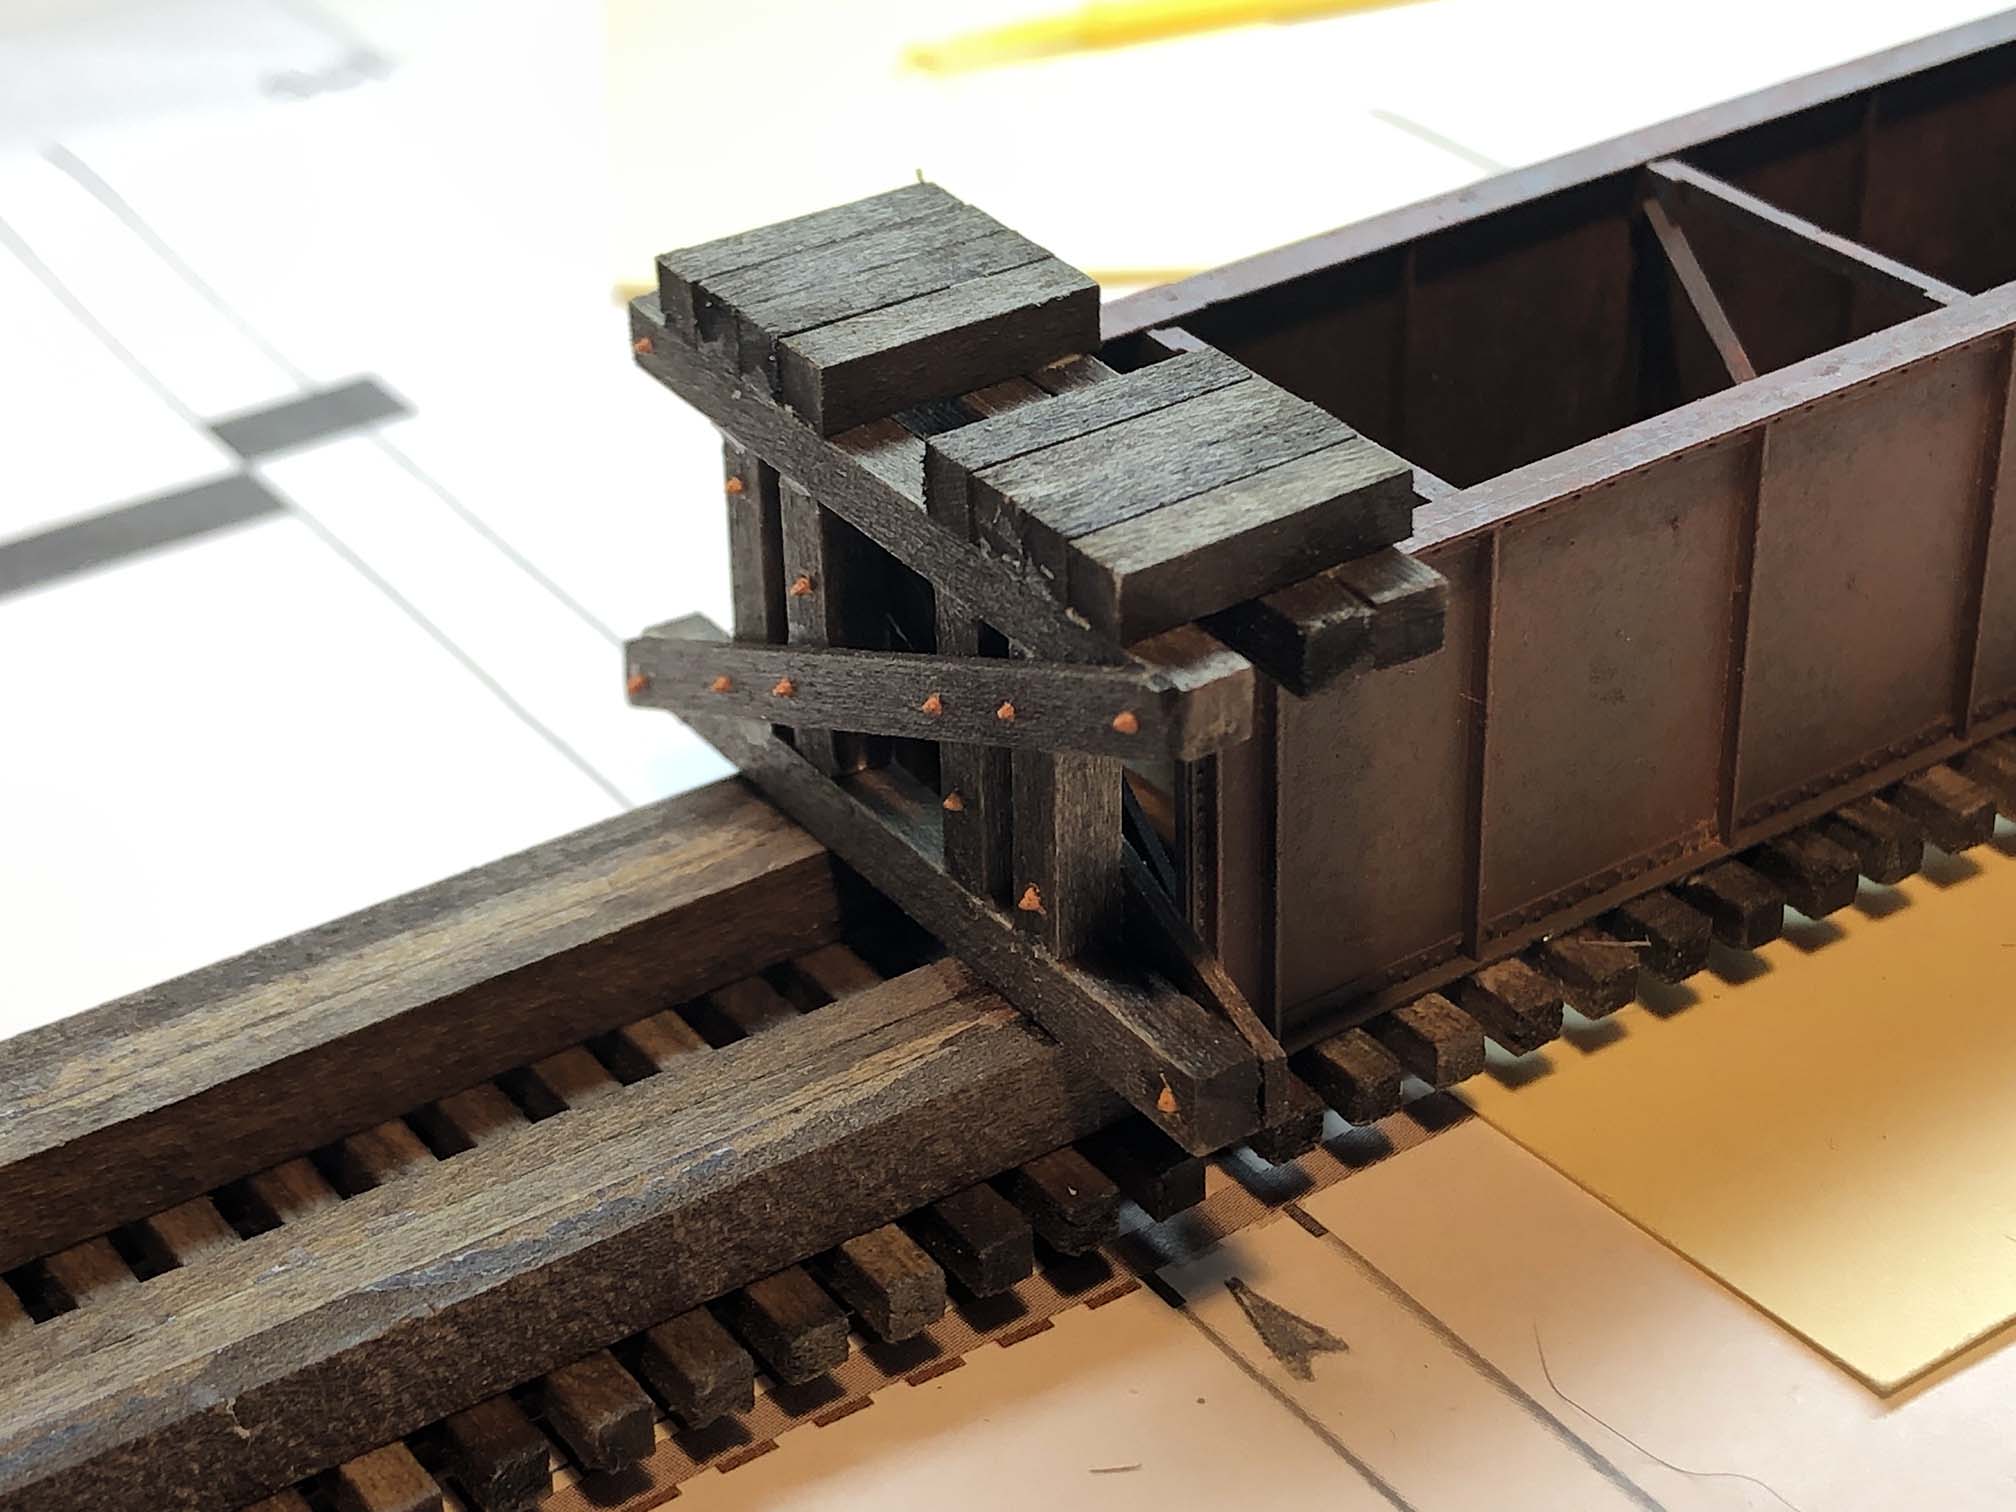
I then completed the blocking around the deck girder.
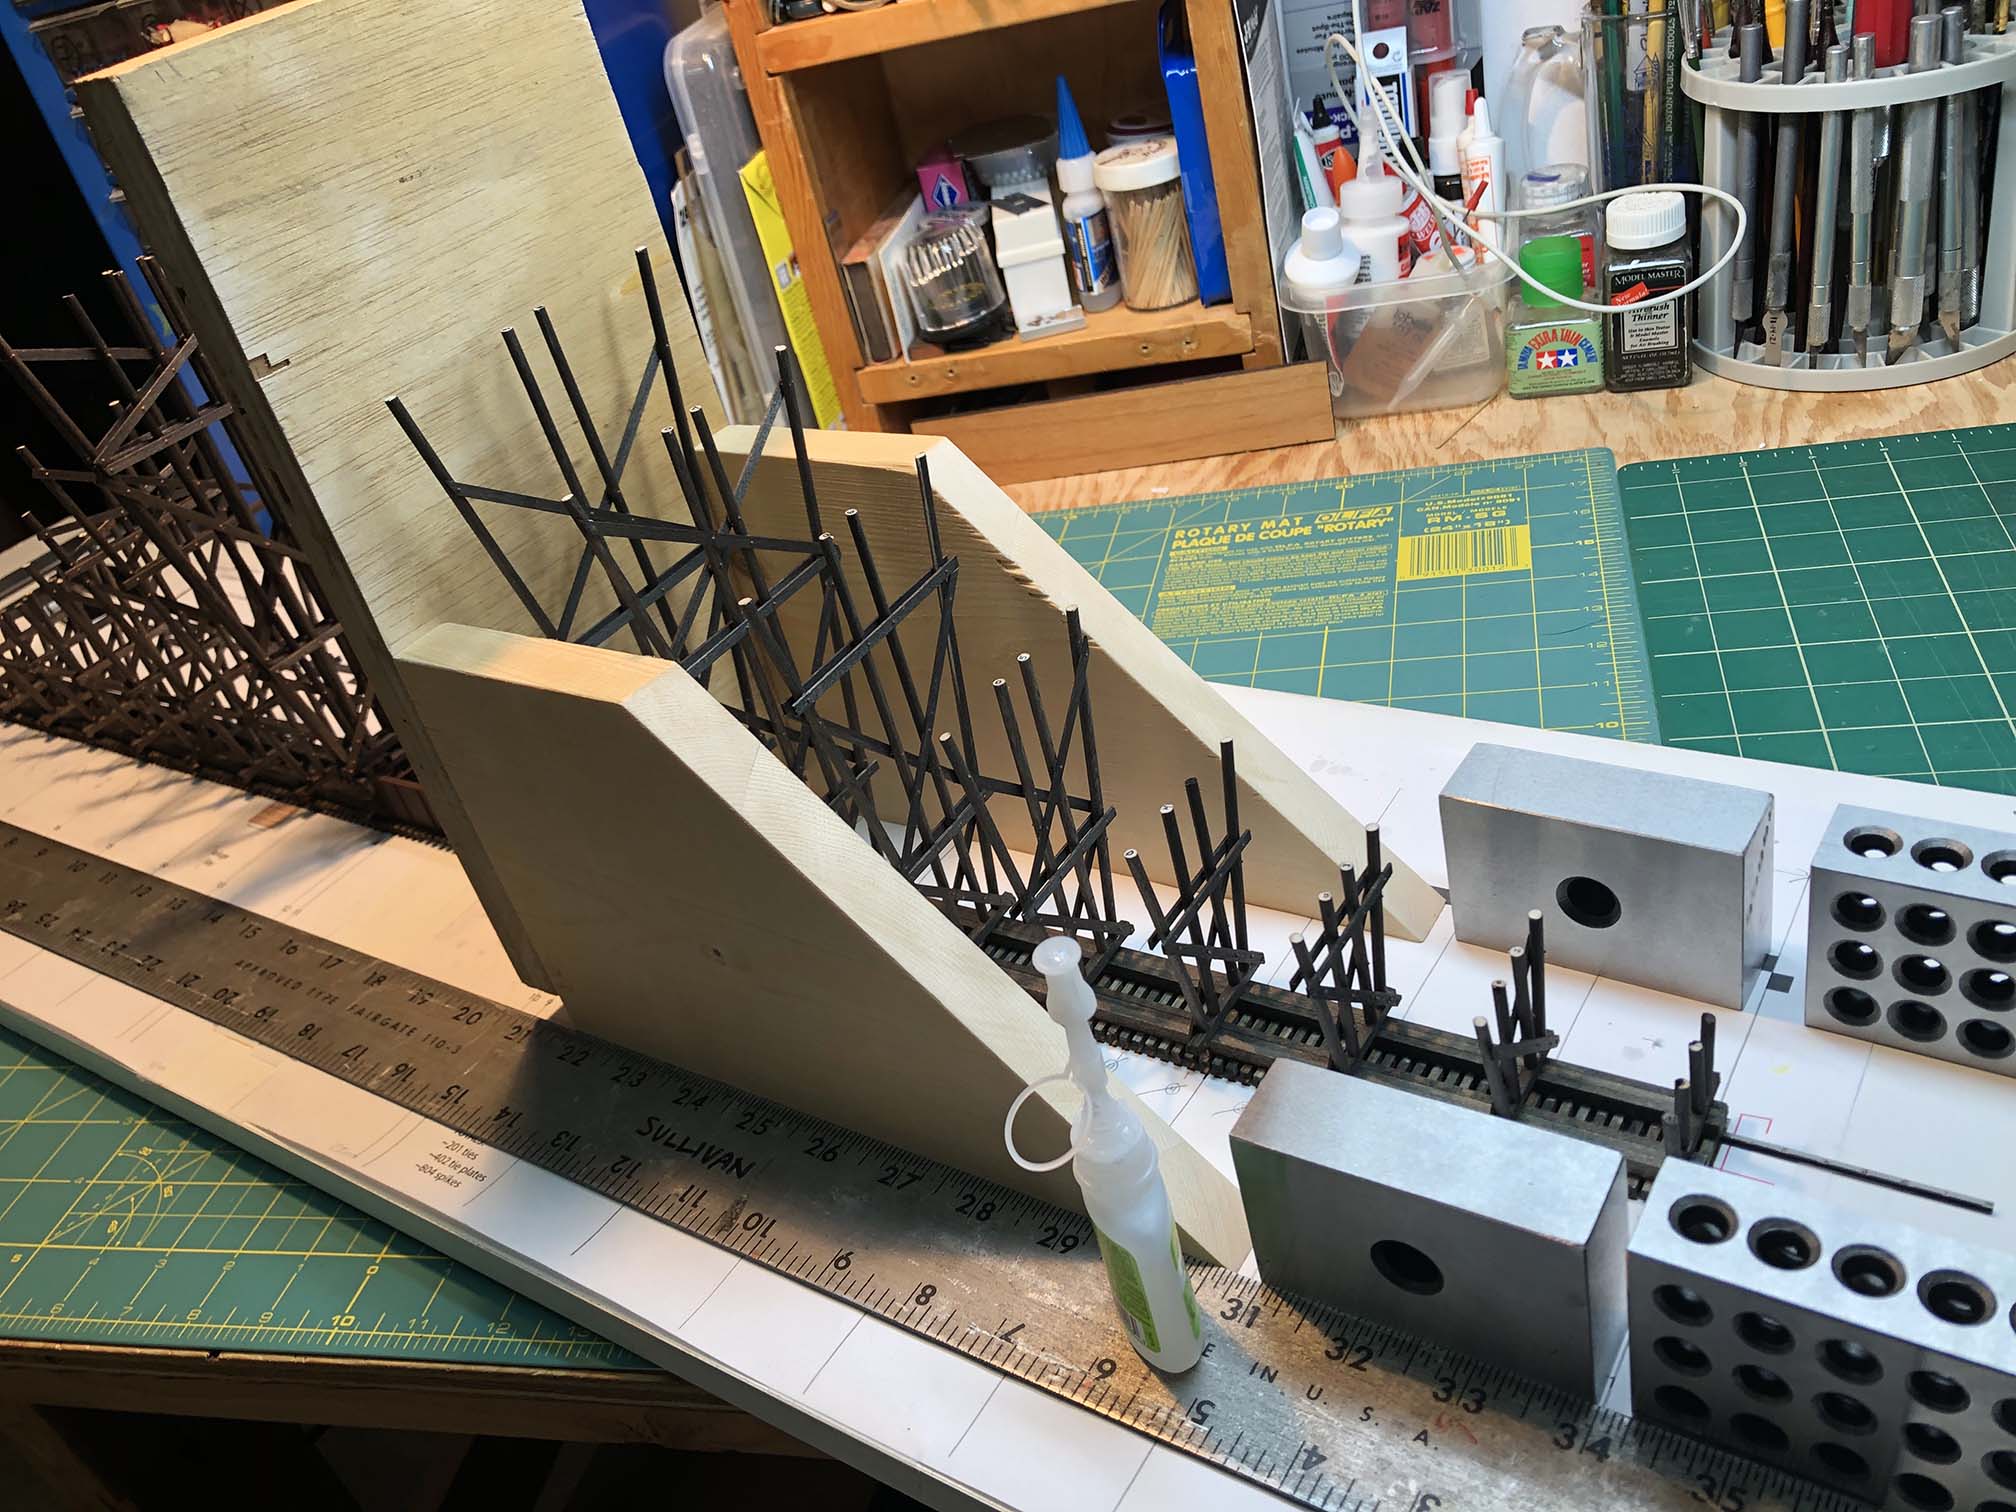
The sled/jig allowed for me to install the bents perpendicular and square to the base. This took a bit of finagling to get set up properly but made the job go fast once the system was in place.


Halfway there!
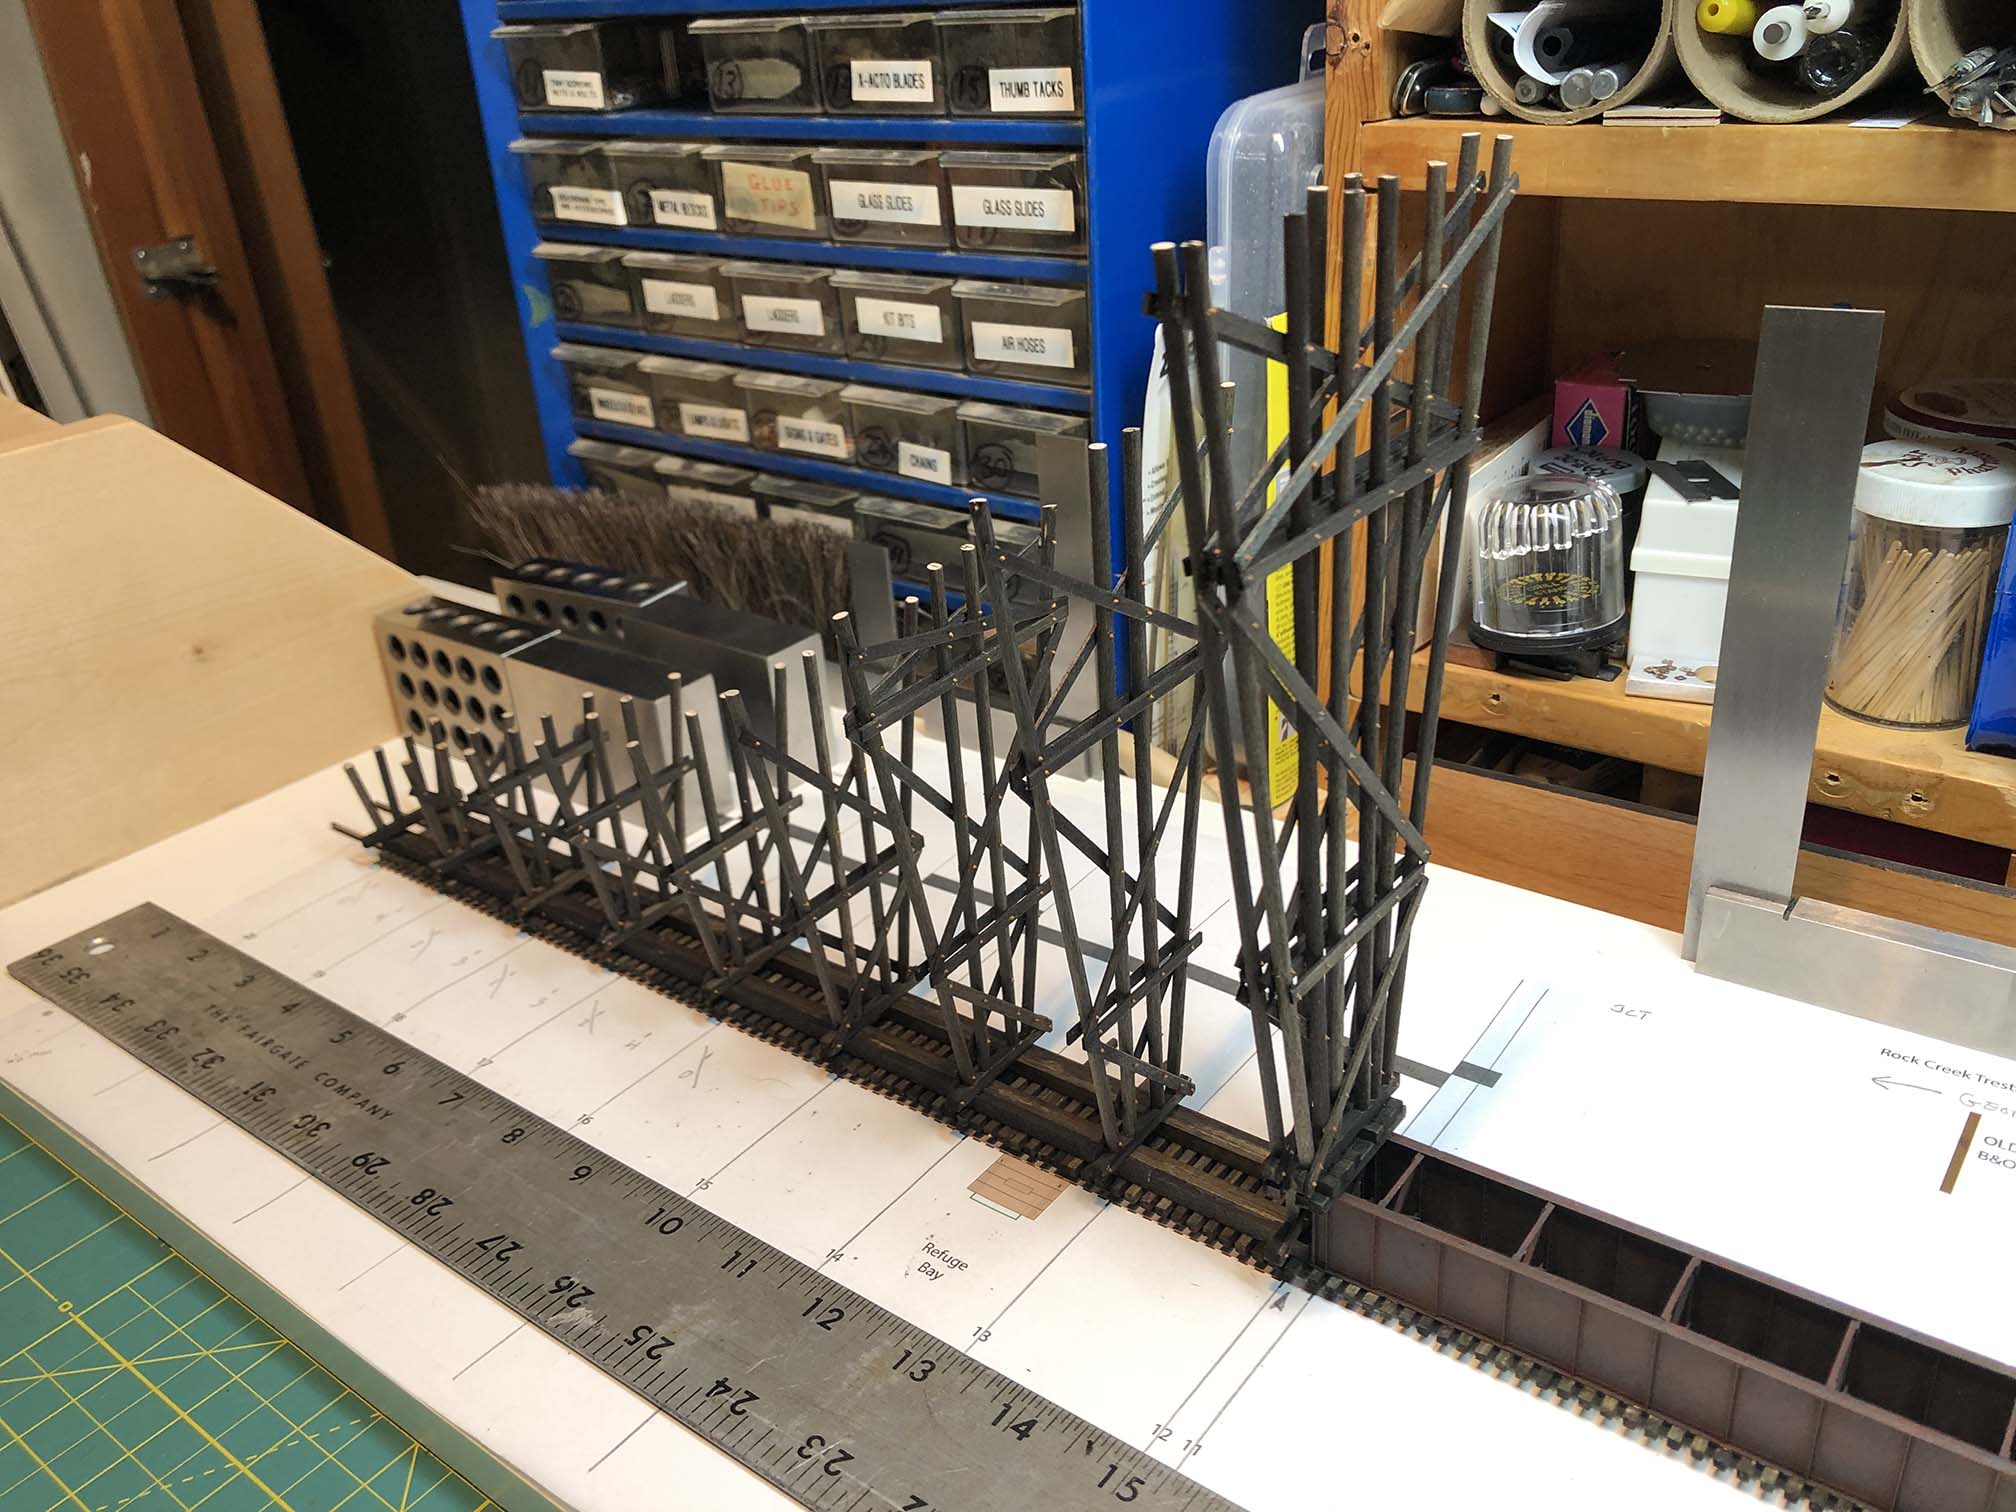

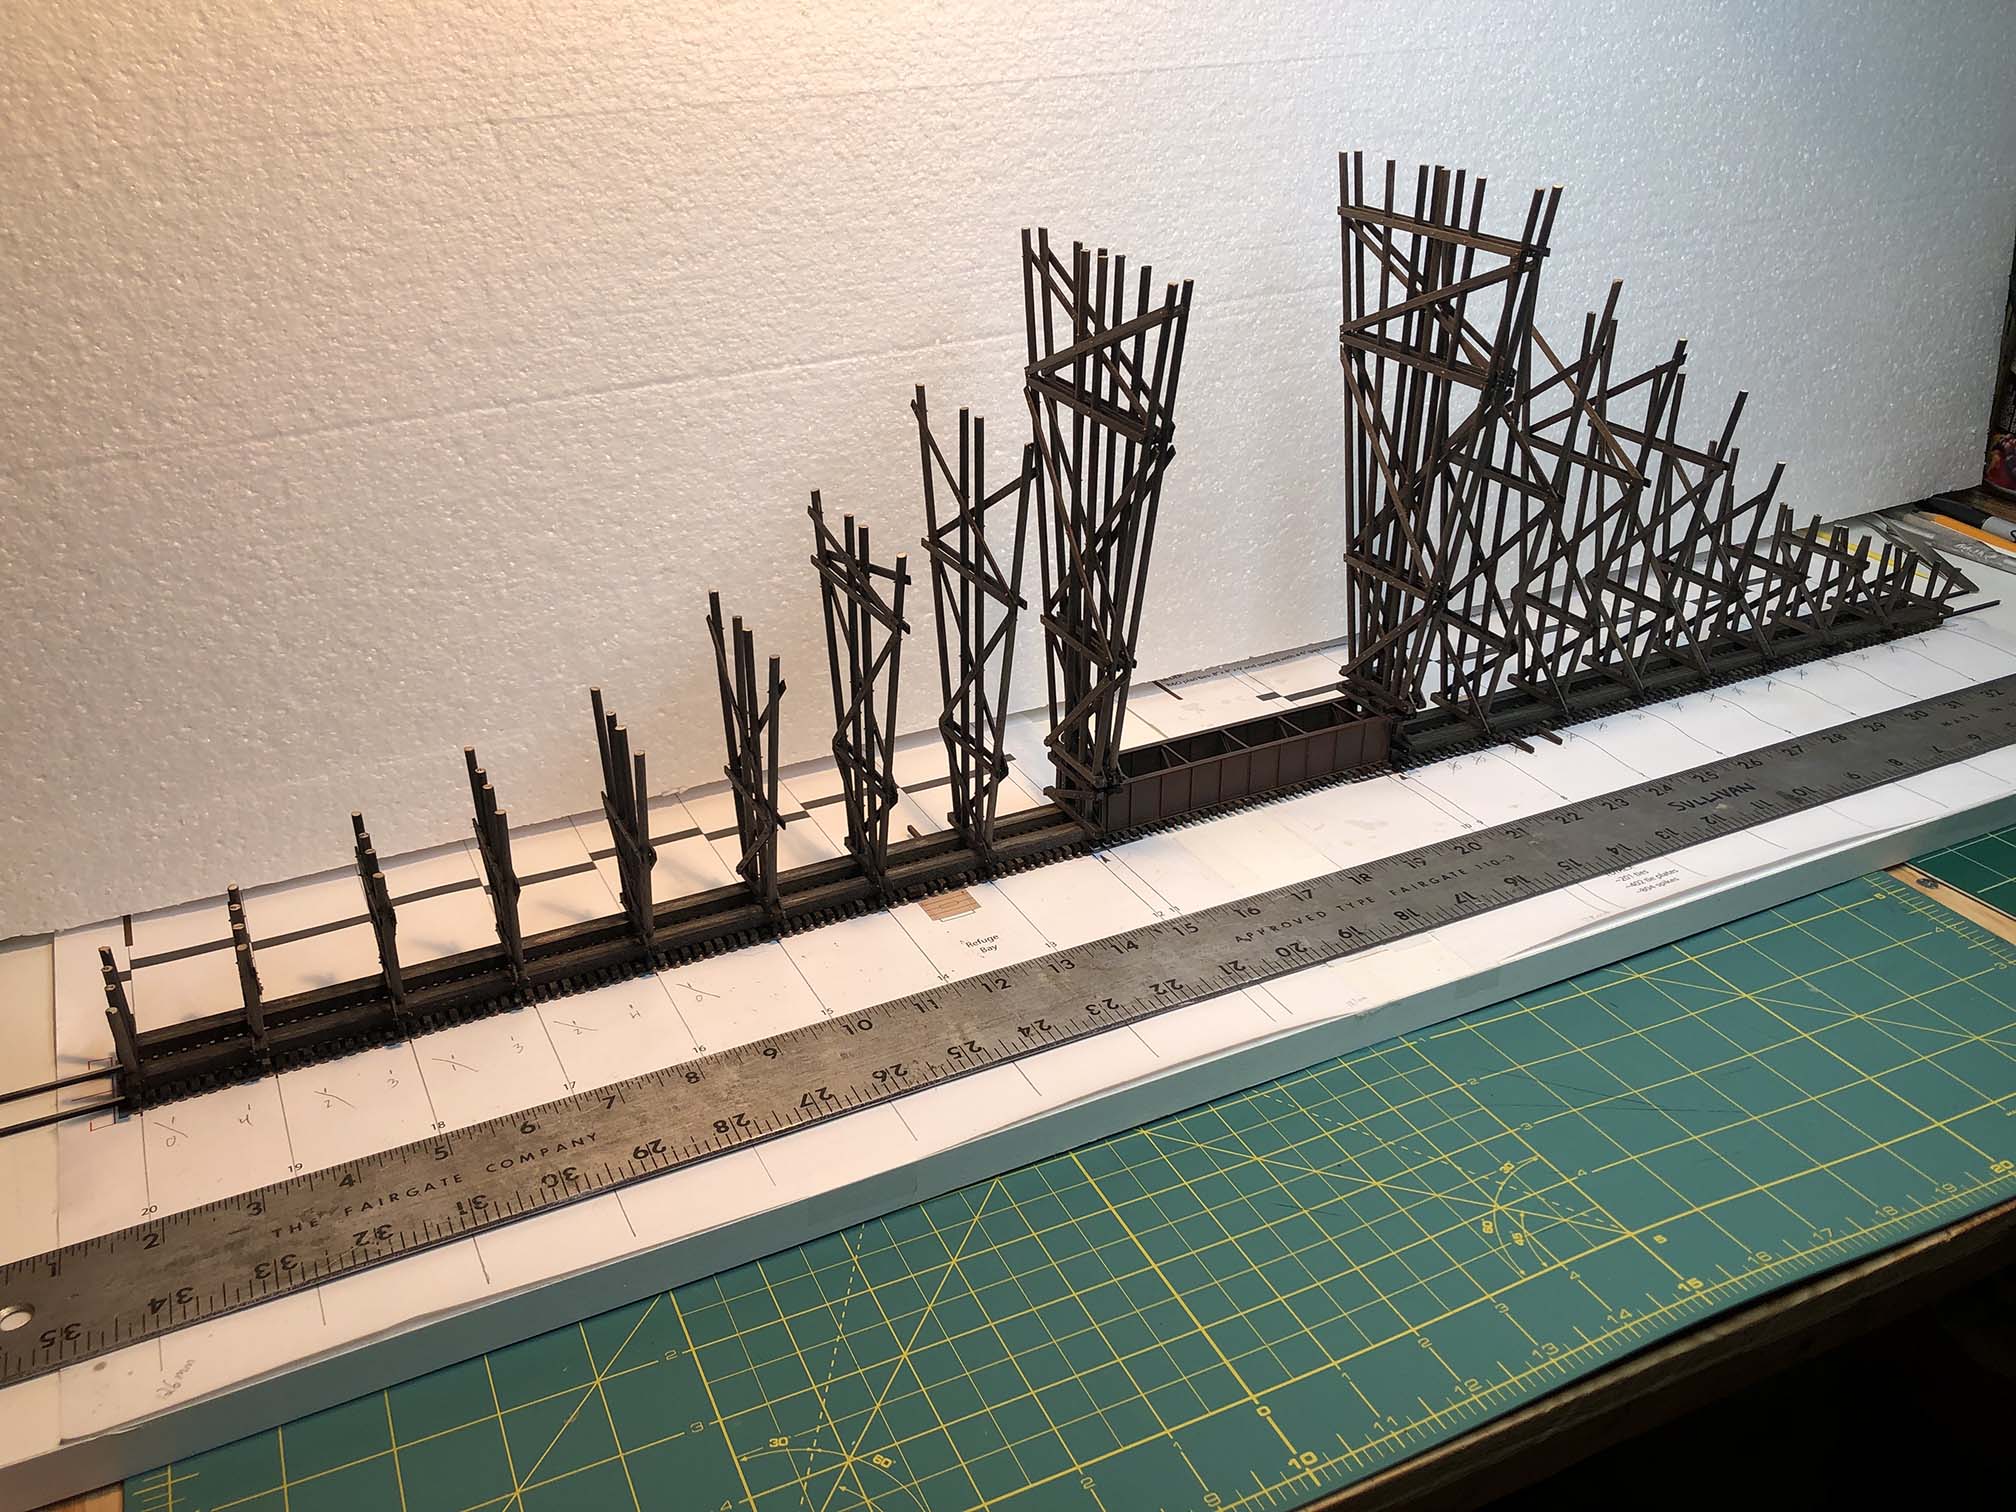
And here we are with the completed bents. It’s looking pretty good!

If you flip over the photo you can sort of get a feel for what the completed model will look like.

Ok – that’s all for now. I’m very pleased with how this is coming along and up next I’ll be installing all of the stringers and girts to get this over the finish line! Stay tuned…