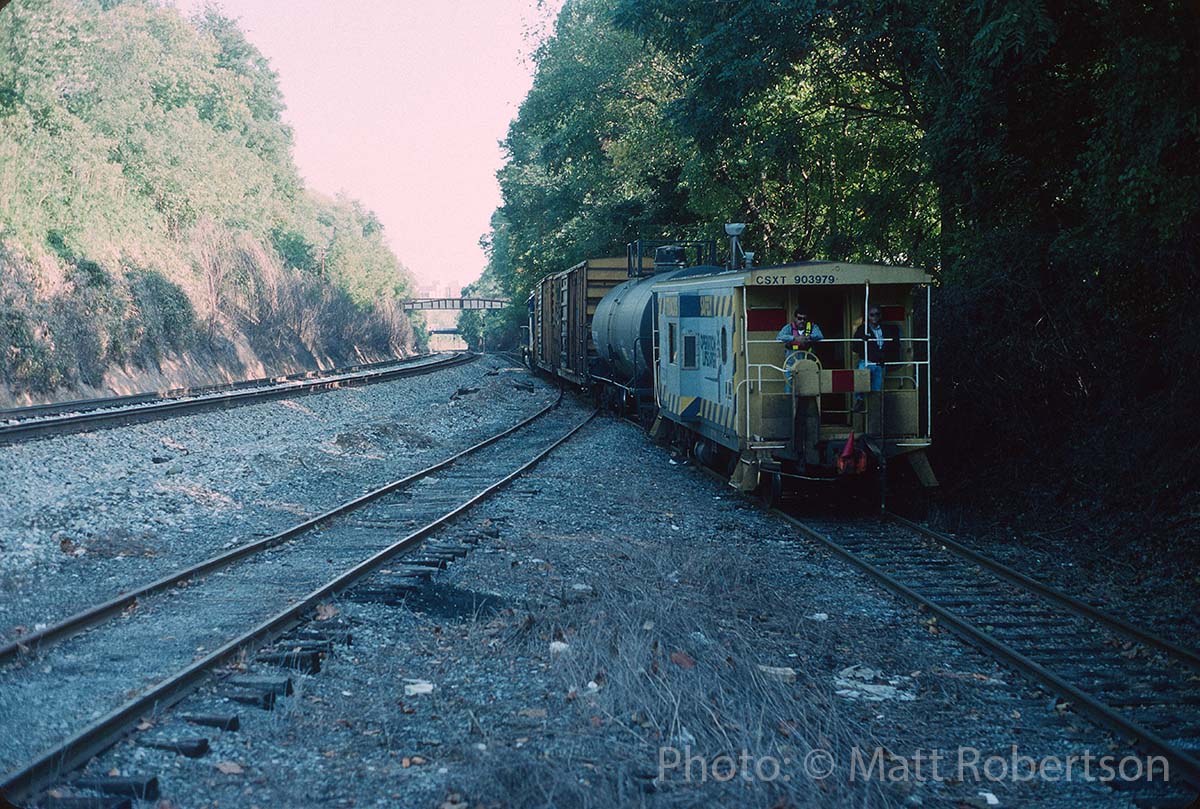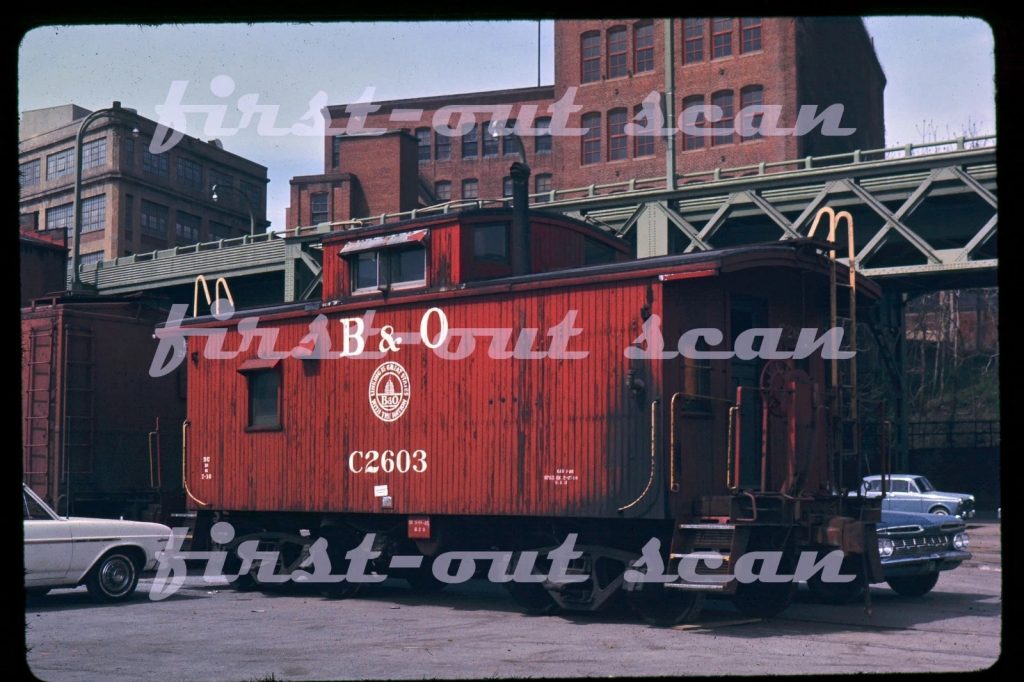
This magnificent slide came up on eBay a week or so ago and although it was mislabeled as Philadelphia, PA, I immediately recognized it as the new yard in Georgetown, DC. There are a few things that make this image special, first and foremost is the caboose itself. This is no regular B&O I-5 caboose that we typically see on the Branch, no, this is an Ex Buffalo, Rochester & Pittsburg (BR&P) car! The slide listing dates it to 1967 and while the listing is wrong, I think the date is relatively close as it aligns generally with the timeline for this car as I understand it. Maybe someone can ID the vehicles seen in the photo. The repack date on the cab reads “2-27-64”.
Also of note is the B&O class M-26 boxcar peeking out to the left, #26xxxxx.
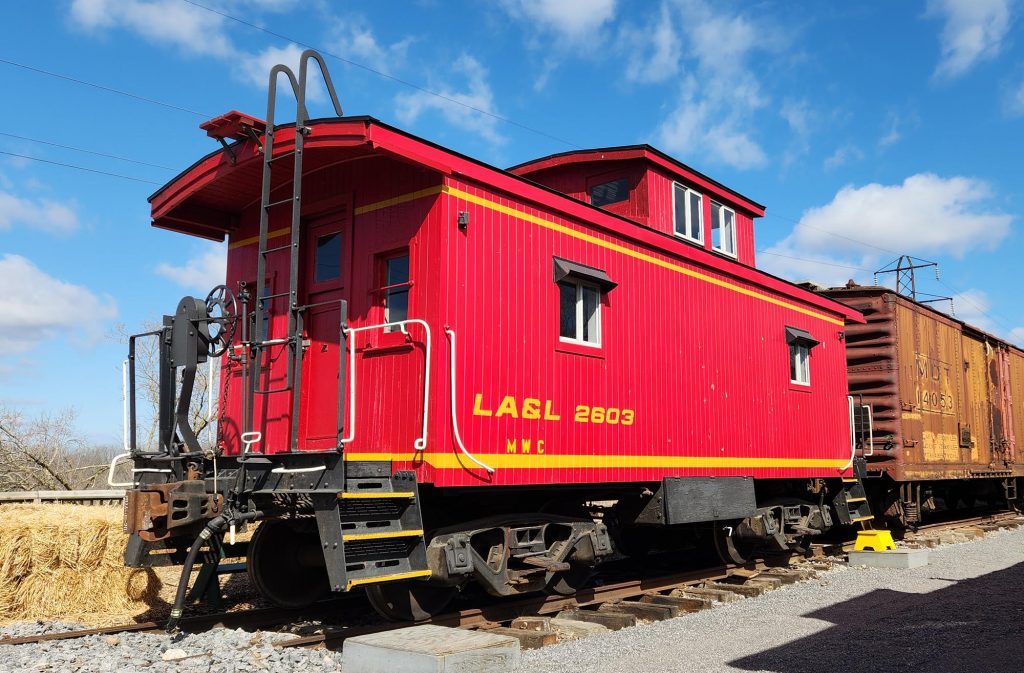
And, one of the more fascinating things about this caboose is that it’s still in existence today! Yep, hard to believe, and very much a random thing I stumbled on when I was looking for info on this car, but the car currently resides on the Rochester & Genesee Valley RR Museum, lettered as Livonia, Avon & Lakeville No. 2603.
Built by Mt. Vernon Car Co. in 1918 as Buffalo, Rochester & Pittsburgh 252, it was renumbered Baltimore & Ohio C2603 in 1935. It’s primary assignment was to the Riker Rounds Pool. It was sent to DuBois Shops in October 1959 for rebuild, from which it was released in October 1961 with updated cupola windows, toilet, new interior, and Ajax handbrakes. It was assigned to the LeRoy Switcher, before it was reassigned to the Rochester Subdivision Pool in 1963. C2603 was retired in March 1967.
This is all really exciting to me, as it portrays another really interesting piece of rolling stock on the Georgetown Branch – something I had never seen before. I wouldn’t have thought one of these cabs would have made its way all the way down to Georgetown, but here we are! I tried valiantly to secure this slide for the Georgetown Branch collection, but alas it slipped away. A bit too much for a cab roster shot alone. Hope it finds a good home wherever it ends up.