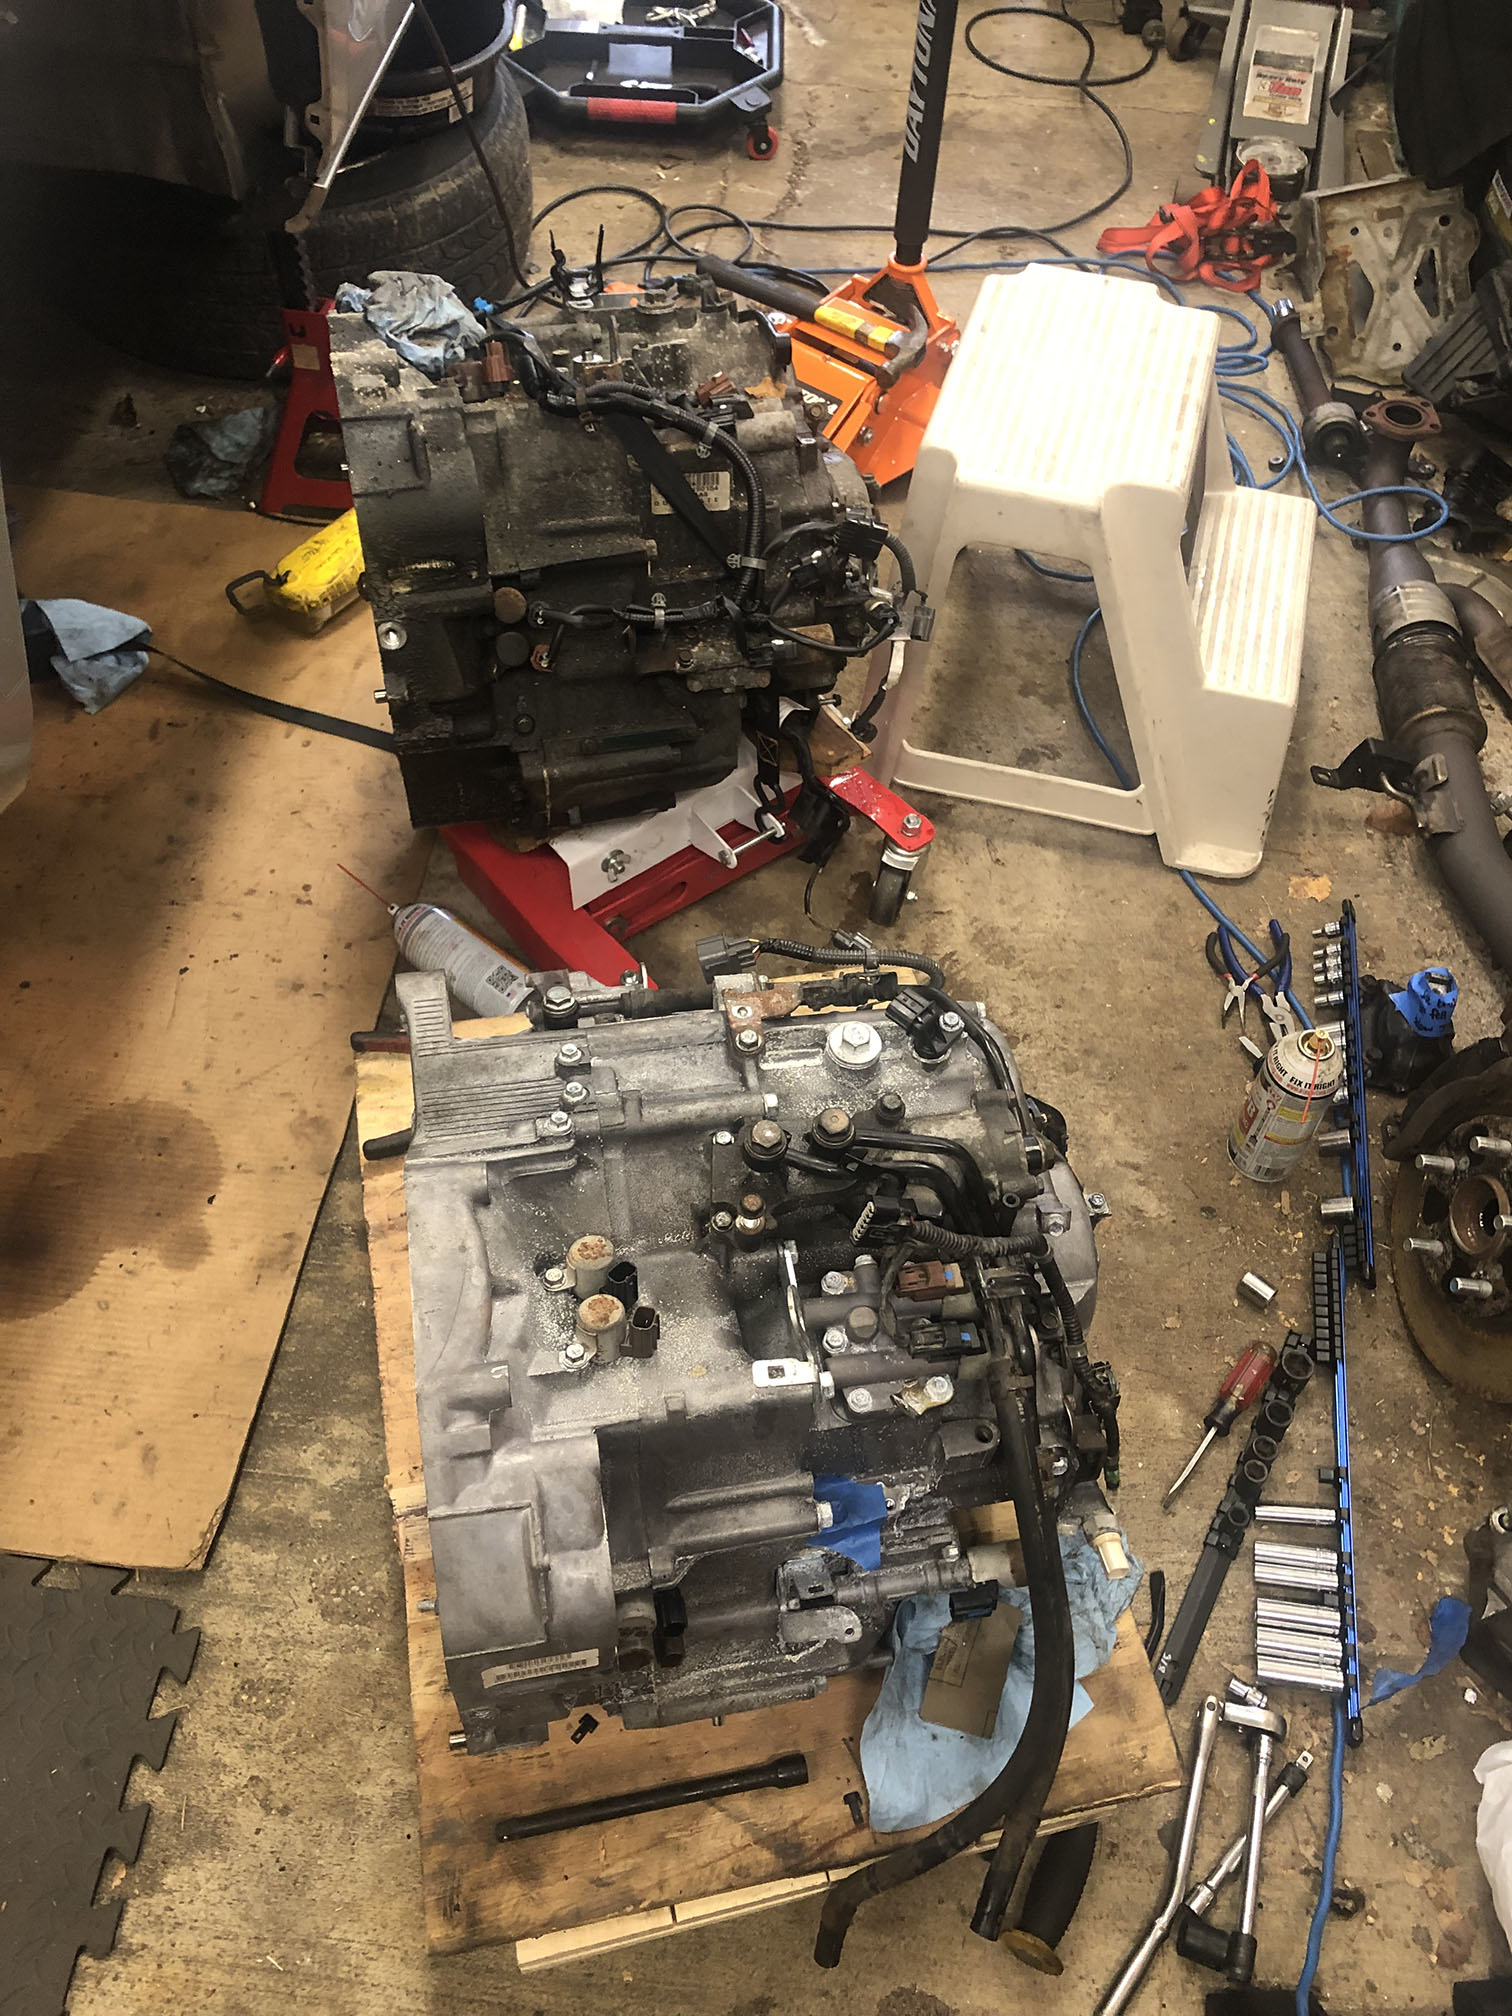
A quick update to share a few snapshots of some progress and talk about what has been going on since the Winter. Well, first up, between December and January I took on a massive project; replacing the transmission in my 2006 Honda Odyssey. The task was no small feat and I did nearly all of the work myself. As a result, I have a functioning car again, and have likely permanently damaged an already questionable right shoulder. (A recent MRI revealed the reality that surgery is likely in my future.)
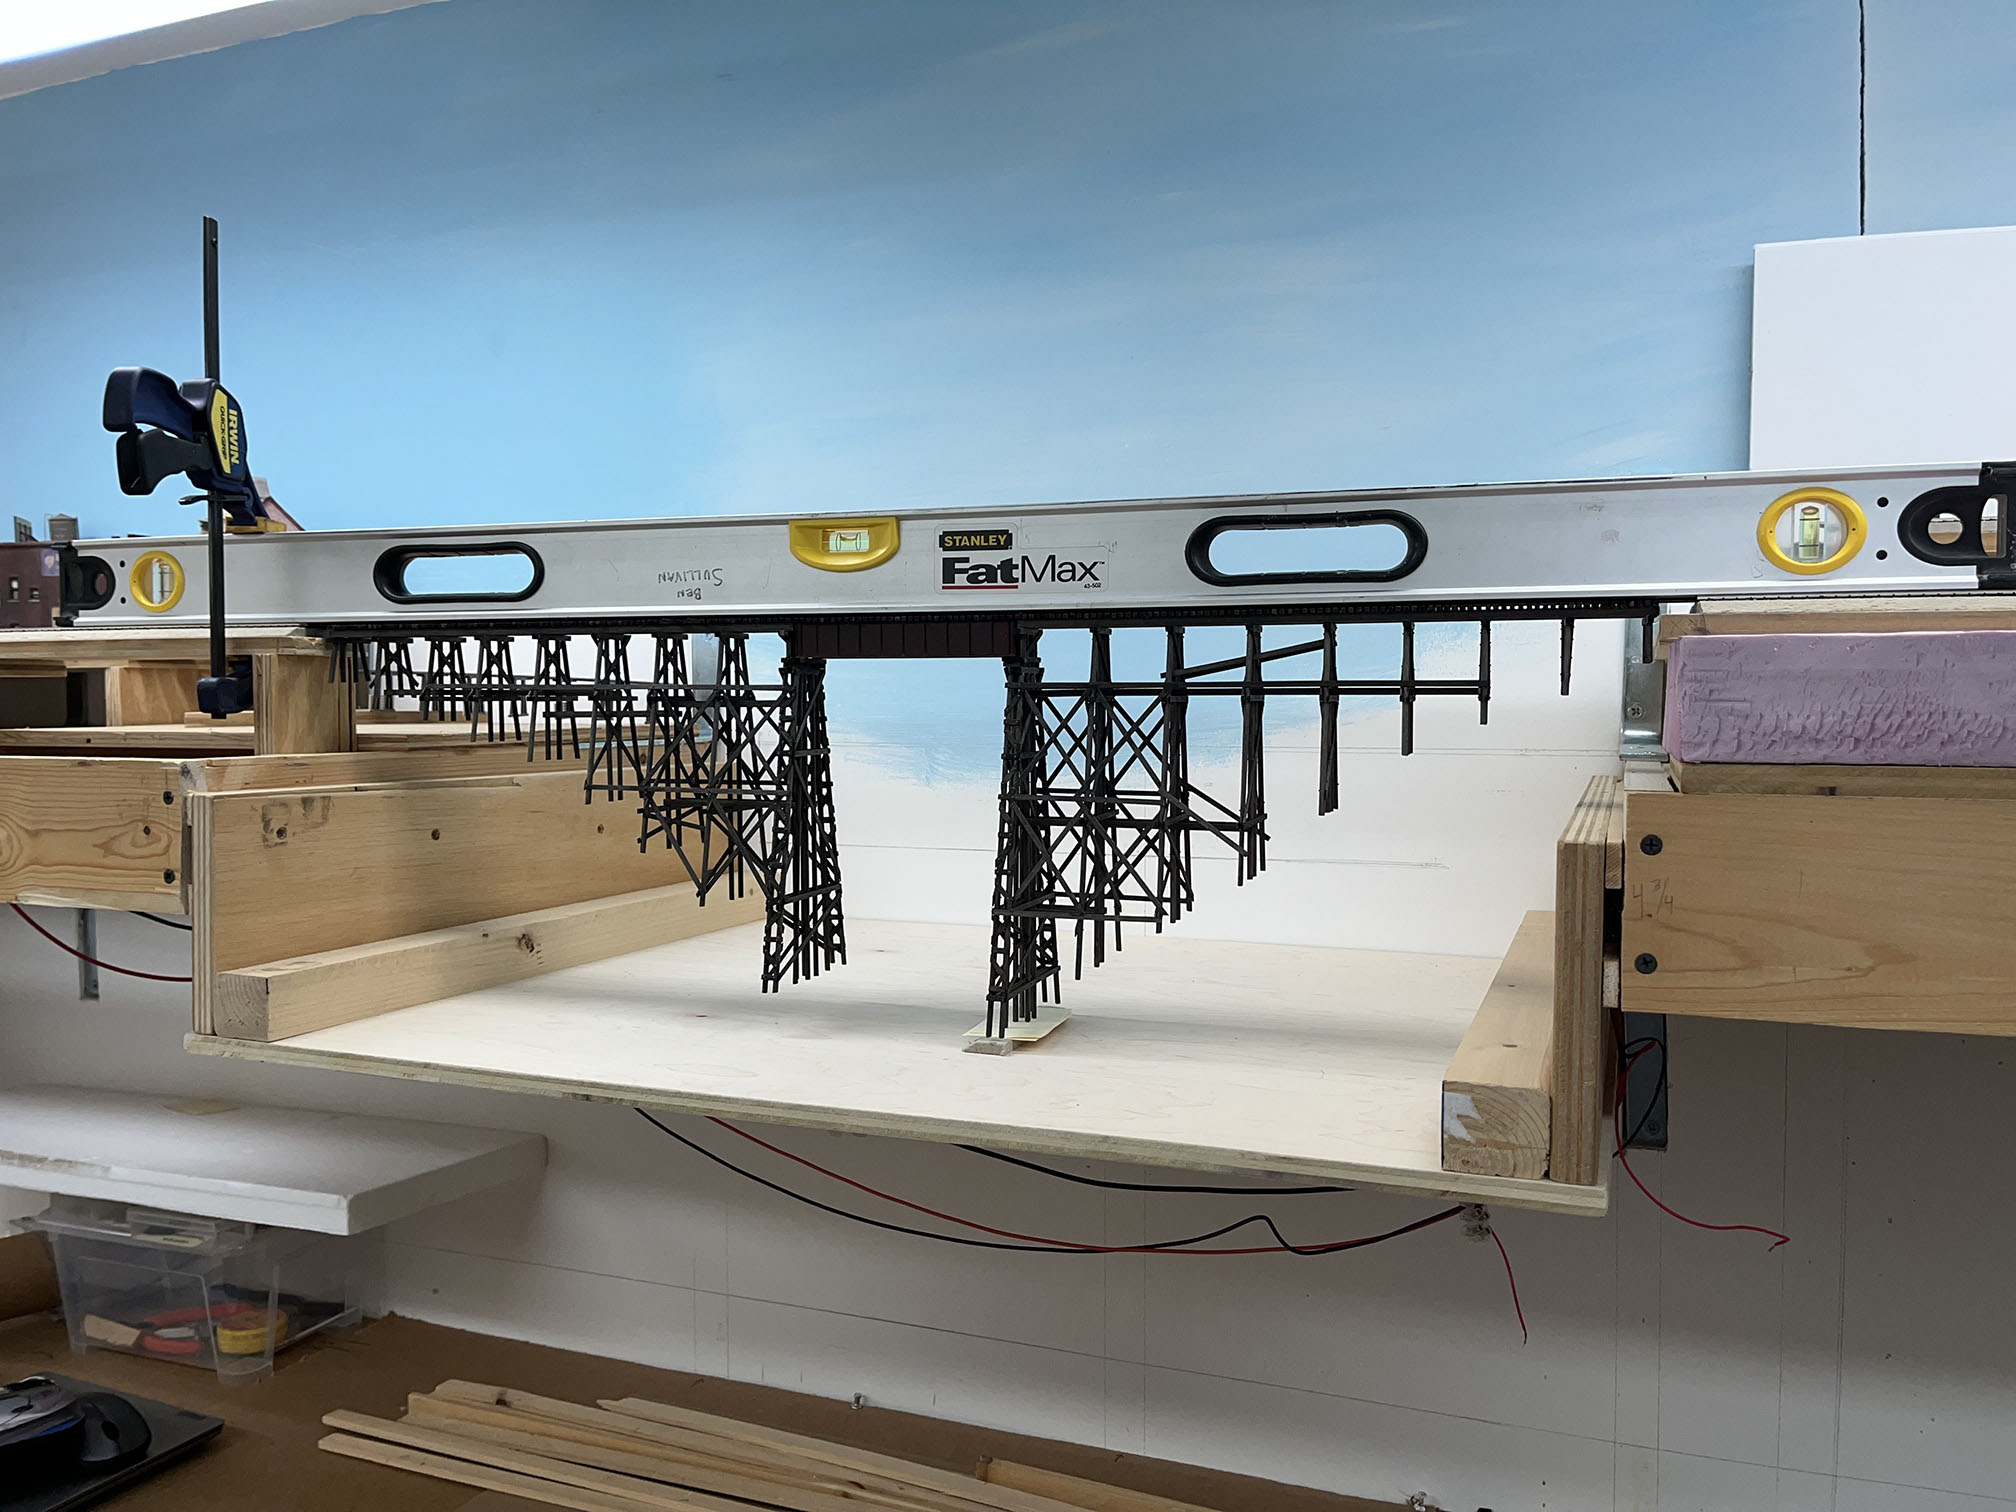
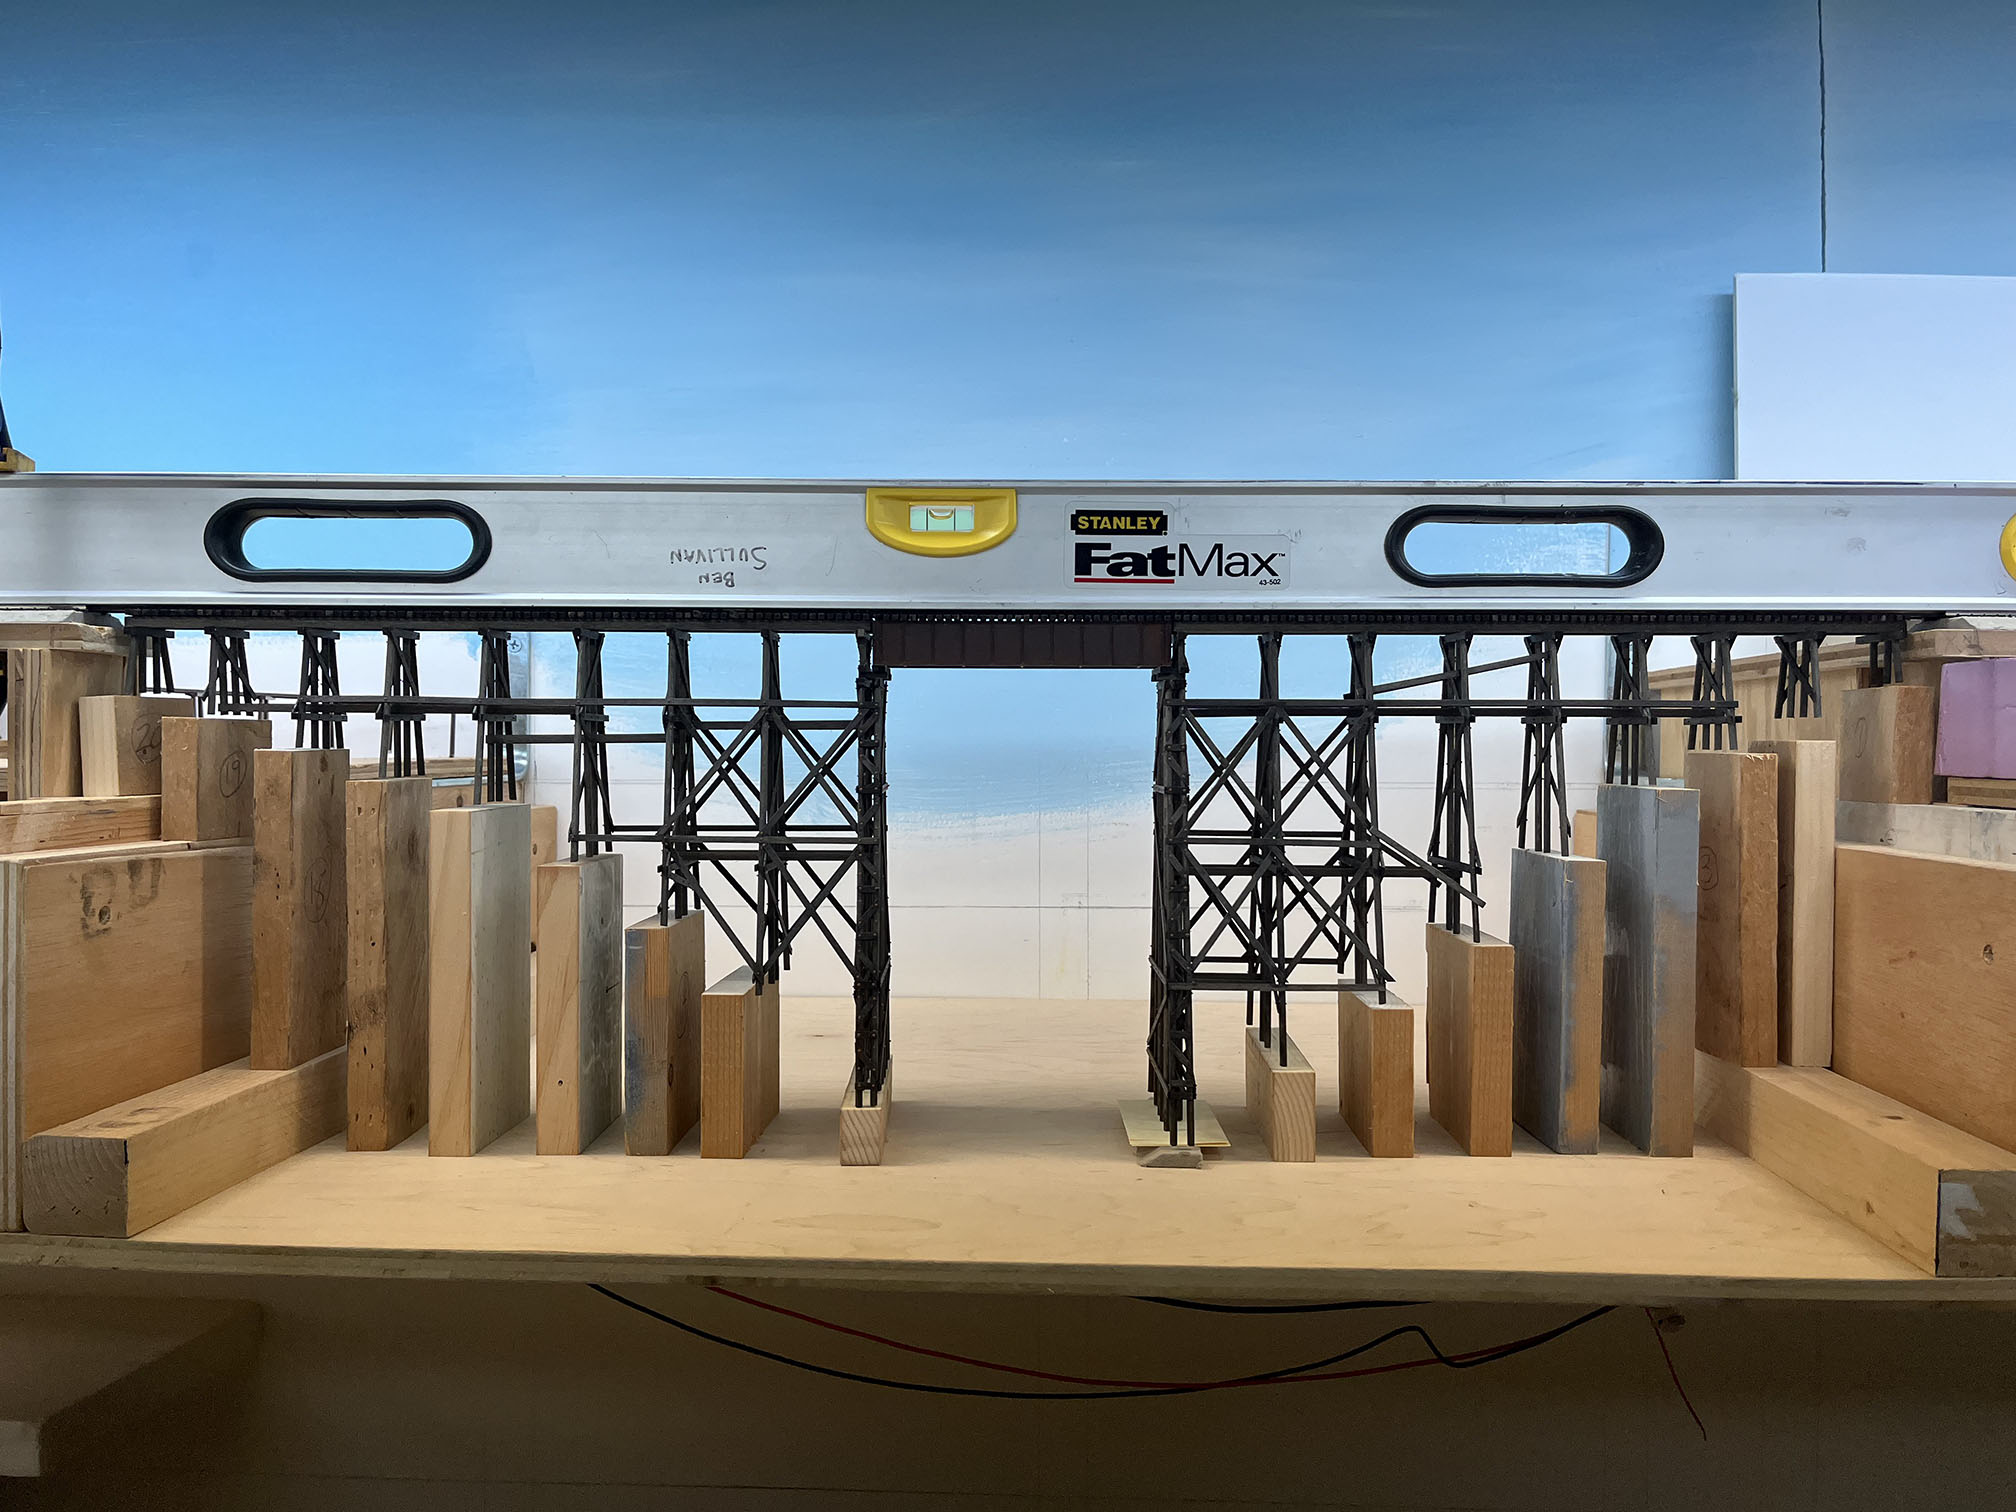
But I digress. I showed you the Rock Creek trestle mocked up in place. Now let’s take a look at how I got there. I made the decision that building the trestle would be my priority. First up was to start mocking up the terrain to be sure it would work with the existing design. So I used some masking tape to outline the land forms.

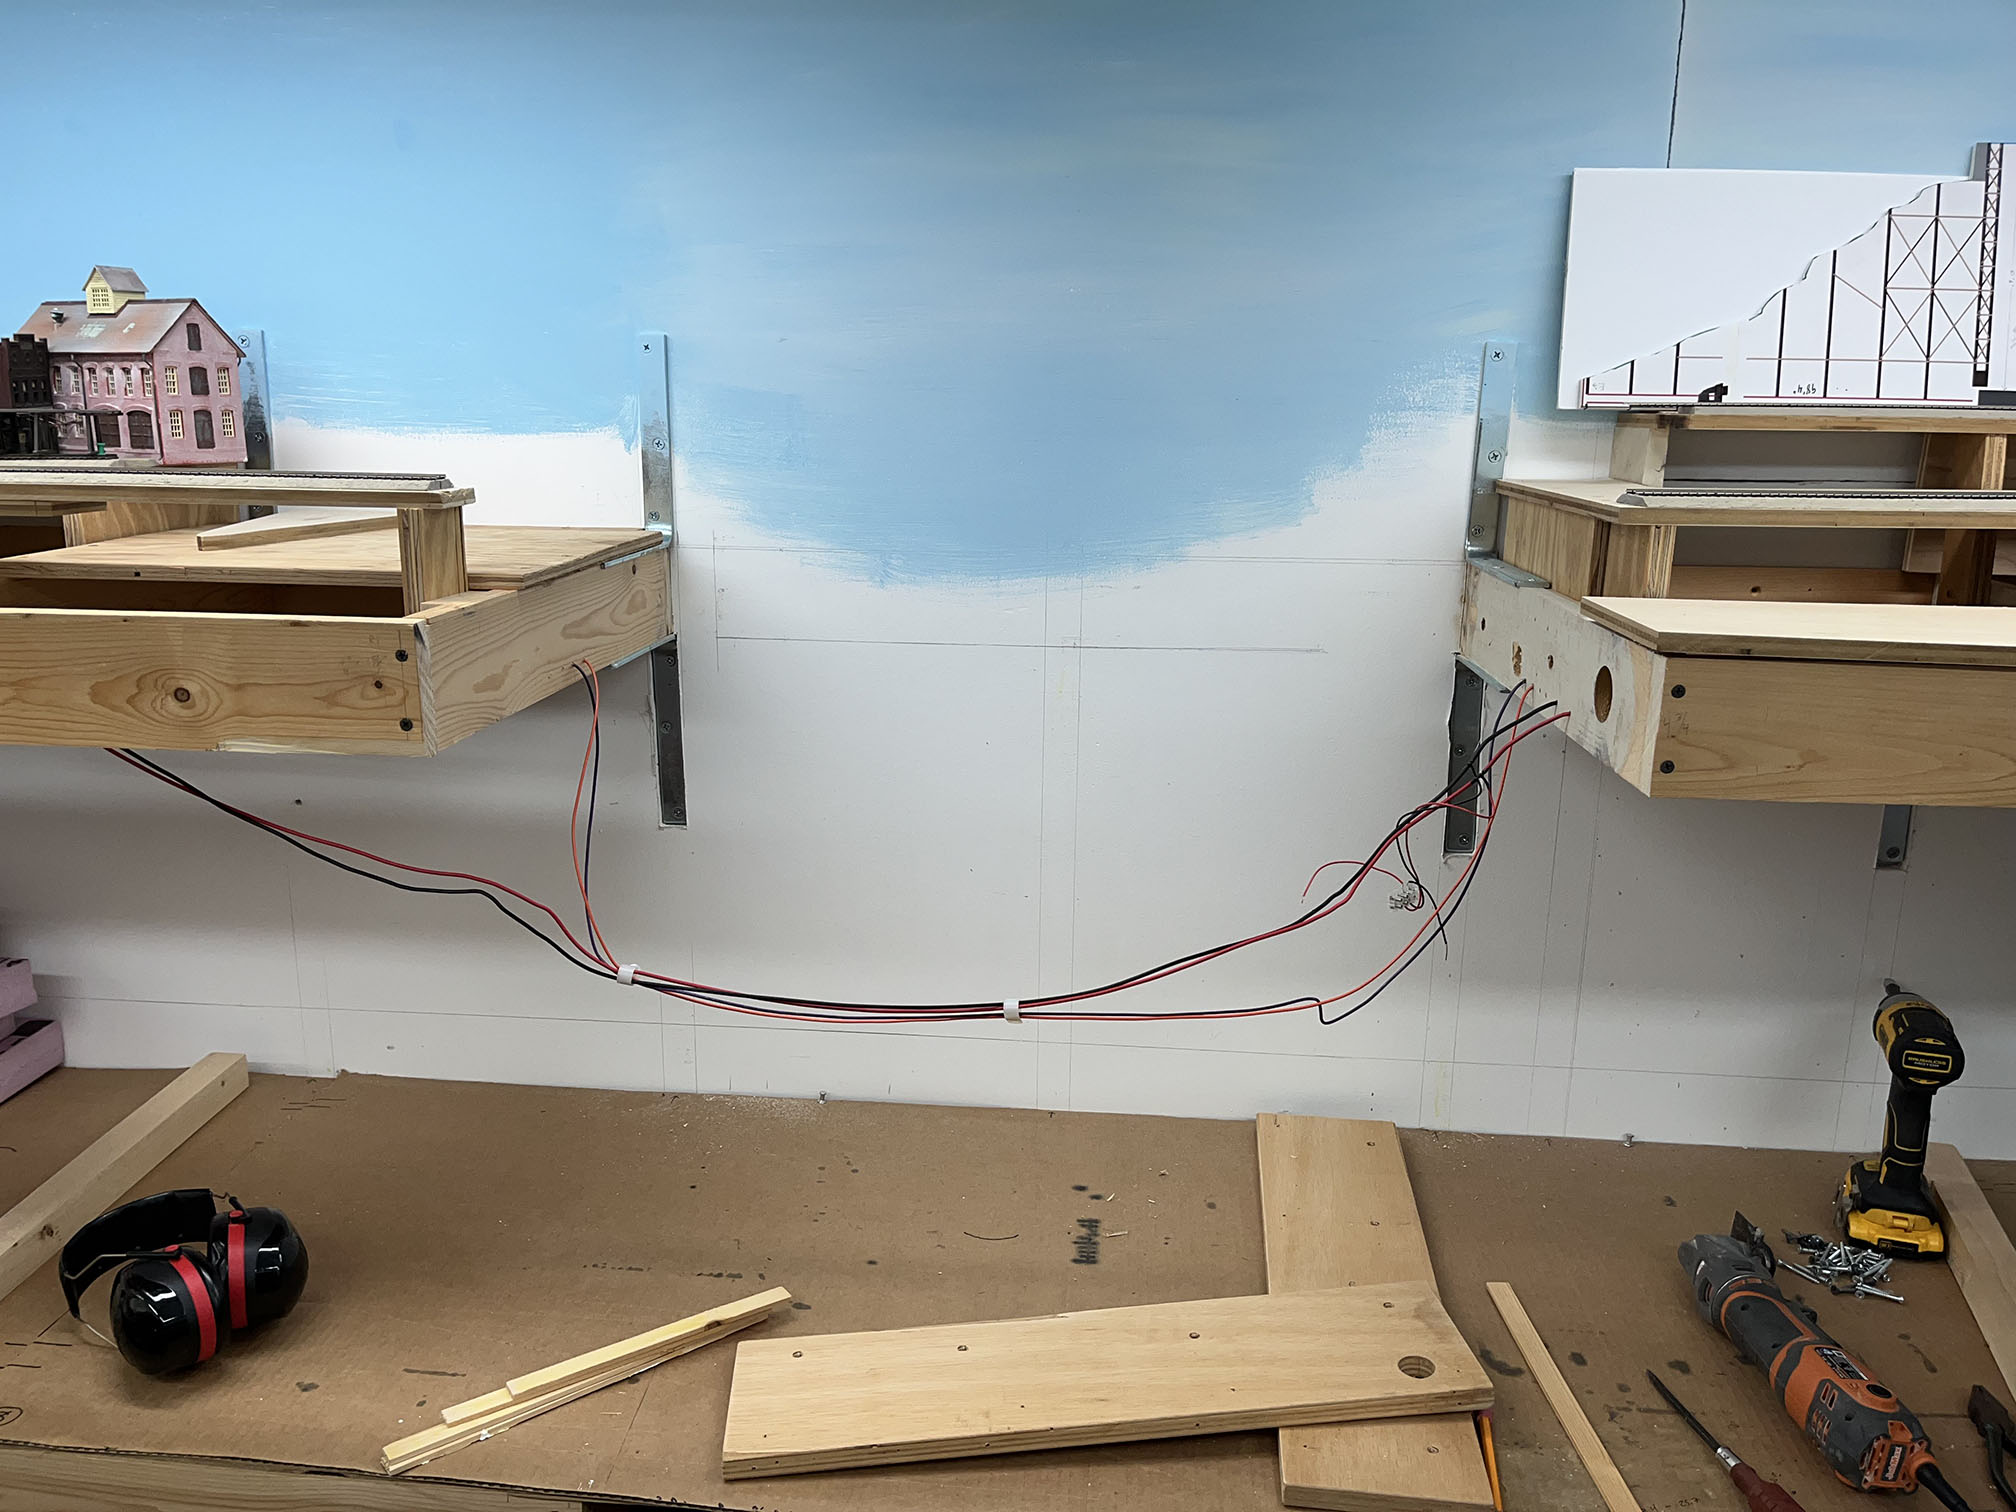
What became apparent was that the angle required for the long fill the trestle approaches sat on would not work with the existing benchwork. I also had the idea that it would be nice to be able to remove the trestle should I want to transport/save it from the layout room in the future. This required completely rebuilding this section of the layout, by essentially widening this dropdown area.
I then needed to install the trestle and shim it to sit flush and level with the track, so I could measure the height of each riser.
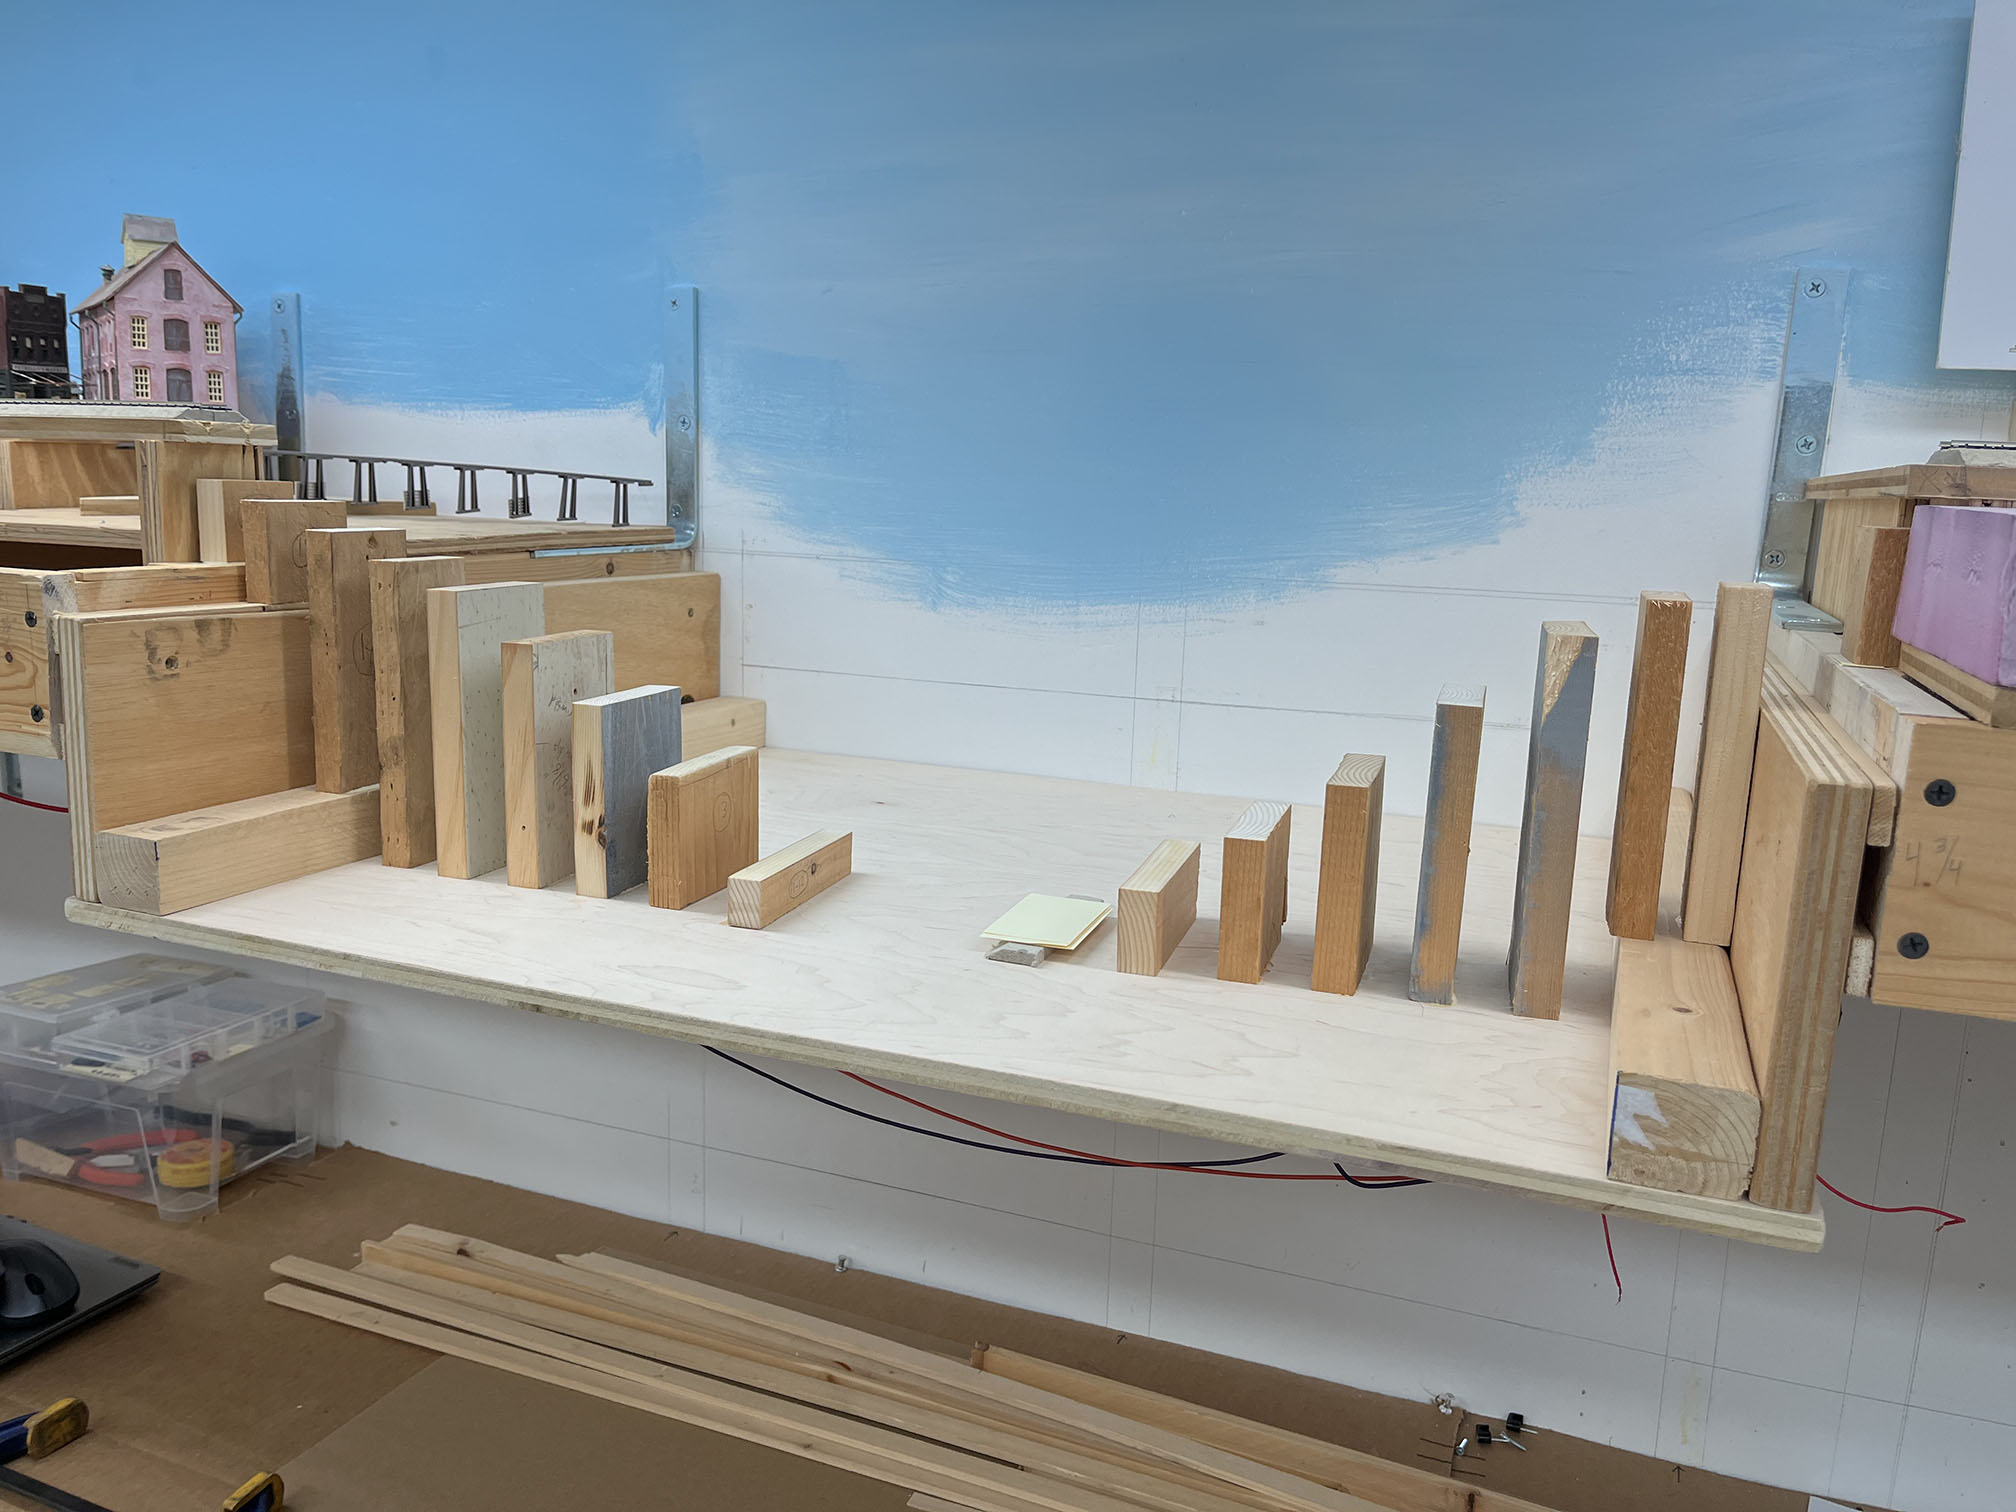
I measured the height from the base to the lowest pile in each bent. I subtracted about 1/16″ and fashioned risers from 1×4’s and other boards.
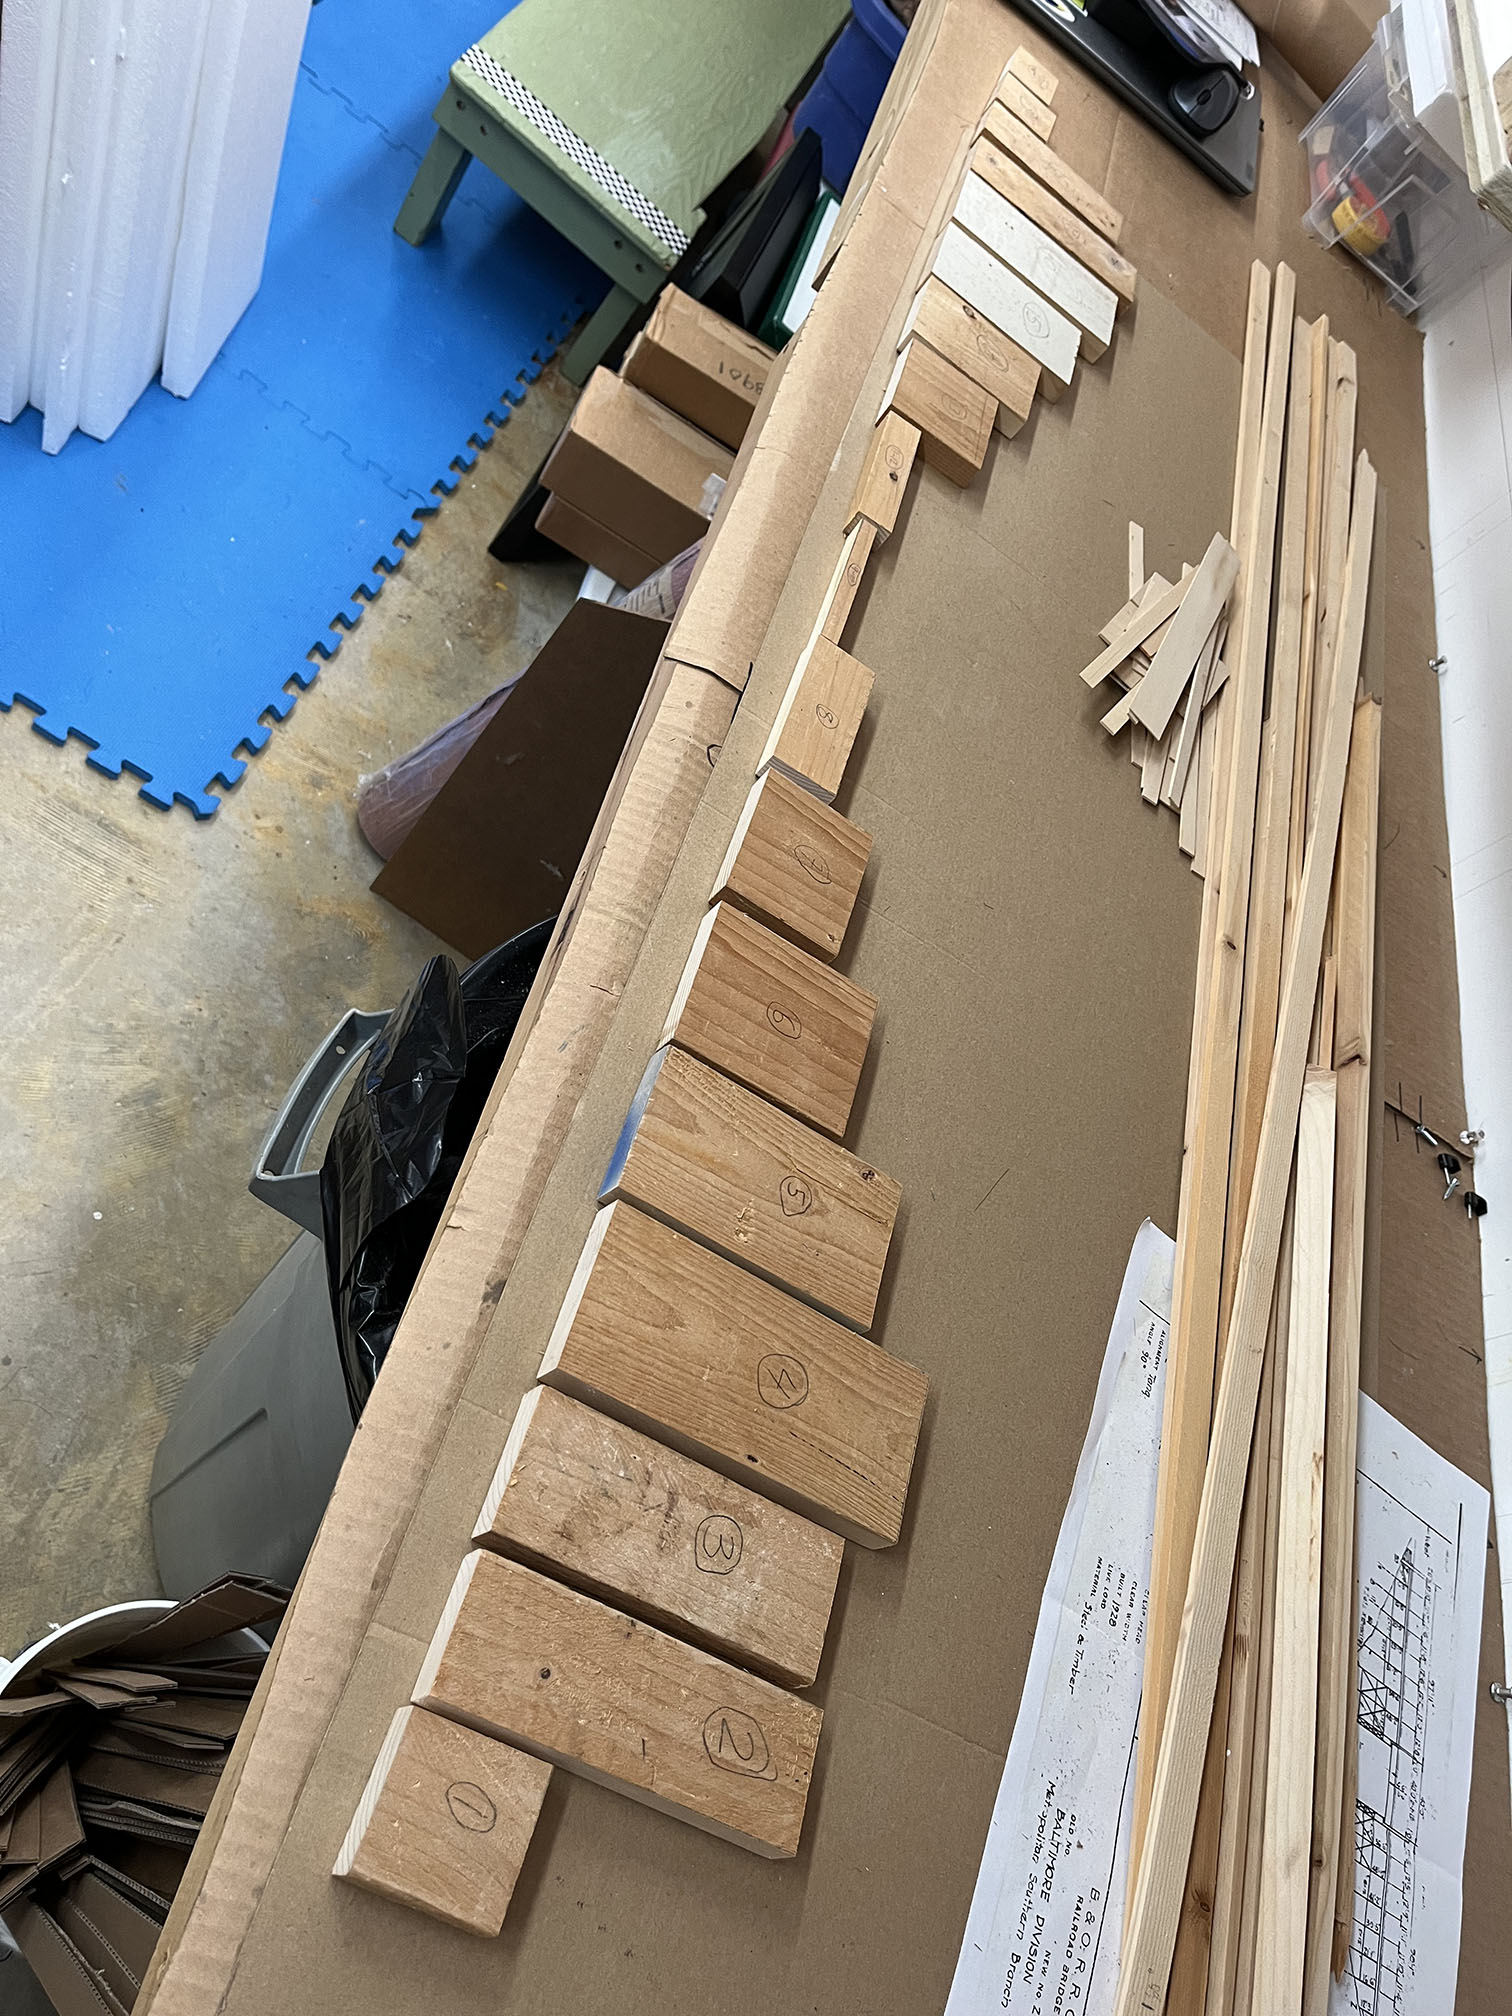
I installed the risers so the bent sits just on the edge. I will shim up to the height of each pile, since they are uneven. Risers were glued in place with wood glue.
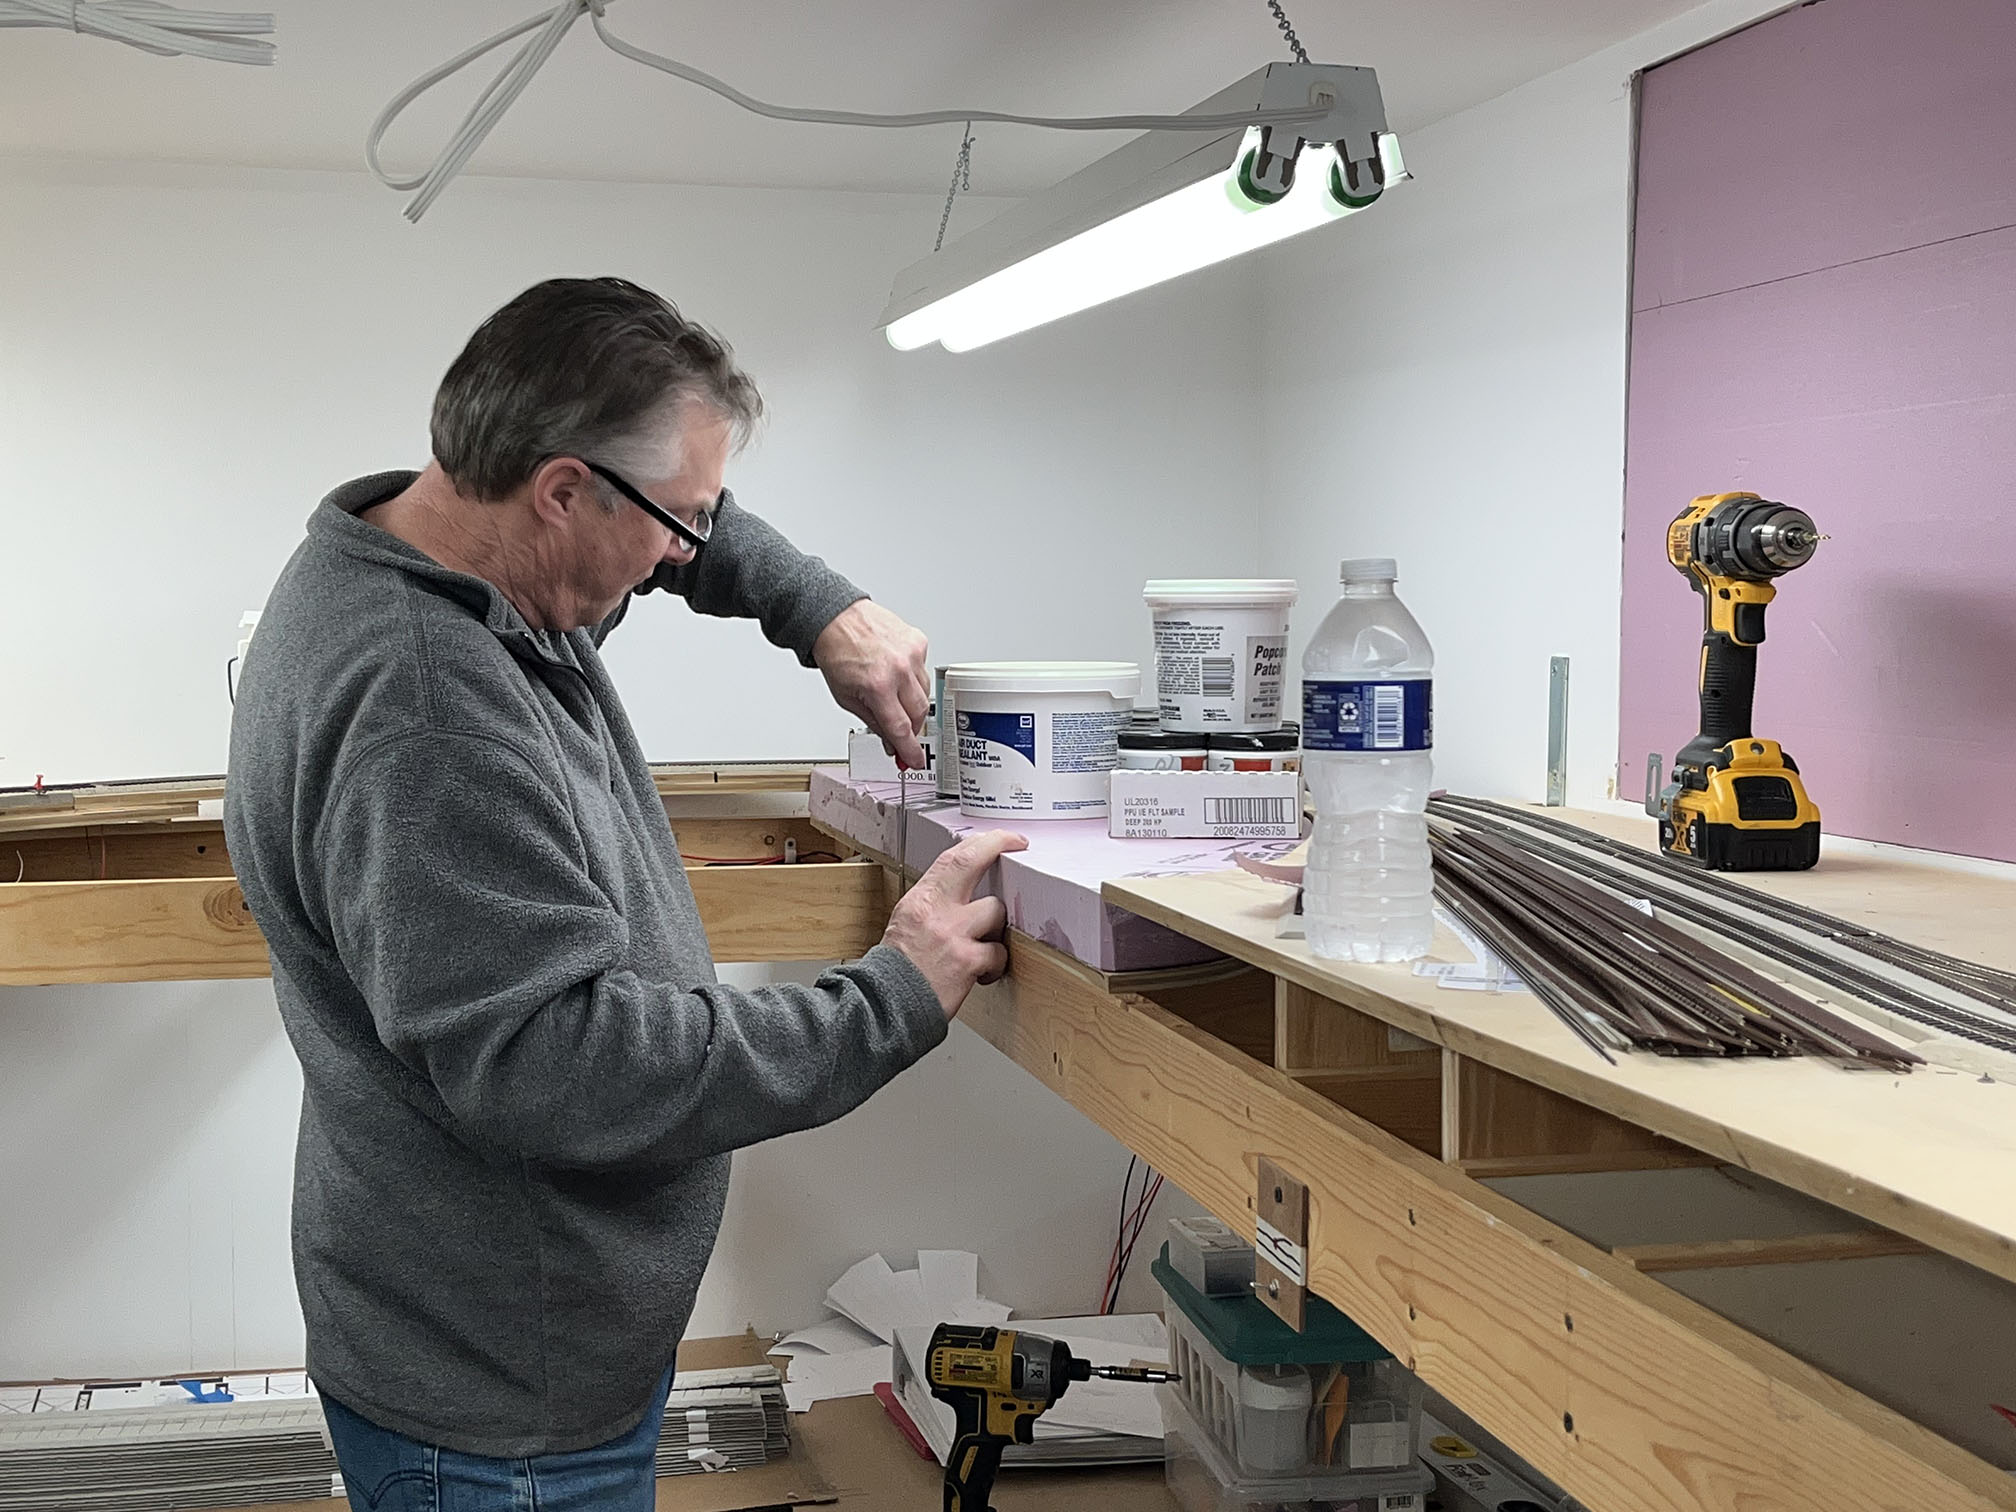
Now that the risers are in place, I can begin building the landforms, including the creek itself. I’ve still got a bit of work to be done on the bridge; namely the stringers on the top deck and some other details, but otherwise I’m nearly done. The same day I worked on the new benchwork, Kelly came over and helped me figure out and install the new benchwork as well as some foam at Chevy Chase and at Georgetown Jct. Progress!
A few other command system and lighting improvements: I deaccessioned myself from the old Digitrax Empire Builder II system and picked up a new TCS CS-105 unit.

After a weekend of setup, it is functioning beautifully.
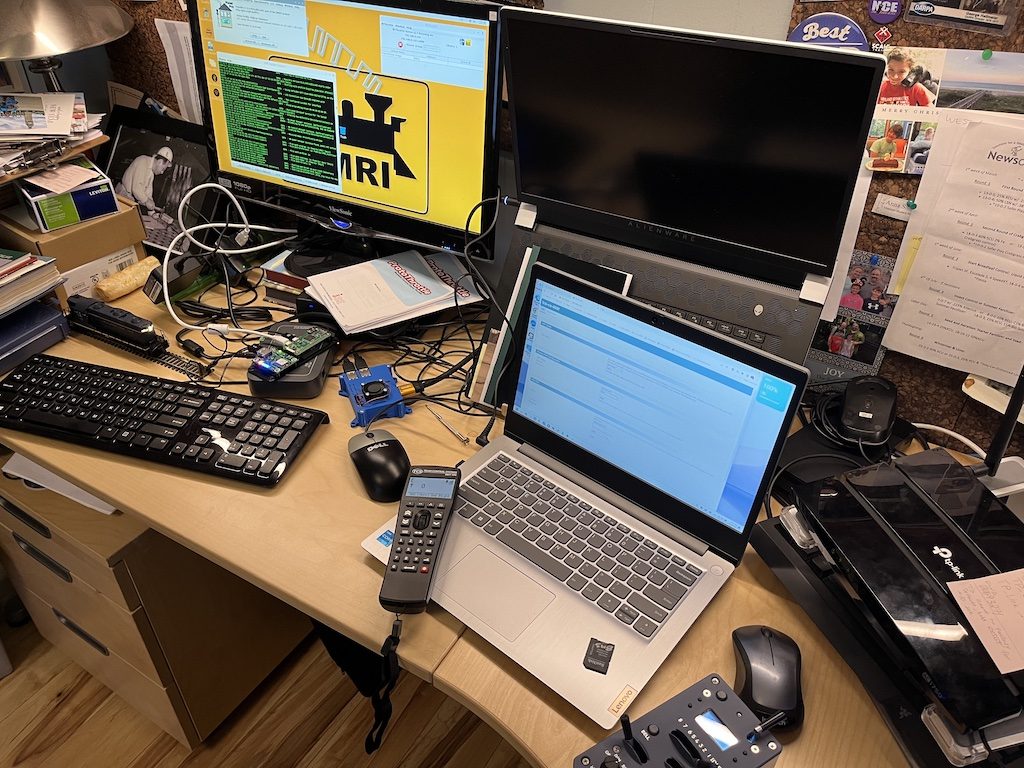
With the addition of my trusty RasPi/JMRI, the ProtoThrottle is working well, too.
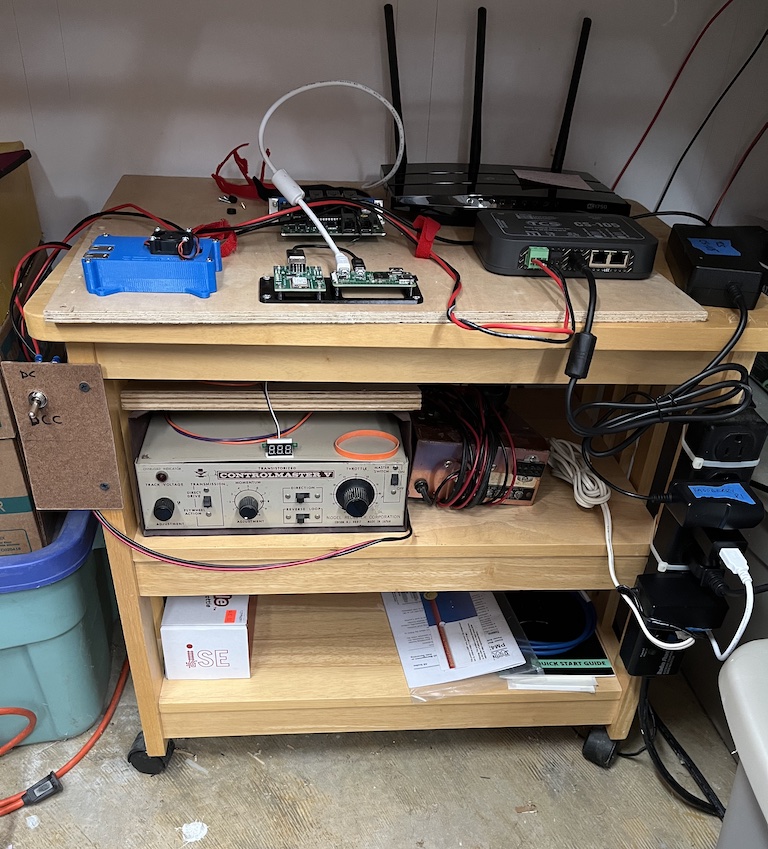
I also installed LED strip lights beneath the upper deck on half of the layout.

This is very much a work in progress as I attempt to best engineer how to get the most out of them, but I am really pleased with the initial setup. More to come on this later.

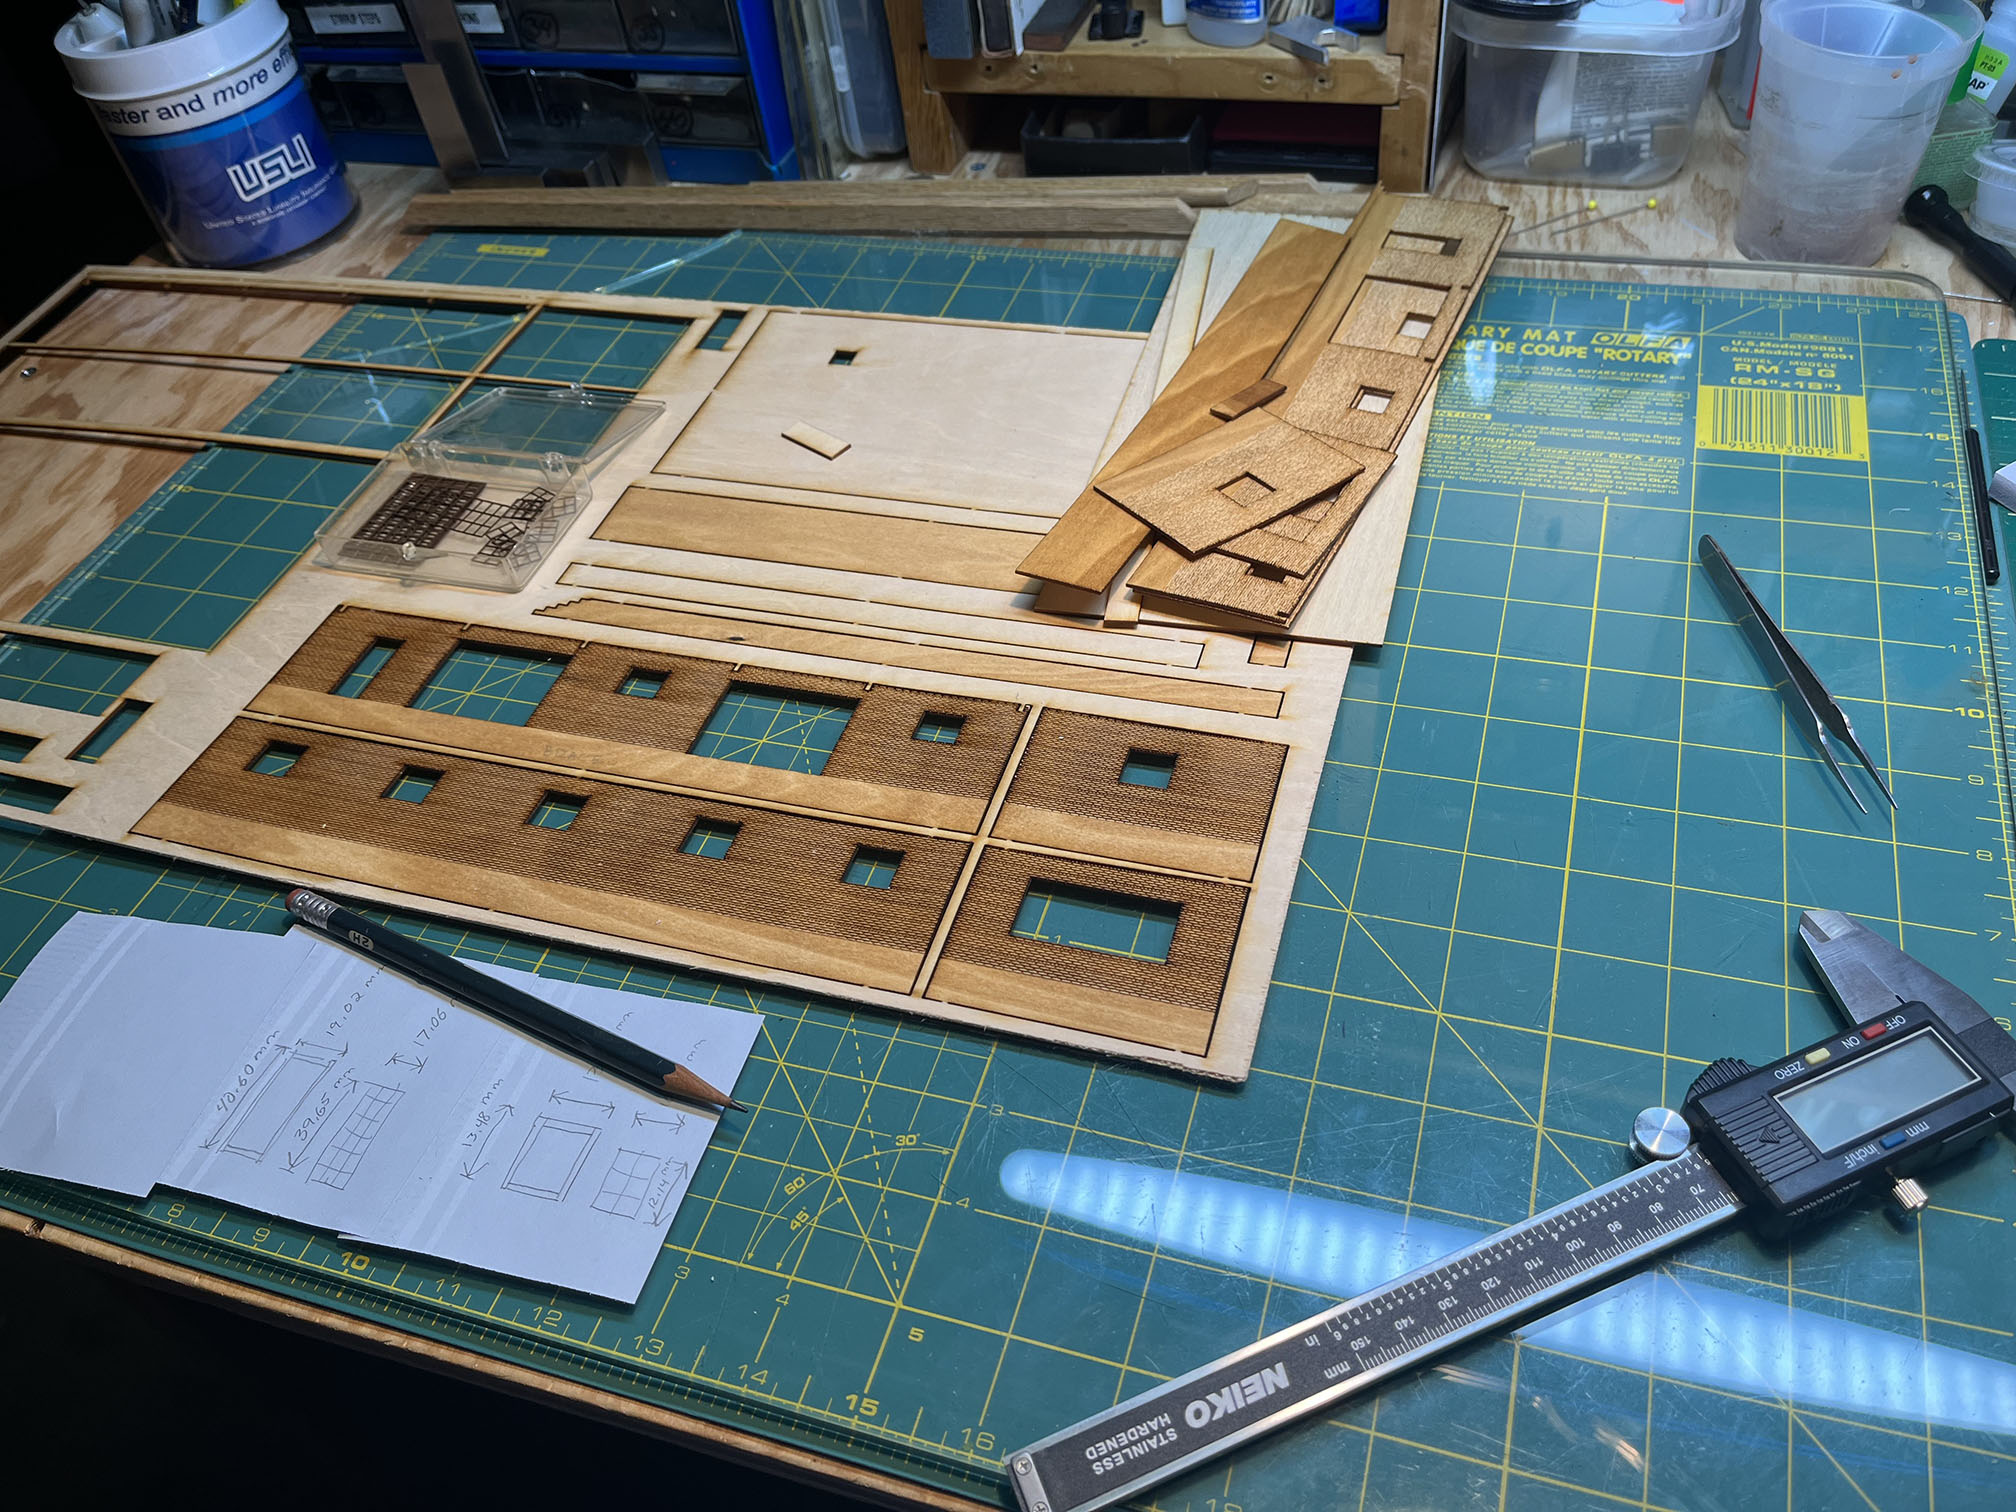
I’ve also been giving some thought to completing my model of the Bethesda Freight House. If you recall, a few years back I designed and laser-cut parts for my model of the station, but hadn’t assembled it. I spoke with Greg C. who is a master at building structures, about how to proceed and he gave me some great tips. I need to figure out the inserts for some of the moulding around various windows and engineer how I will install the garage doors, and get building.
Well, that’s all for now. Life is quite busy at the moment; my kids are wrapping up the school year, lots of sports activities, road trips, and other commitments. I’m taking a week off to host my cousin and we are planning on hitting several regional railfan spots, hobby shops and working on my layout. Hopefully more progress reports soon!