So all of my modeling life I have wanted to hand lay track. My father was a member of the TSC (Transportation Systems Center (the Volpe Center)) model railroad club back in the late 70s/early 80s. As a kid, I visited innumerable times. A third of the layout ended up in my basement when the club lost their lease. The layout was built with plywood and L-girder benchwork. All of the track was hand laid on lath. (thin strips of wood, kerfed for curves) I marveled at the robust hand-laid stuff, as back then everything was Atlas Snap-Track for me. But the seed was planted. I made a few attempts as a lad to hand lay track but it was usually heavy-handed and ended up with split ties and out-of-gauge rails. Oh well.
Fast forward to last week and my first attempt at hand laying track: a curved turnout, naturally! The impetus for this decision came after much trial and error of fitting turnouts a the northern throat of the Bethesda yard. The prototype arrangement in the 1940s included three turnouts; the first to Griffith Consumers (coal, oil), the second to various warehouses and merchants, and the third would diverge to the passing siding and other industries branching of further.
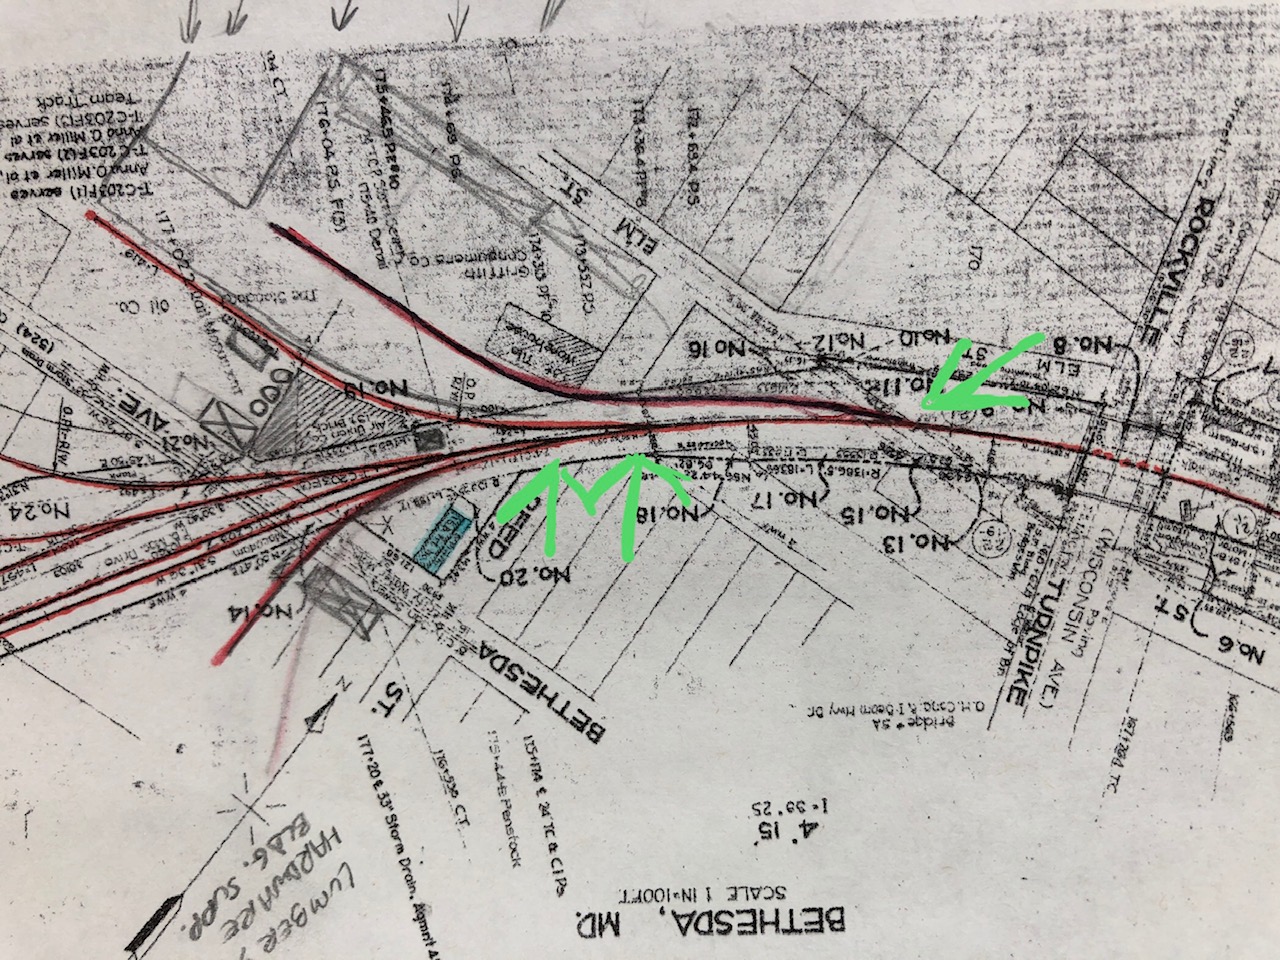
I wrote about this on the blog a bit earlier. The curve is compound, going from a tighter to a broader radius. Initially I was planning on using a couple curved Micro Engineering #6 turnouts, but put this on hold while I worked on laying track to the area where these turnouts will go. Once I arrived there (to Bethesda) I realized that the ME turnouts just wouldn’t do. The “main” would be passing through the diverging route of these #6 turnouts. This proved to look very wonky and nigh impossible for my Precision Scale B&O Q1c mikado steam loco. It would have none of these sharp curves. There went that idea. I met with Matt R. and we went over a few options. I tested out every commercial curved turnout that I could get my hands on and nothing came close. What I needed was a few custom turnouts, either built in place or custom designed. I started to get nervous about hand building them. I spoke with friends from my model RR club who all encouraged me, offering tools and supplies to get me on my way. (great bunch of guys!) I reached out to a few custom turnout builders who gave me various prices (some very reasonable, some not-so) and I decided that was the way to go. At the same time I realized that I didn’t have the money saved up for this path forward and if I didn’t get these turnouts in it would effectively halt track work on the layout until I did. I did not like this idea. I had to give hand laying a try.
I printed out a few templates from the FastTracks website to play around with. They have templates of all of their turnouts available on their website for free to download. They are excellent for test-fitting turnouts on the layout!
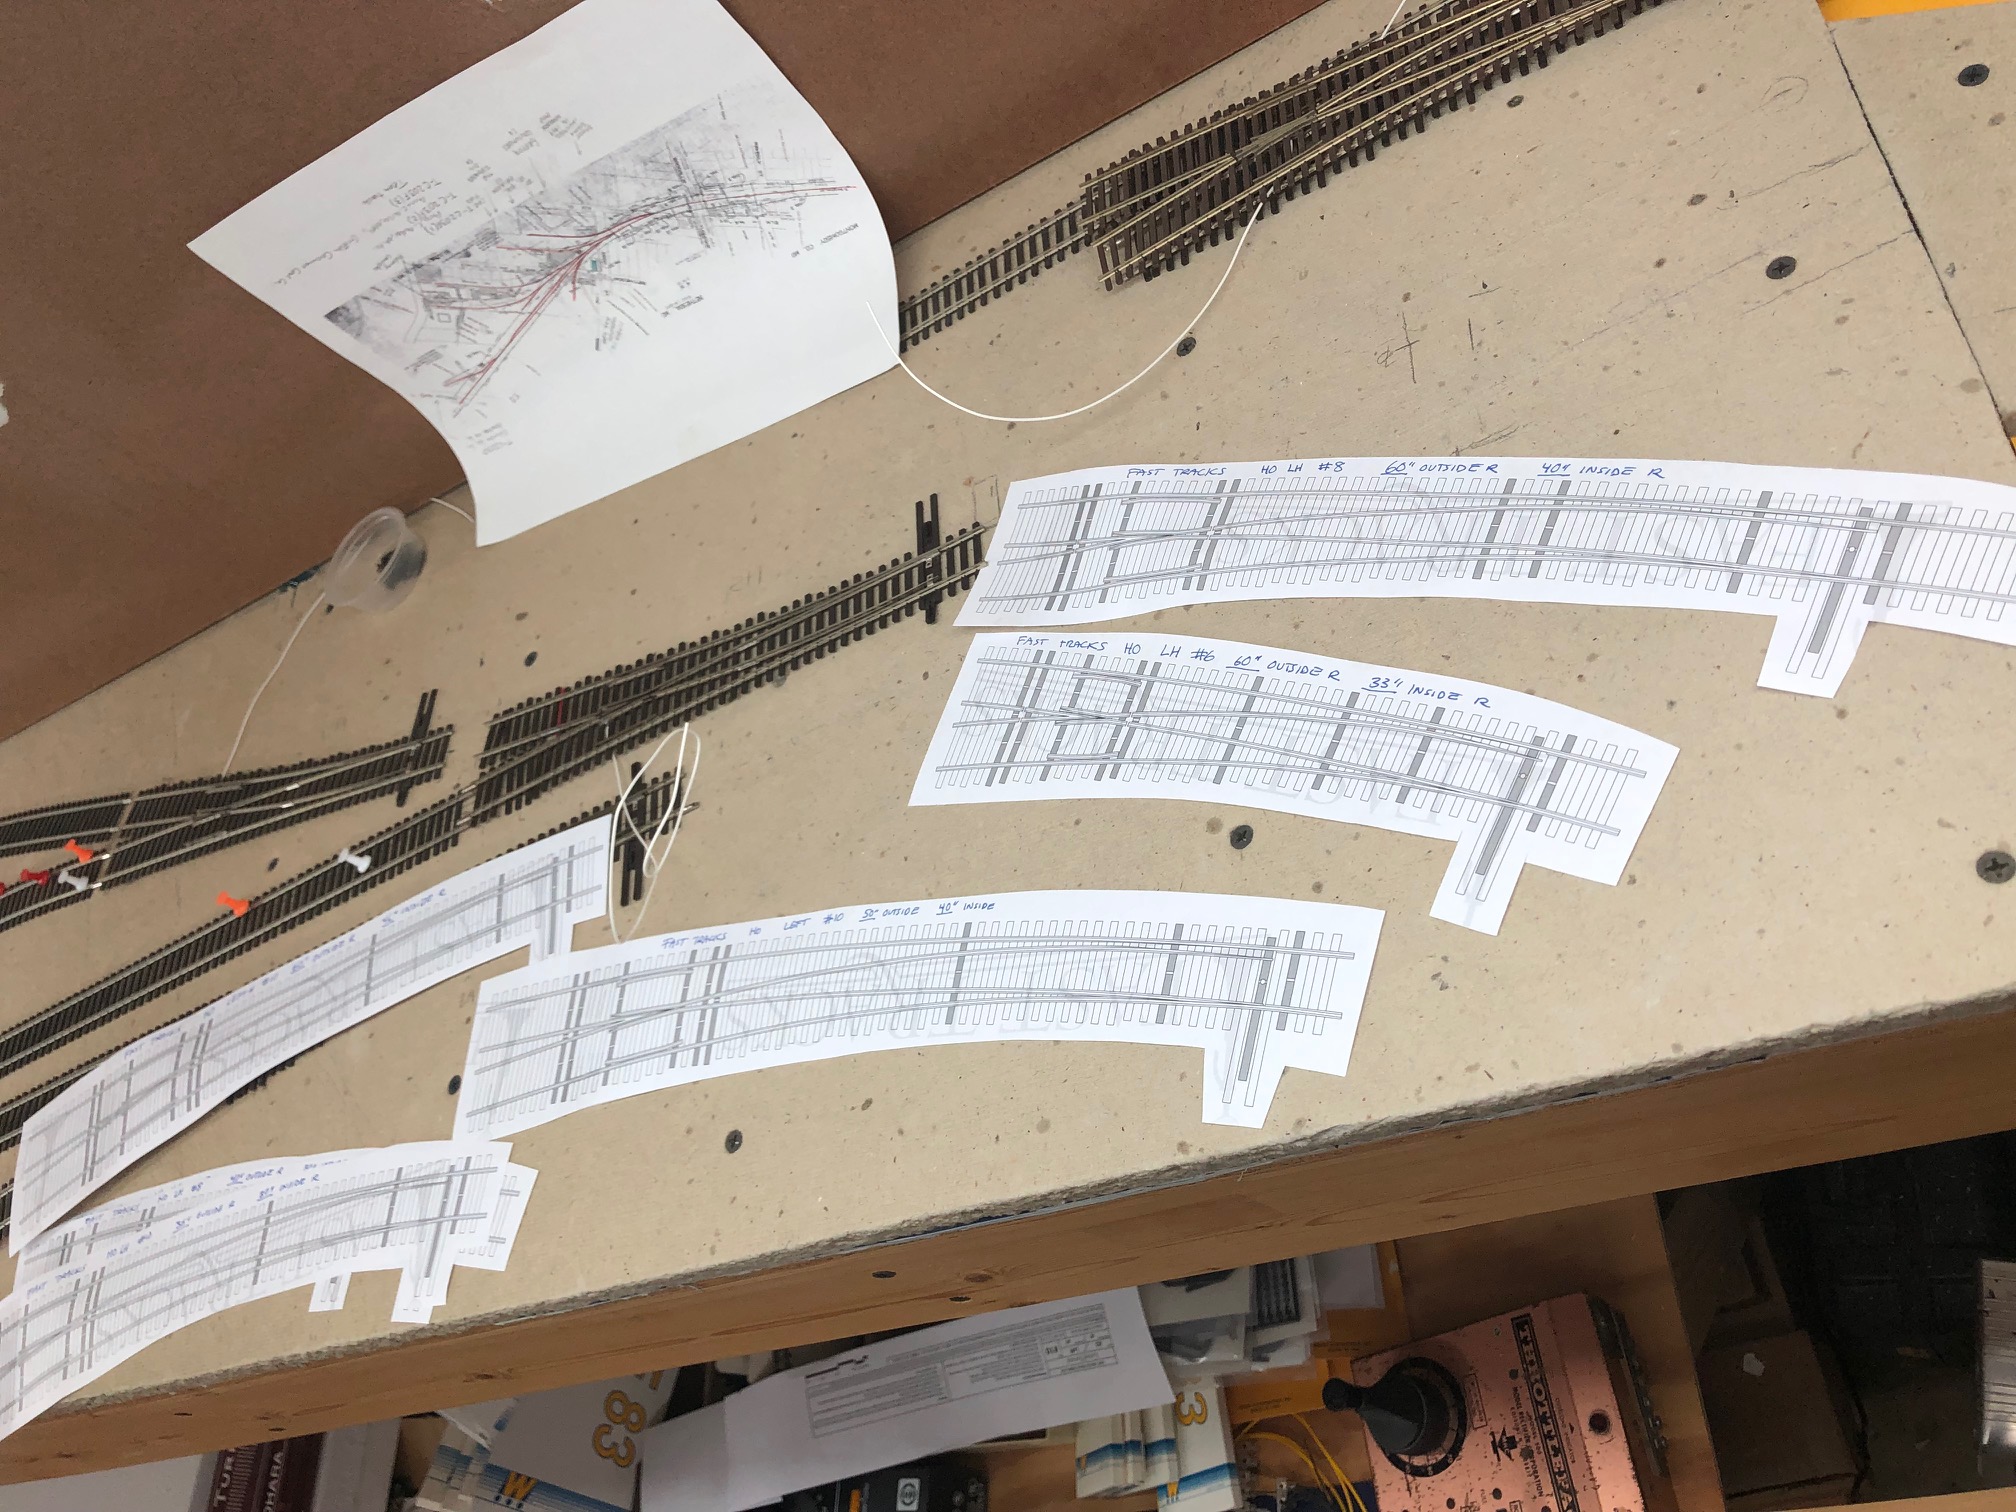
I then played around with fitting them on the layout in the spot where the curves will go.
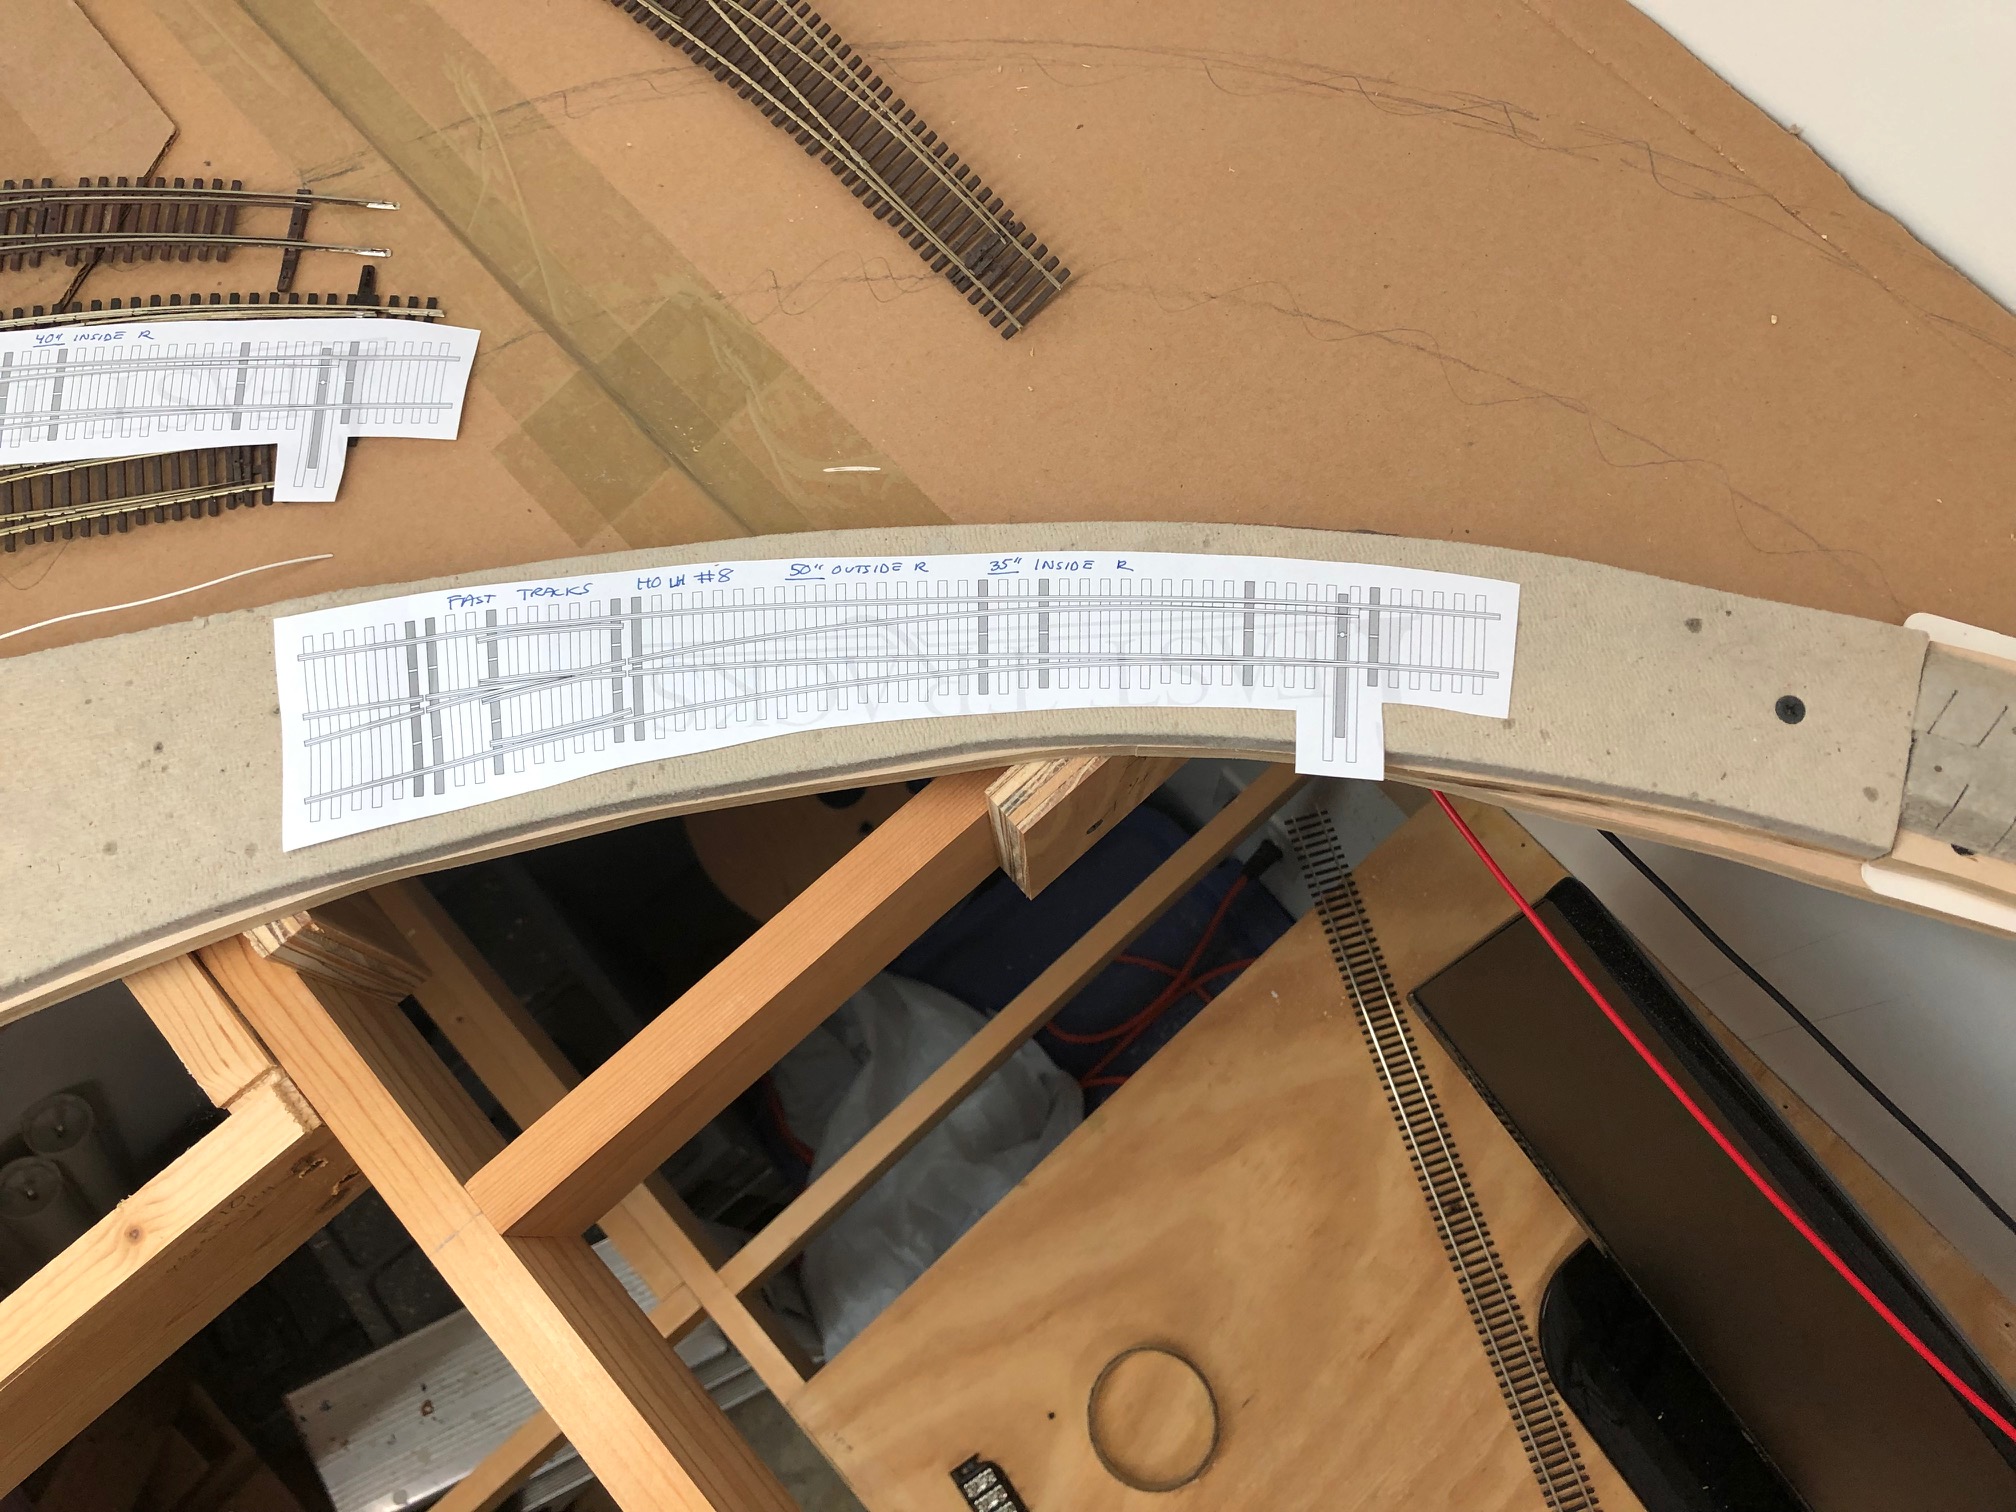
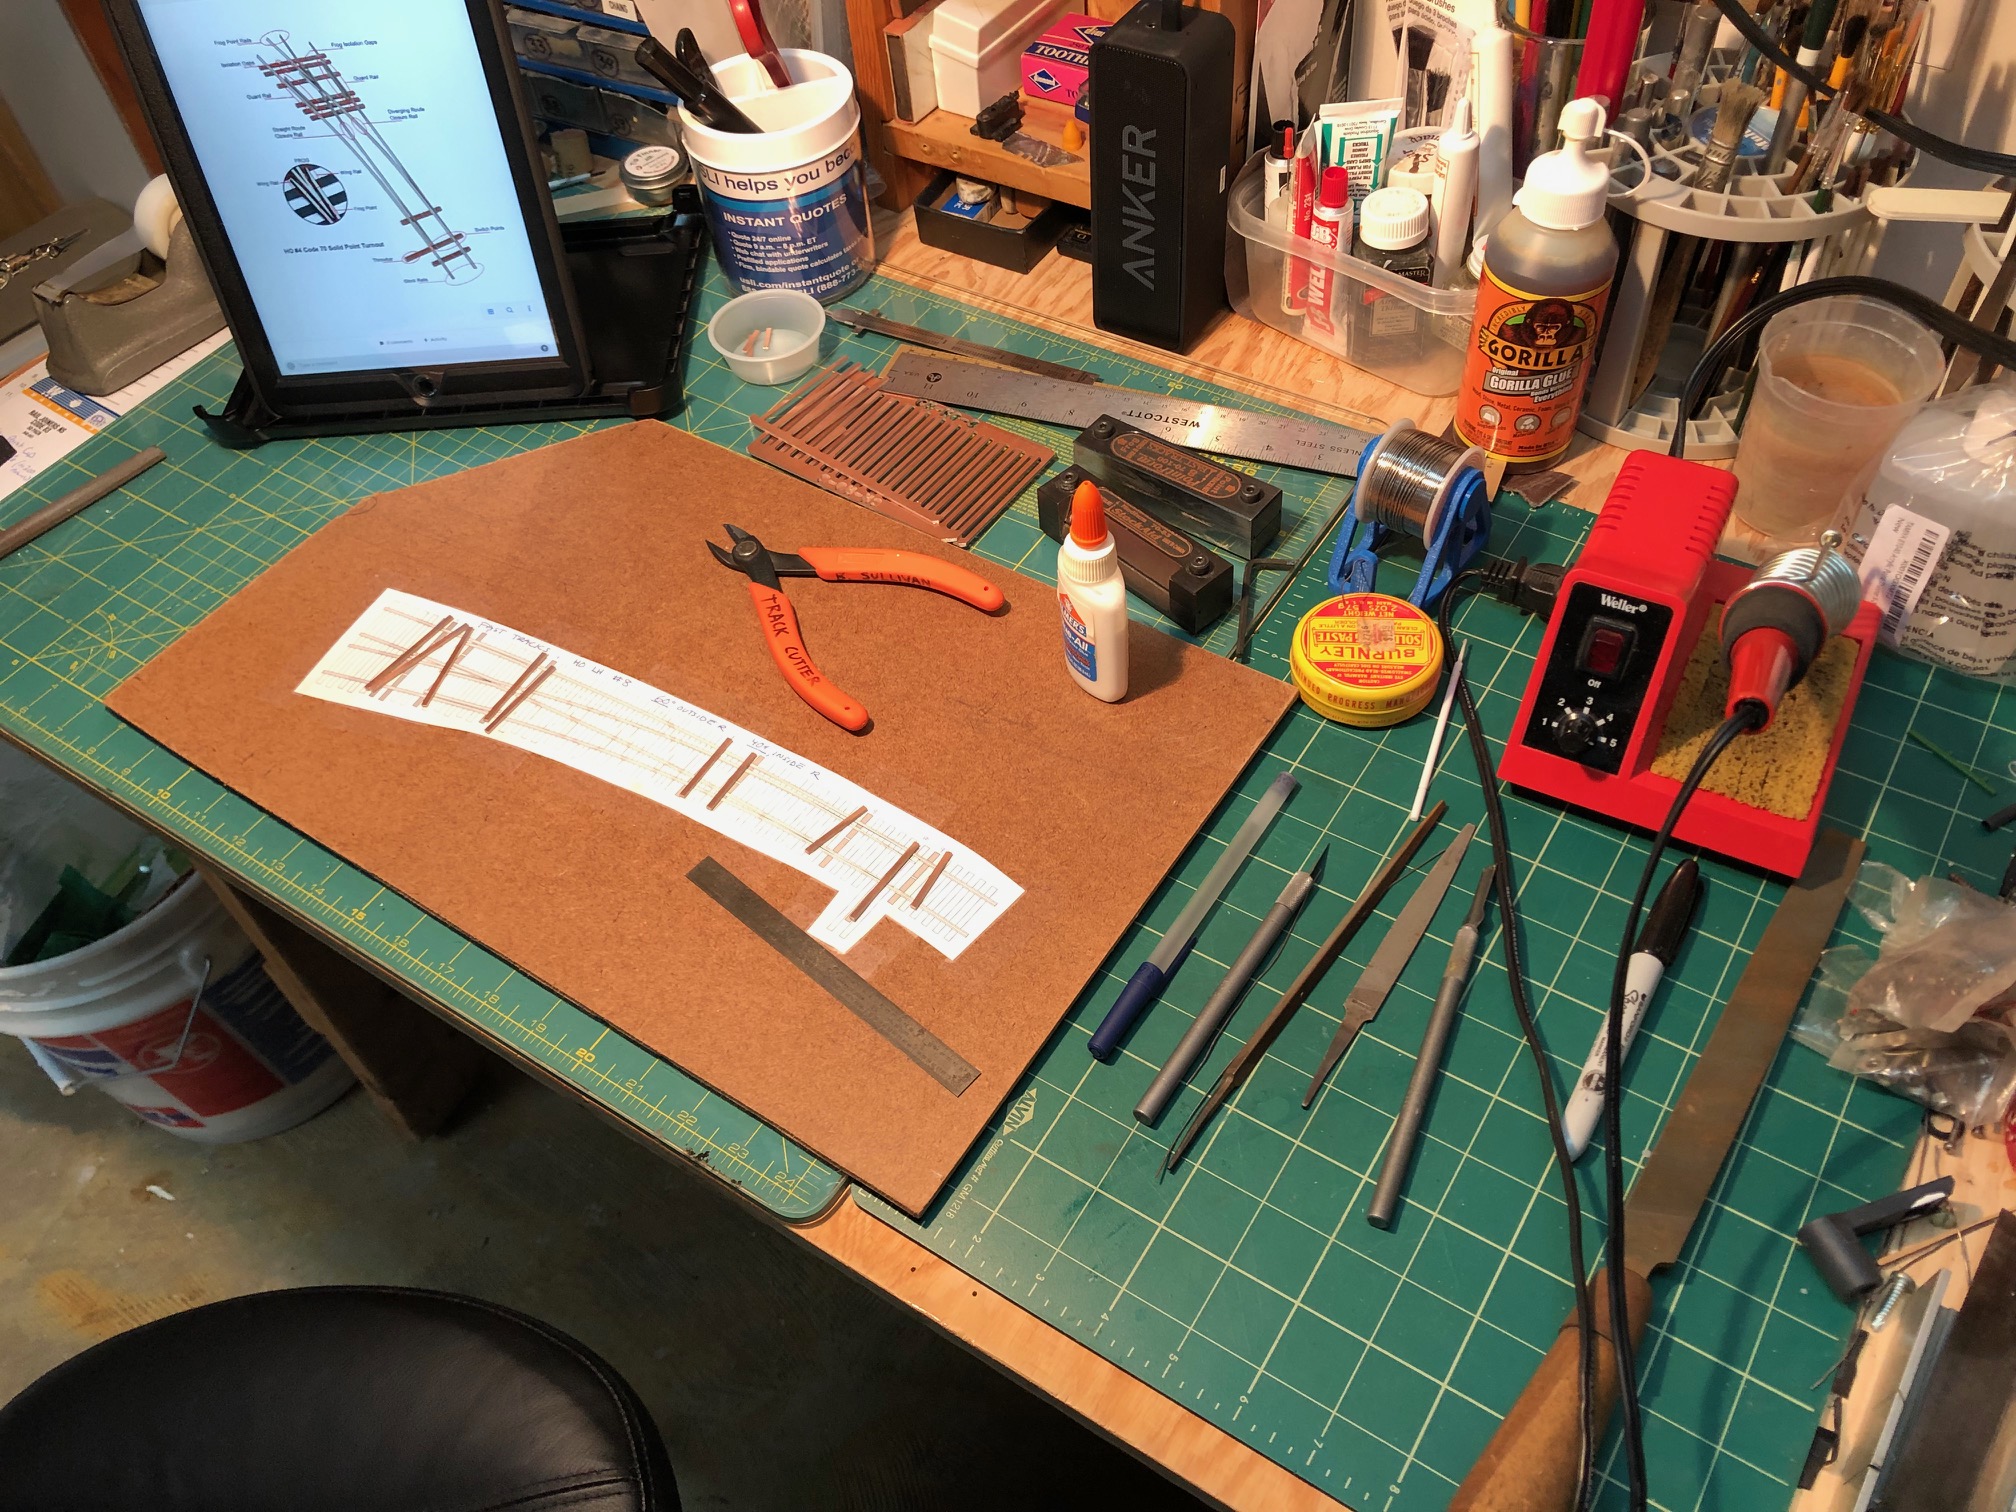
Once I found three templates that worked well together (remember, this is a tightening compound curve) I decided to give scratch building the turnout a try. I had previously ordered up some FastTracks Copperhead Turnout-lenth ties in preparation for this eventuality. Matt R. generously lent me his FastTracks C70-100 PointForm and C70/83 StockAid tools. (and gave me a demo and the pro tip of using a vise to hold the tools while filing; this worked beautifully) Everything else I had on hand already; rails, ties, solder, flux, tools, etc. I used a spare flat piece of Masonite and taped the template carefully and firmly down with Scotch tape. I gathered every tool I could imagine needing on the workbench and set up.
I had watched several videos on YouTube of folks building curved turnouts, but the most impressive and educational was this one by the late MMR Wolfgang Dudler. He wordlessly illustrates his technique for building the turnout in great detail and precision. I emulated this as I built my own, taking my time and trying my best to think ahead at every step. It paid off.

I first cut the PCB ties to length and notched them per the template and then glued them to the template with a tiny bit of Elmer’s White Glue. I set a board and some weight on top while I spent the next 30-40 min forming and shaping rails. I used the FastTracks tools to form points and realized that they needed much more filing since this was such a broad curved turnout. This was done by hand using sandpaper laying on the table. I also used a smaller file to take off some larger areas. I basically followed along with the FastTracks how-to video and used the paper template as a guide. It came together beautifully.
Once all the filing/forming was done, I started by soldering the outer rails in place. I put weights on them as I worked. This held them in place for soldering. With patience, it goes fast. Just be sure that all the curves are where you want them. If you find that you don’t like a joint, hit it with the soldering iron and re-position it. It’s just that simple. Flux is essential. Check the gauge with your NMRA and tripod style track gauges. I also snagged a wheel set to test the flow through the turnout. If things need tweaking along the way, don’t be afraid to stop and work the problem out. Also don’t be afraid to re-cut a piece of rail. Having the turnout flow nicely is crucial for long-term operational quality. Here is a shot of the nearly-finished turnout:

I still need to cut gaps, install wood ties, file some solder that is fouling the points and finesse clearance at the frog a bit more. The truck rolls freely through all the routes and the NMRA gauge indicates that clearances are decent. This project took me a few hours of work. Being that it was my first (ever!) turnout and that I was learning as I went, I think I can cut the time down about 20% in the future. Regardless, I enjoyed the experience and will update the blog once I get the other two completed.
The Bethesda section of my layout should be completed over the next month or two, ideally. Stay tuned!