Layout Update: April 25, 2020 – Tracks To Bethesda

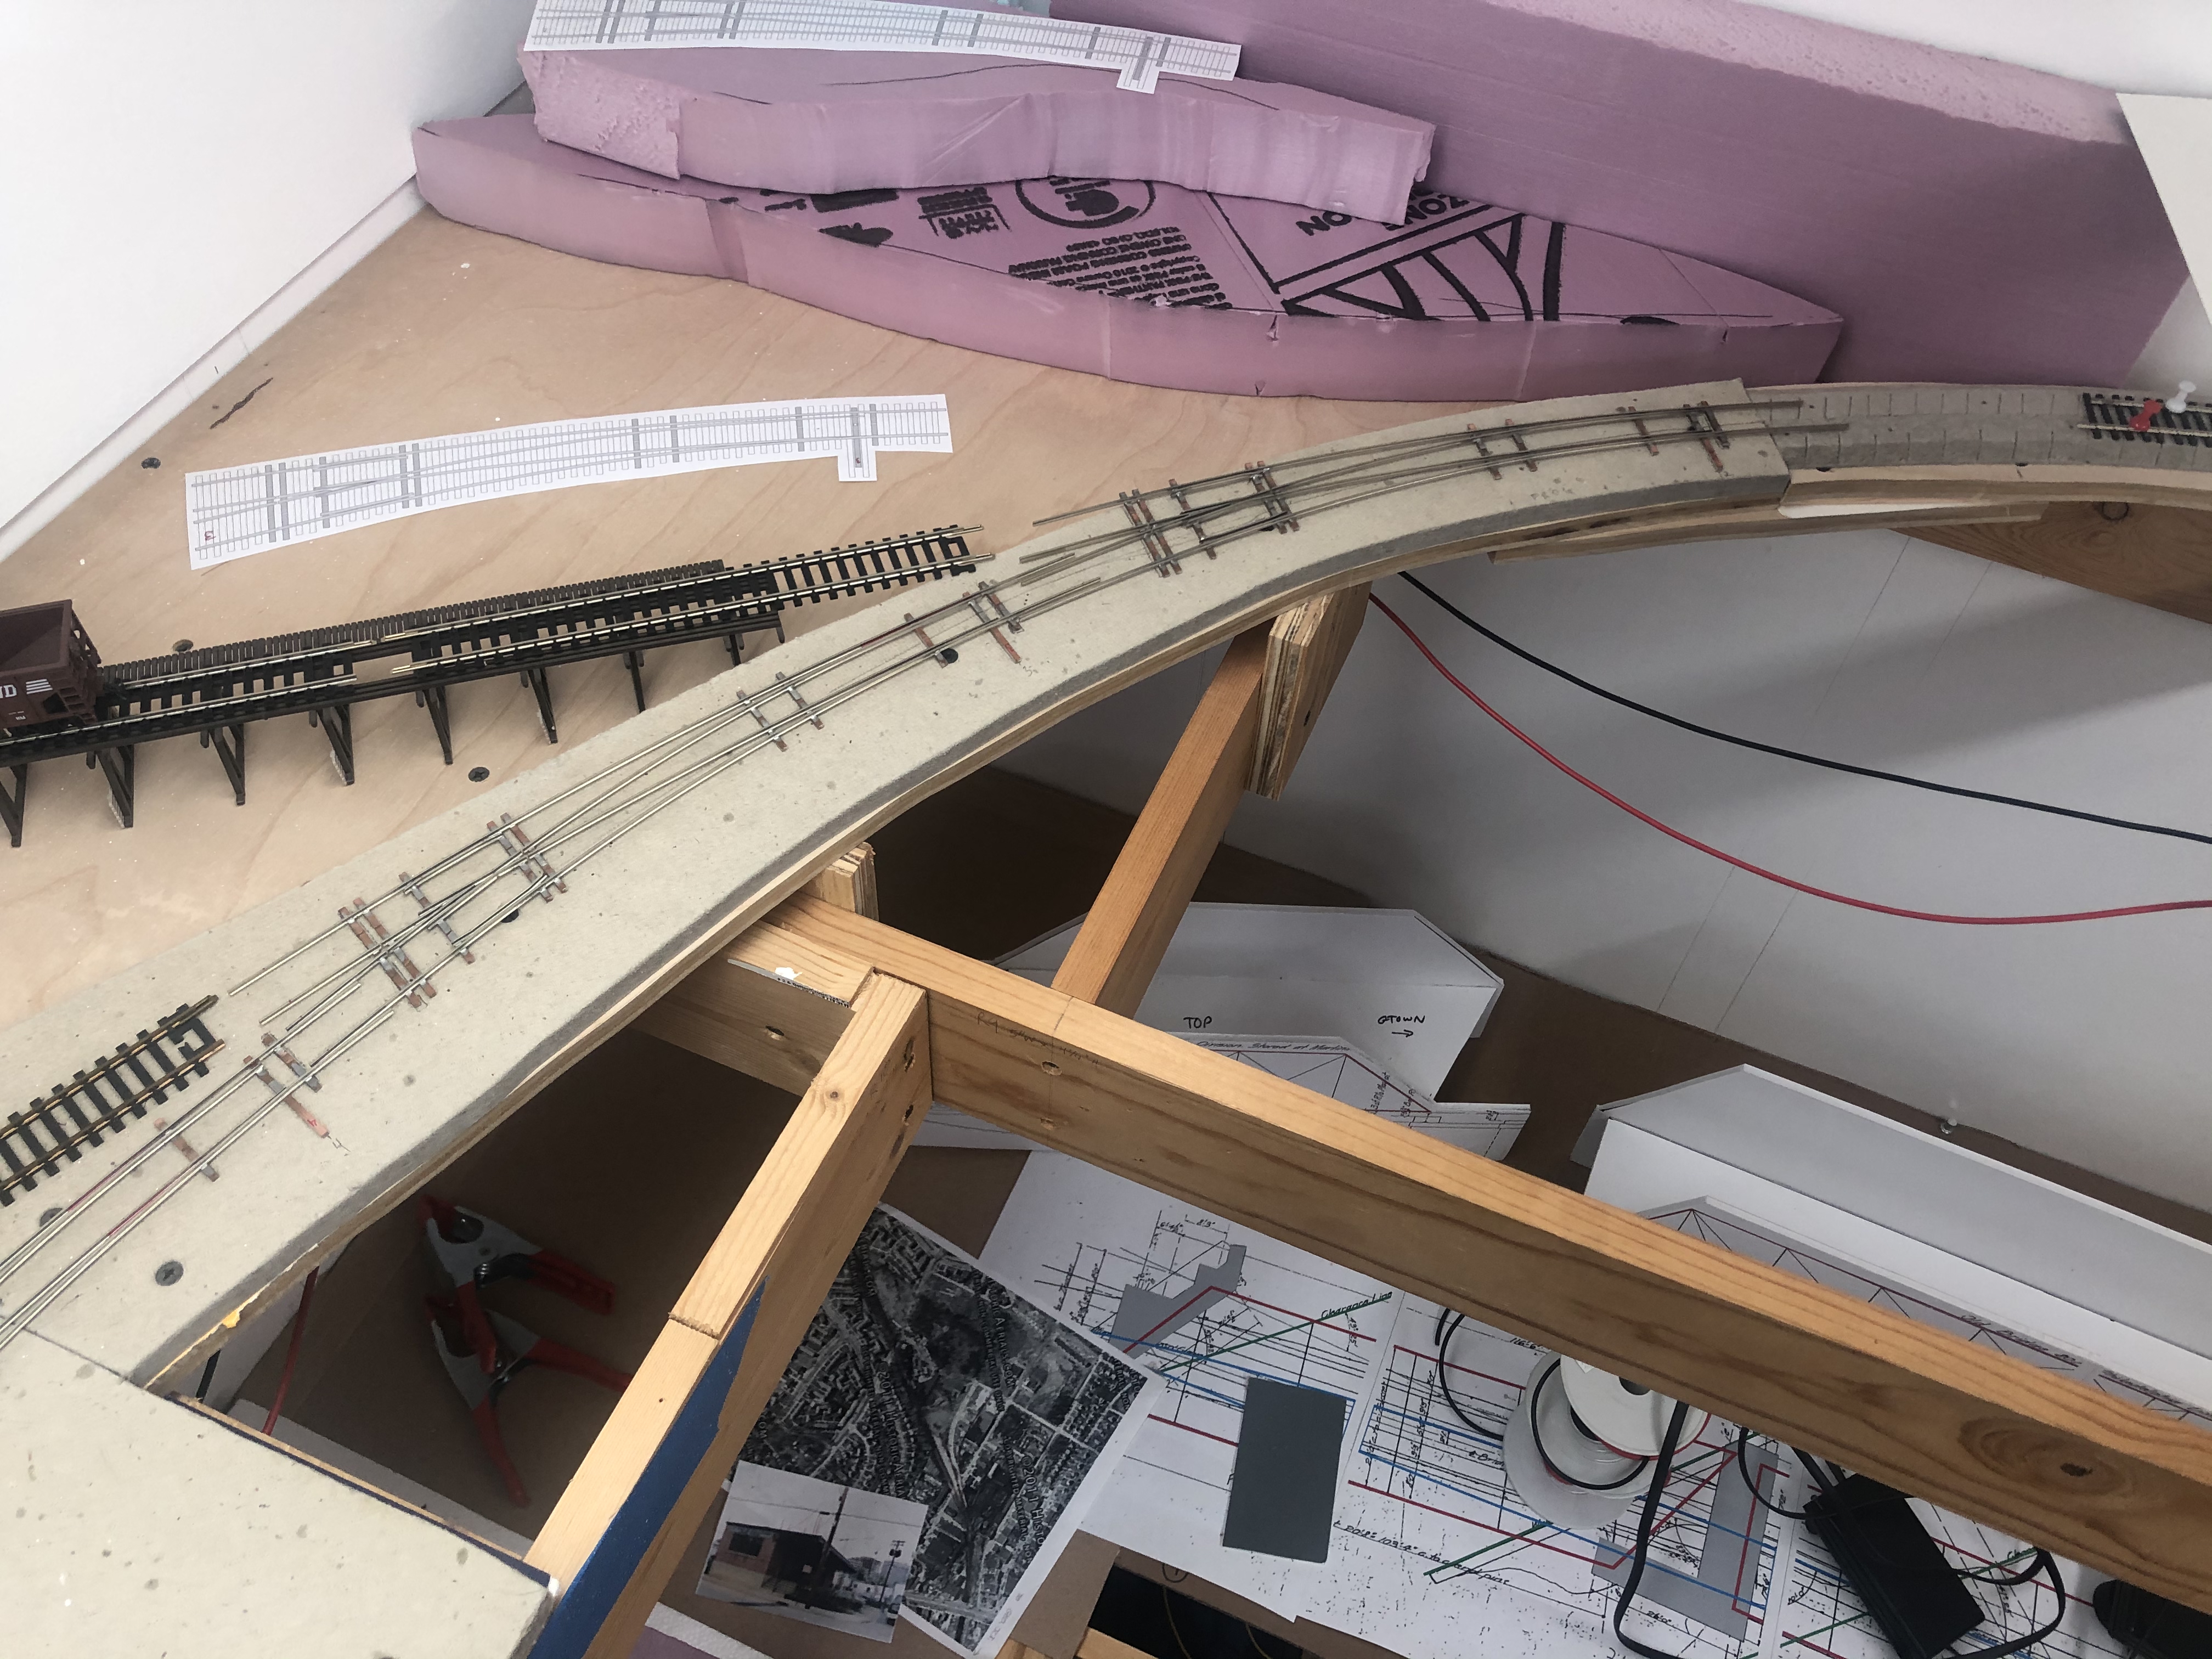
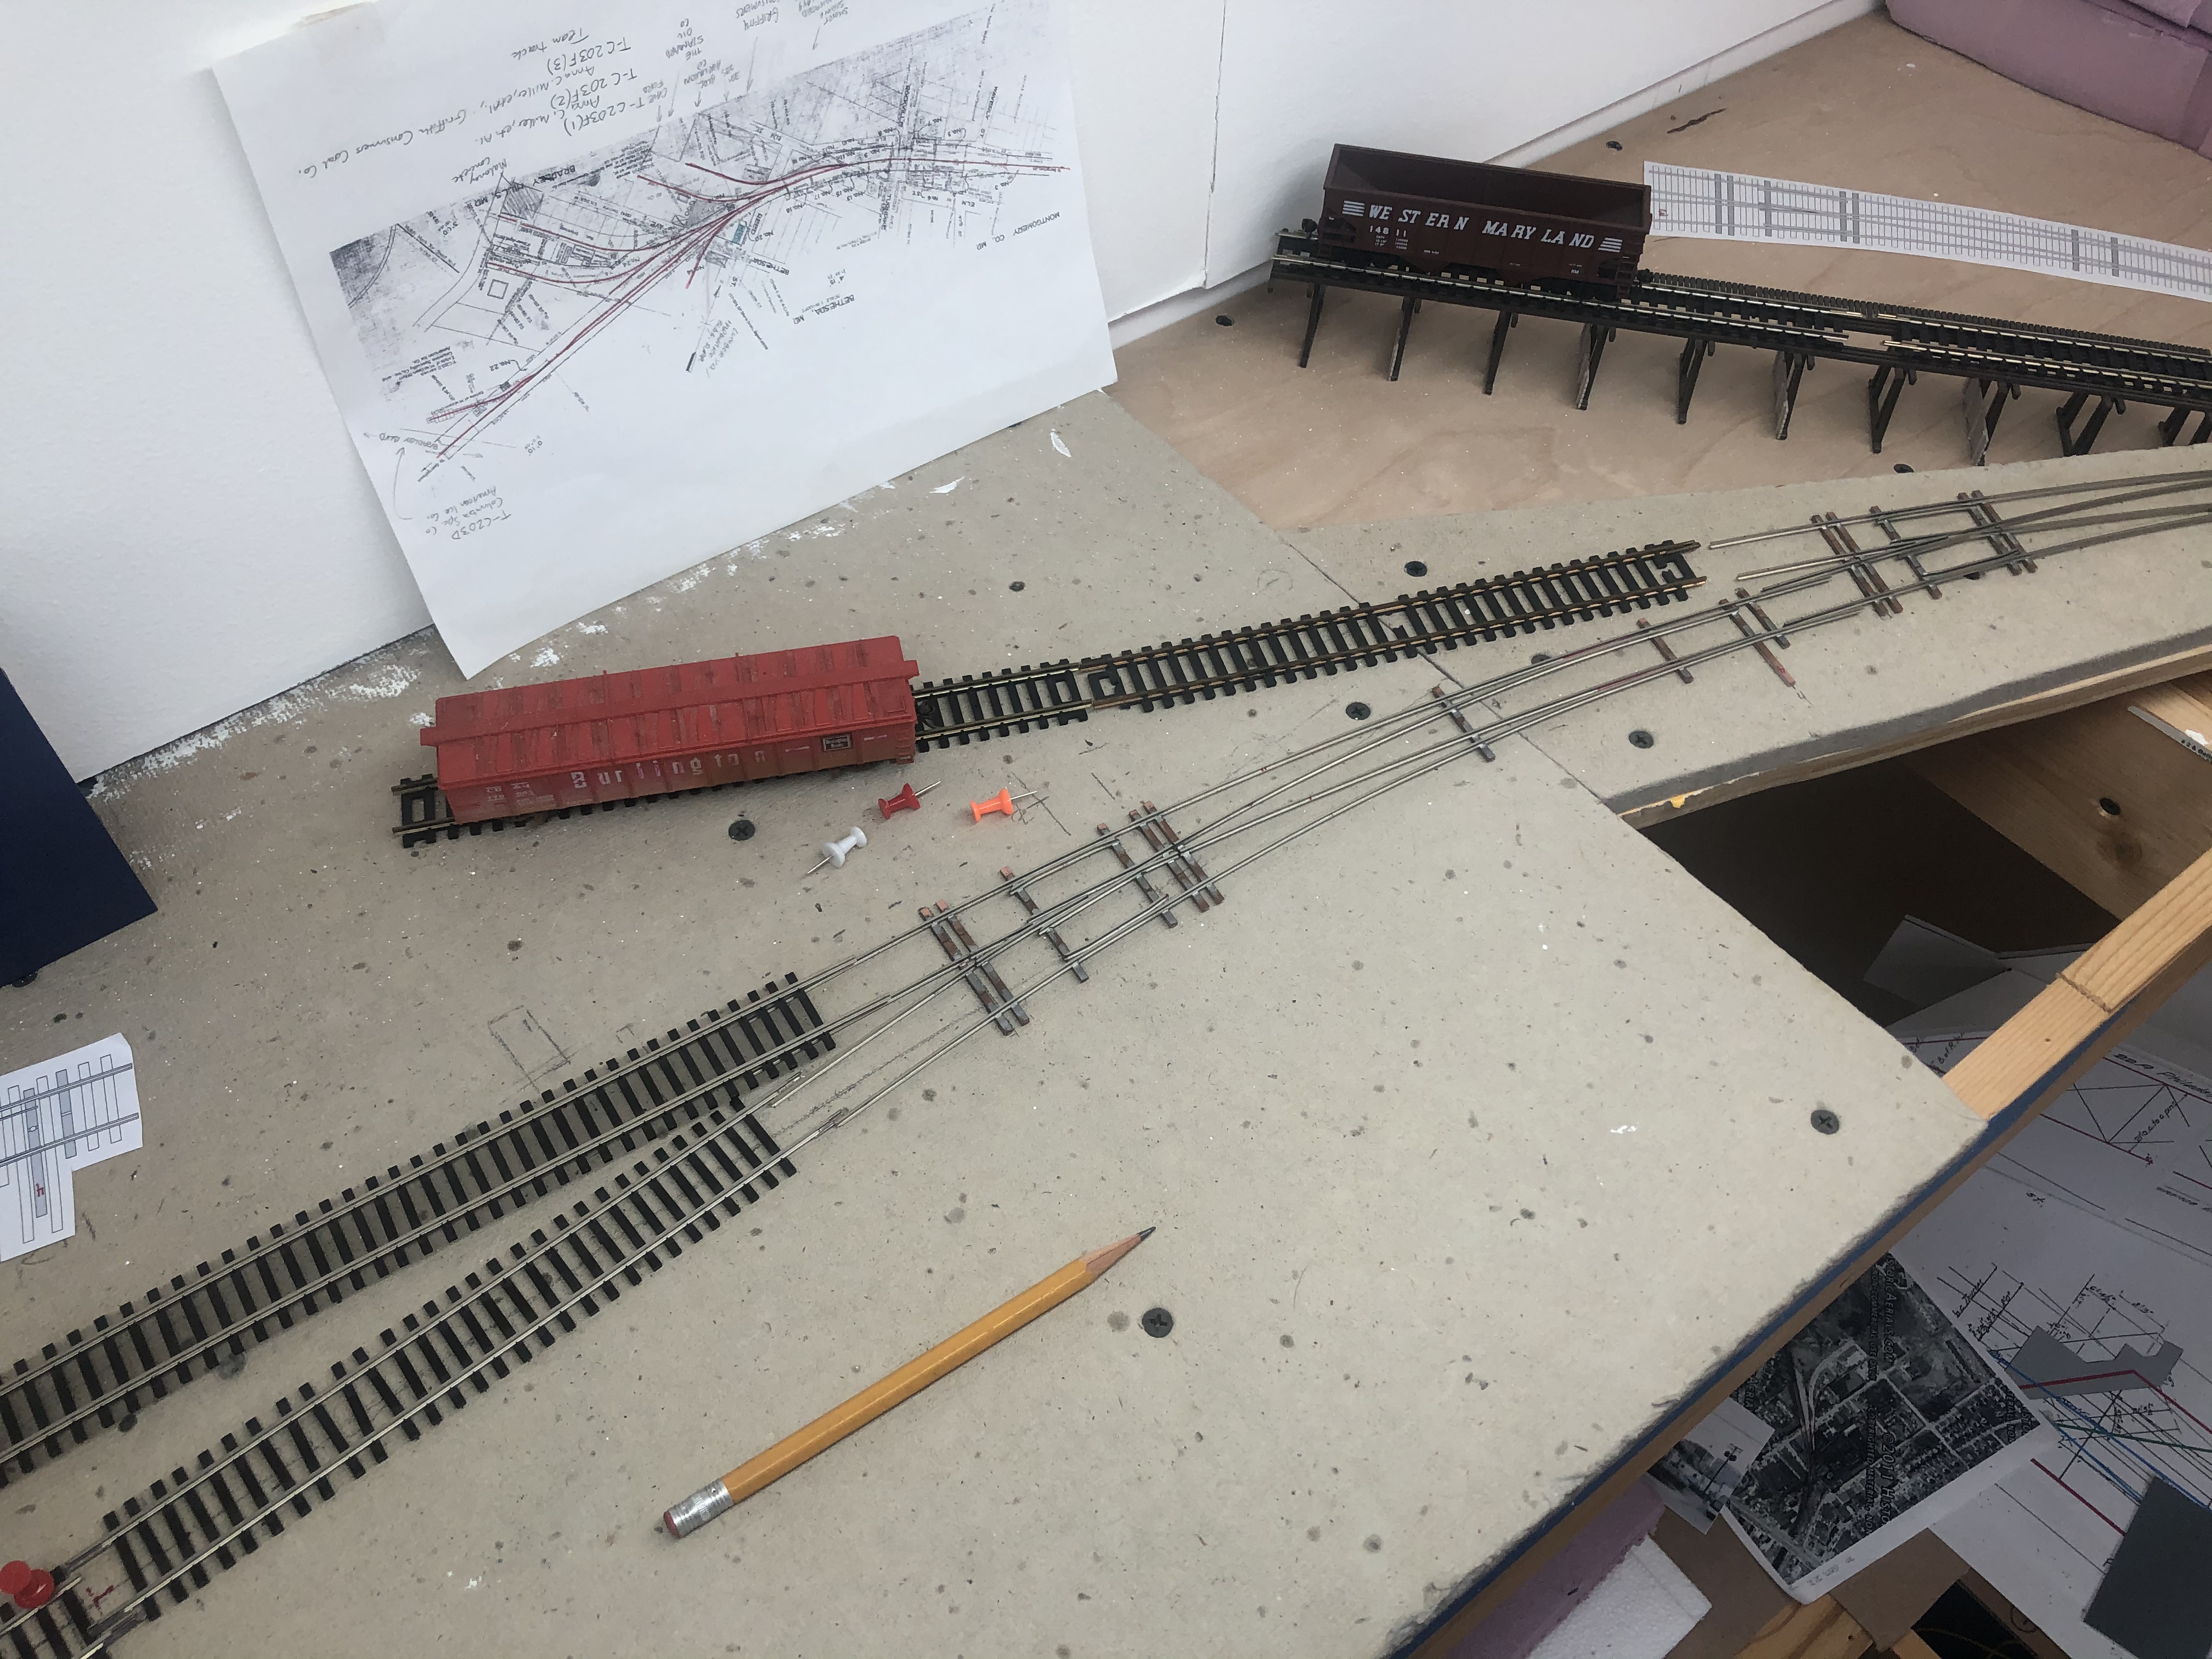
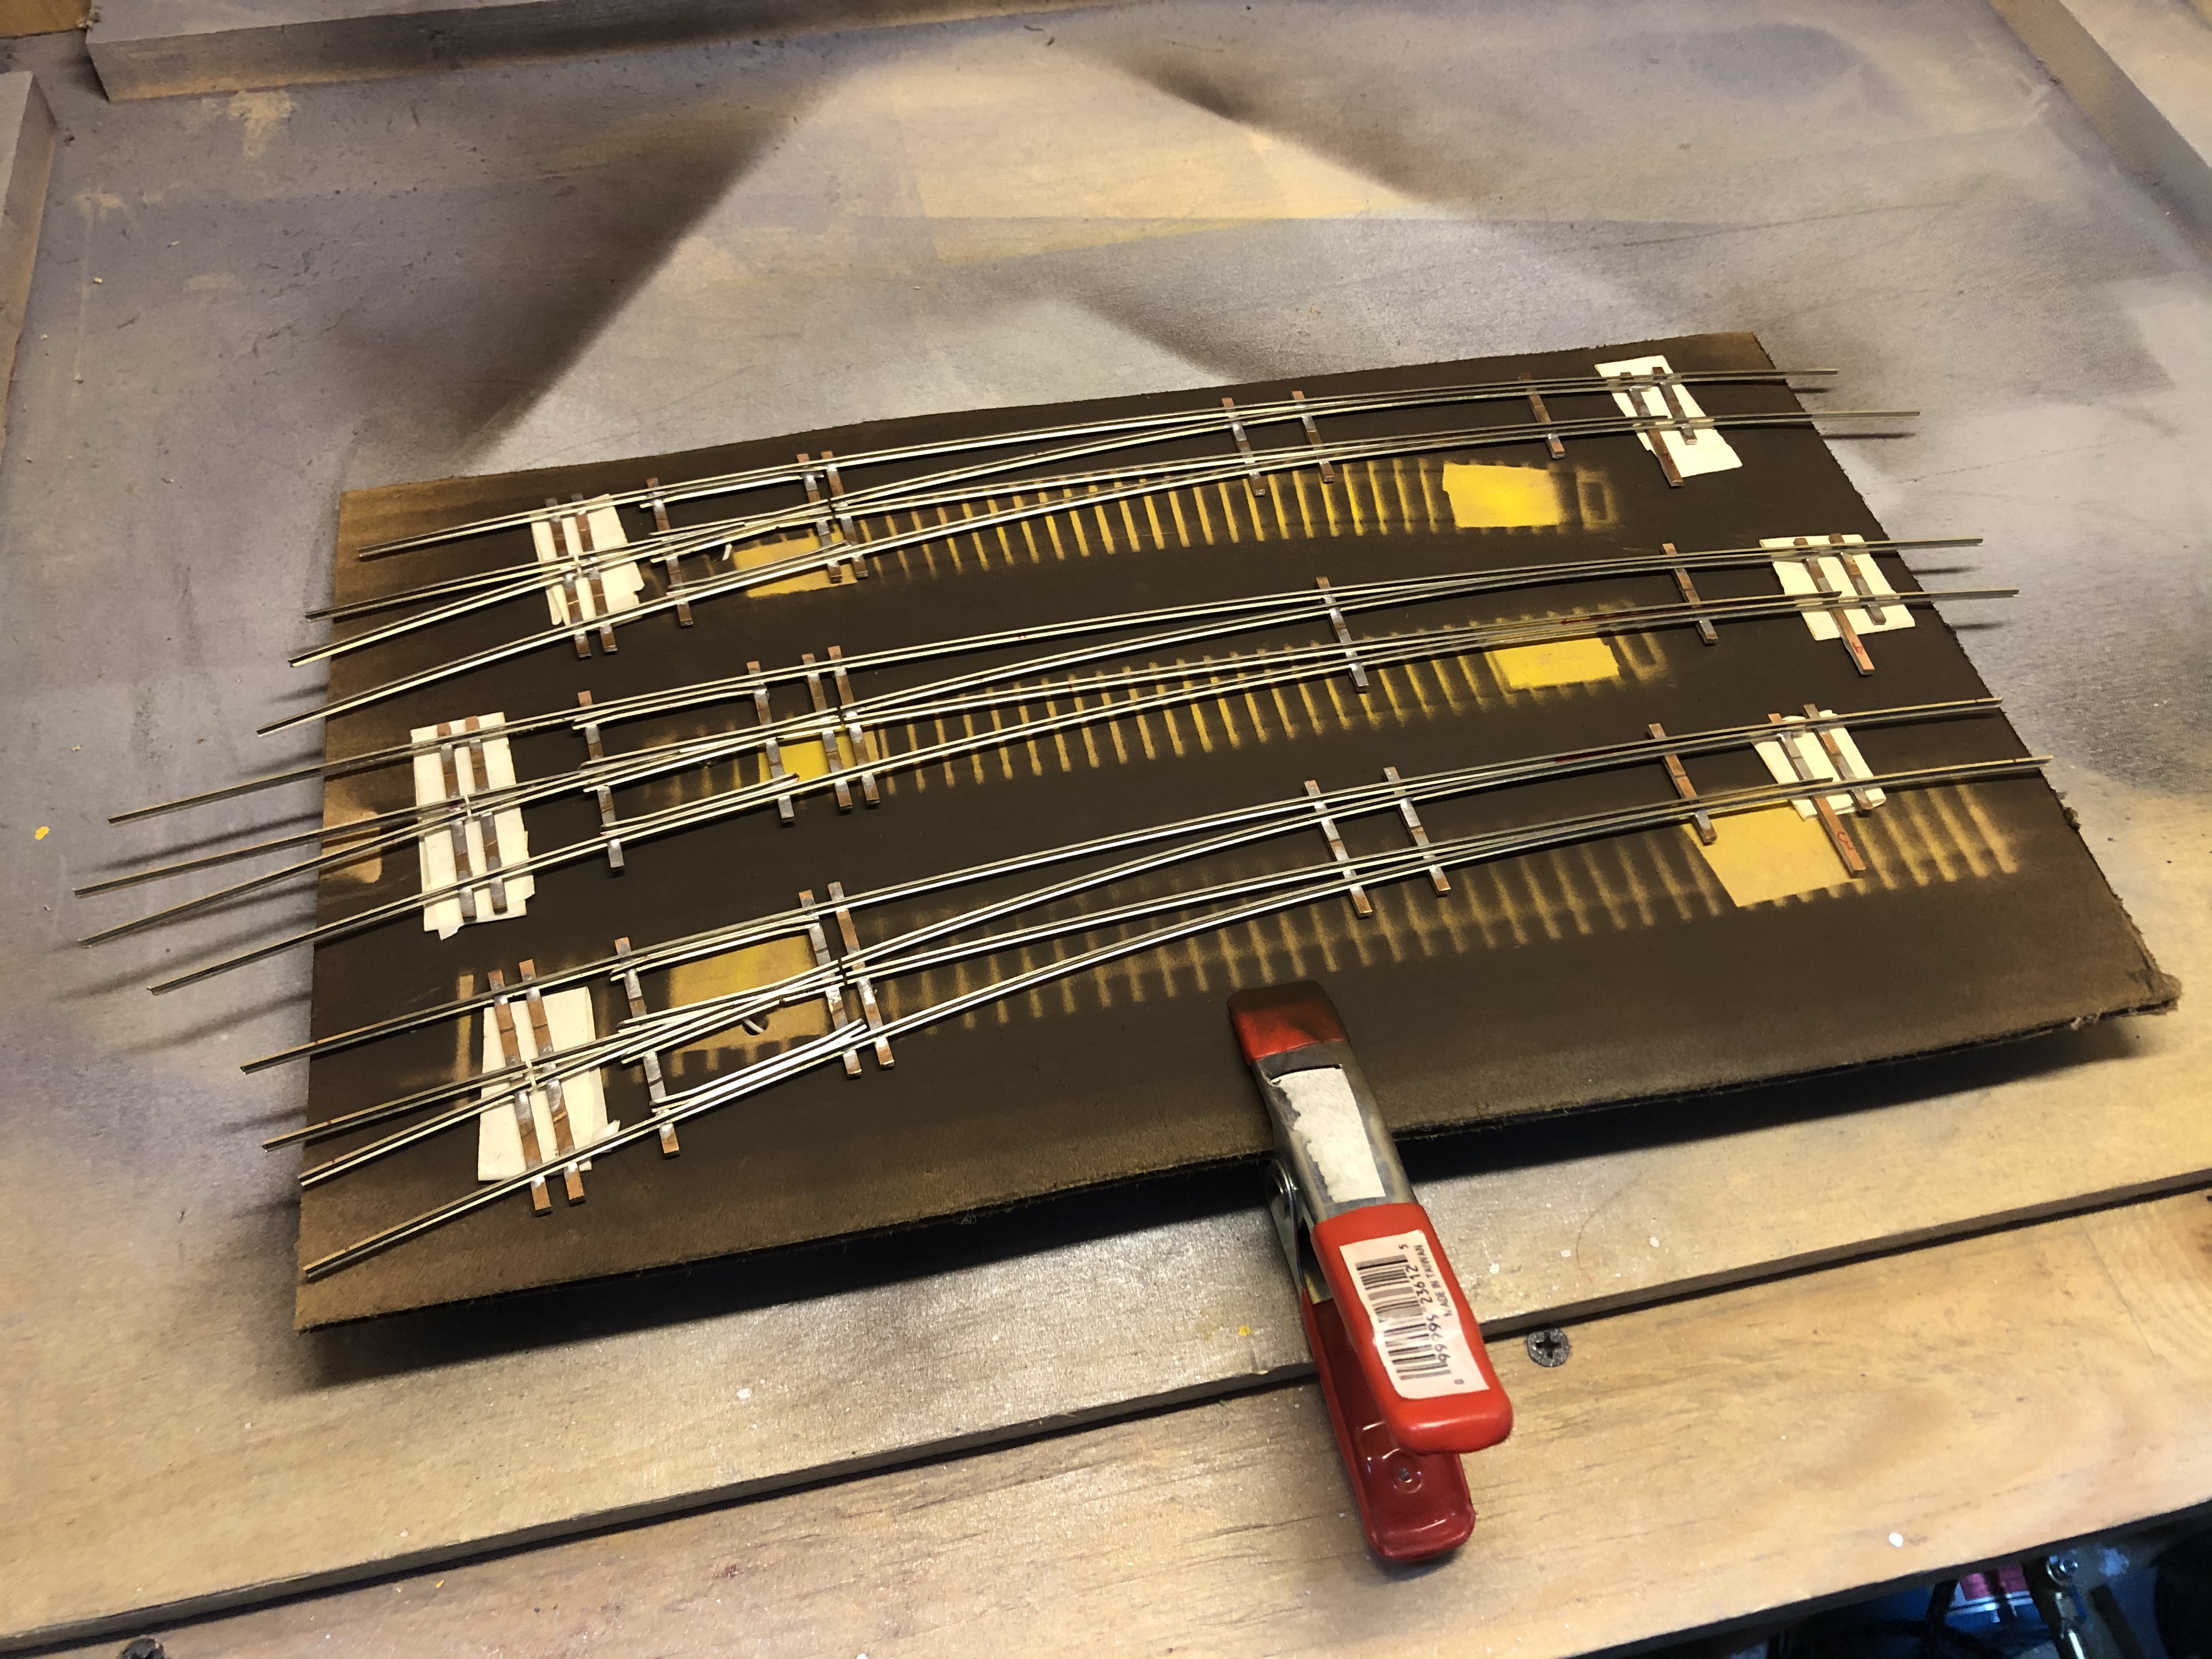
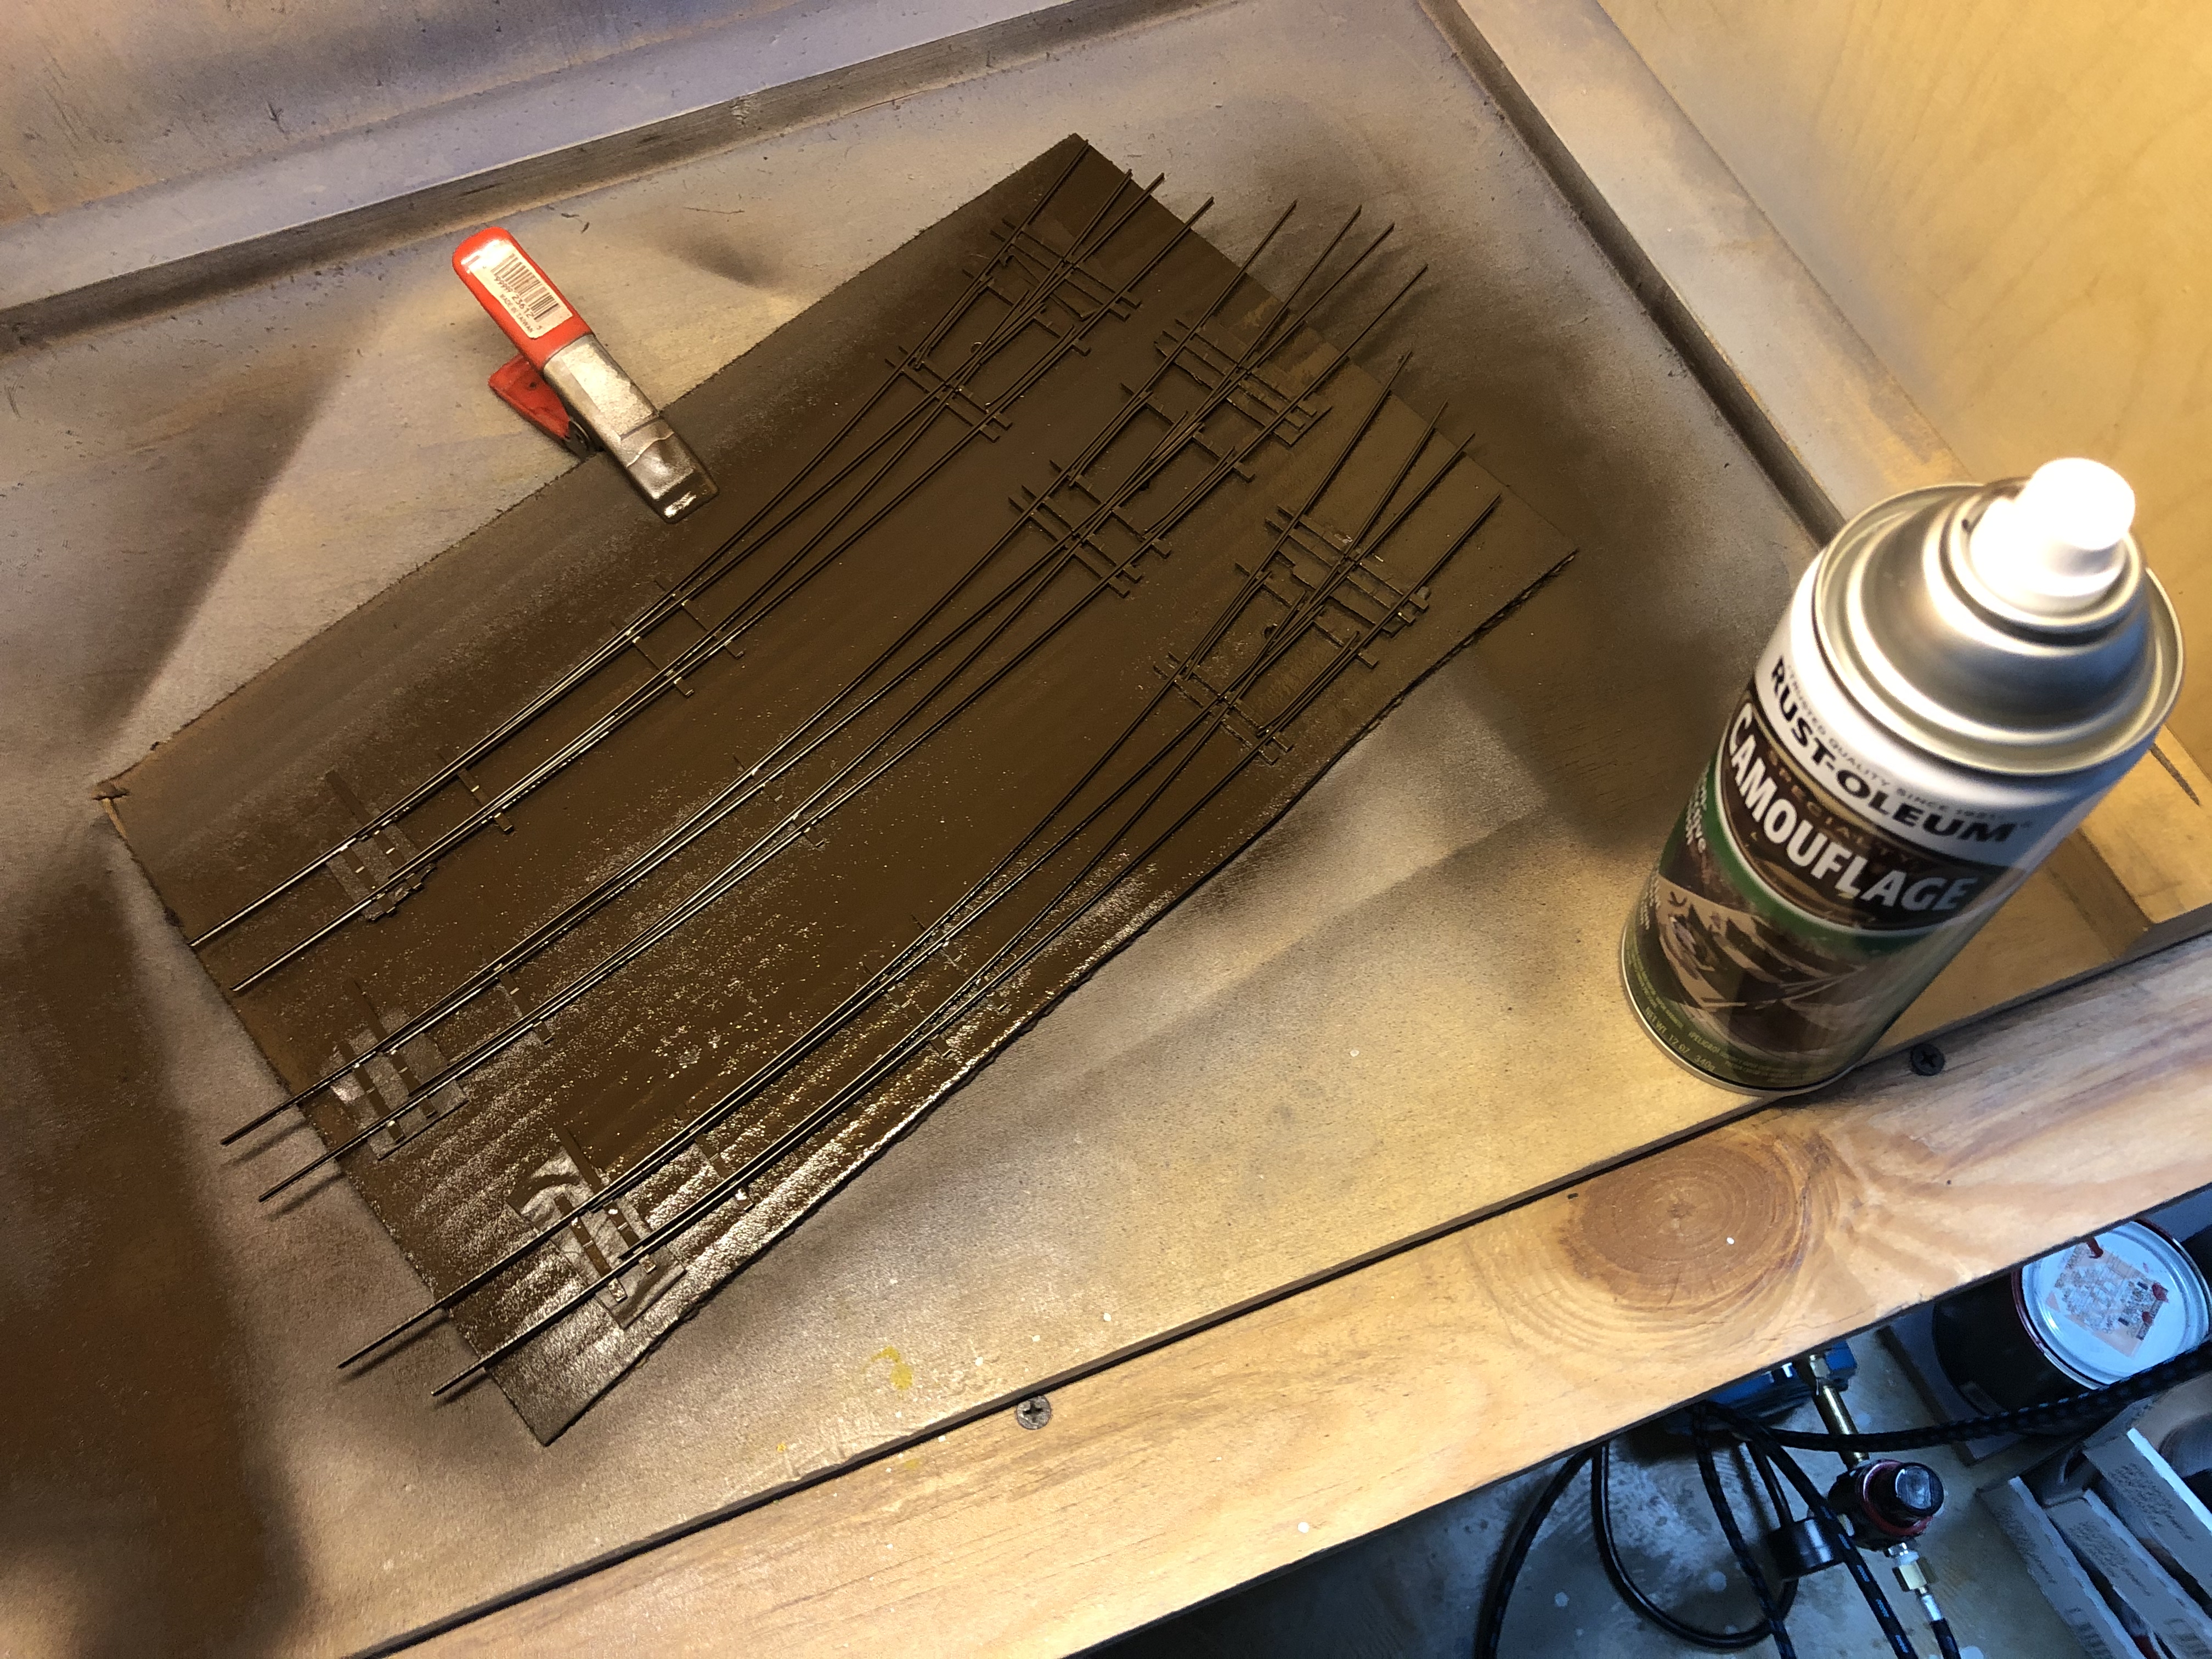
It has been a busy last week of working on the layout. Last weekend I spent much of the time getting the three curved turnouts that lead into Bethesda in place and working properly. This involved quite a bit of work; test fitting, cutting ties, staining them, painting the turnouts, installing tie templates, installing ties, sanding, laying in the turnouts, fitting them, cutting them to length, attaching feeders and drilling holes for them along with holes for the switch machines. Once in place, lots of sighting and adjusting was done with the tracks in Bethesda before spiking things down and testing some cars on the track. A bit of filing here and there and we are in business.

First step was to align the turnouts and mark their locations on the roadbed. I had to really tweak these to get them where I wanted. There is limited space, and having the turnouts end and begin in logical places to allow for operations was a challenge.
More fitting. Tracks were laid loosely in place to get a feel for where sidings would lie.
Preparing to paint the turnouts.
Painted the turnouts with Rustoleum Camoflage Earth Brown paint. Overall, a nice effect.

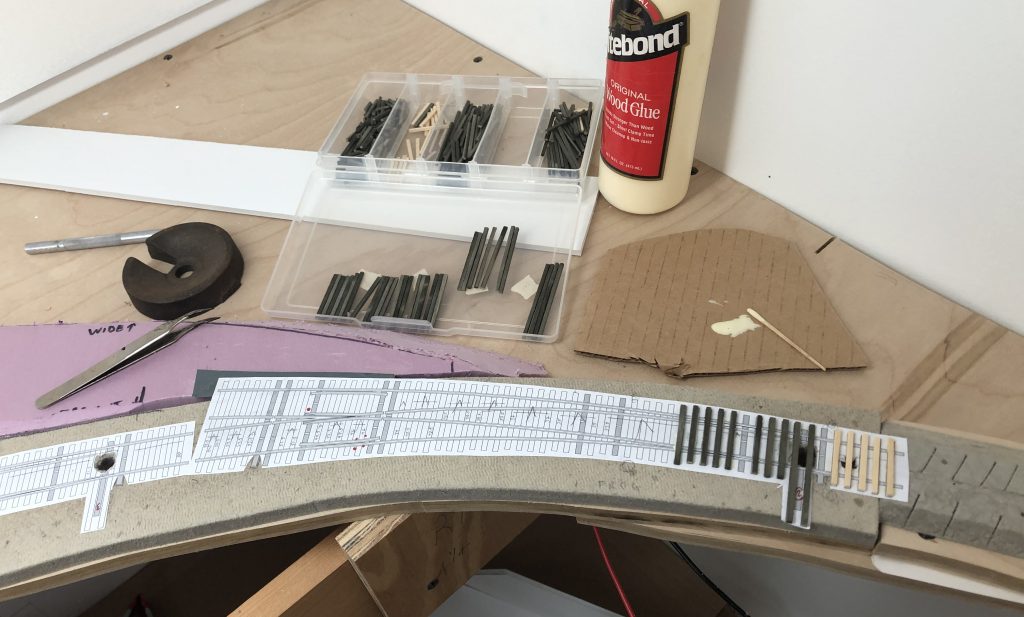
Beginning to install ties. Each bay in that box holds a set of ties for a turnout. I cut them all on the workbench using The Chopper, stained and dried them. I then laid them out in order (seen here) and installed with wood glue, one by one. Ties were weighted down as I went along.

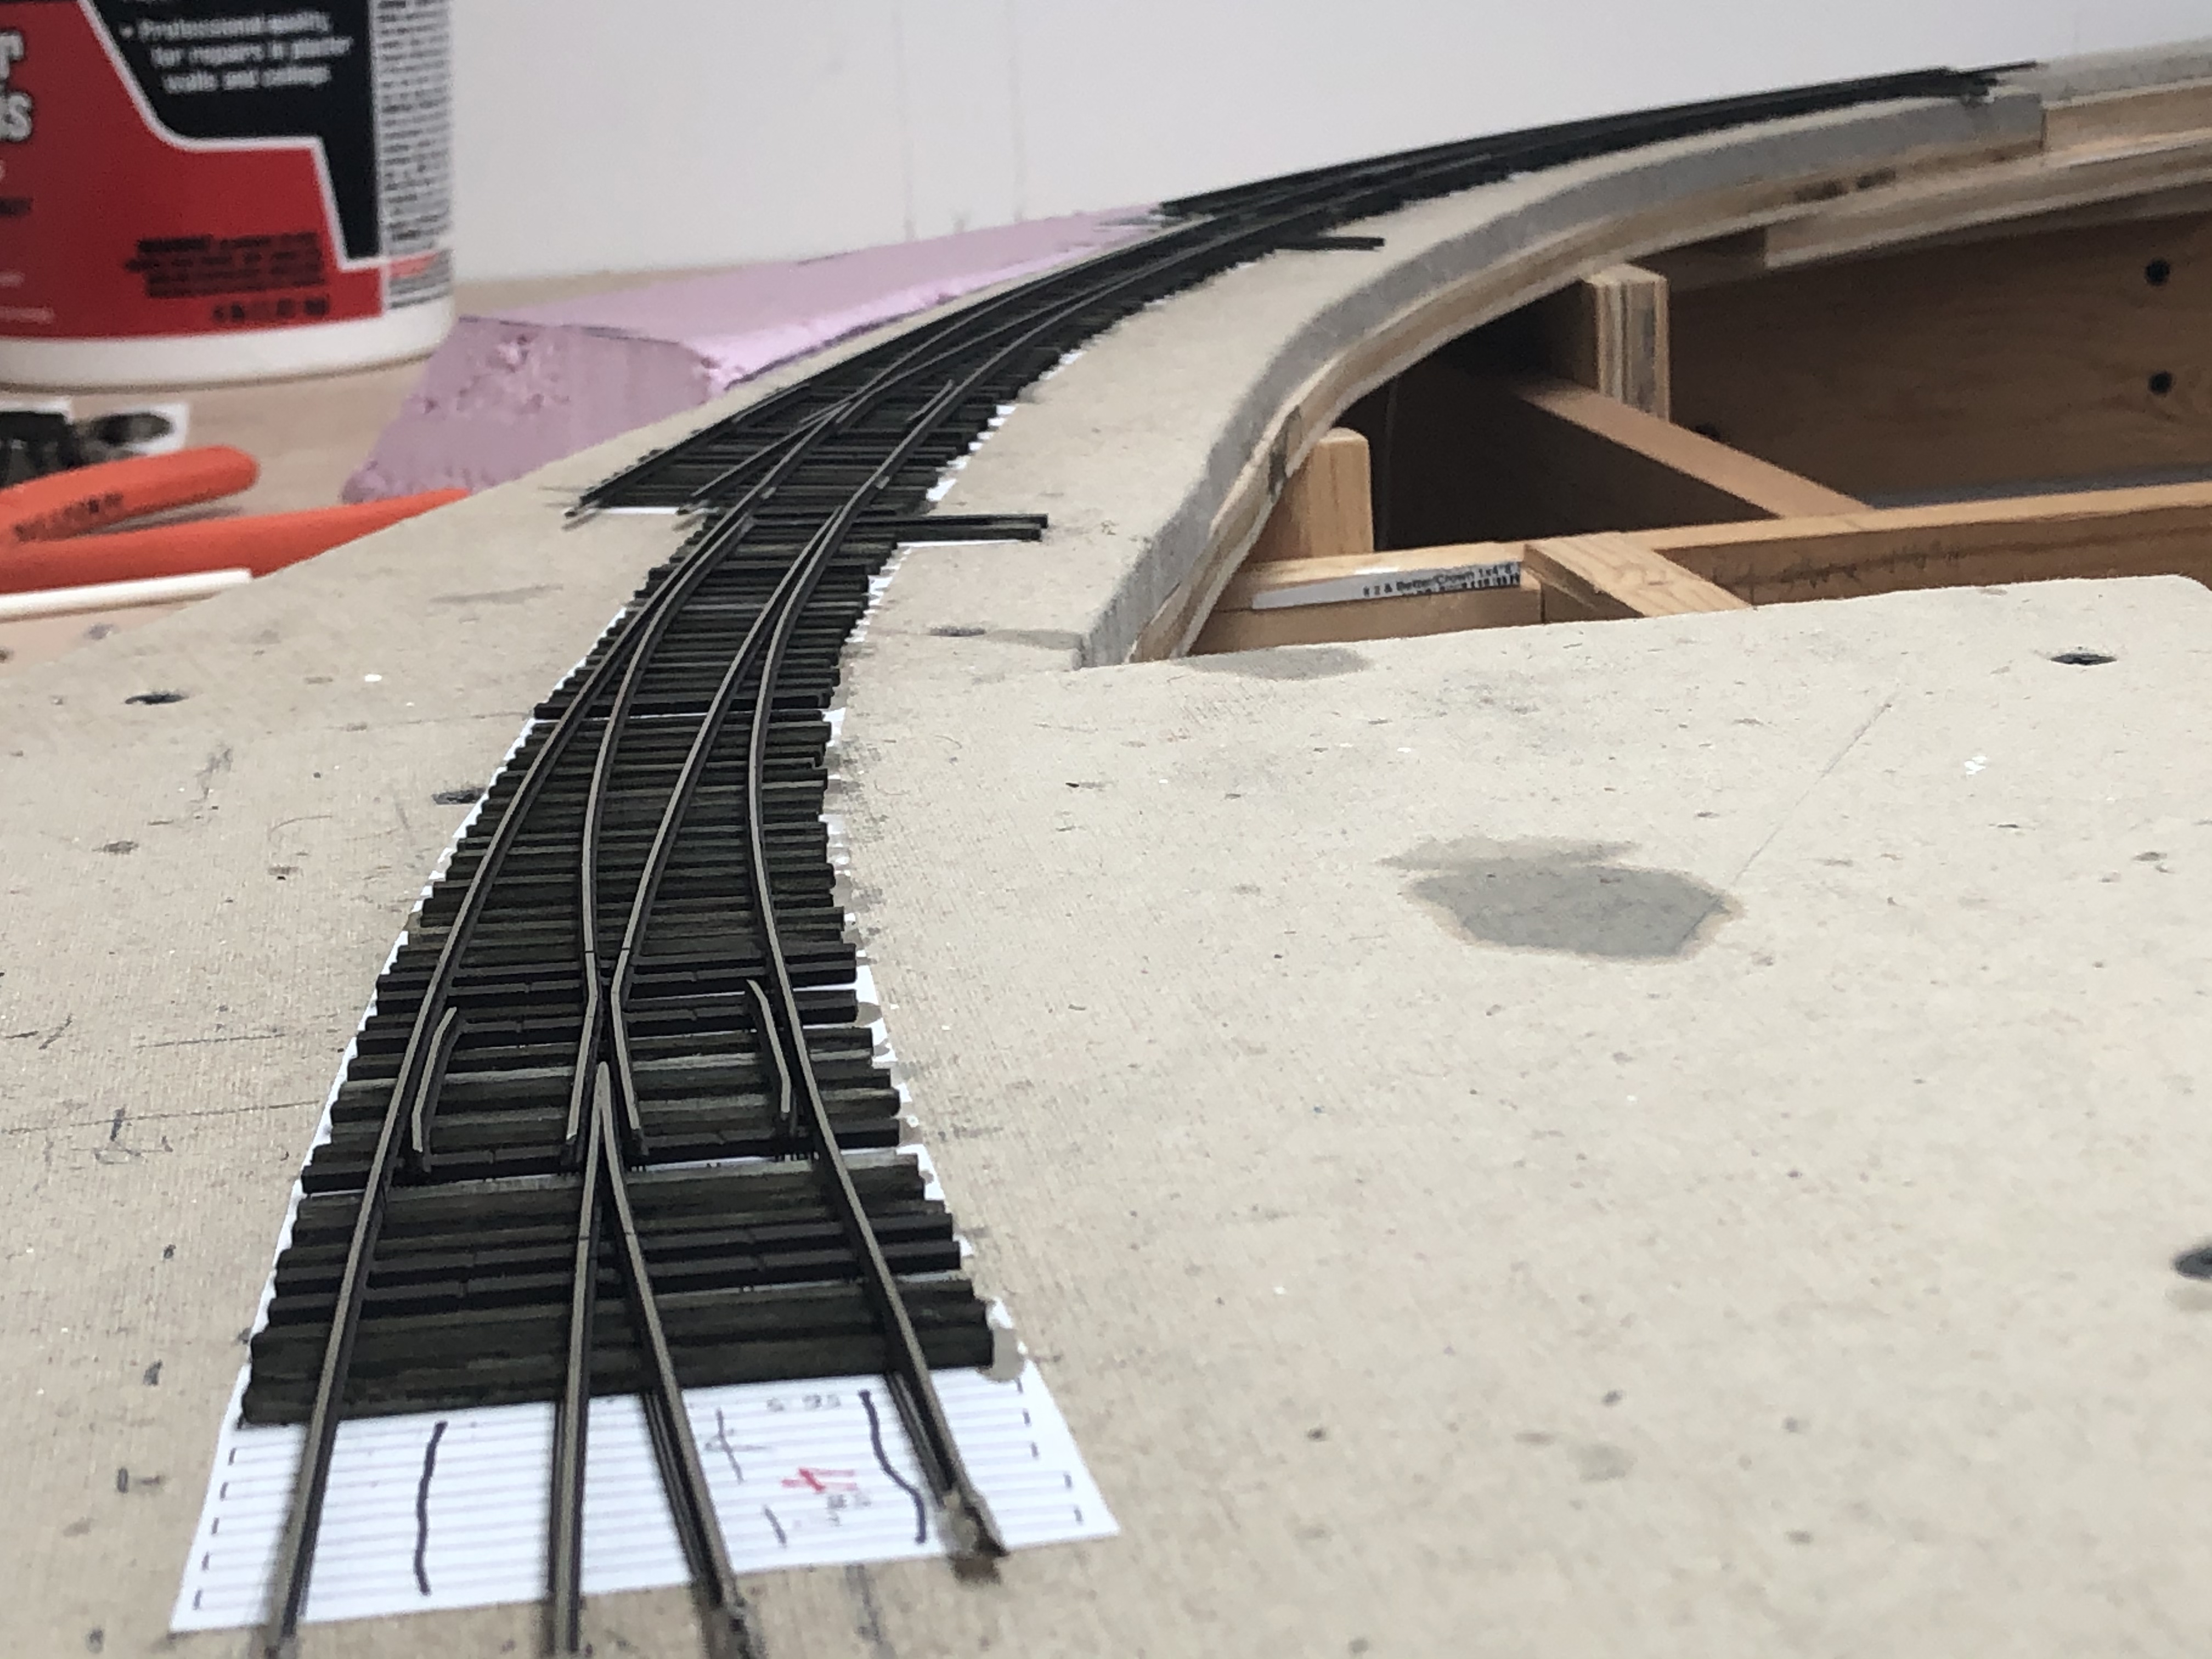
The three turnouts are sized as follows from top to bottom: #8 50″ outside radius, 35″ inside radius, #8 60″/40″, and #10 60″/46″.

And here we are with all three turnouts finally laid in place. Rails have been trimmed and now I will fit the rail joiners and solder feeder wires where needed. Getting there!
I just love the way these look. I left the last few long ties off because I wanted to see where I would need to join the adjacent tracks to the turnout and wasn’t sure if I would need to trim the rail back.

Soldering Feeder Wires

Some folks have asked me how I do feeder wires, so here is a quick illustration. A good friend, Matt R., convinced me to solder feeder wires to the bottom of the rails instead of the sides. This method leaves a clean look with no unsightly wires poking out, globbed onto the rails. It does take a bit of extra work, but once you get into a rhythm it goes fast. Here is my setup:

From right to left: My soldering station, a red Sharpie for marking drop locations on the rails and hole locations on the layout (for drlling), small needle-nose pliers, an X-Acto knife, “Helping Hands” vice for holding wires in place, flux, Irwin self-adjusting wire strippers and 22 AWG stranded or 20 AWG solid feeder wires. In the foreground is a small piece of solder.

I will typically mark the locations on the roadbed where I want the feeders to drop. This is done by marking each side of the rail and then the tops of the rail. Remove the piece of rail and drill a hole for each feeder. Flip the rail over. With the X-Acto, snip the small plastic spacers between the ties where you will solder the feeder. Strip about 1/8″ of insulation from the end of a feeder and bend it 90°. Using a micro-applicator, put a tiny bit of flux on the wire and the bottom of the rails. Straighten the wire and clip it in the helping-hands, positioning it so that the bare end is just barely pressed onto the rail. Now, using your soldering iron, place a tiny bit of solder onto the end of it. Then, press the iron and your solder into the joint and release after it flows onto the rail itself. This should only take a few seconds, most. You don’t want to melt the ties!

Once done, they should look like this. Ready for feeding through the roadbed.
A close up. This is Walthers/Shinohara Code 83 rail. Also note, the feeder on top is stranded wire, and the feeder on the bottom is solid. Some days you just gotta run with what ya got!
Here is what Bethesda looked like in the middle of this past week. The mainline was in place and the siding was tacked down.
Trains in Bethesda. By Friday night here is the progress that has been made. The mainline and passing siding are complete. The lift-out bridge is operational. I installed a small spring switch on one end that kills power to the short length of track at the edge to prevent locos from creeping off the end if the bridge is not in place.
It felt great to finally be able to bring a train around the bend into Bethesda! Hoping to complete the rest of the yard this weekend.
One other project I took on was in Chevy Chase. The team track siding originally swung to parallel the mainline. This caused it to have a really sharp curve and I didn’t like the way it looked or caused trains to flow awkwardly. I widened the curve a bit and gave it a bit more room.

Leave a Reply

Your email address will not be published. Required fields are marked *

This site uses Akismet to reduce spam. Learn how your comment data is processed.