Category Archives: Uncategorized

April 2020: Winter/Spring Layout and Modeling Update, PART 2

OK FOLKS, here is Part deux of my update on what’s new in with my model RR progress, and more! Who else is finding lots of spare time to work on your layout and hobbies?
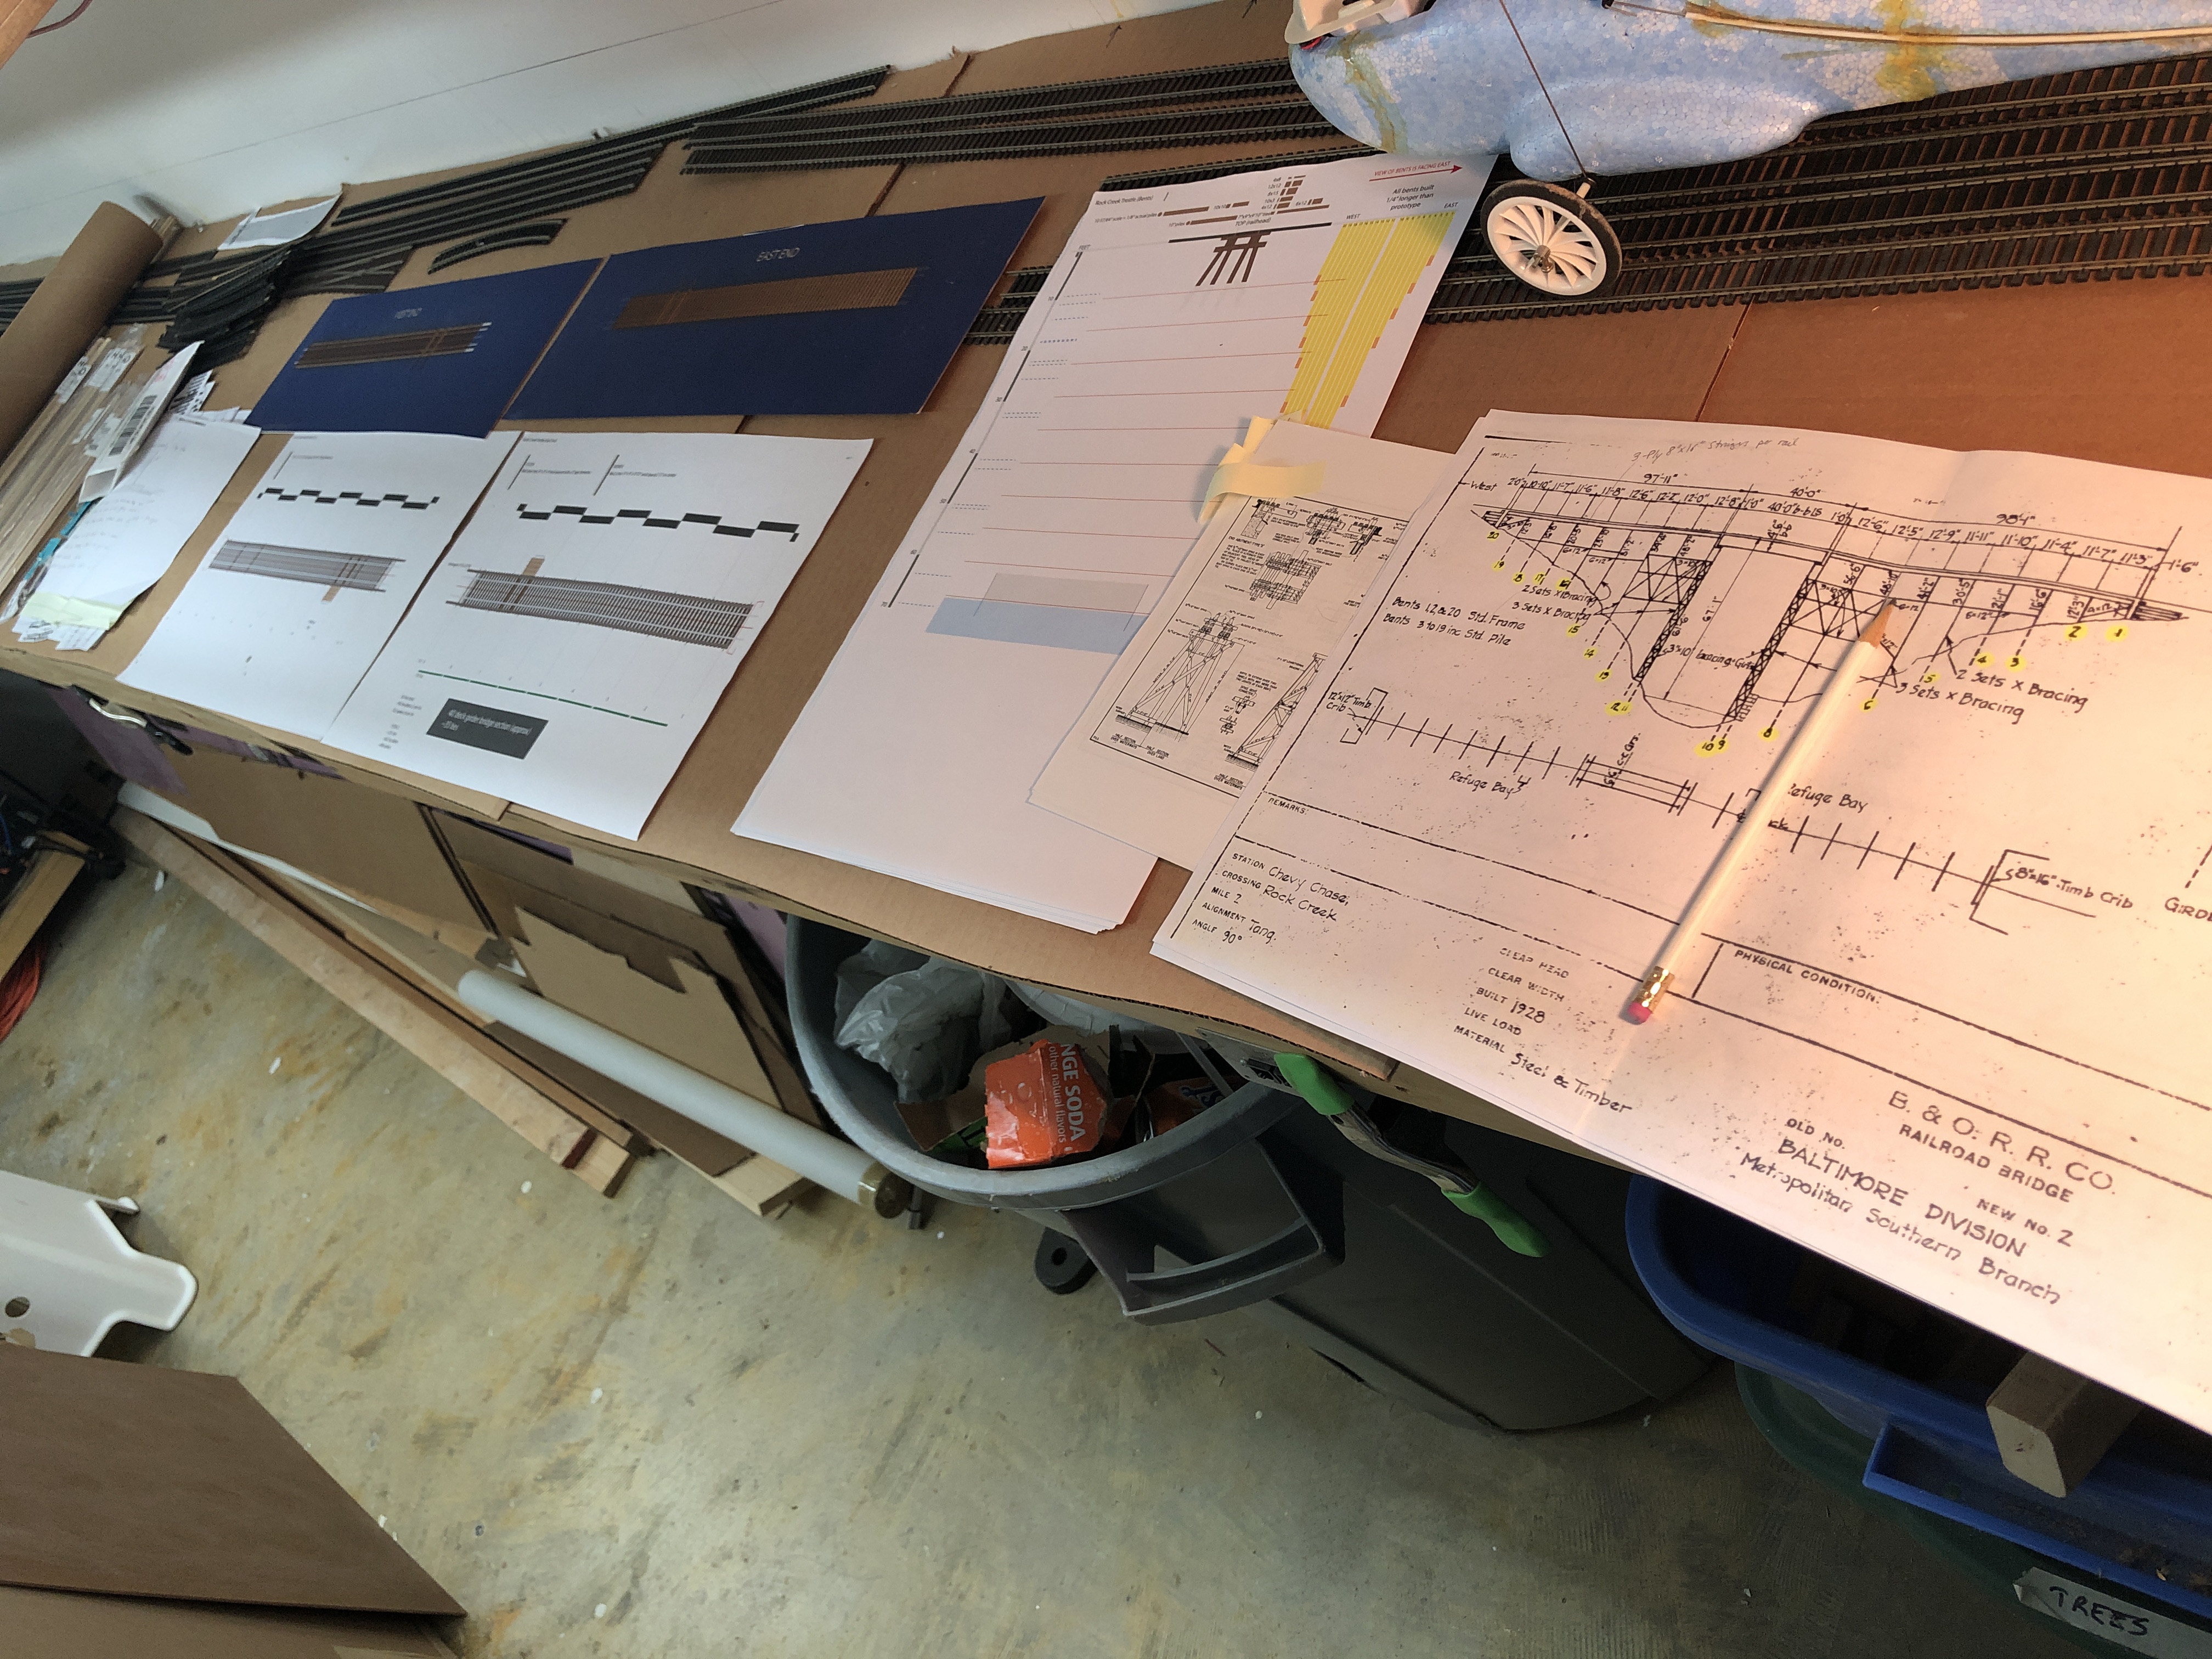
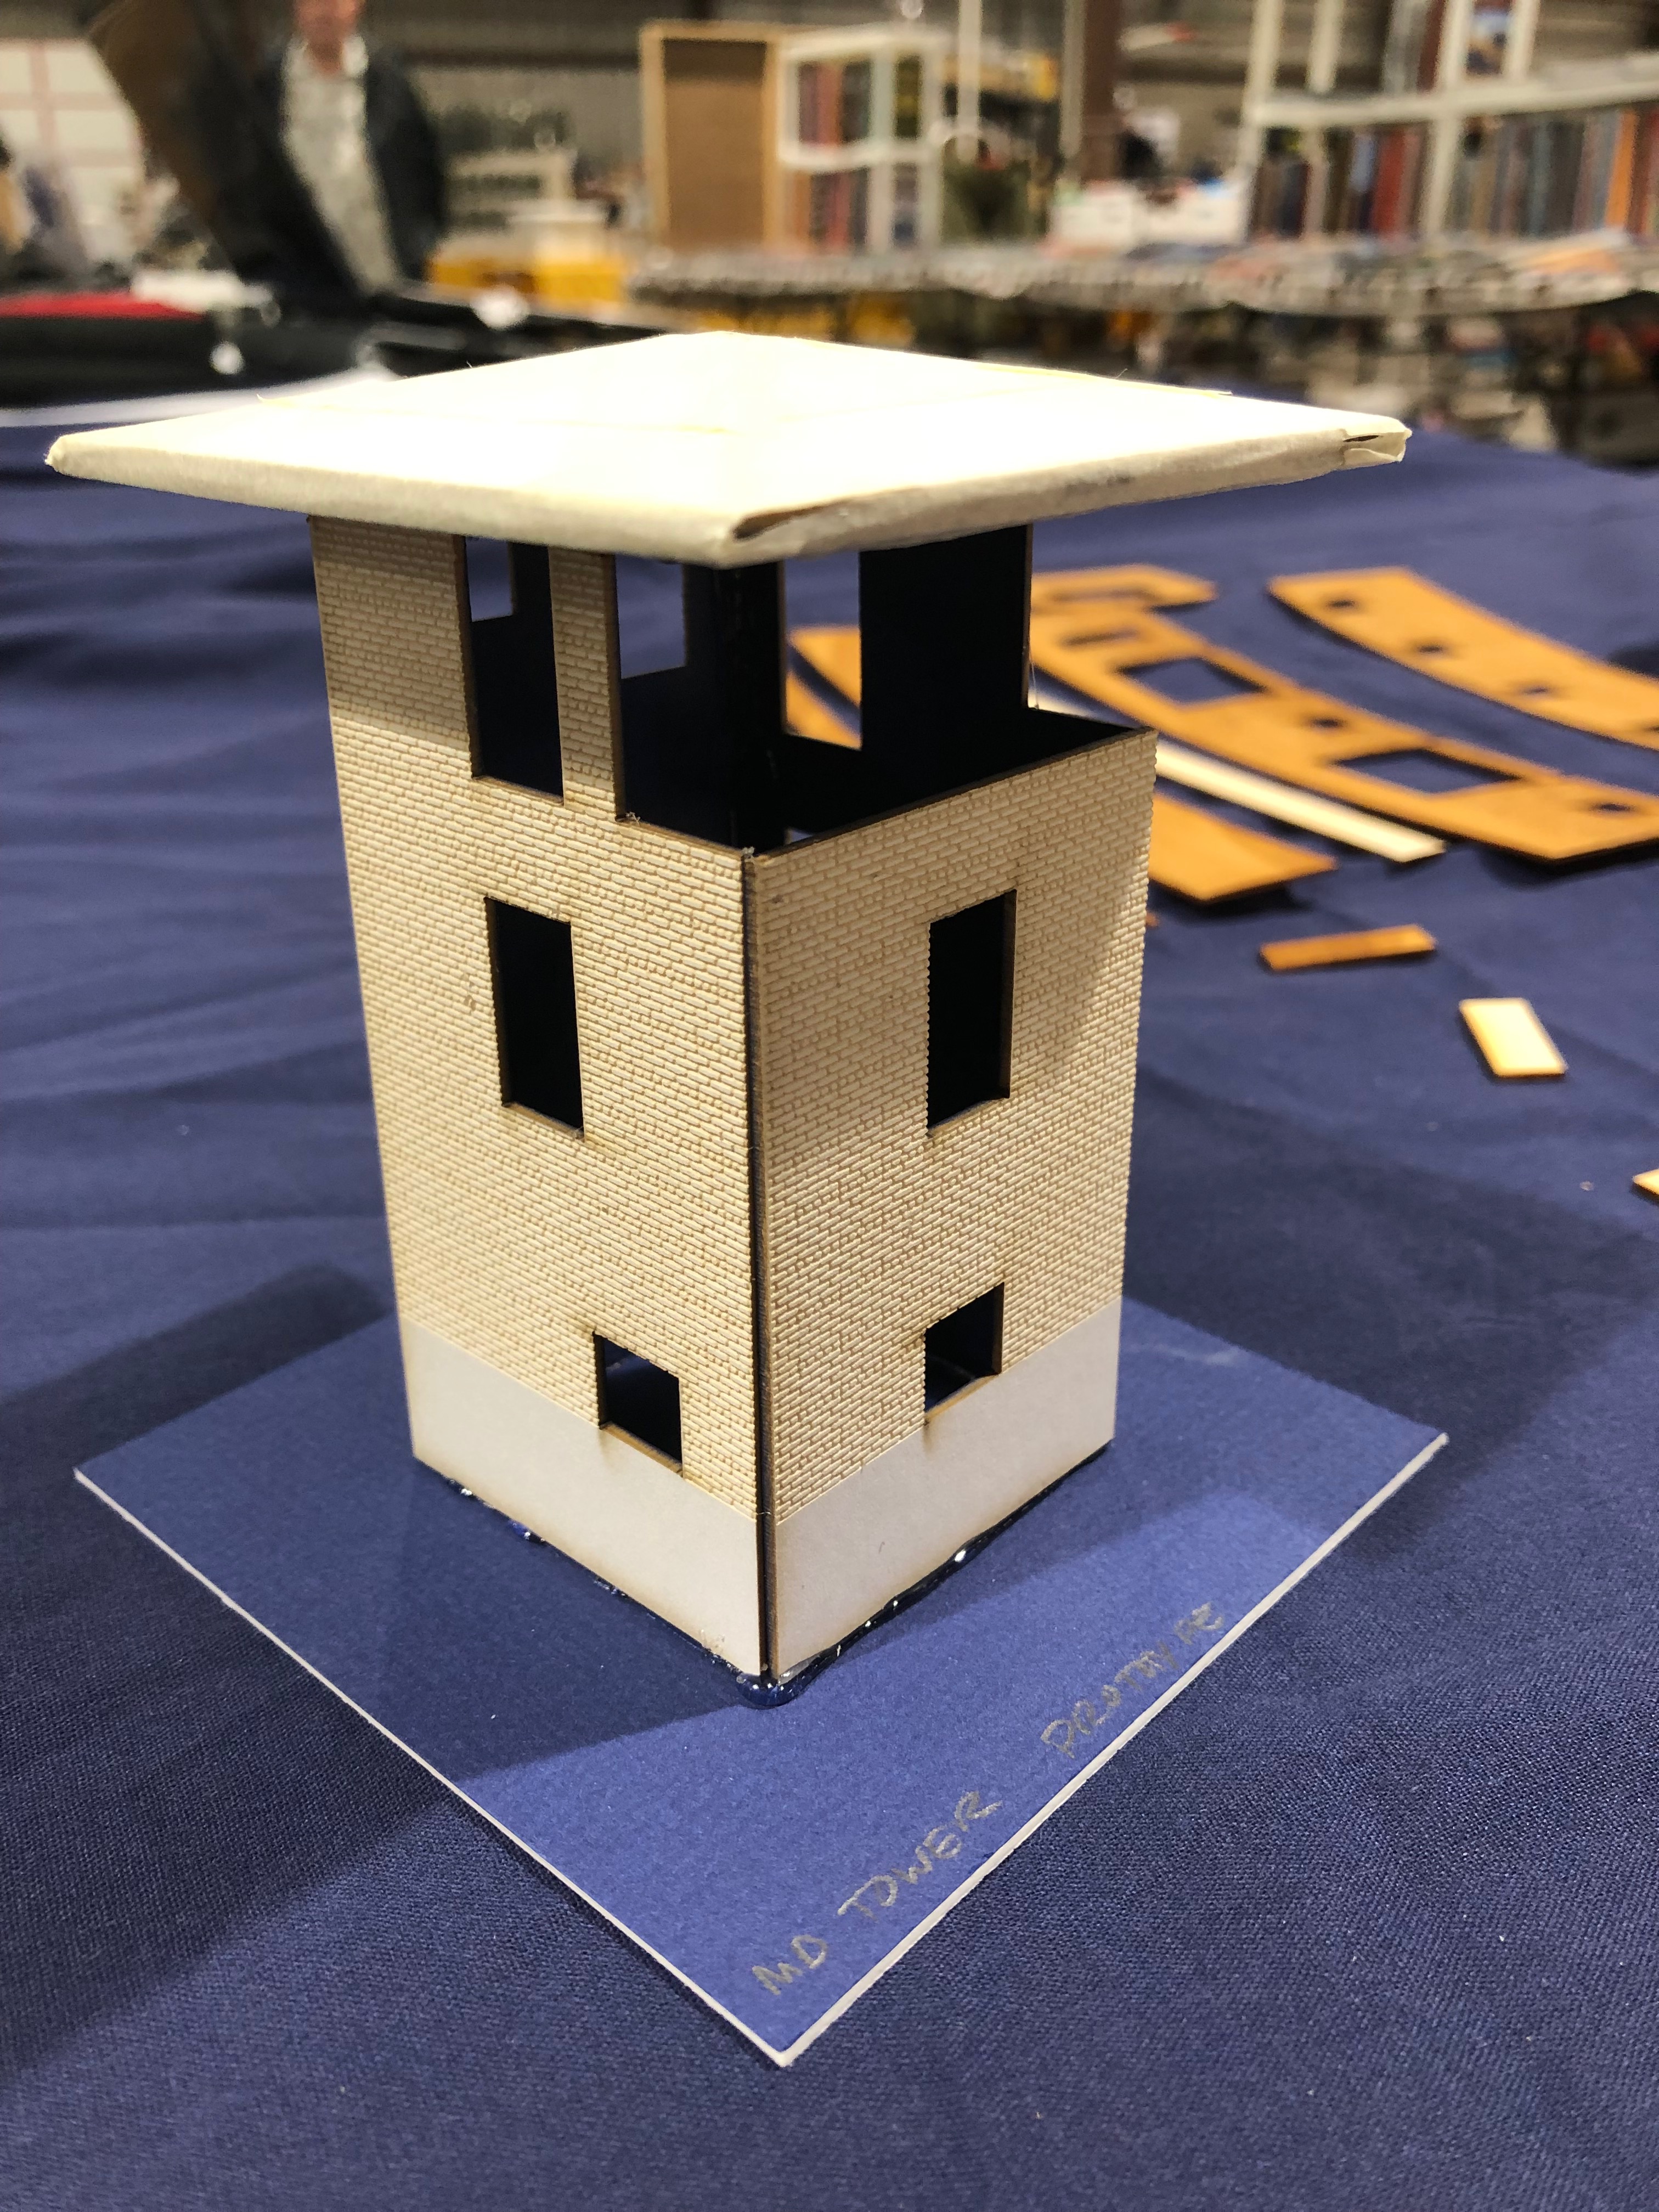
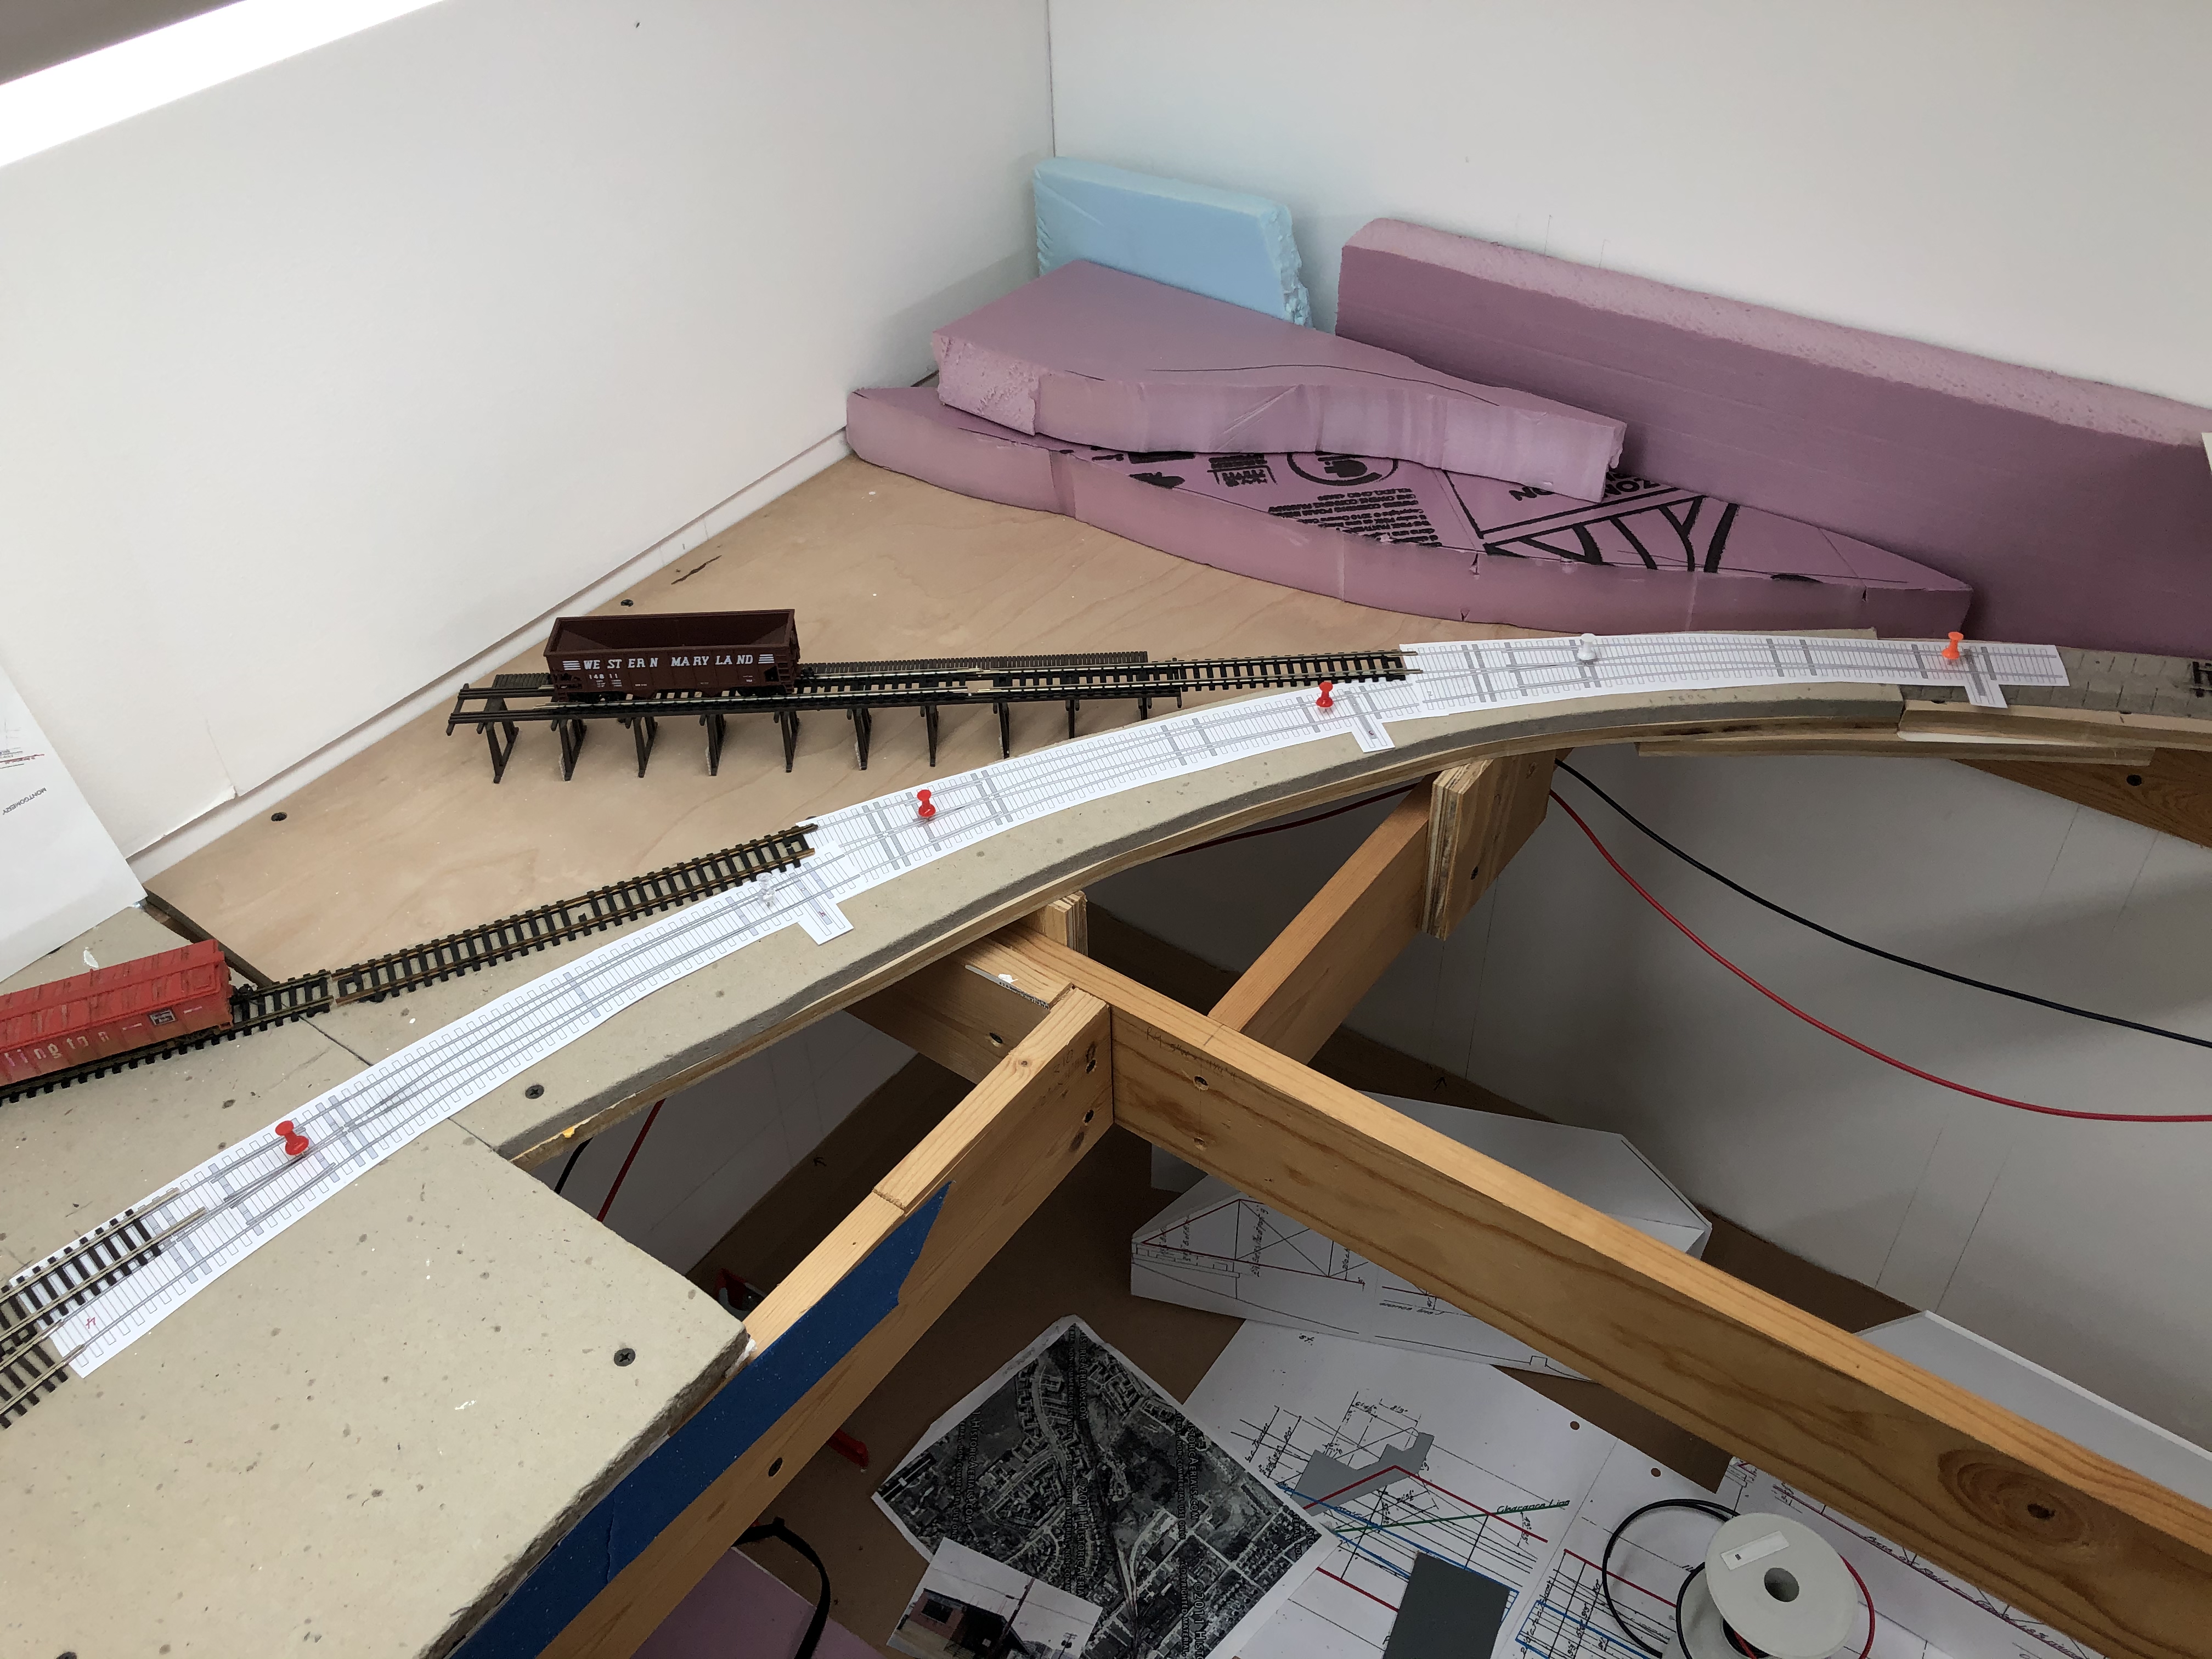
Being socially distant in the layout room.

C&O Canal Bridges

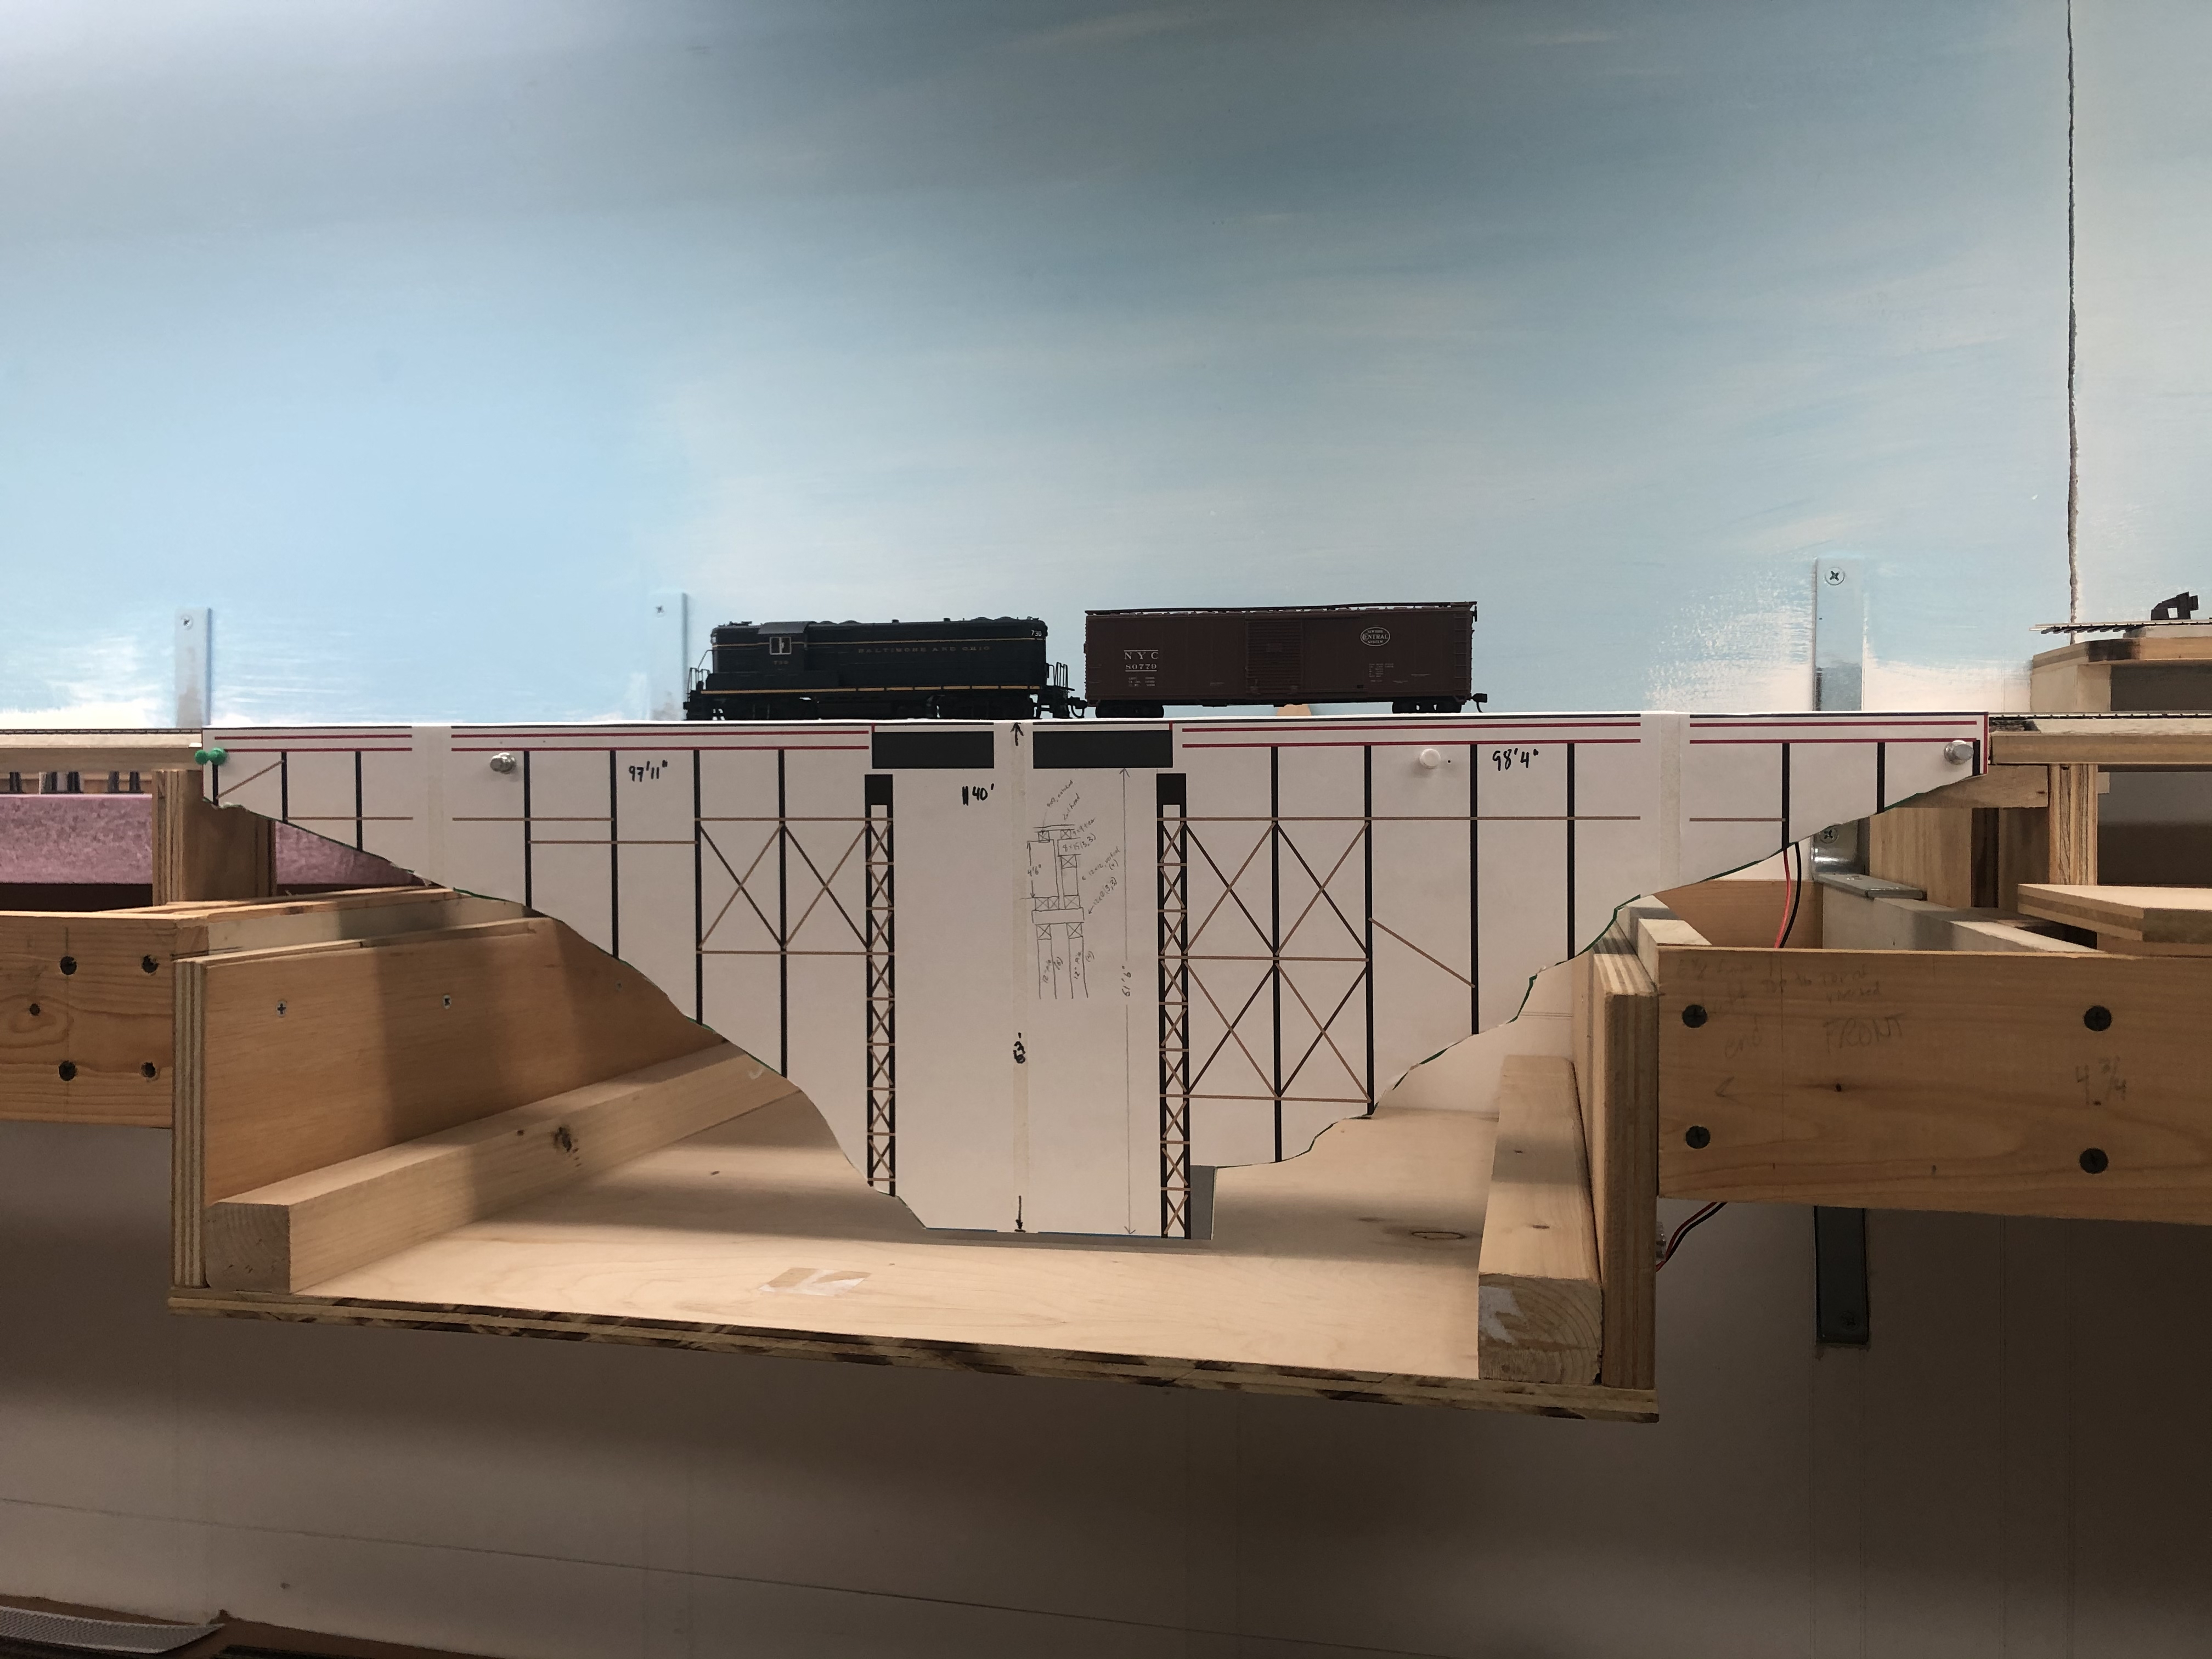
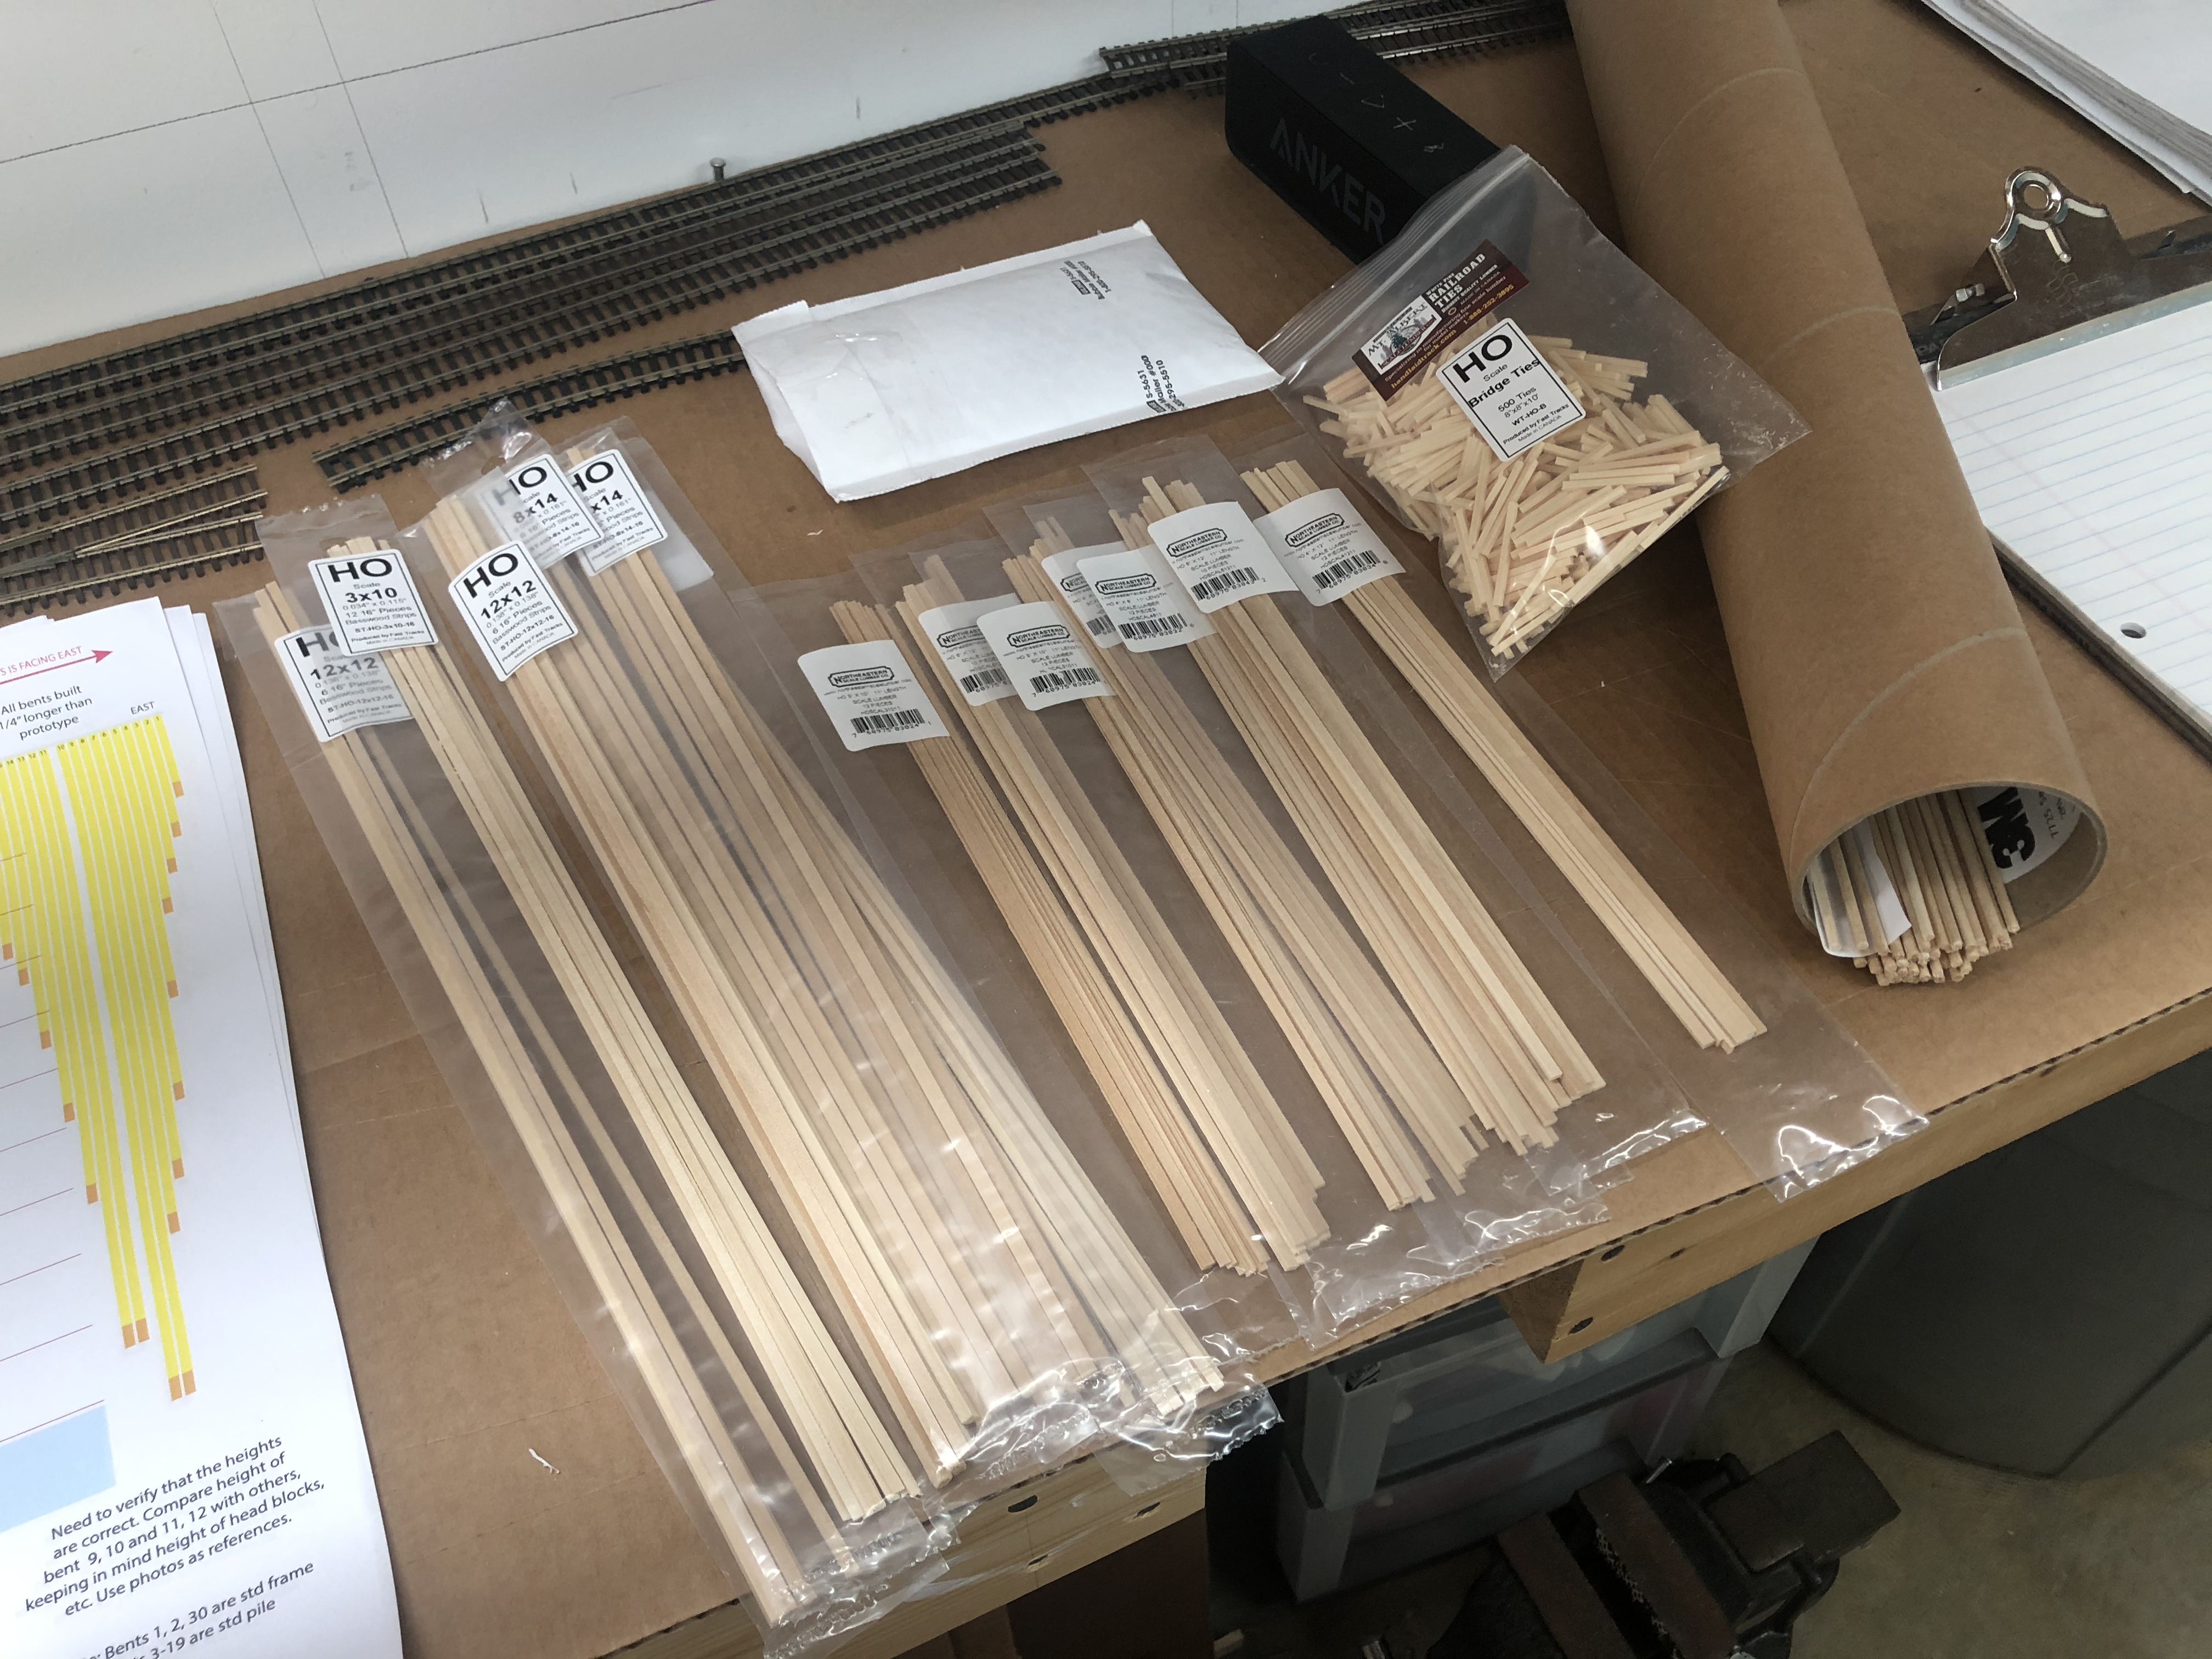
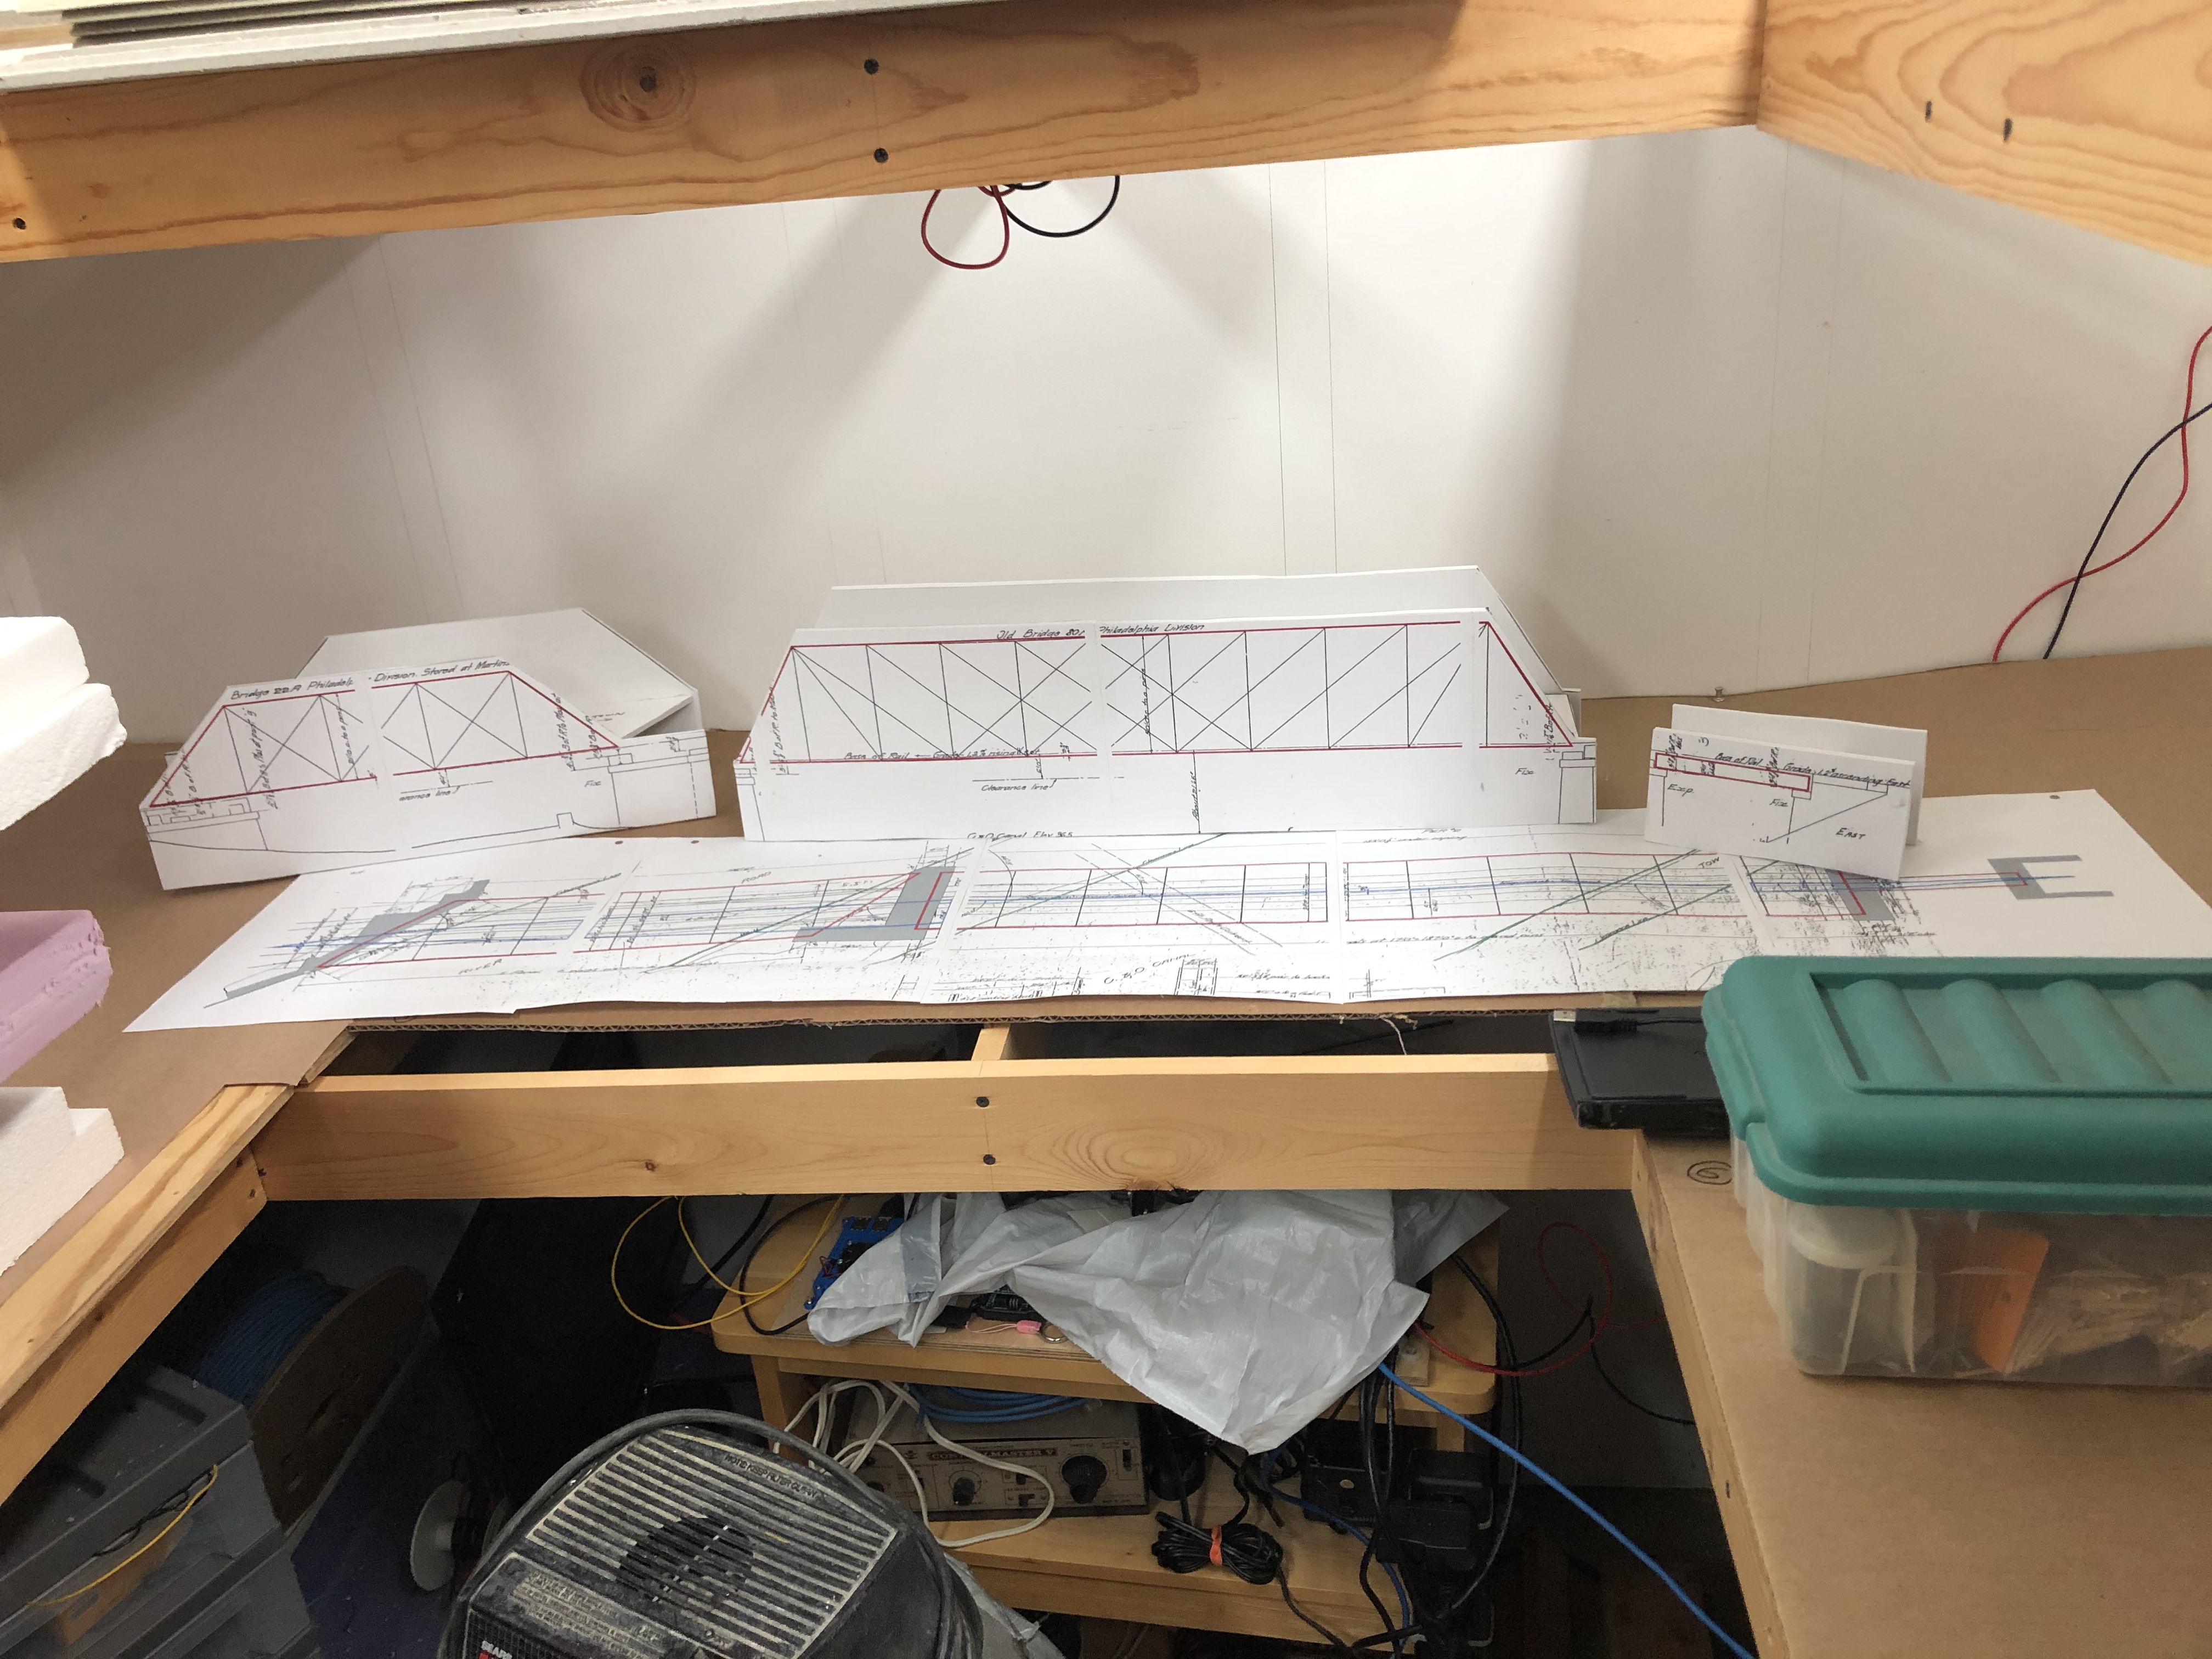
I scaled and printed some blueprints of the three bridges across the C&O Canal on the Georgetown Branch. These were printed and had been laying around for the last couple years. I finally got some time and made mock ups using foam core and 3M spray adhesive. The goal is to get as prototypically accurate as possible when recreating the bridges, but I know some selective compression will be necessary, as I simply do not have the space. I have already done a virtual mock-up, and in the near future I hope to do a physical one.
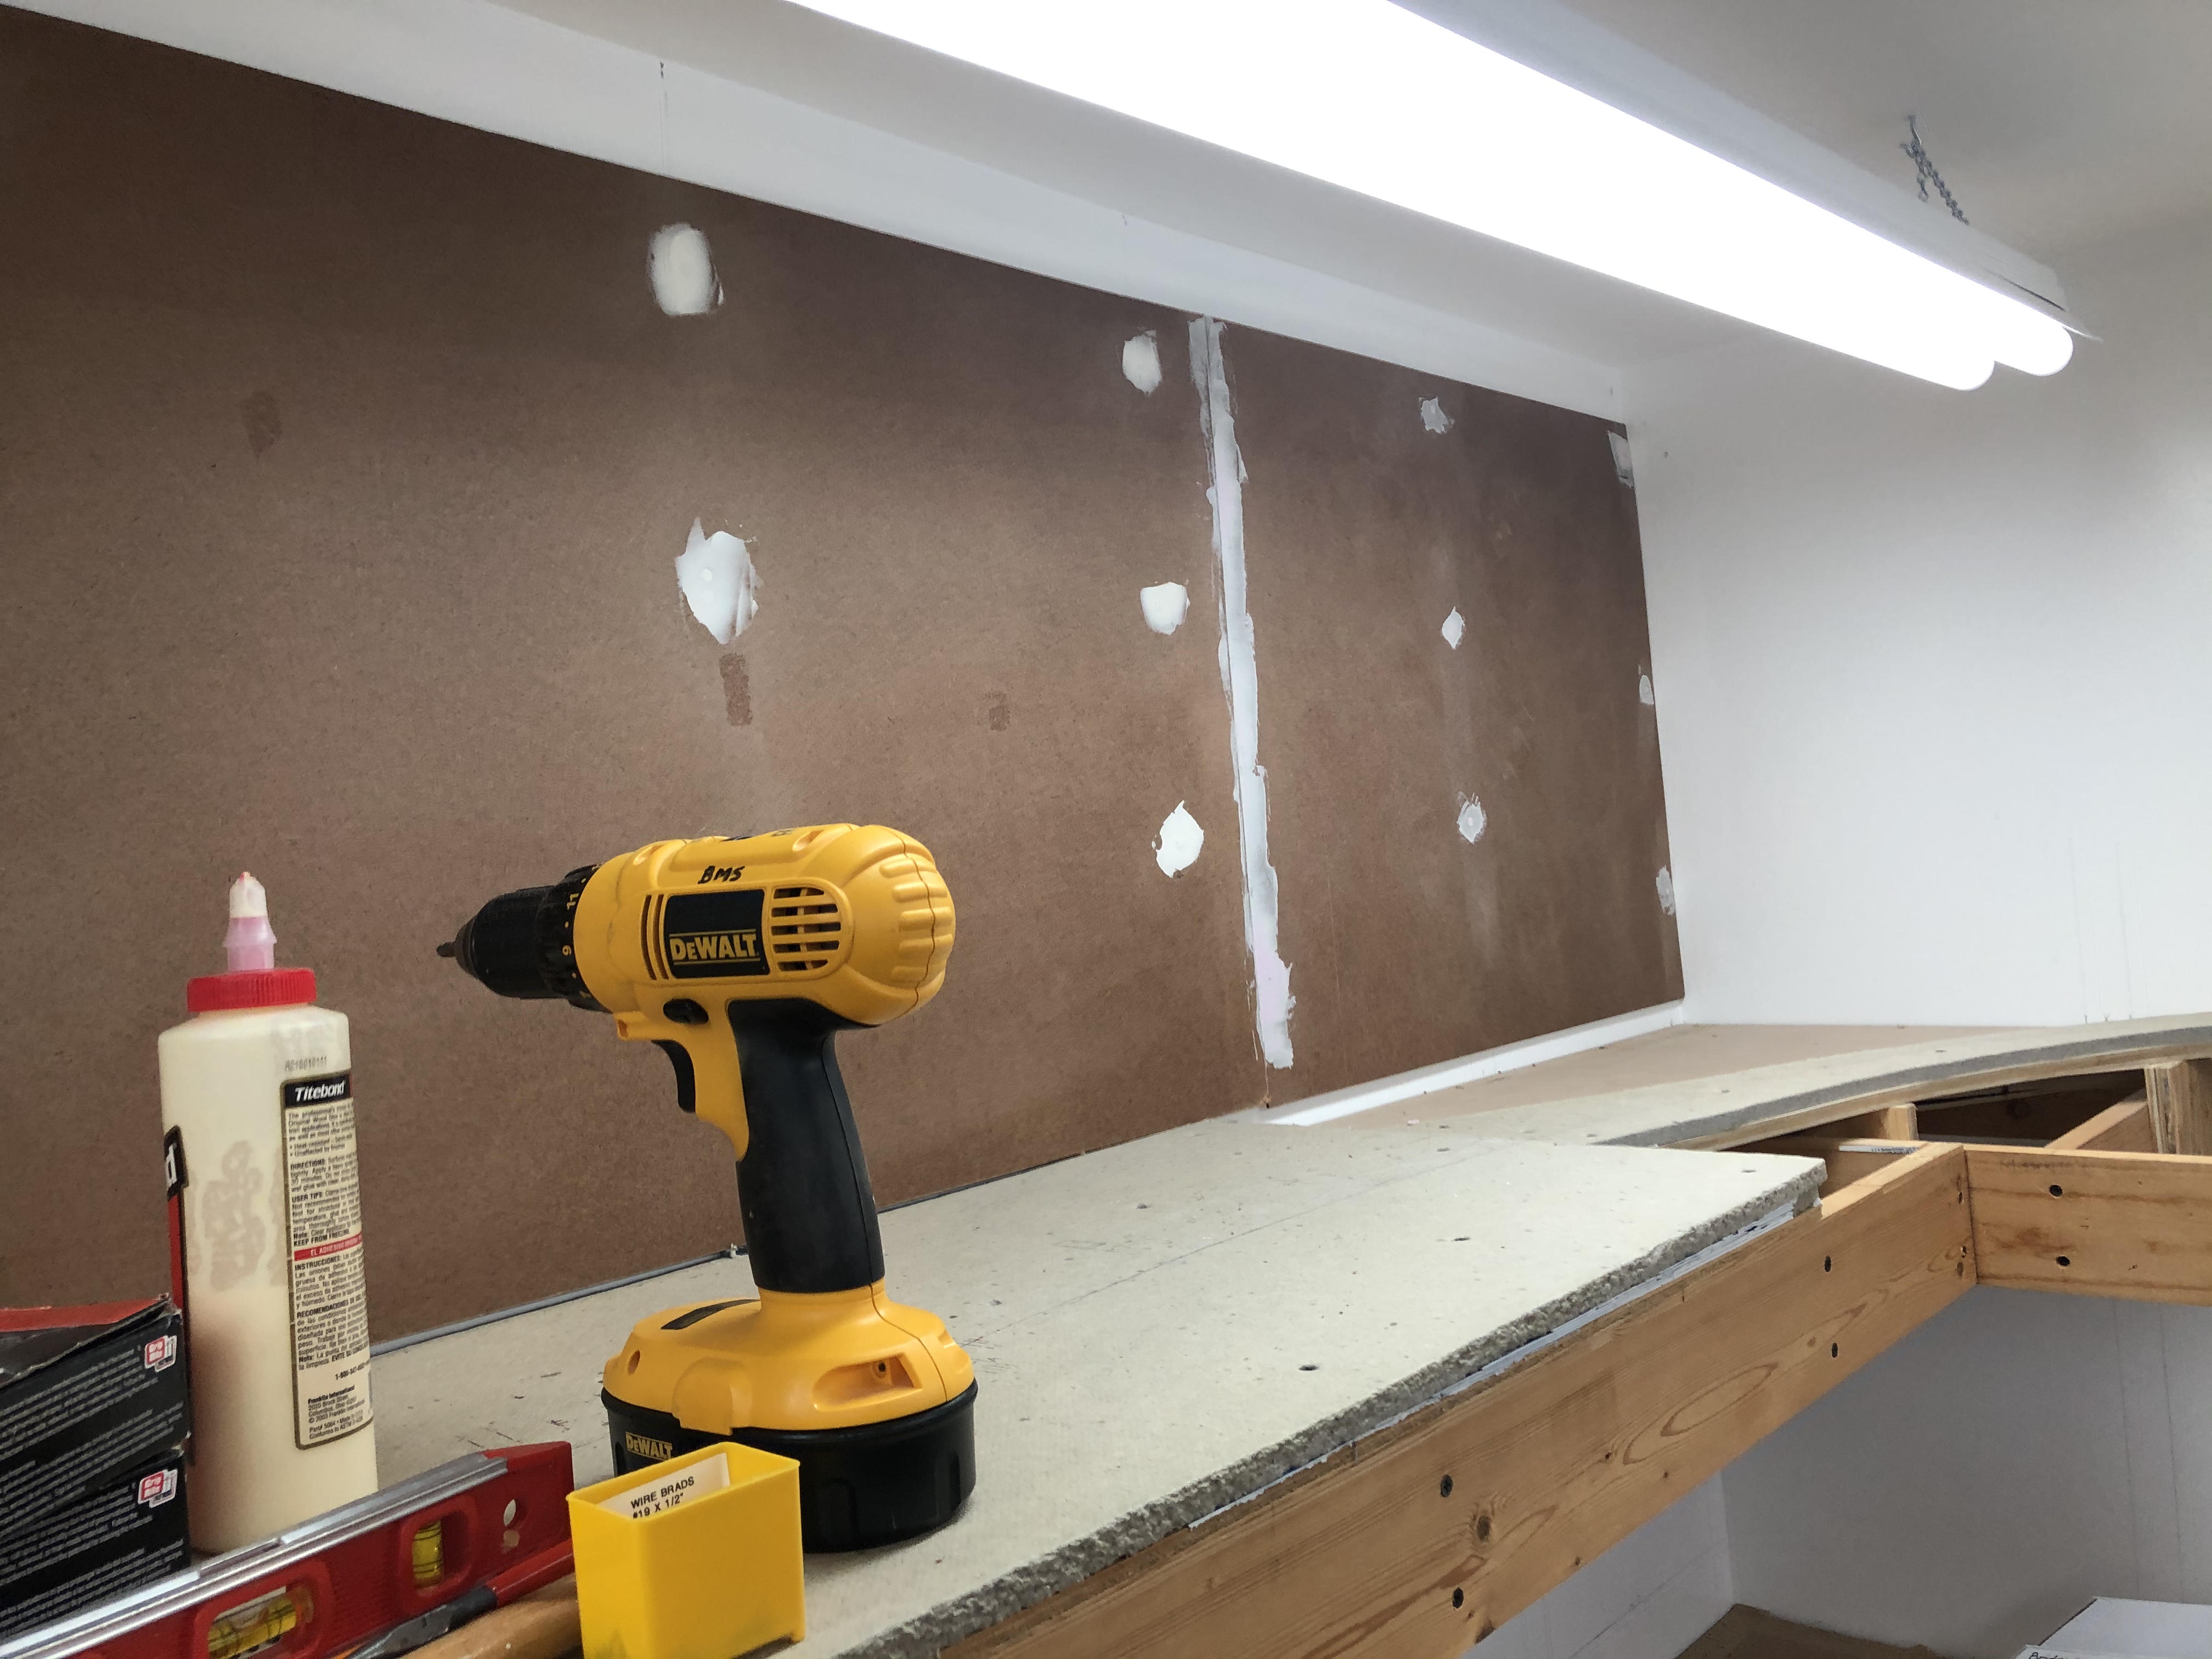
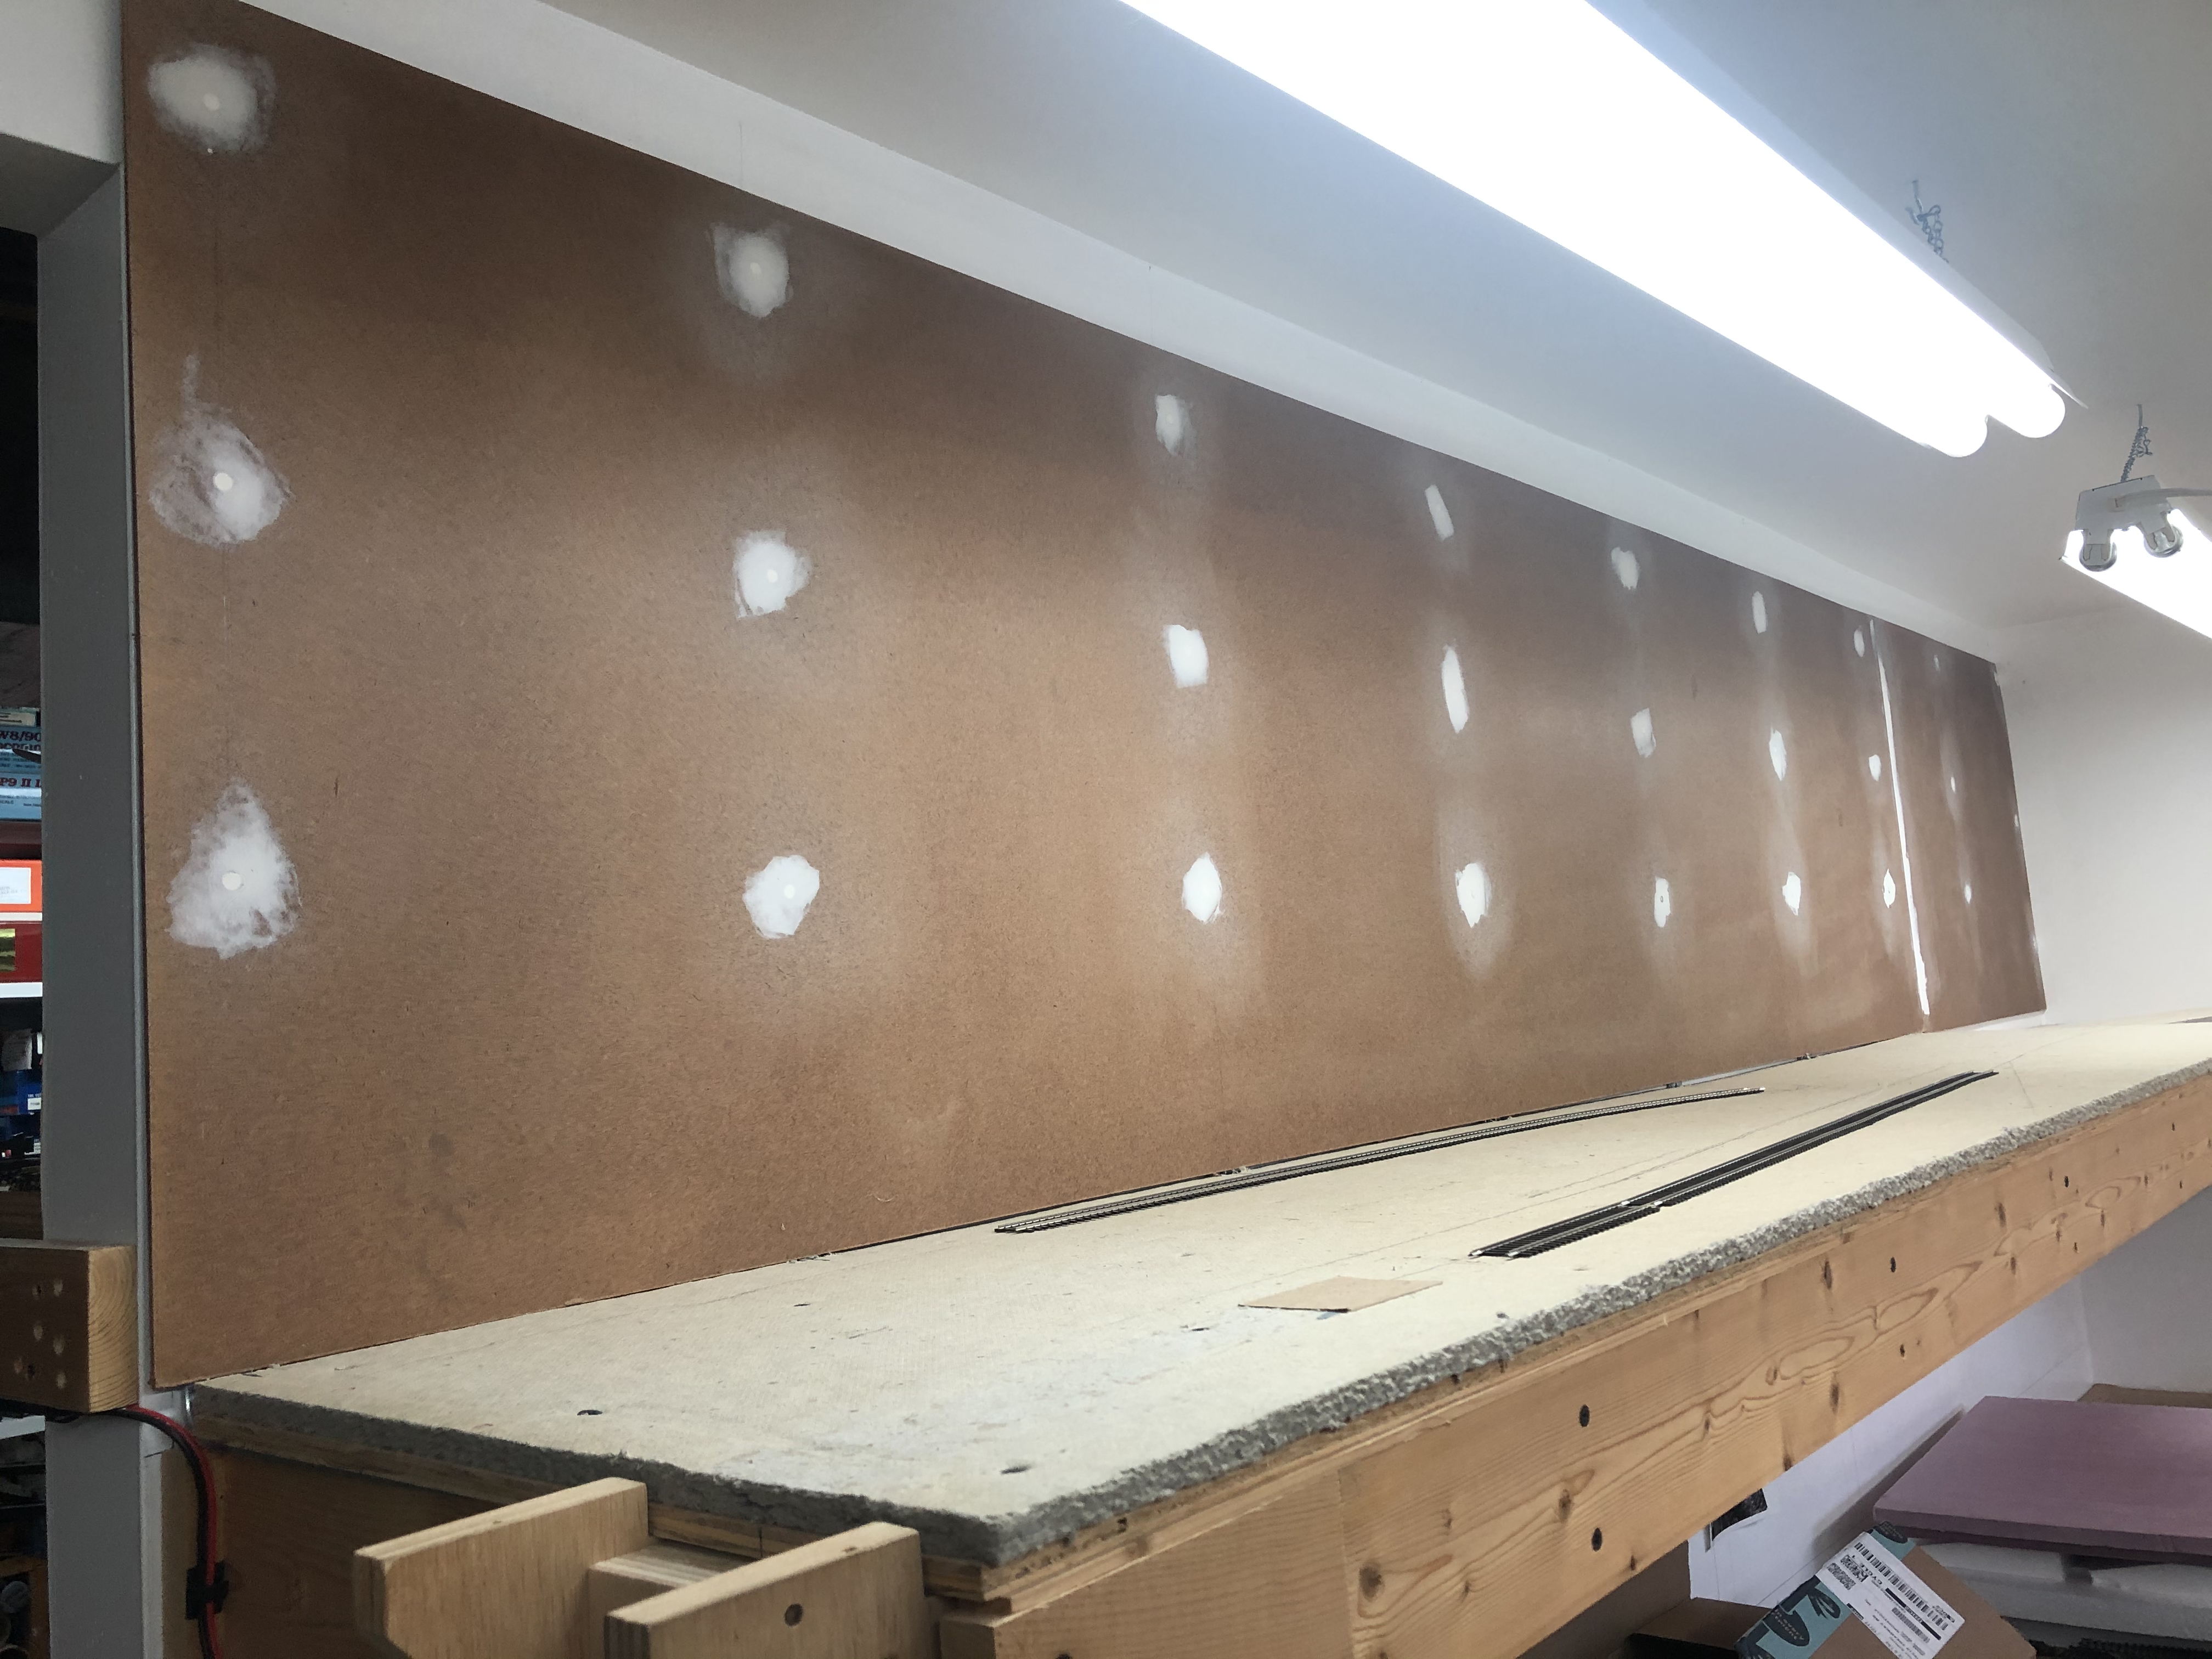
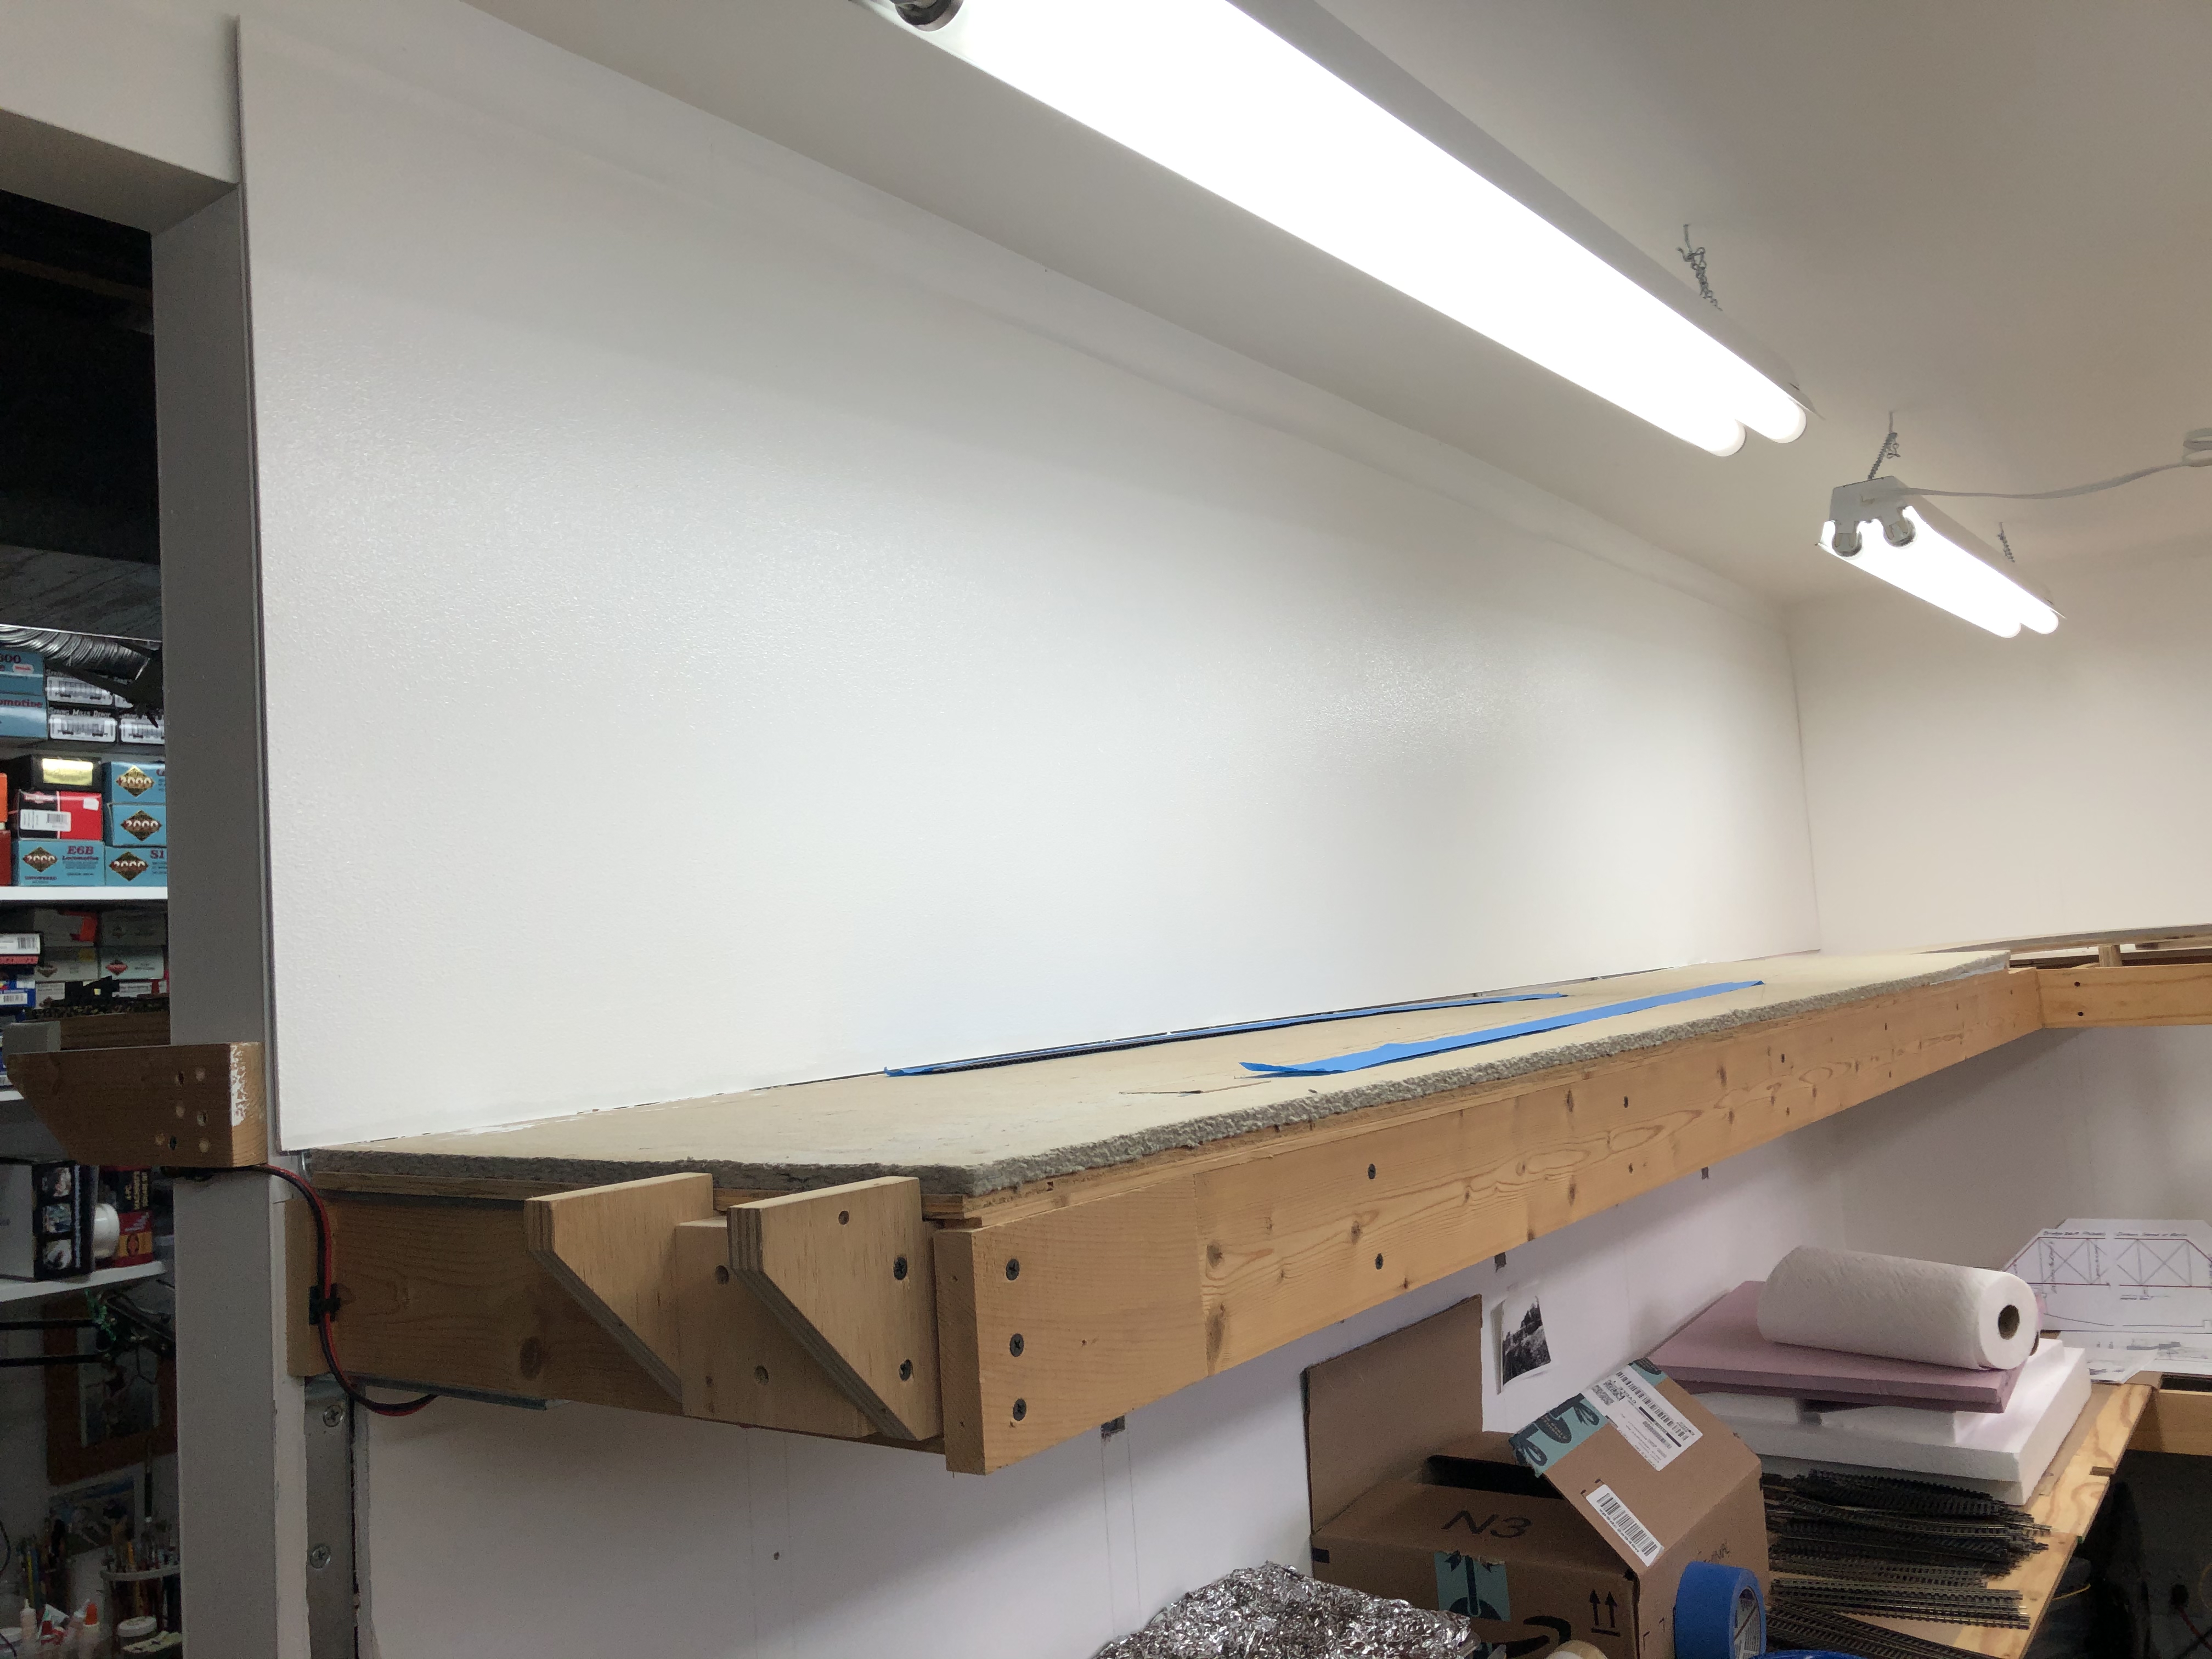
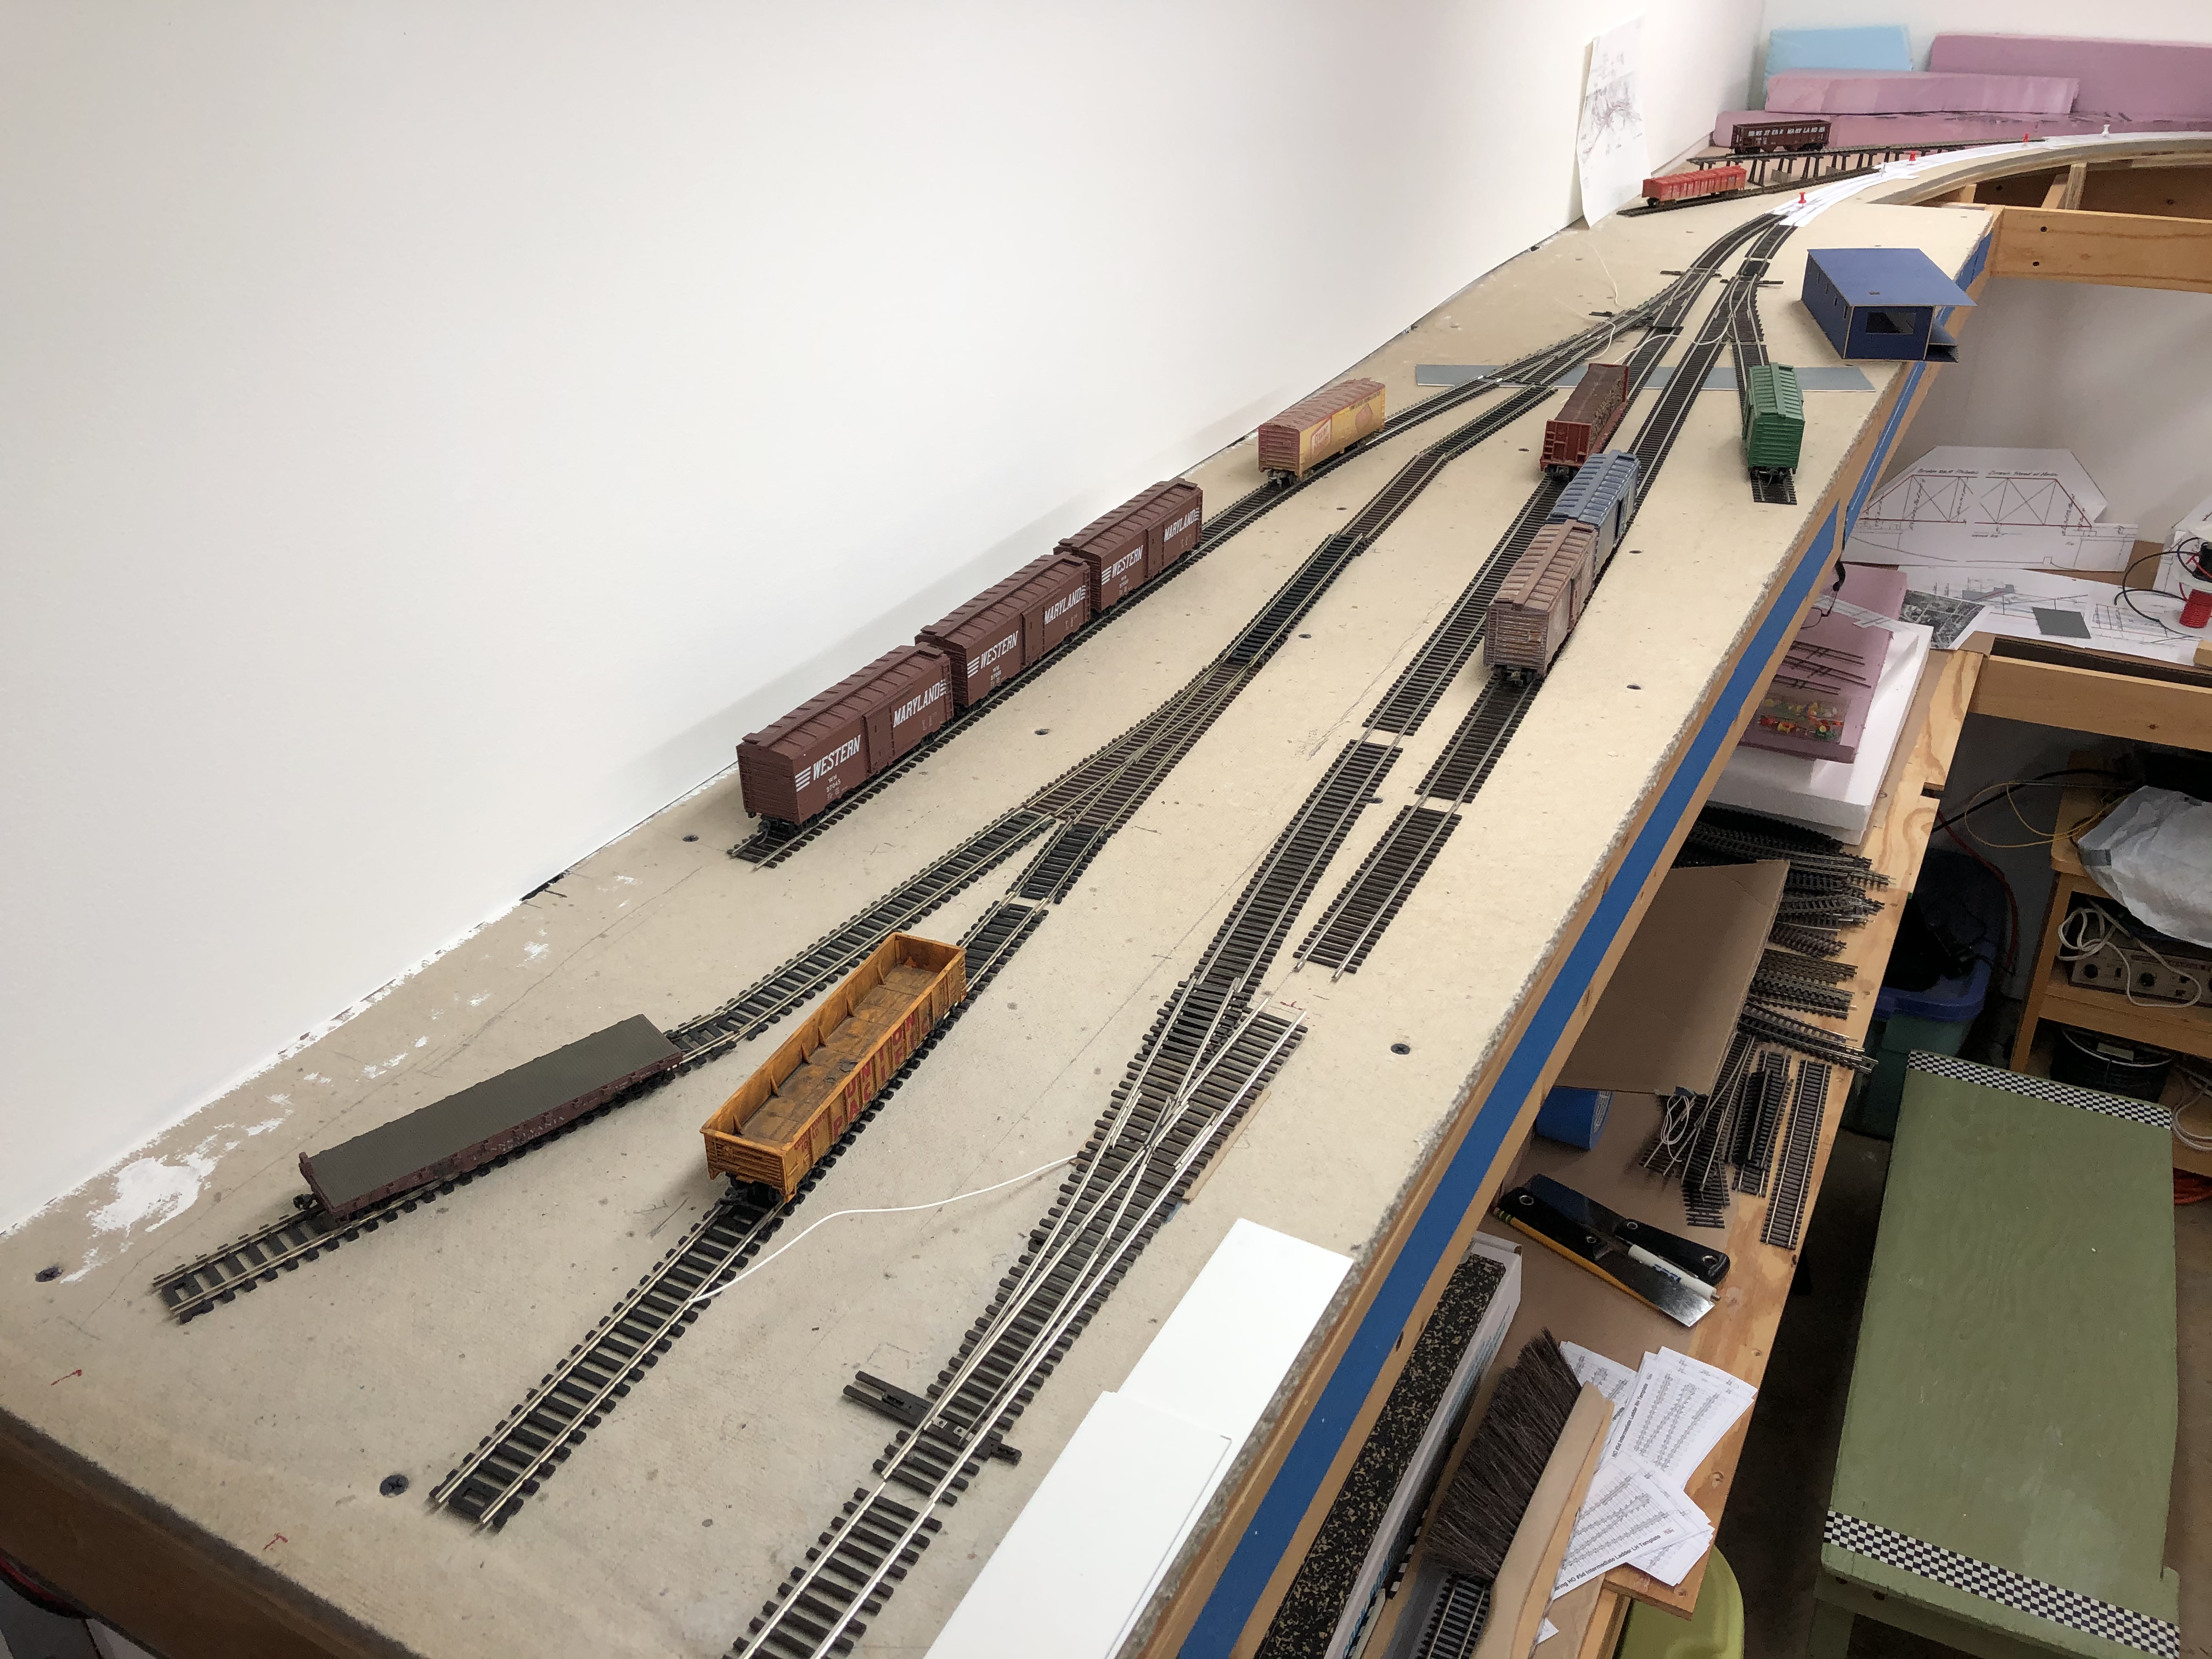
Scale mockups of the 3 C&O Canal bridges.

Bethesda Update

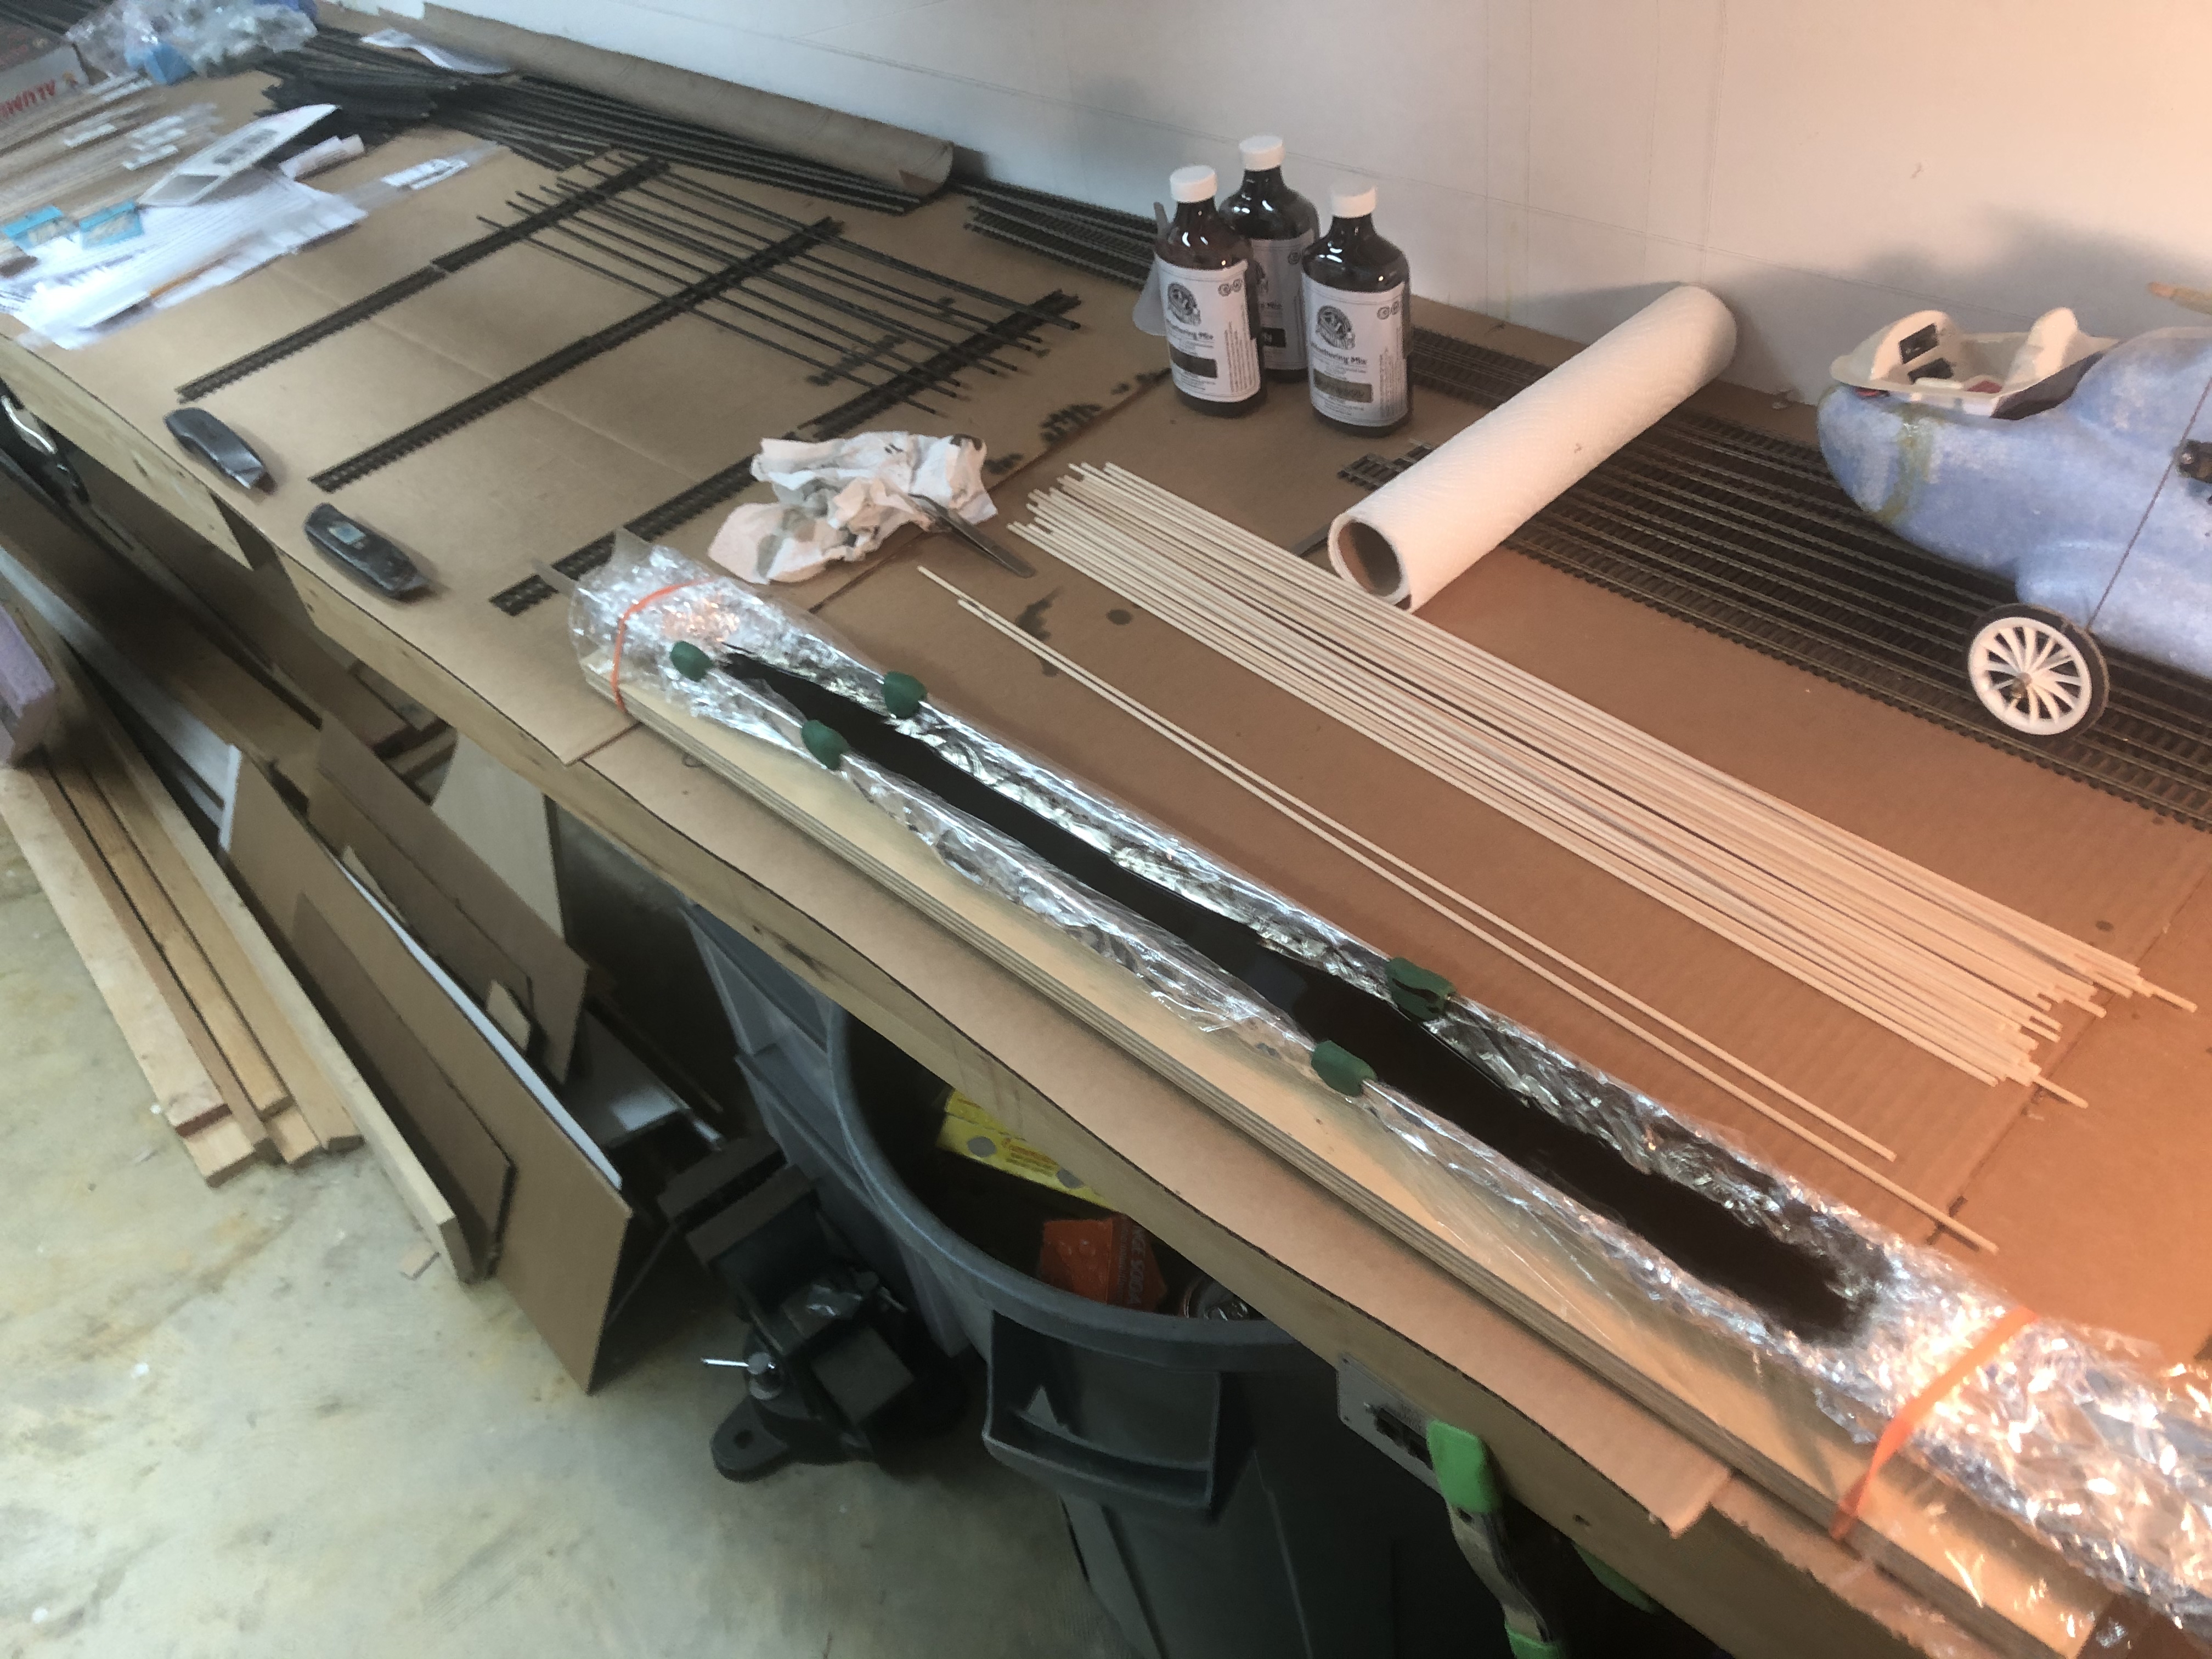
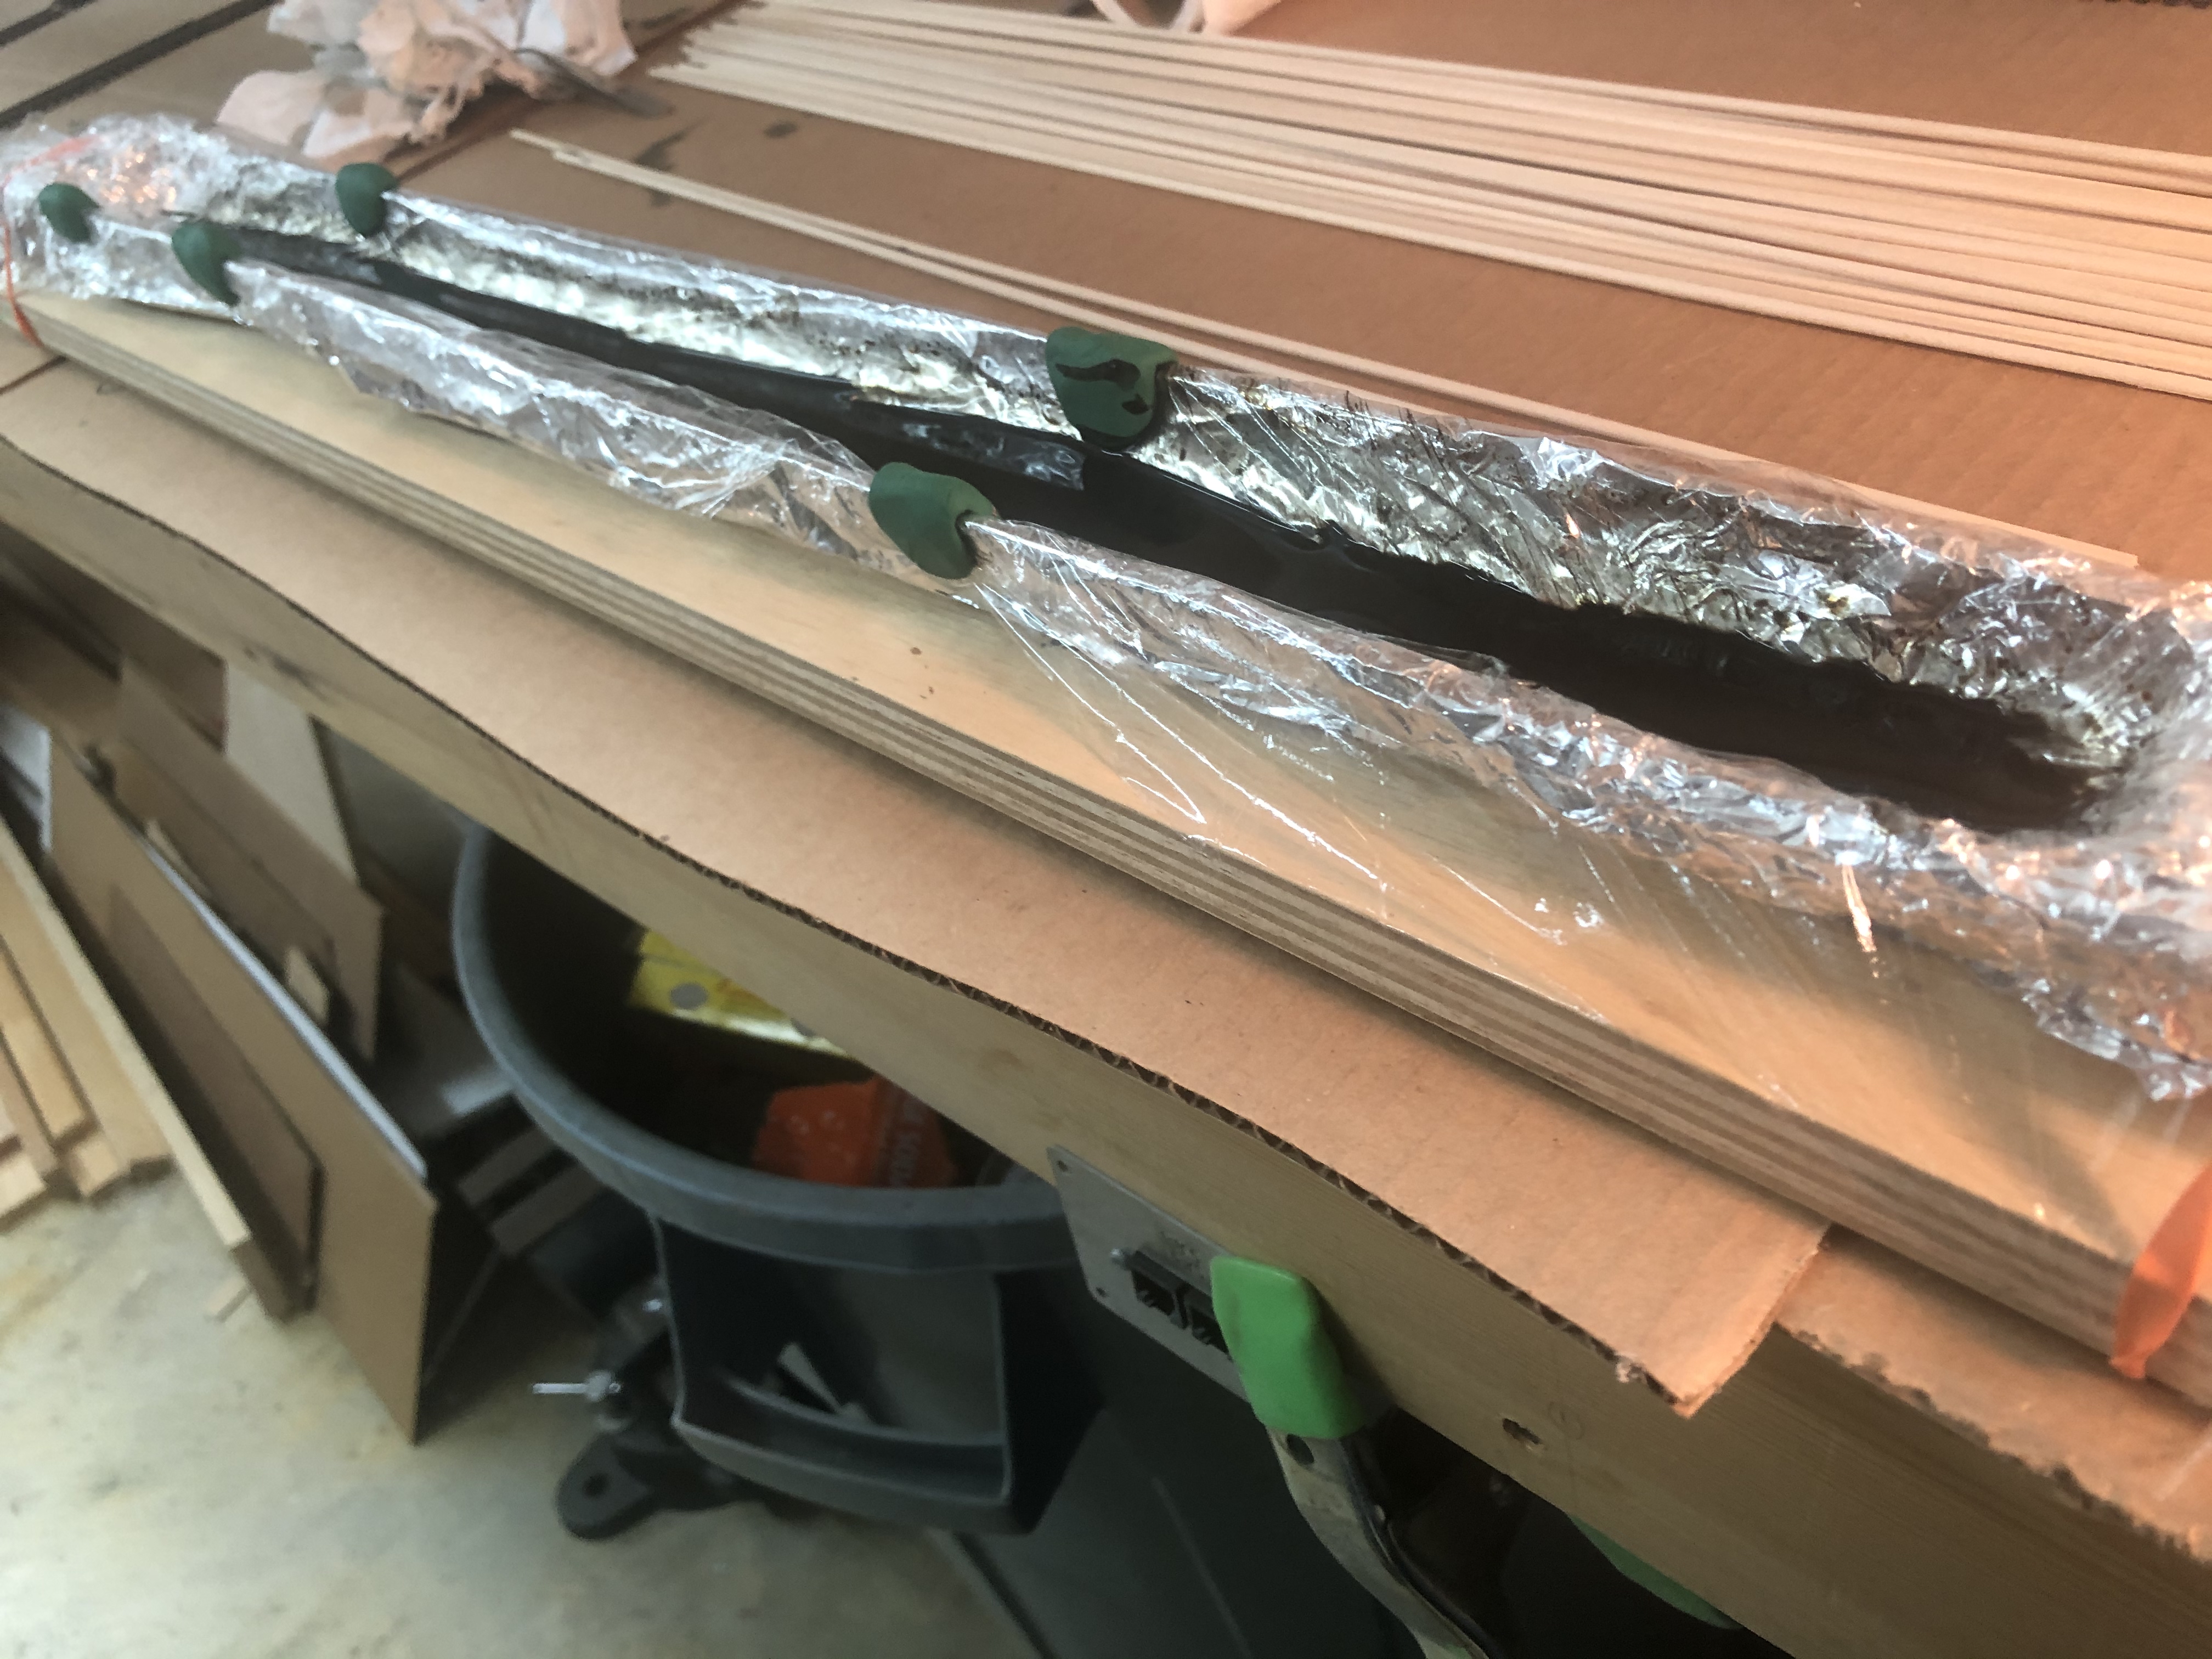
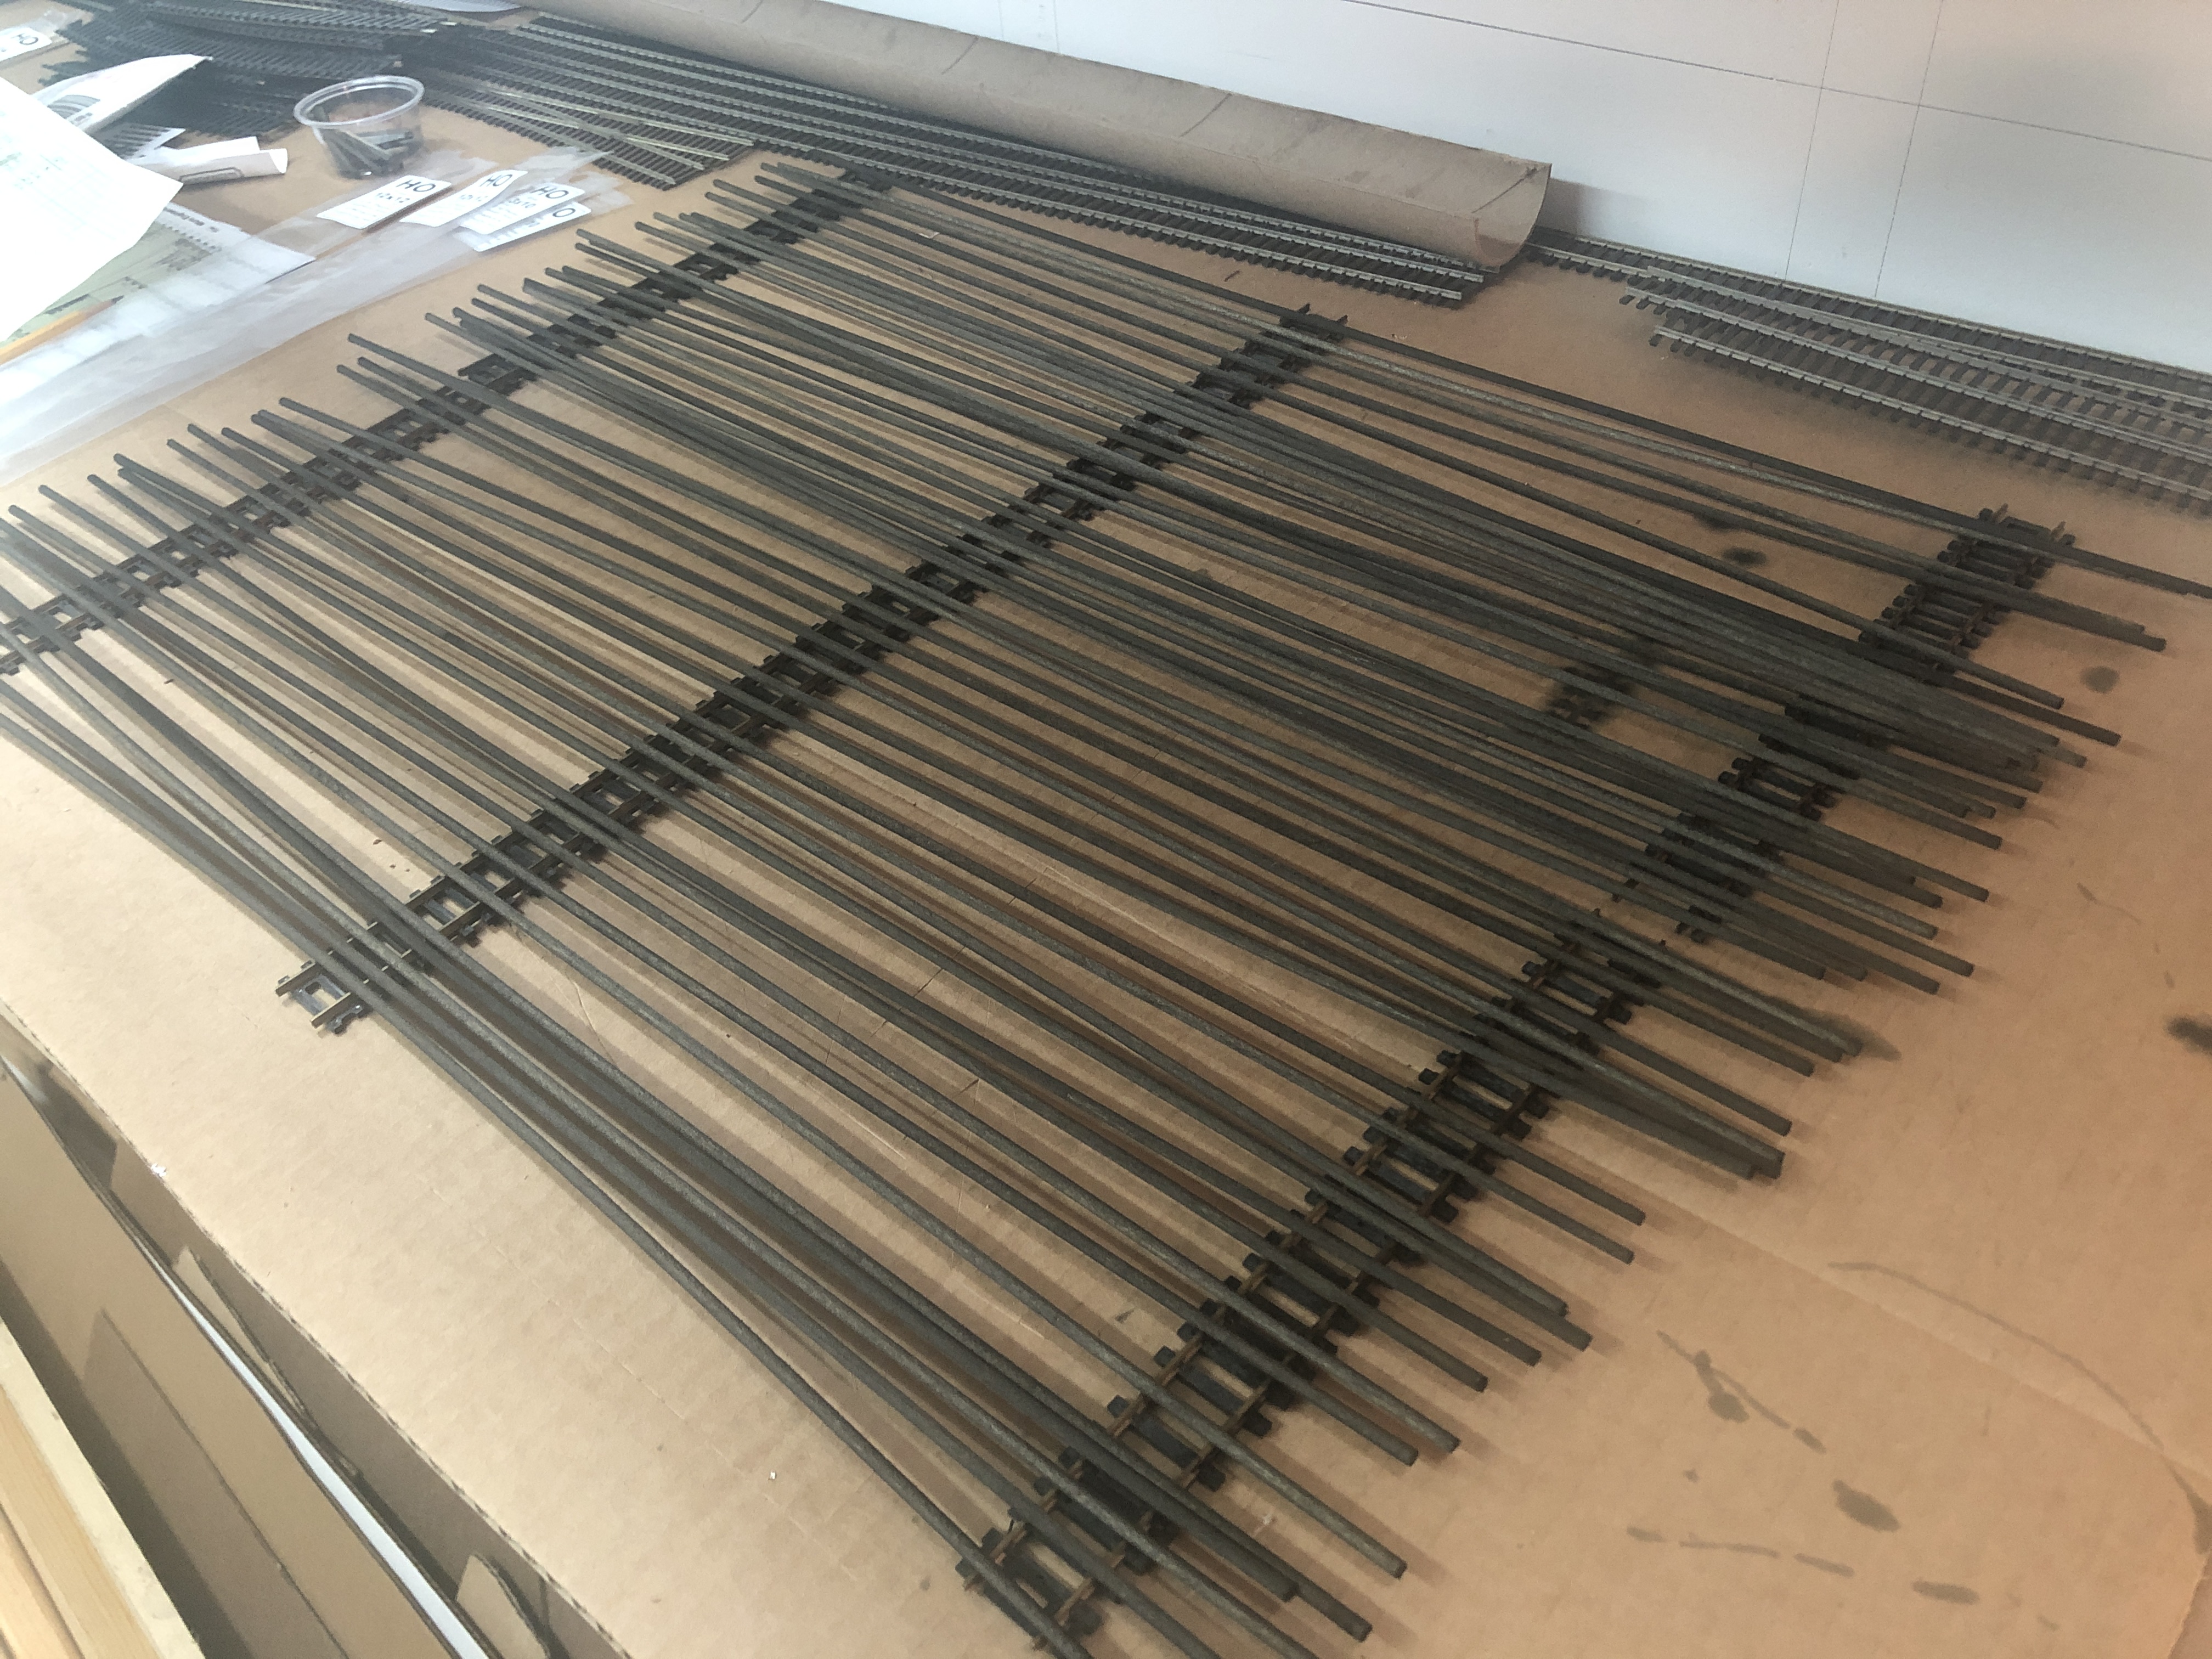
A lot going on in this area of the layout as I completed the backdrop, painted it and removed tracks to do mock-ups.

This was the state of the Bethesda area prior to the latest work.
I cut a piece of Masonite to fit the gap. I mounted the short pieces of lath wood to the wall to match the other panel, which sits about 1/4″ proud due to the shelf brackets.
New sheet installed, spackling done.
Overall view.
Covered the remaining two tracks with painters tape (the only ones left that were spiked down, and funny enough, would be ripped out later that day.) and painted the wall with ceiling flat and wall flat paint. (using what I had laying around.) In the future I will paint the sky color and clouds on.
As you will recall, I built four custom curved turnouts to facilitate the East end of Bethesda. I had never finished these so I set about cutting the gaps and cleaning the turnouts of the oxidation with a wire brush. This was tricky and eventually I used a cut-off disk in a Dremel tool, as it worked a treat. Next, I will solder feeder wires for the frog and other rails.

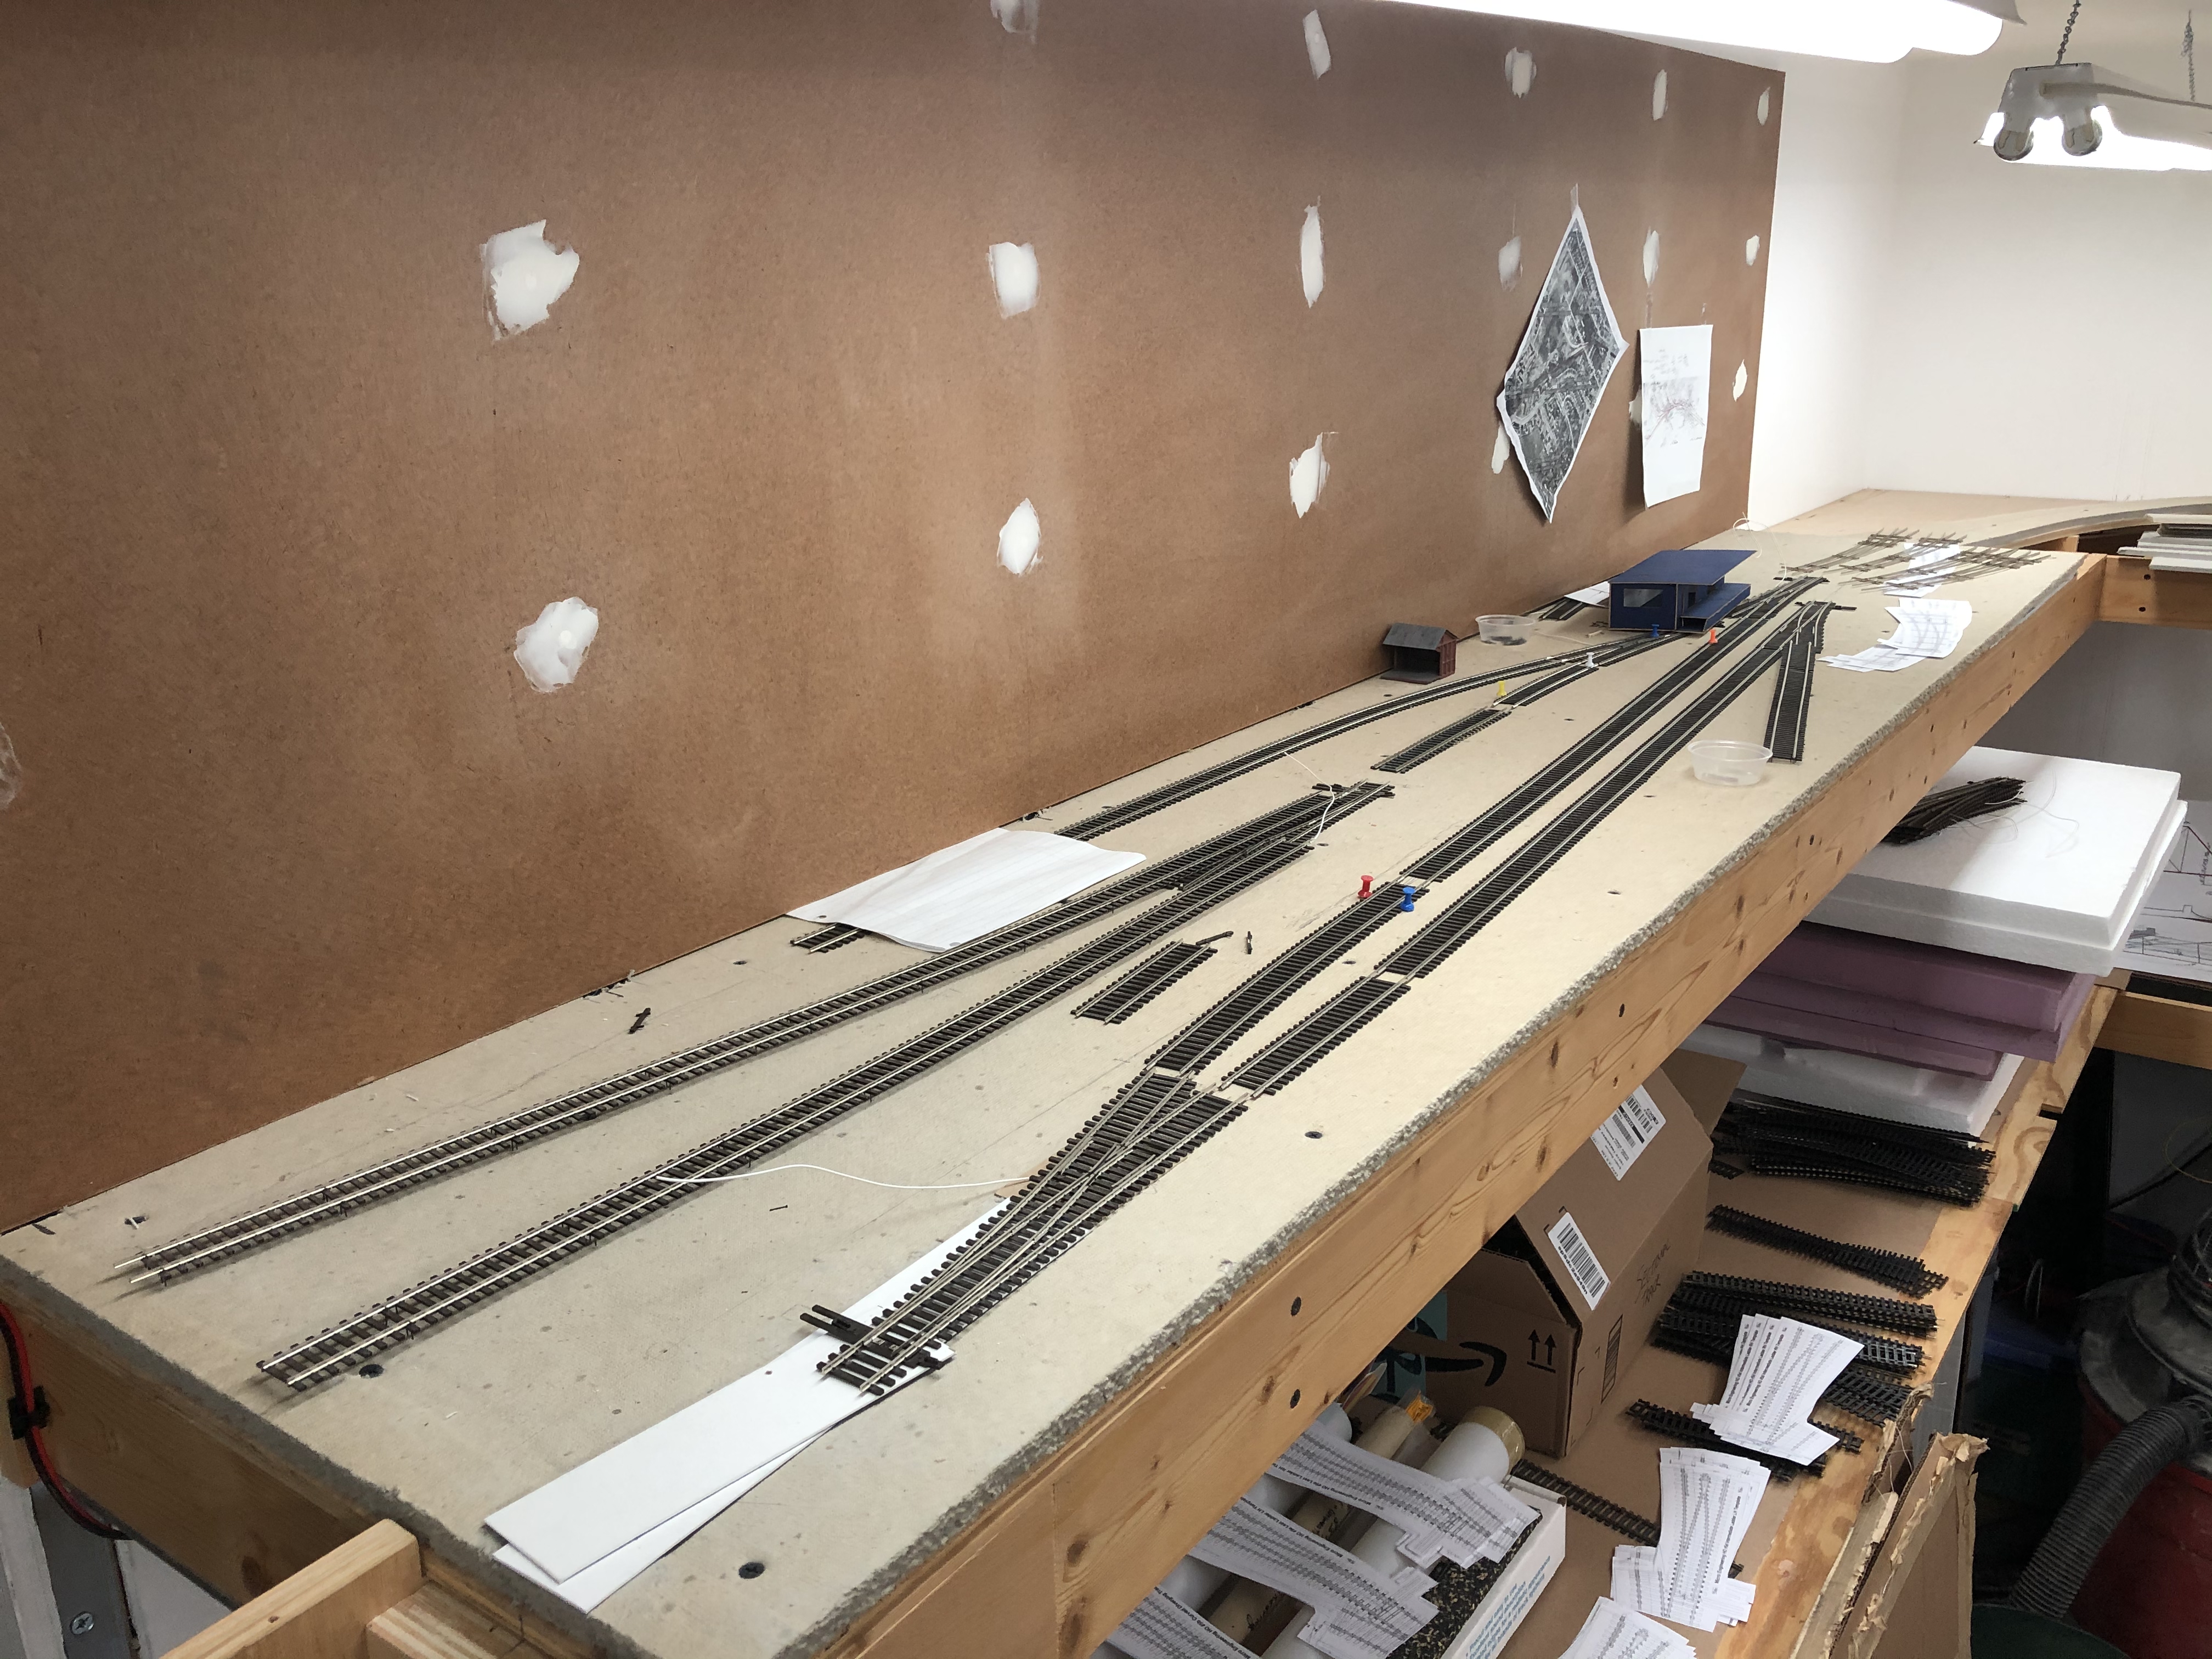
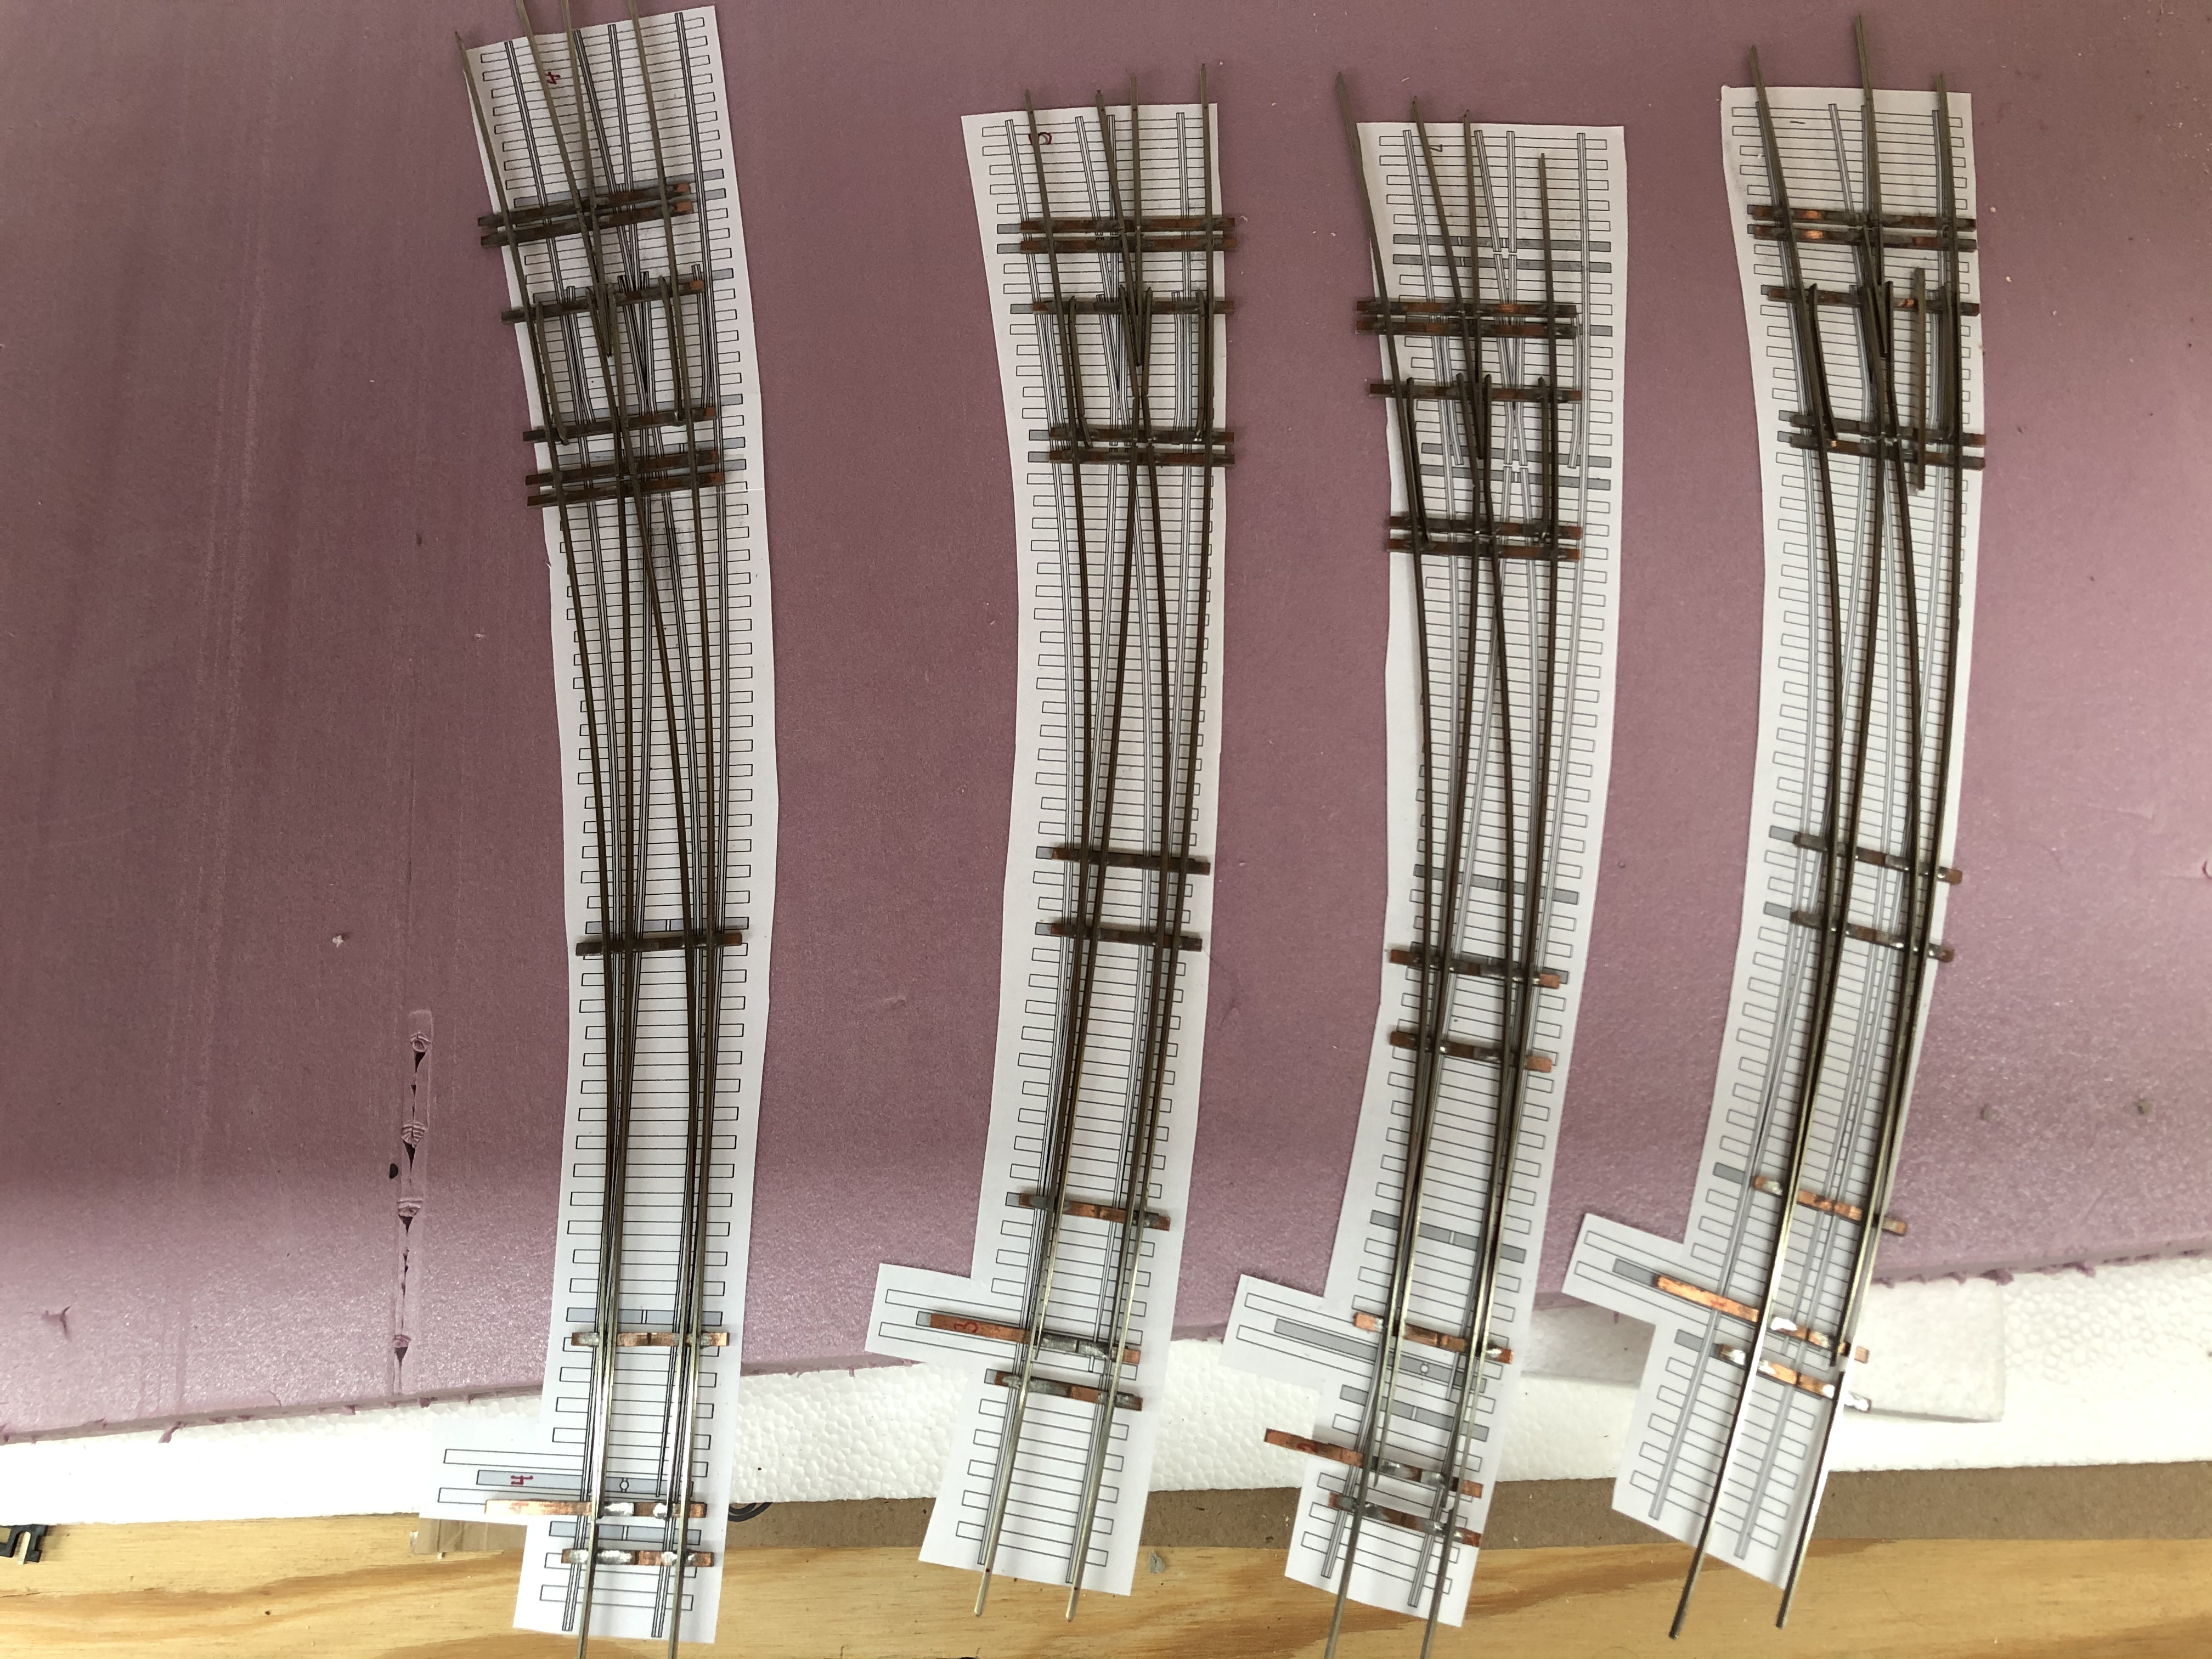
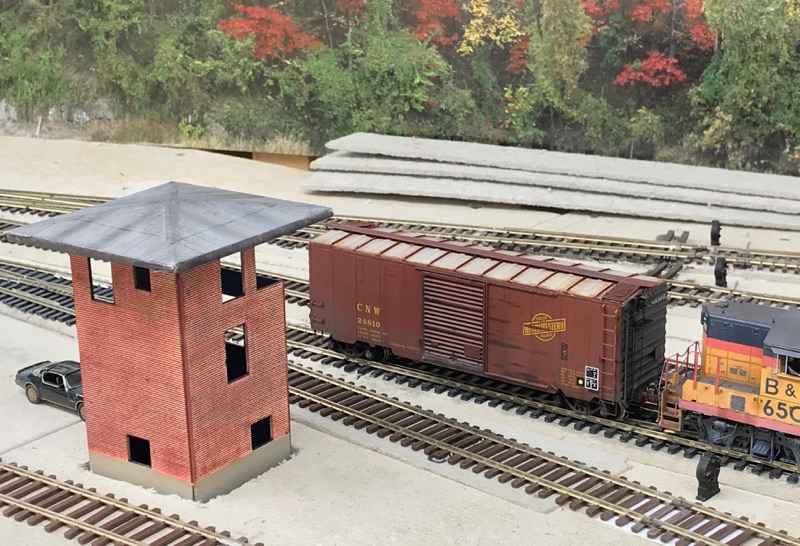
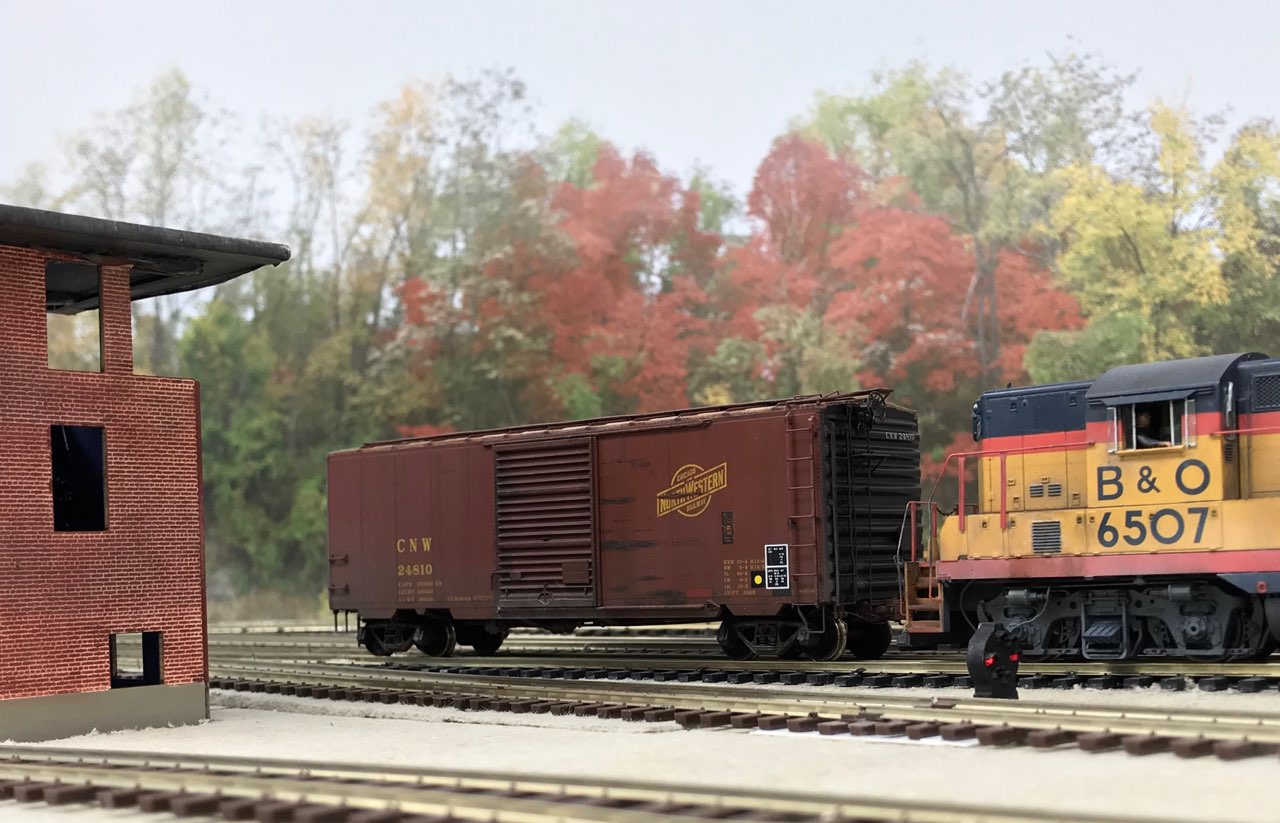
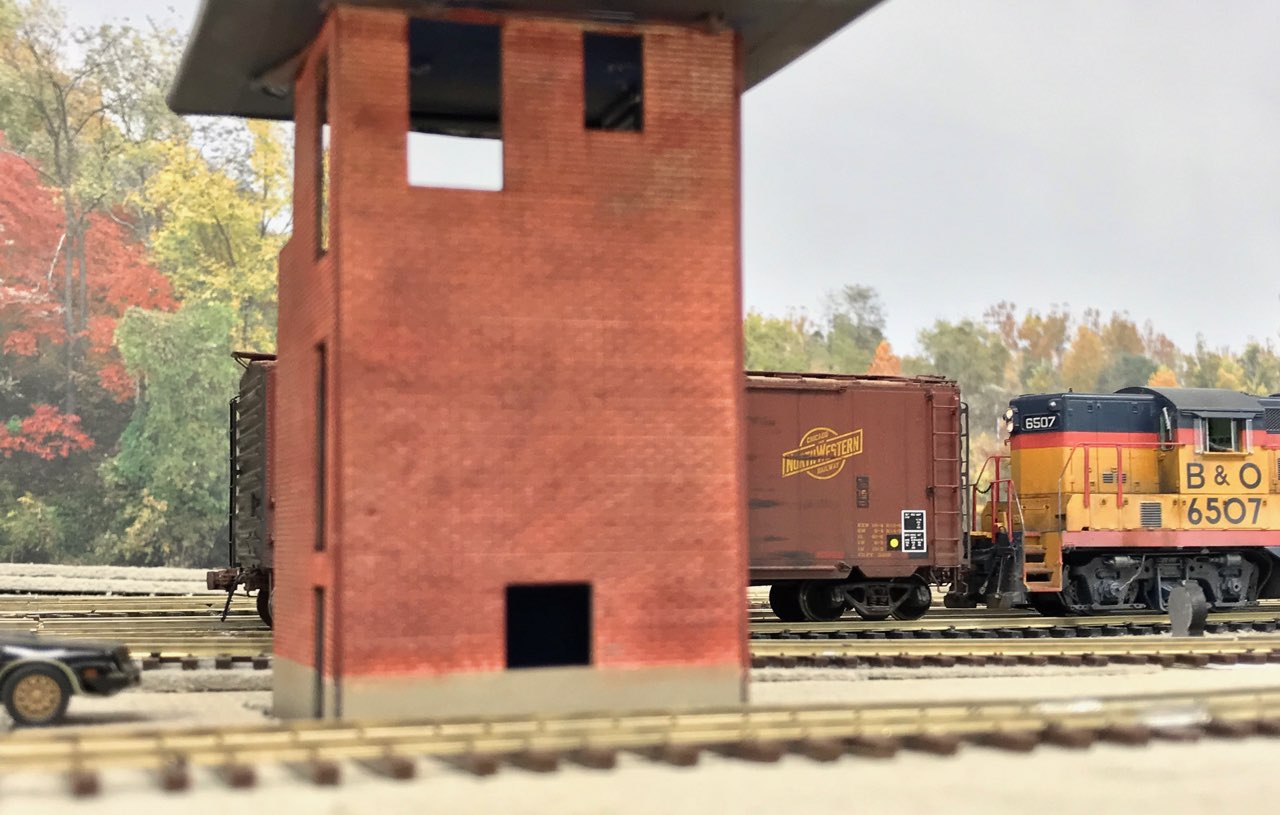
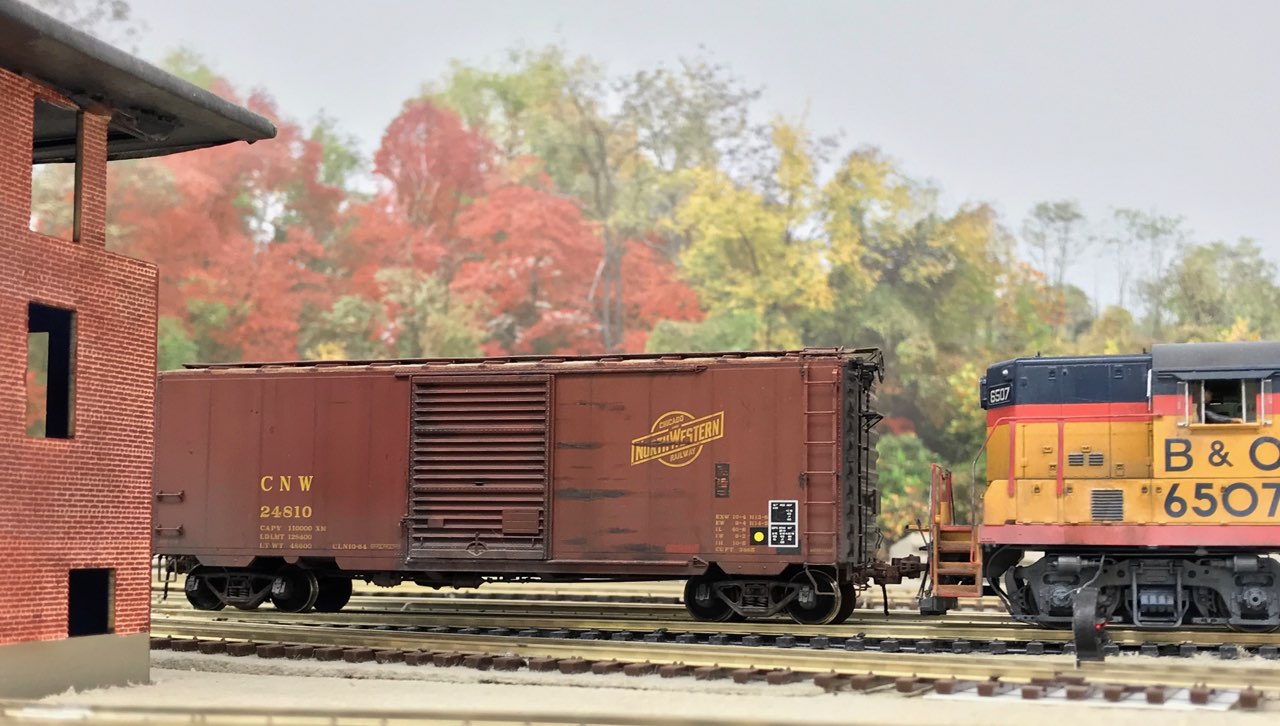
The three turnouts are sized as follows from right to left: #8 40″ outside radius, 30″ inside radius, #8 50″/35″, #8 60″/40″, and #10 60″/46″.
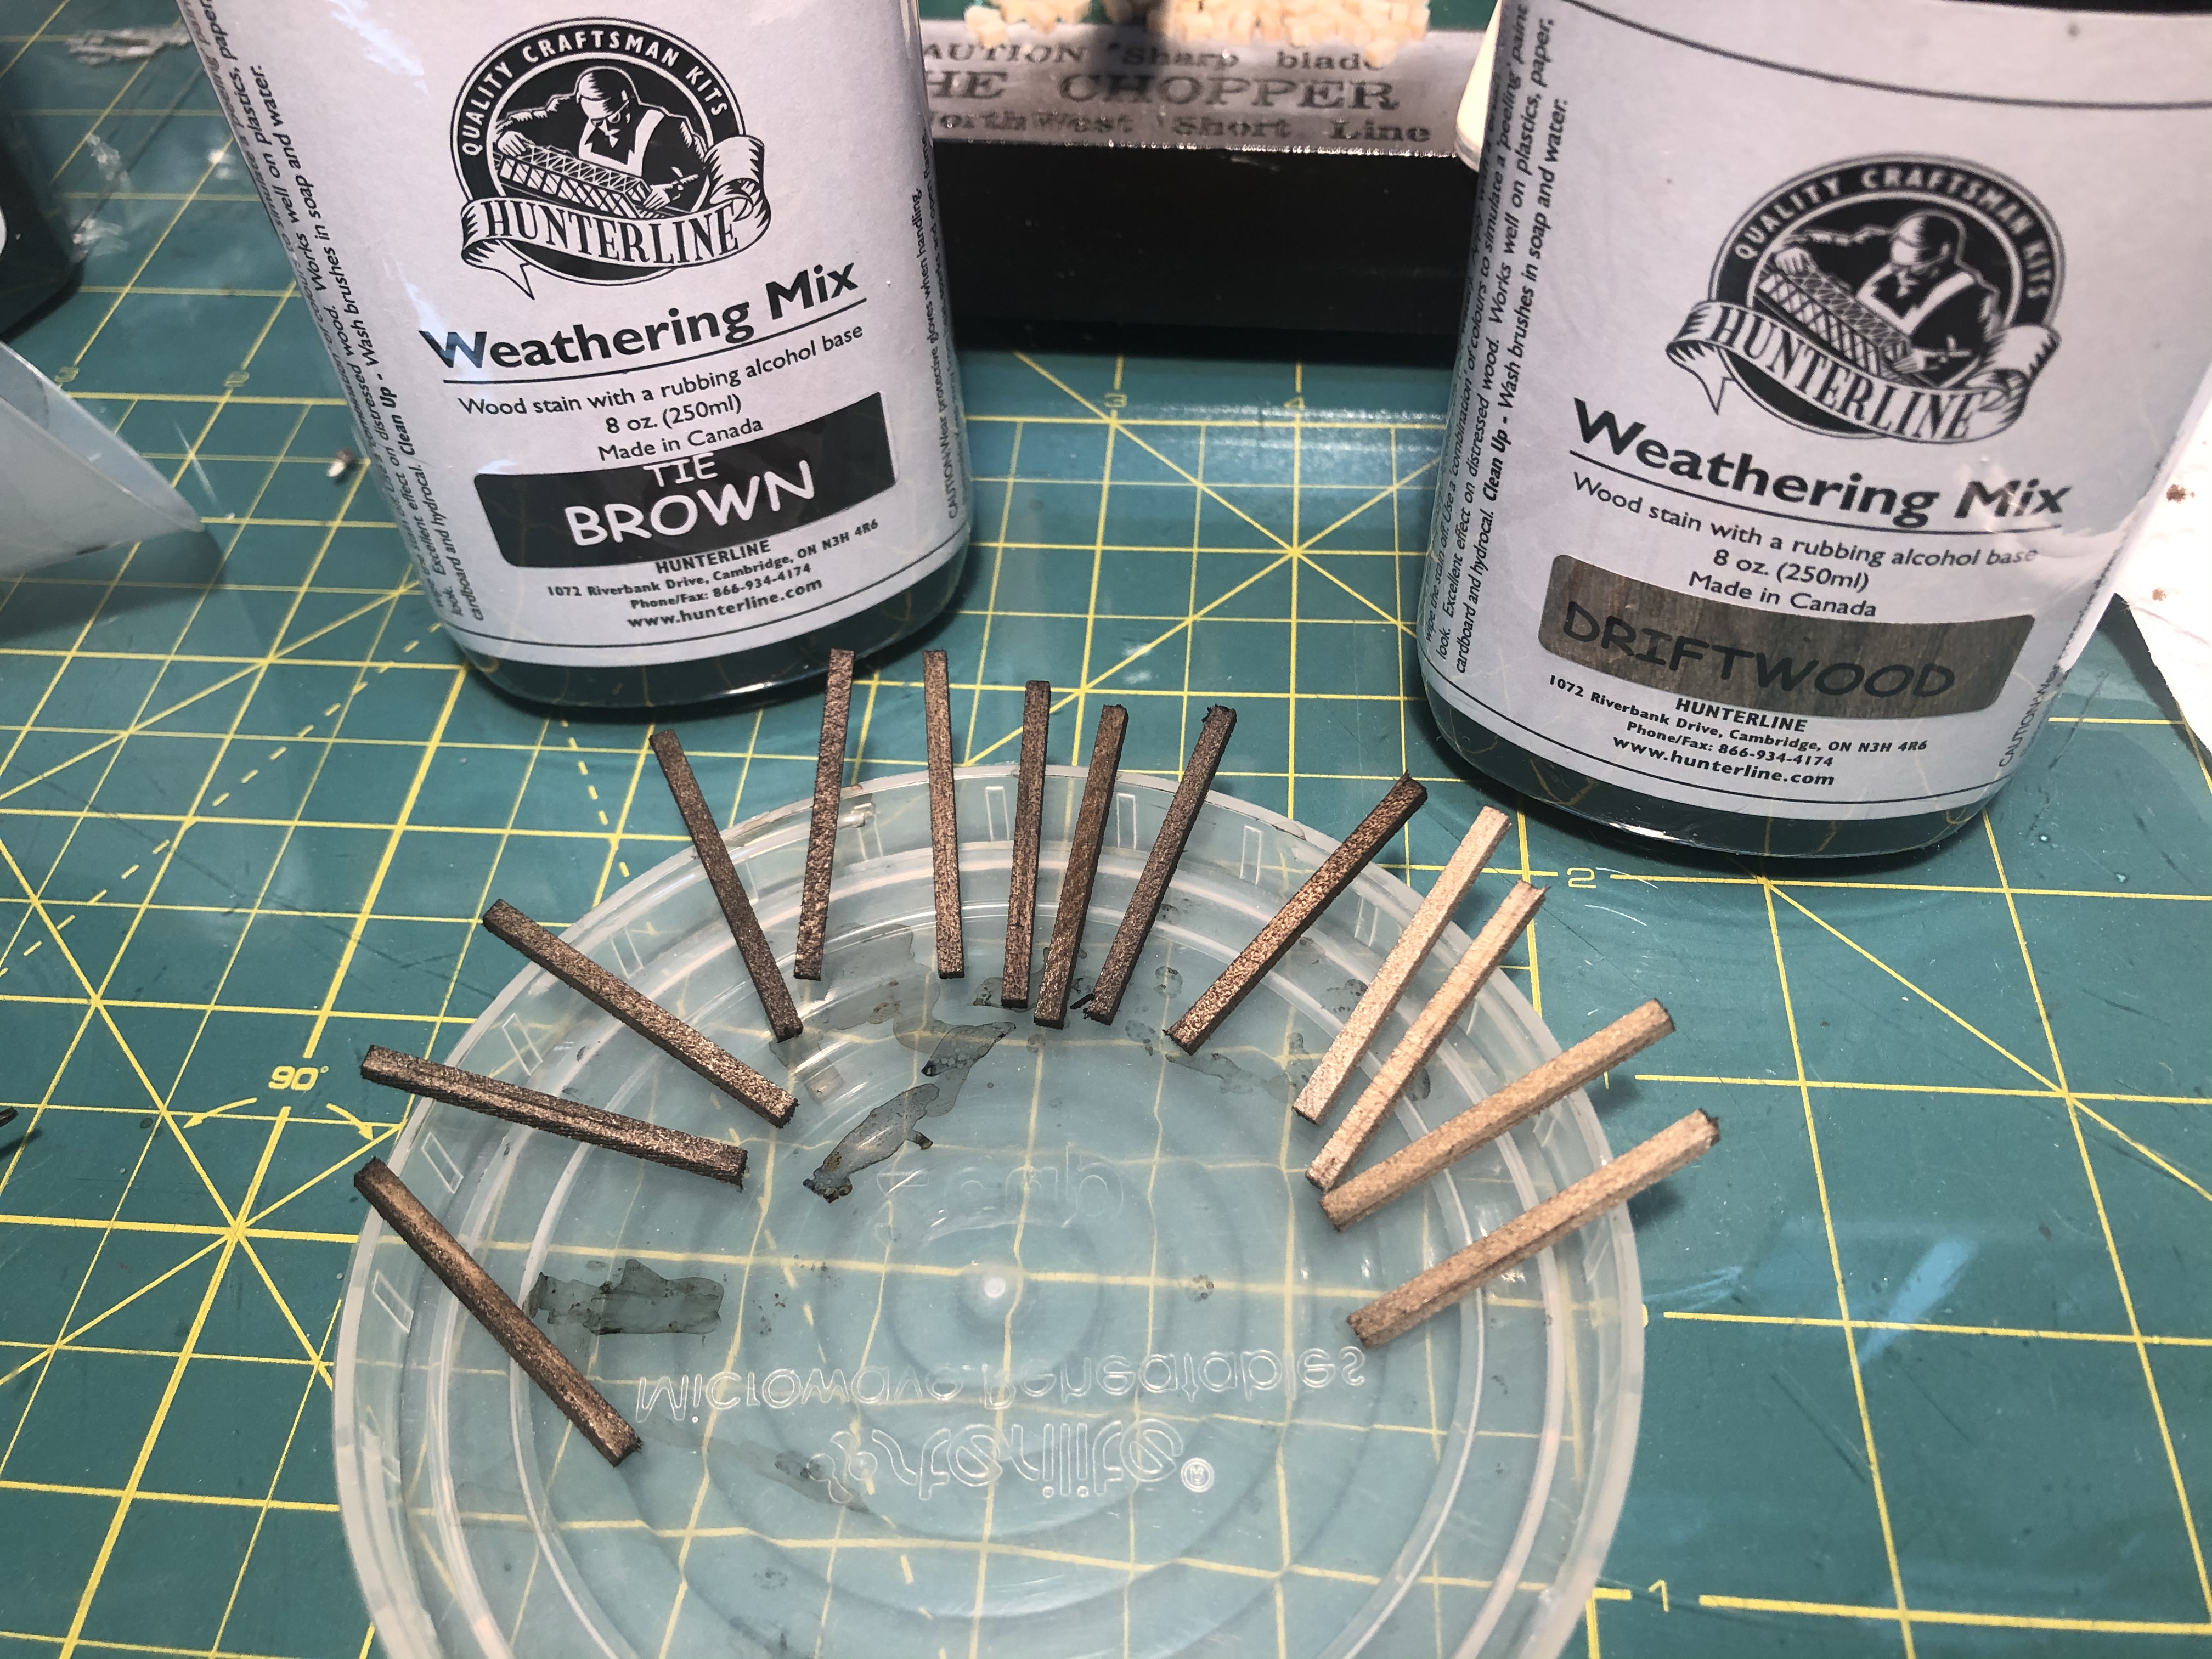
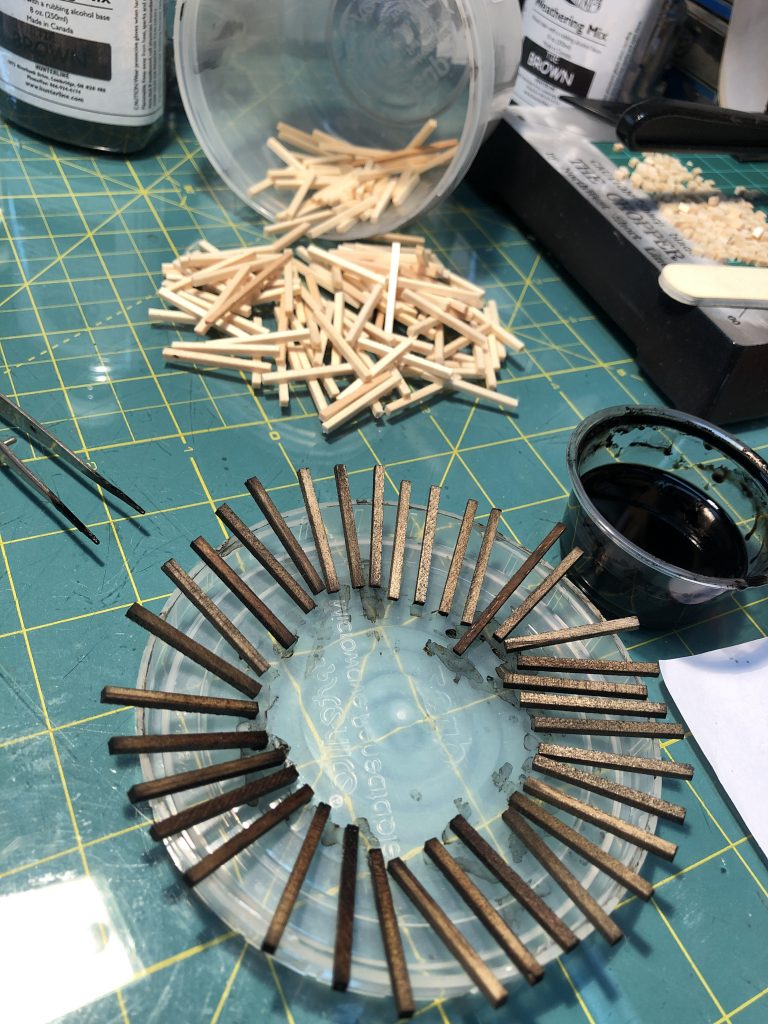
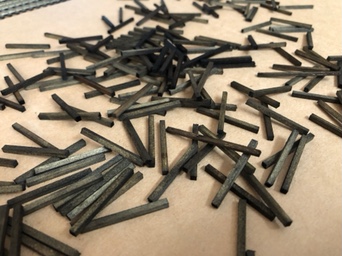
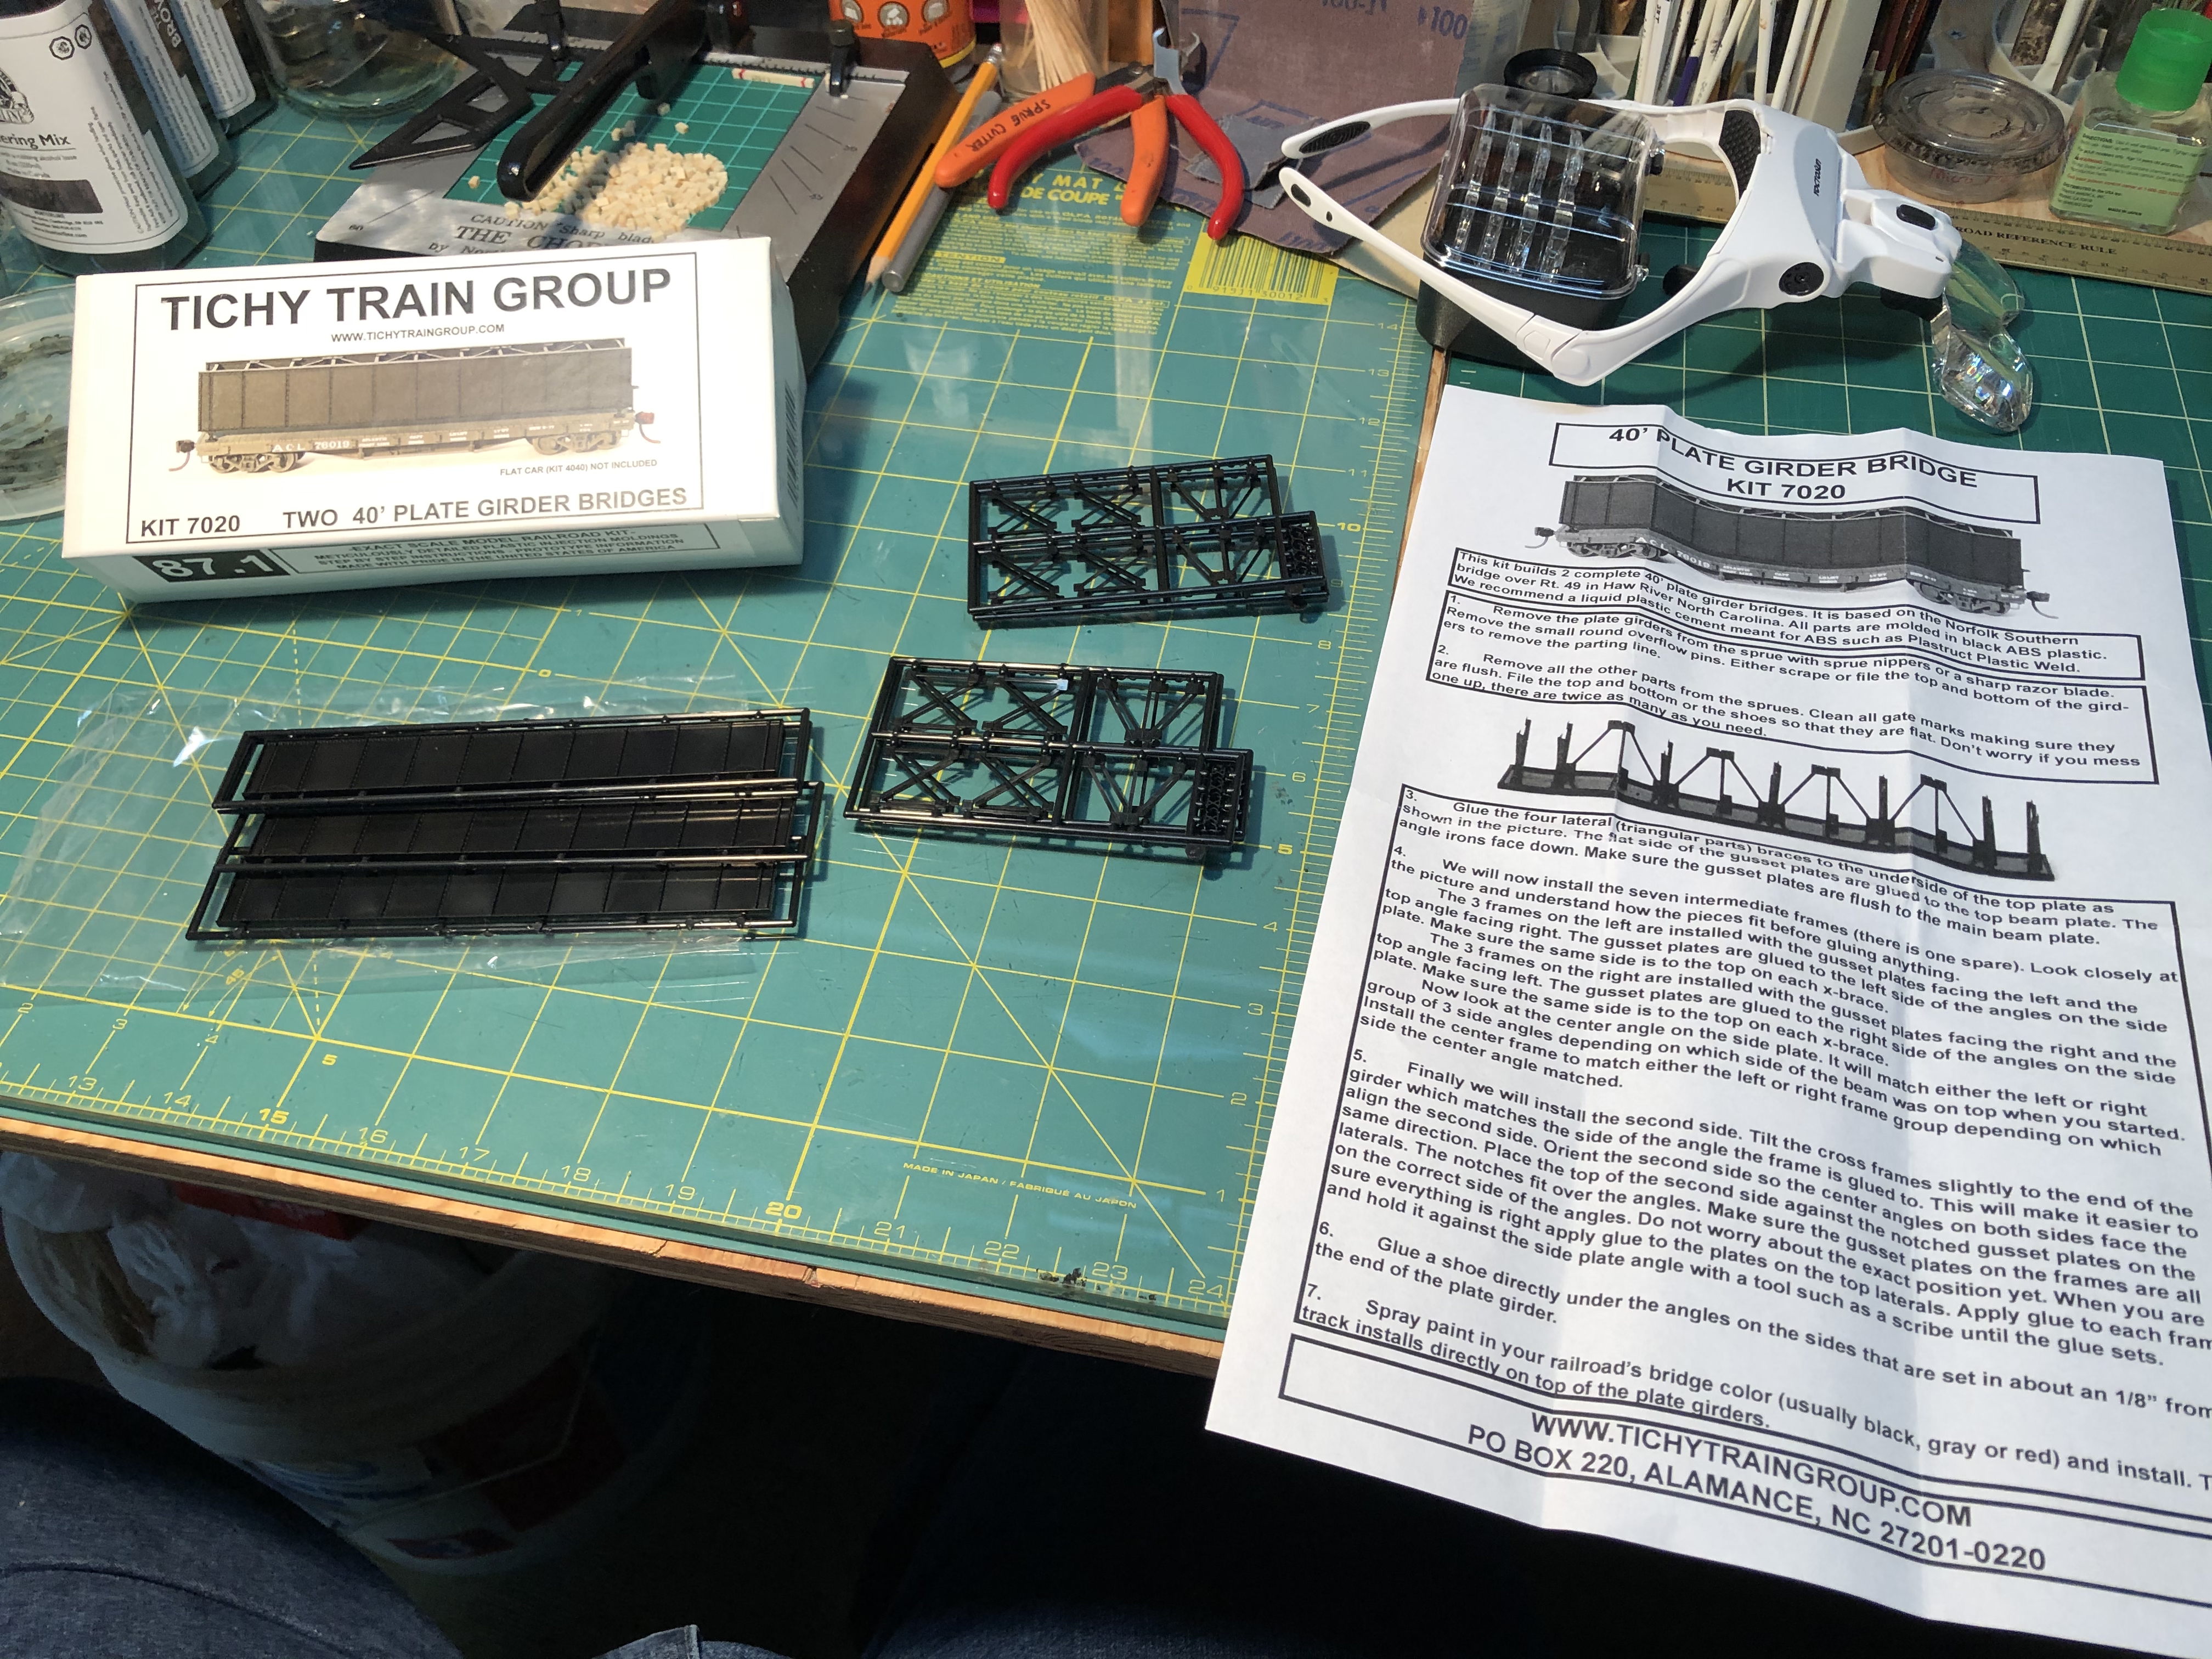
Now that the backdrop is in, I can get back to mocking up the track arrangement. Overall I am pleased with how it’s looking but I will need to tweak a few things. Feedback is welcome.
East end of Bethesda. The bridge on the right is Wisconsin Ave. The Griffith Coal Co. trestle is in the center.
I think I am going to build a small bump-out for the Bethesda Freight station. I want this to be a centerpiece of the scene and without the extension it will be stuffed in an awkward spot. I really want to give it a bit more space, so a small shelf will be in order here. There is plenty of space.
A higher perspective view of the three turnouts all lined up. The templates will be glued down allowing me to glue ties in place which I can then spike the turnouts to.

Modeling Update

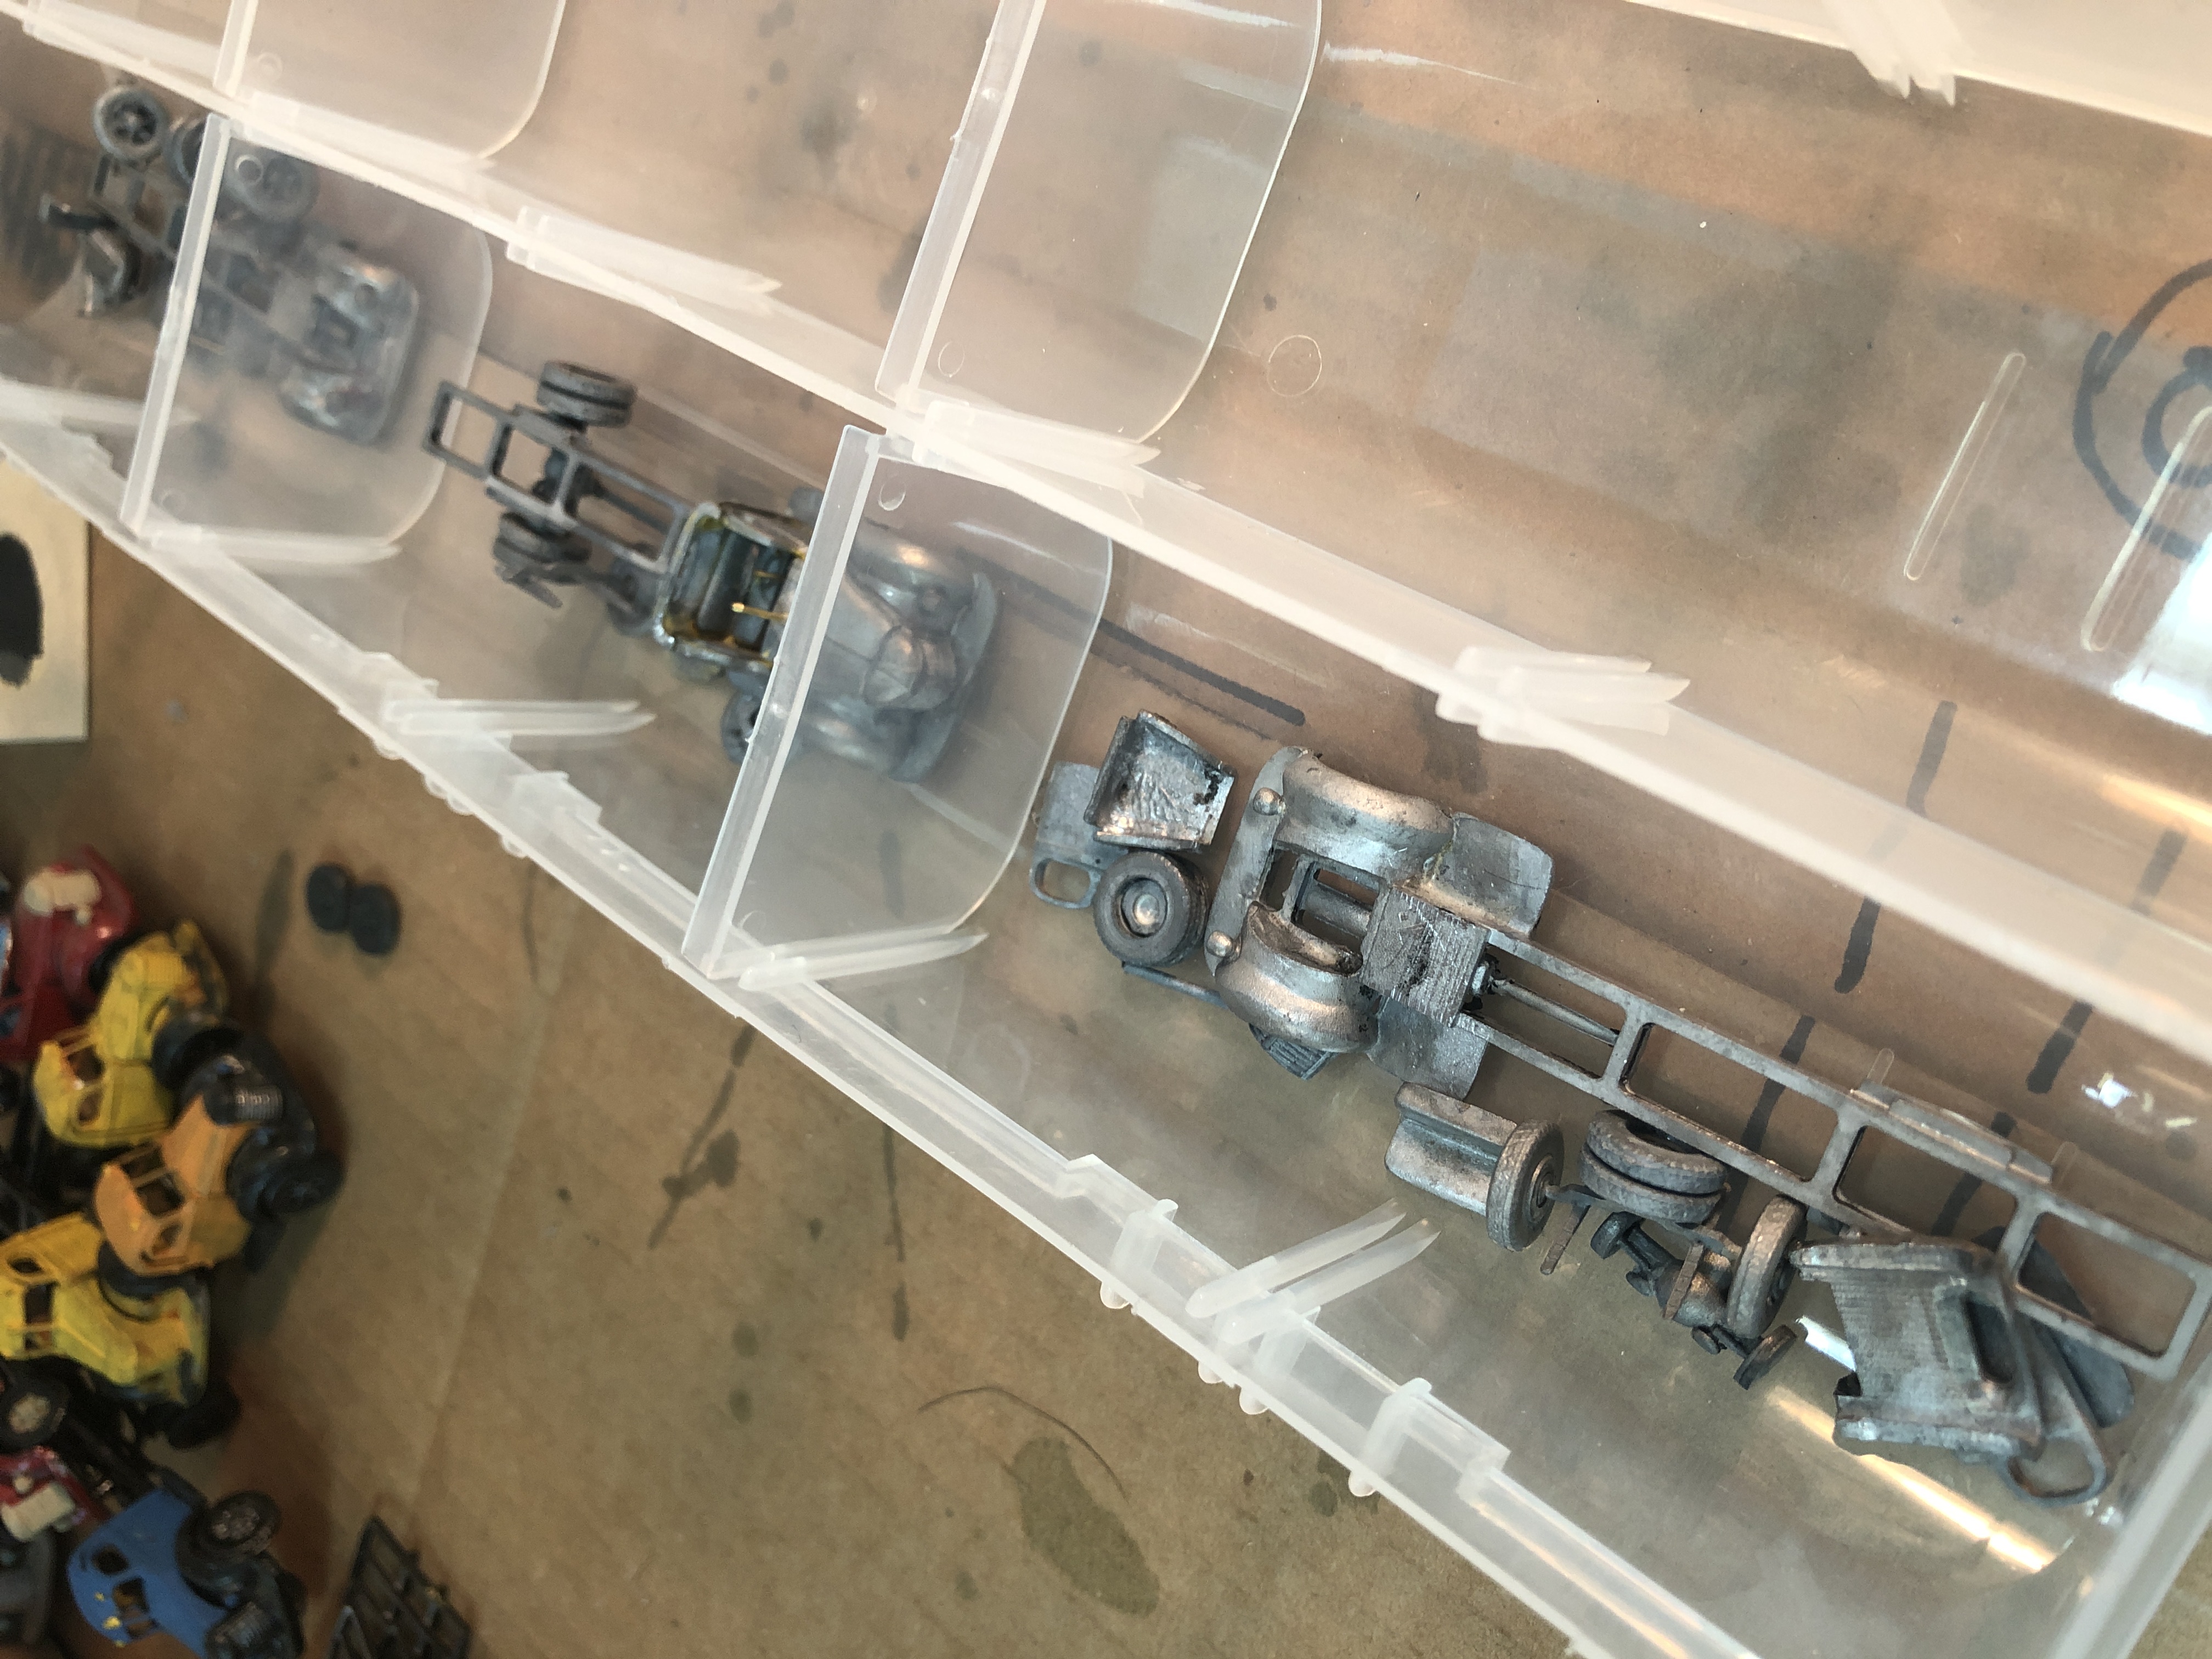
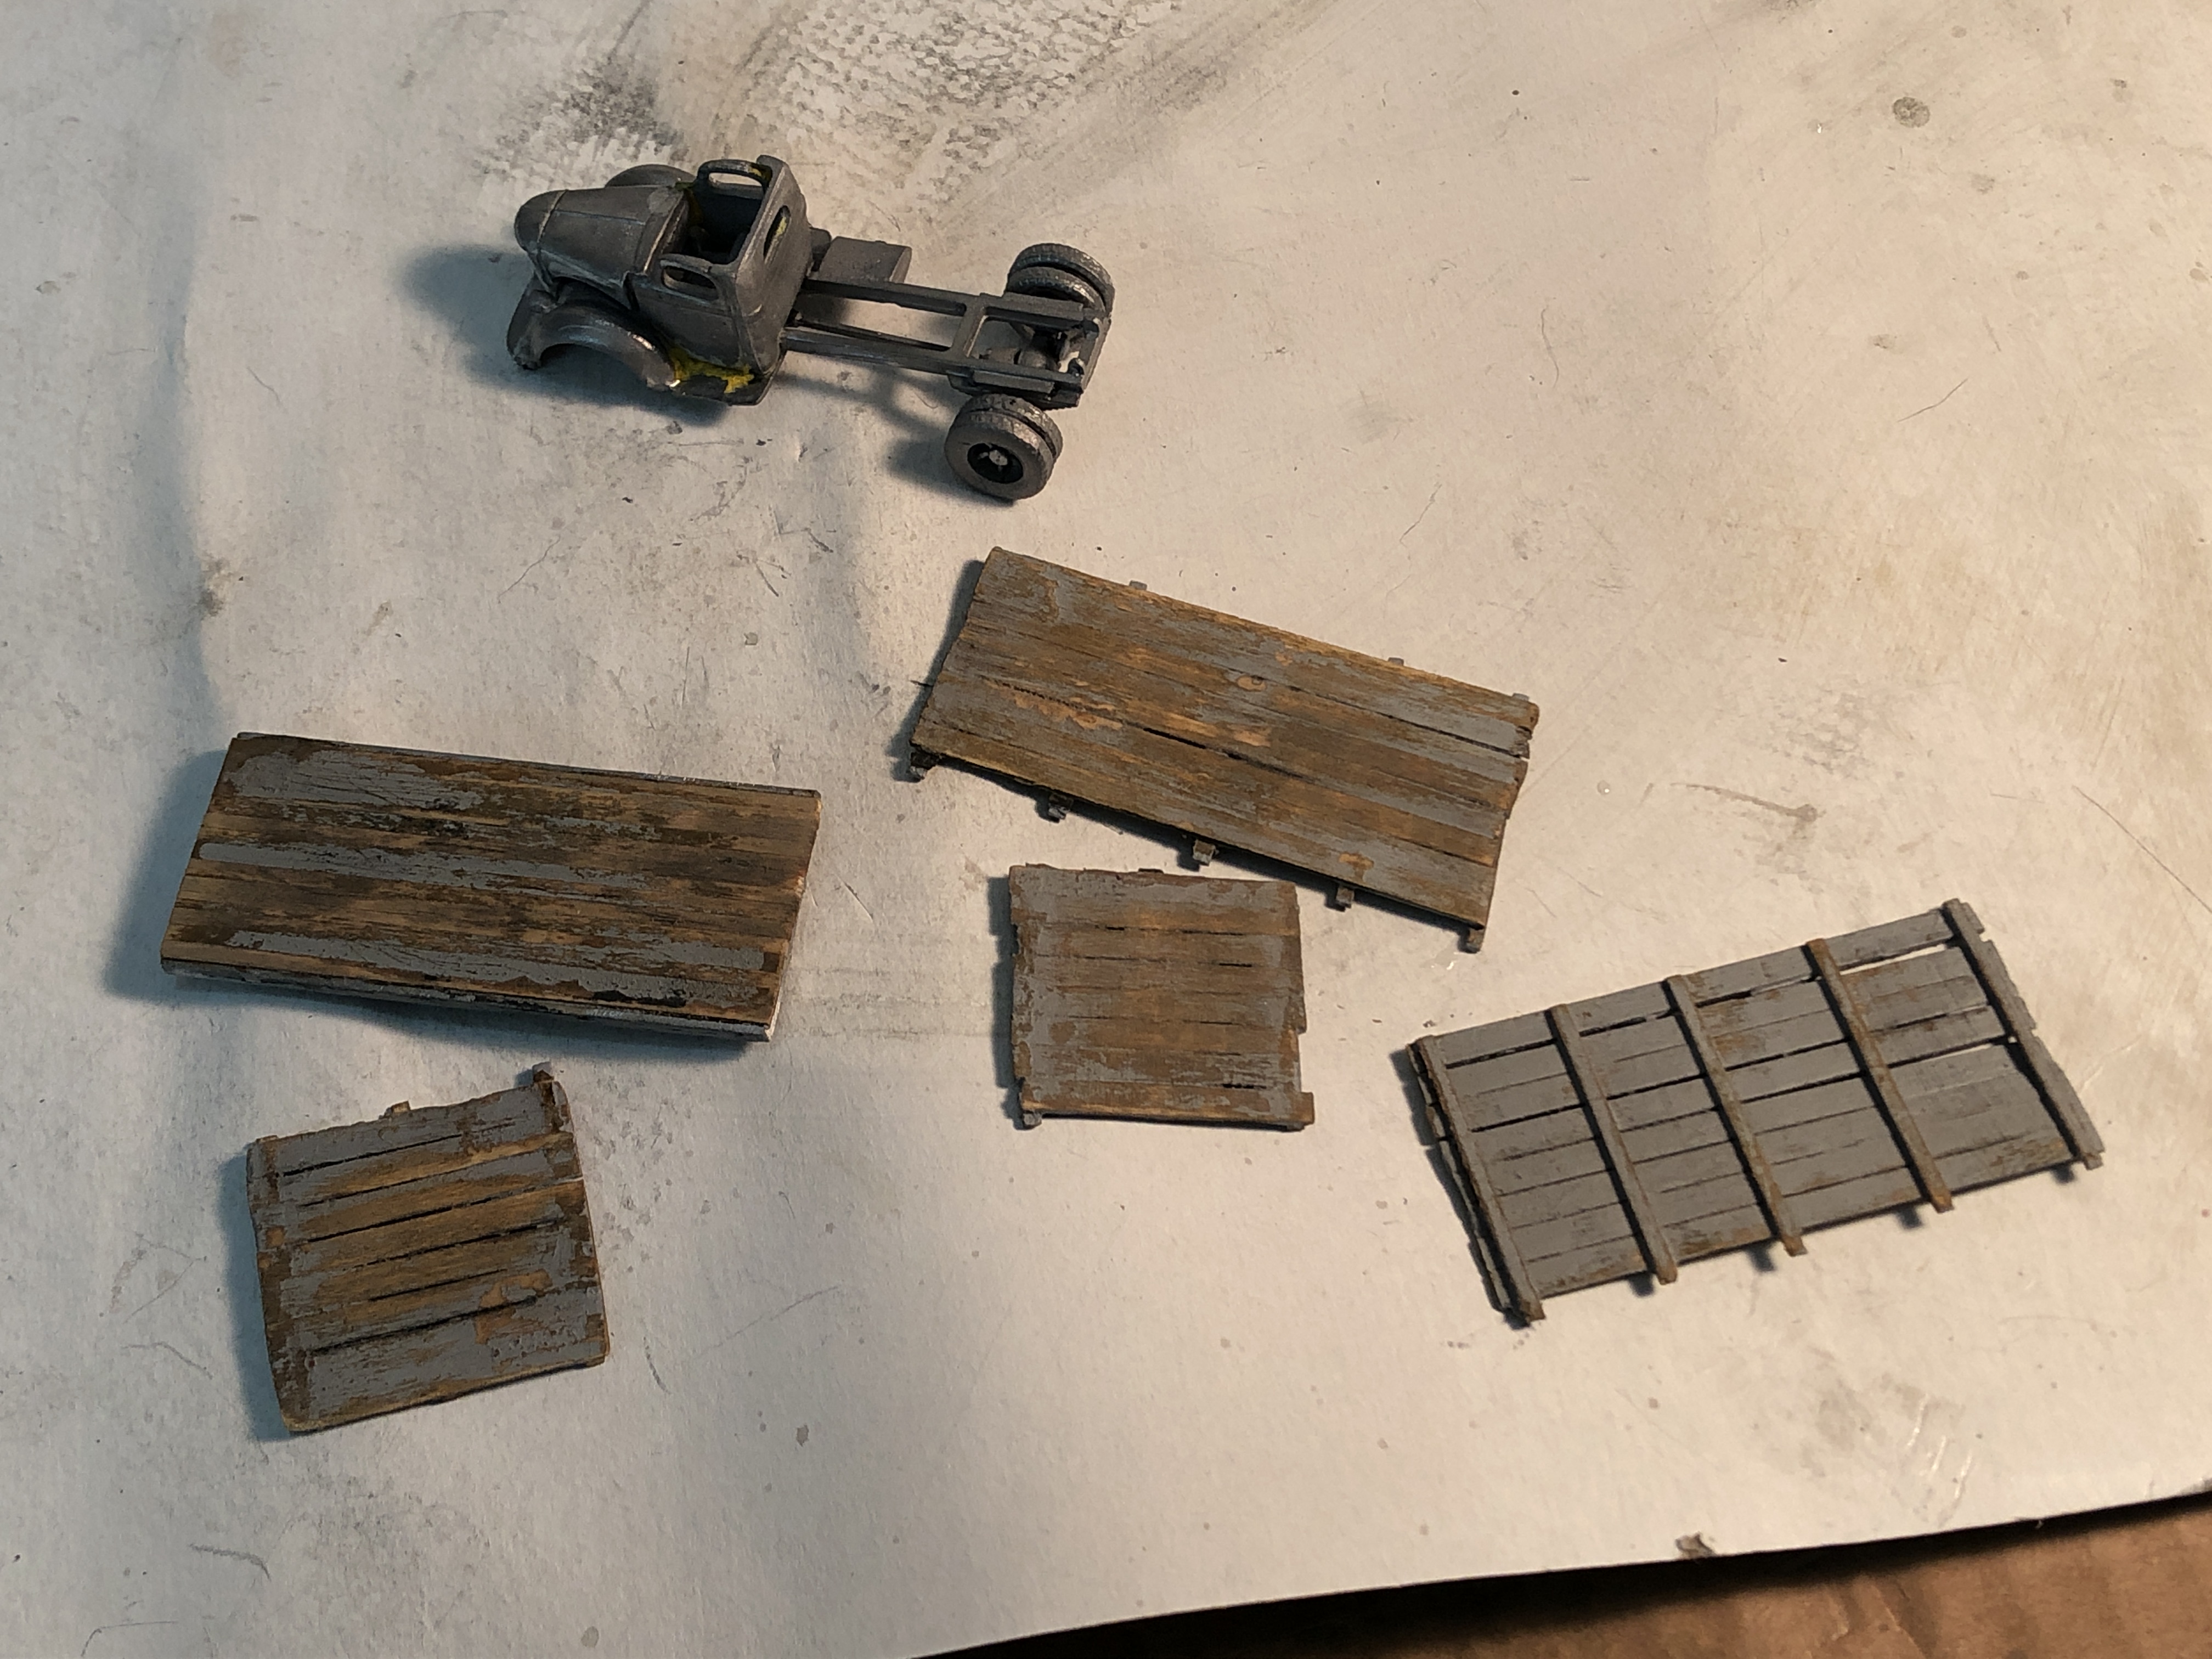
I have also been busy with various modeling tasks. A couple years ago I bought a large lot of HO scale vehicles, mostly die cast, some resin. In retrospect, I think I bit off more than I can chew and what I purchased are models that are going to take a lot of work to get where I want them for the layout. I’ve been prototype research on the vehicles in the hopes I can do some better paint jobs than the previous owner did. Here is one example:

The paint is all wrong, details are a bit coarse. It could be better. I set out to make this happen.

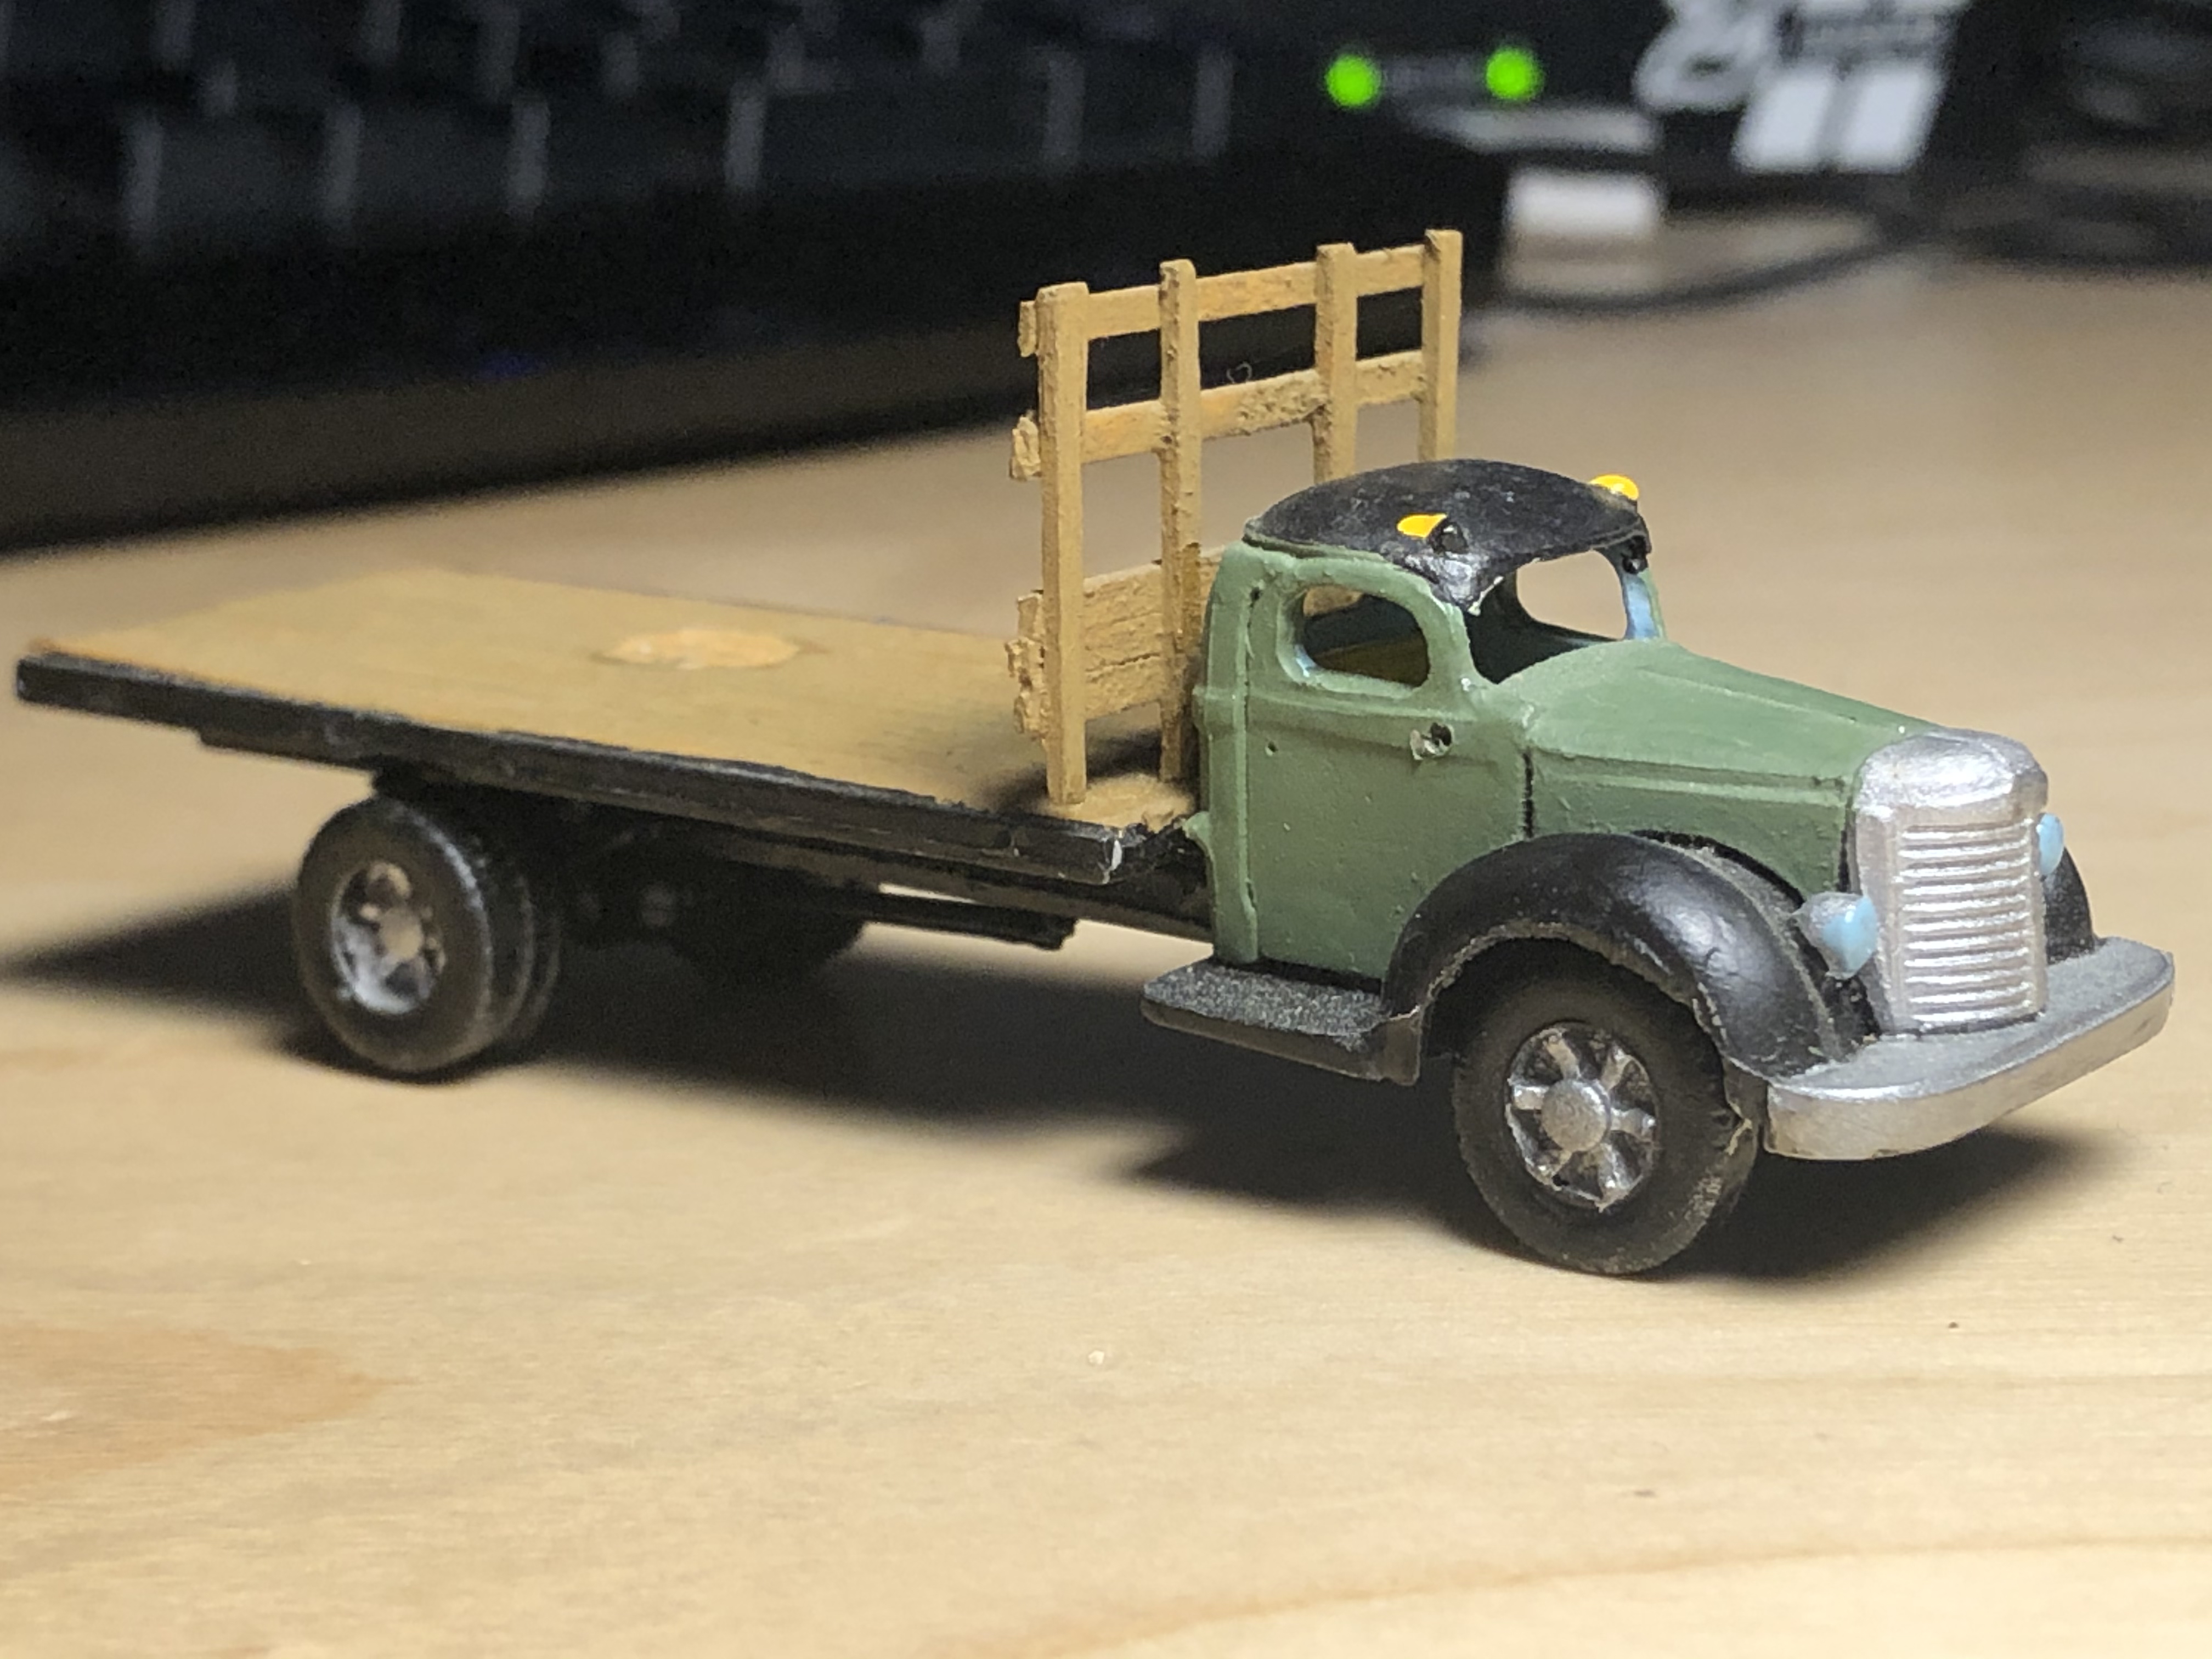
After consulting with my model RR Club, the consensus is they are Wiseman Model Services (ex Walker Motor Works) International KB-11 trucks. These models were made back in the 70s, I believe, and have gone through various iterations over the years. They are made up of several parts, are really fragile and don’t have a ton of detail. I did some research and decided to try some Super Clean for stripping these metal frames. The results were fantastic. Not only did the cleaner strip the paint, it also dissolves the glue after a few days, which allows me to get the models back into their parts form for reassembly and detailing.

For reassembly, I’ve been using the ZAP PT-36 Z-Poxy Quick-Shot 5-Minute Epoxy. This stuff is fantastic, old-school epoxy. Squirt out a bit from both tubes, mix and apply. The VERY nice thing, for this application, is that being 5-min epoxy means that it’s just enough and it gets just tacky enough to allow for me to put the truck cab parts together and rearrange them carefully as I go, until I’m satisfied, at which point it hardens. Once set, it’s rock-hard. I find that with CA, you kind of set it and forget it, with little room for adjustment as you fit things together. I ordered some BSI Insta-Set to help with getting the CA to cure quicker where I need it to.

Workstation.
Here is one of the chassis being reassembled. Here I’m mounting the rear axle/wheels and driveshaft. FIDDLY BITS.
Parts bins. You can see just how many pieces are in each kit.
That truck does not go with this bed, but both are in process of reassembly. The shorter bed truck will hold a small tank. The wooden bed was originally painted brown. I primed it with the intention of painting it. But, when I drew a file across it, the weathering effect was fantastic! I decided to use coarse sandpaper and a file to scrape and scratch the paint away. A bit of dust and grime will finish it. I think I will use it as a barrel-hauling rig for the Waring Barrel House in Georgetown!
This is a long flatbed trailer. I sanded it down and repaired the side rails by replacing the styrene strips. I am masking it so I can paint the metal and then weather the nice wood deck. Unfortunately the model is missing its axles so I will need to figure out a replacement.

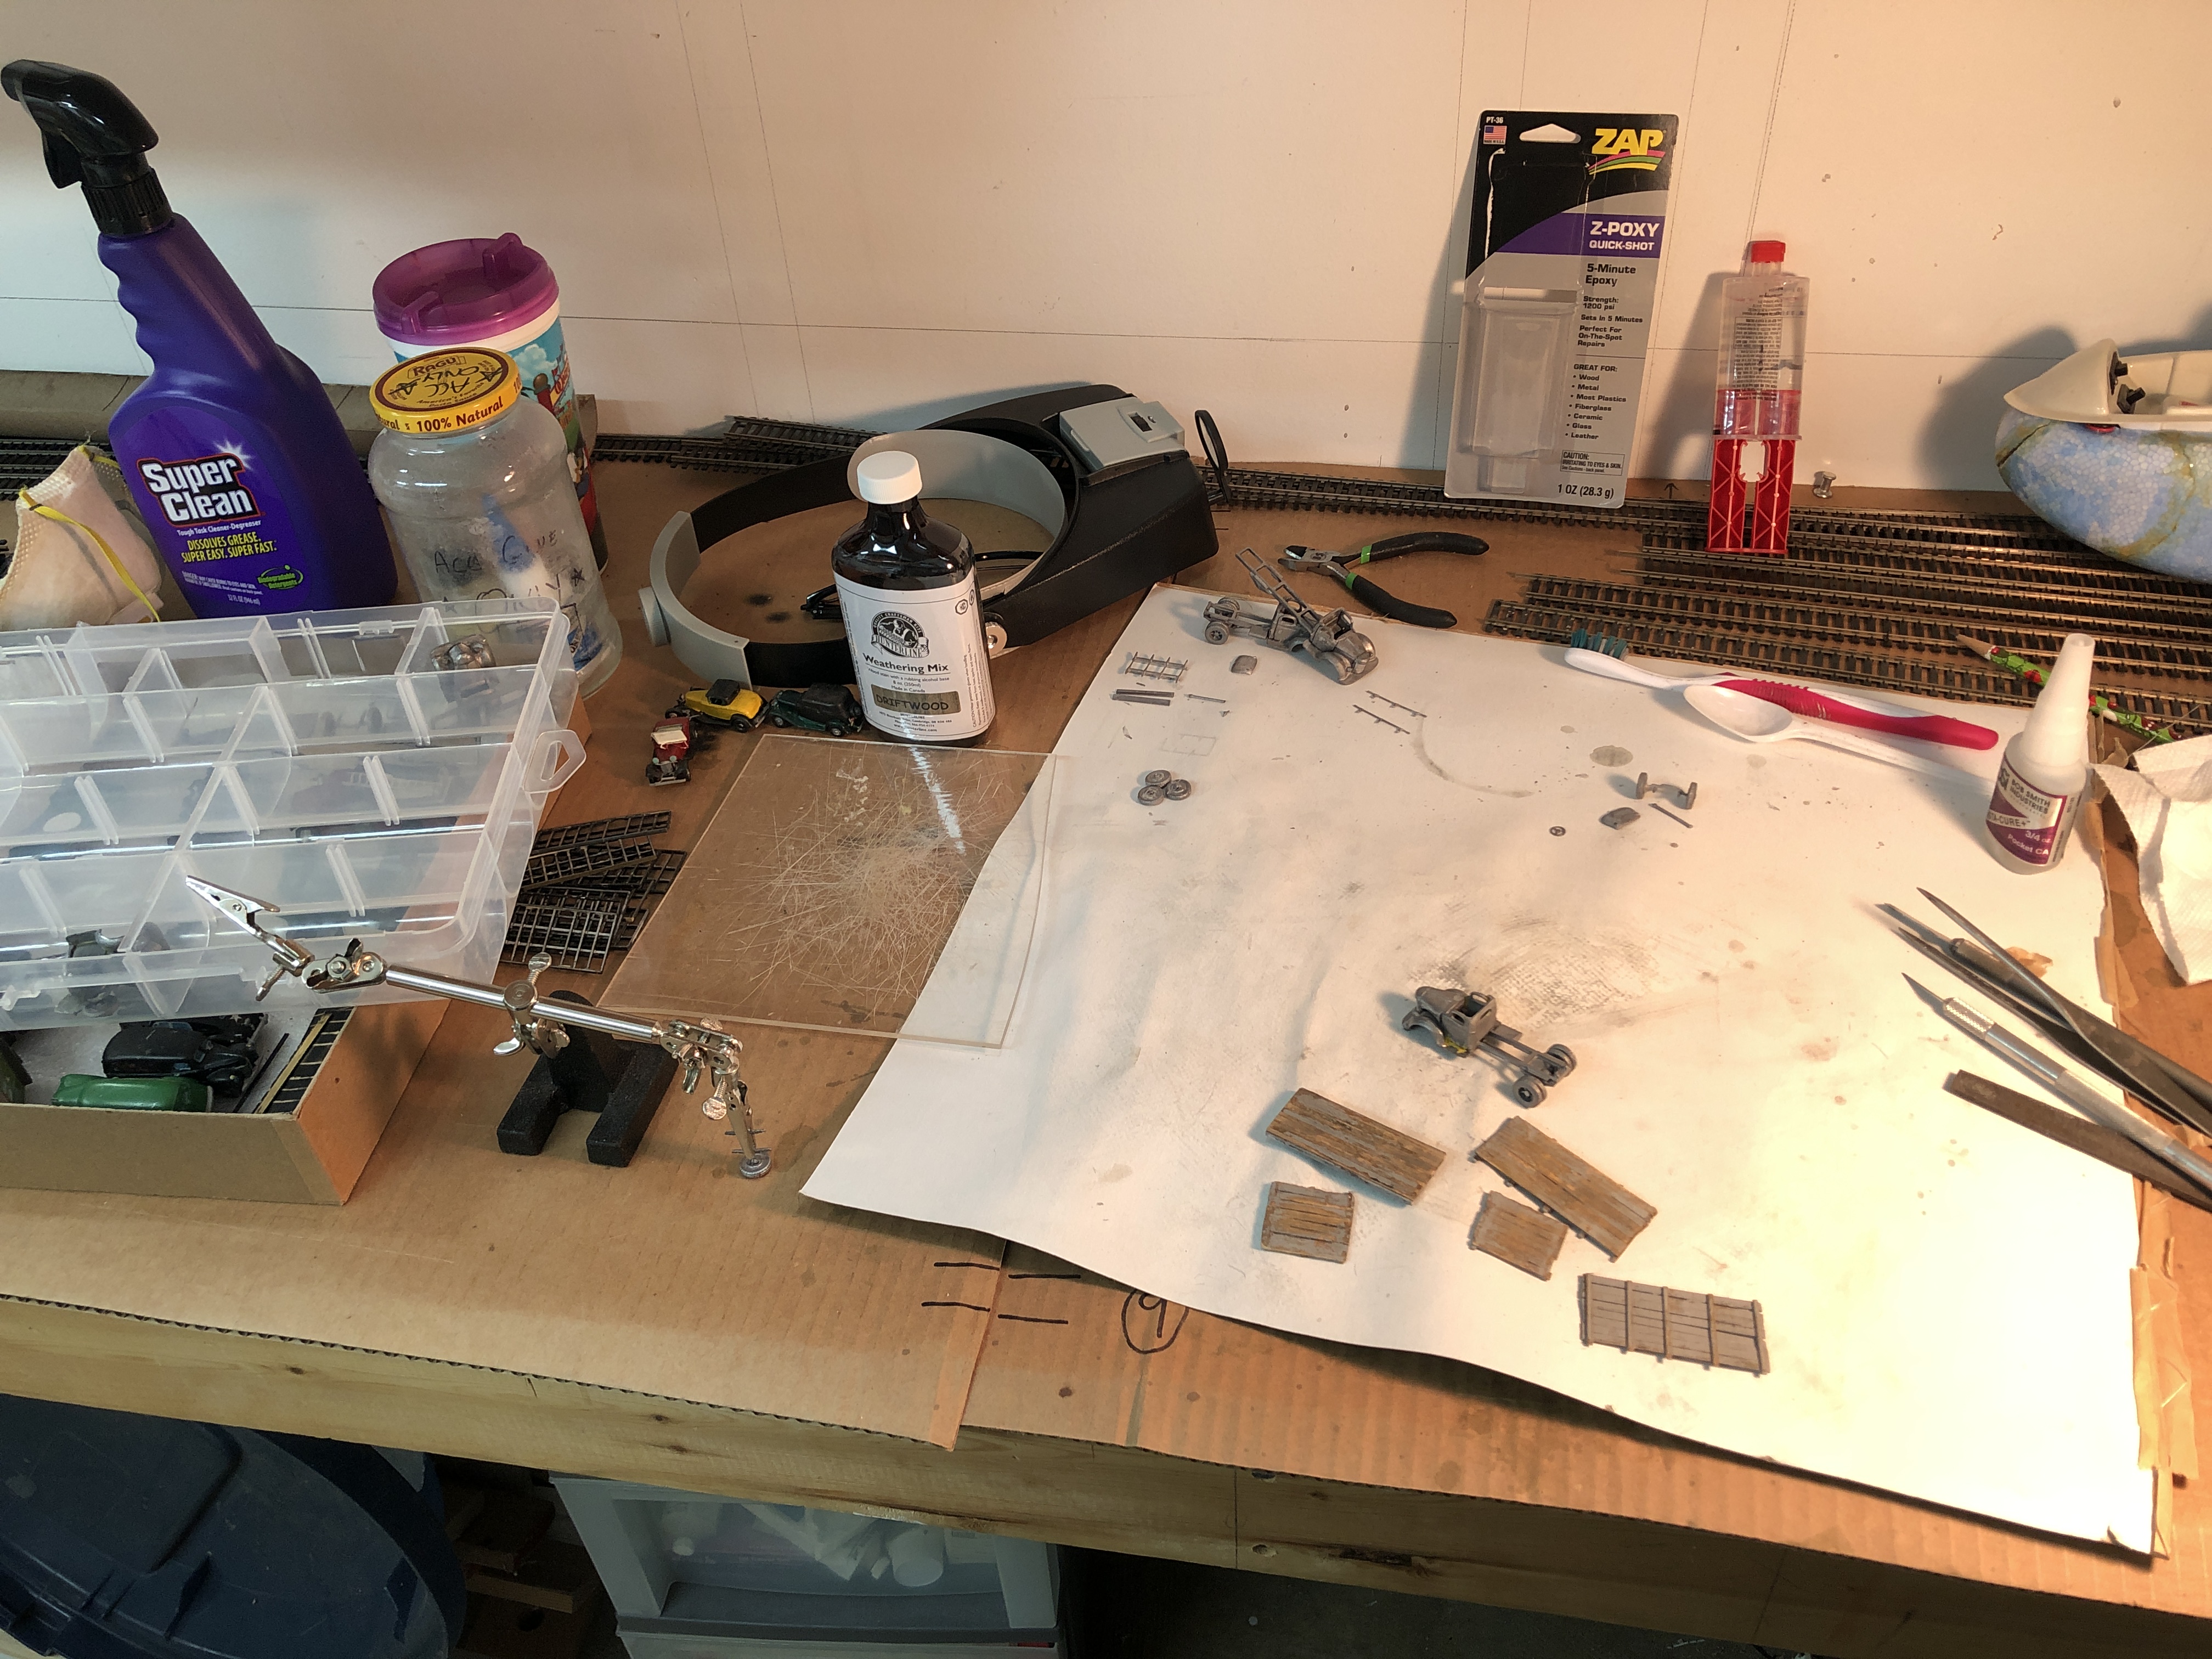
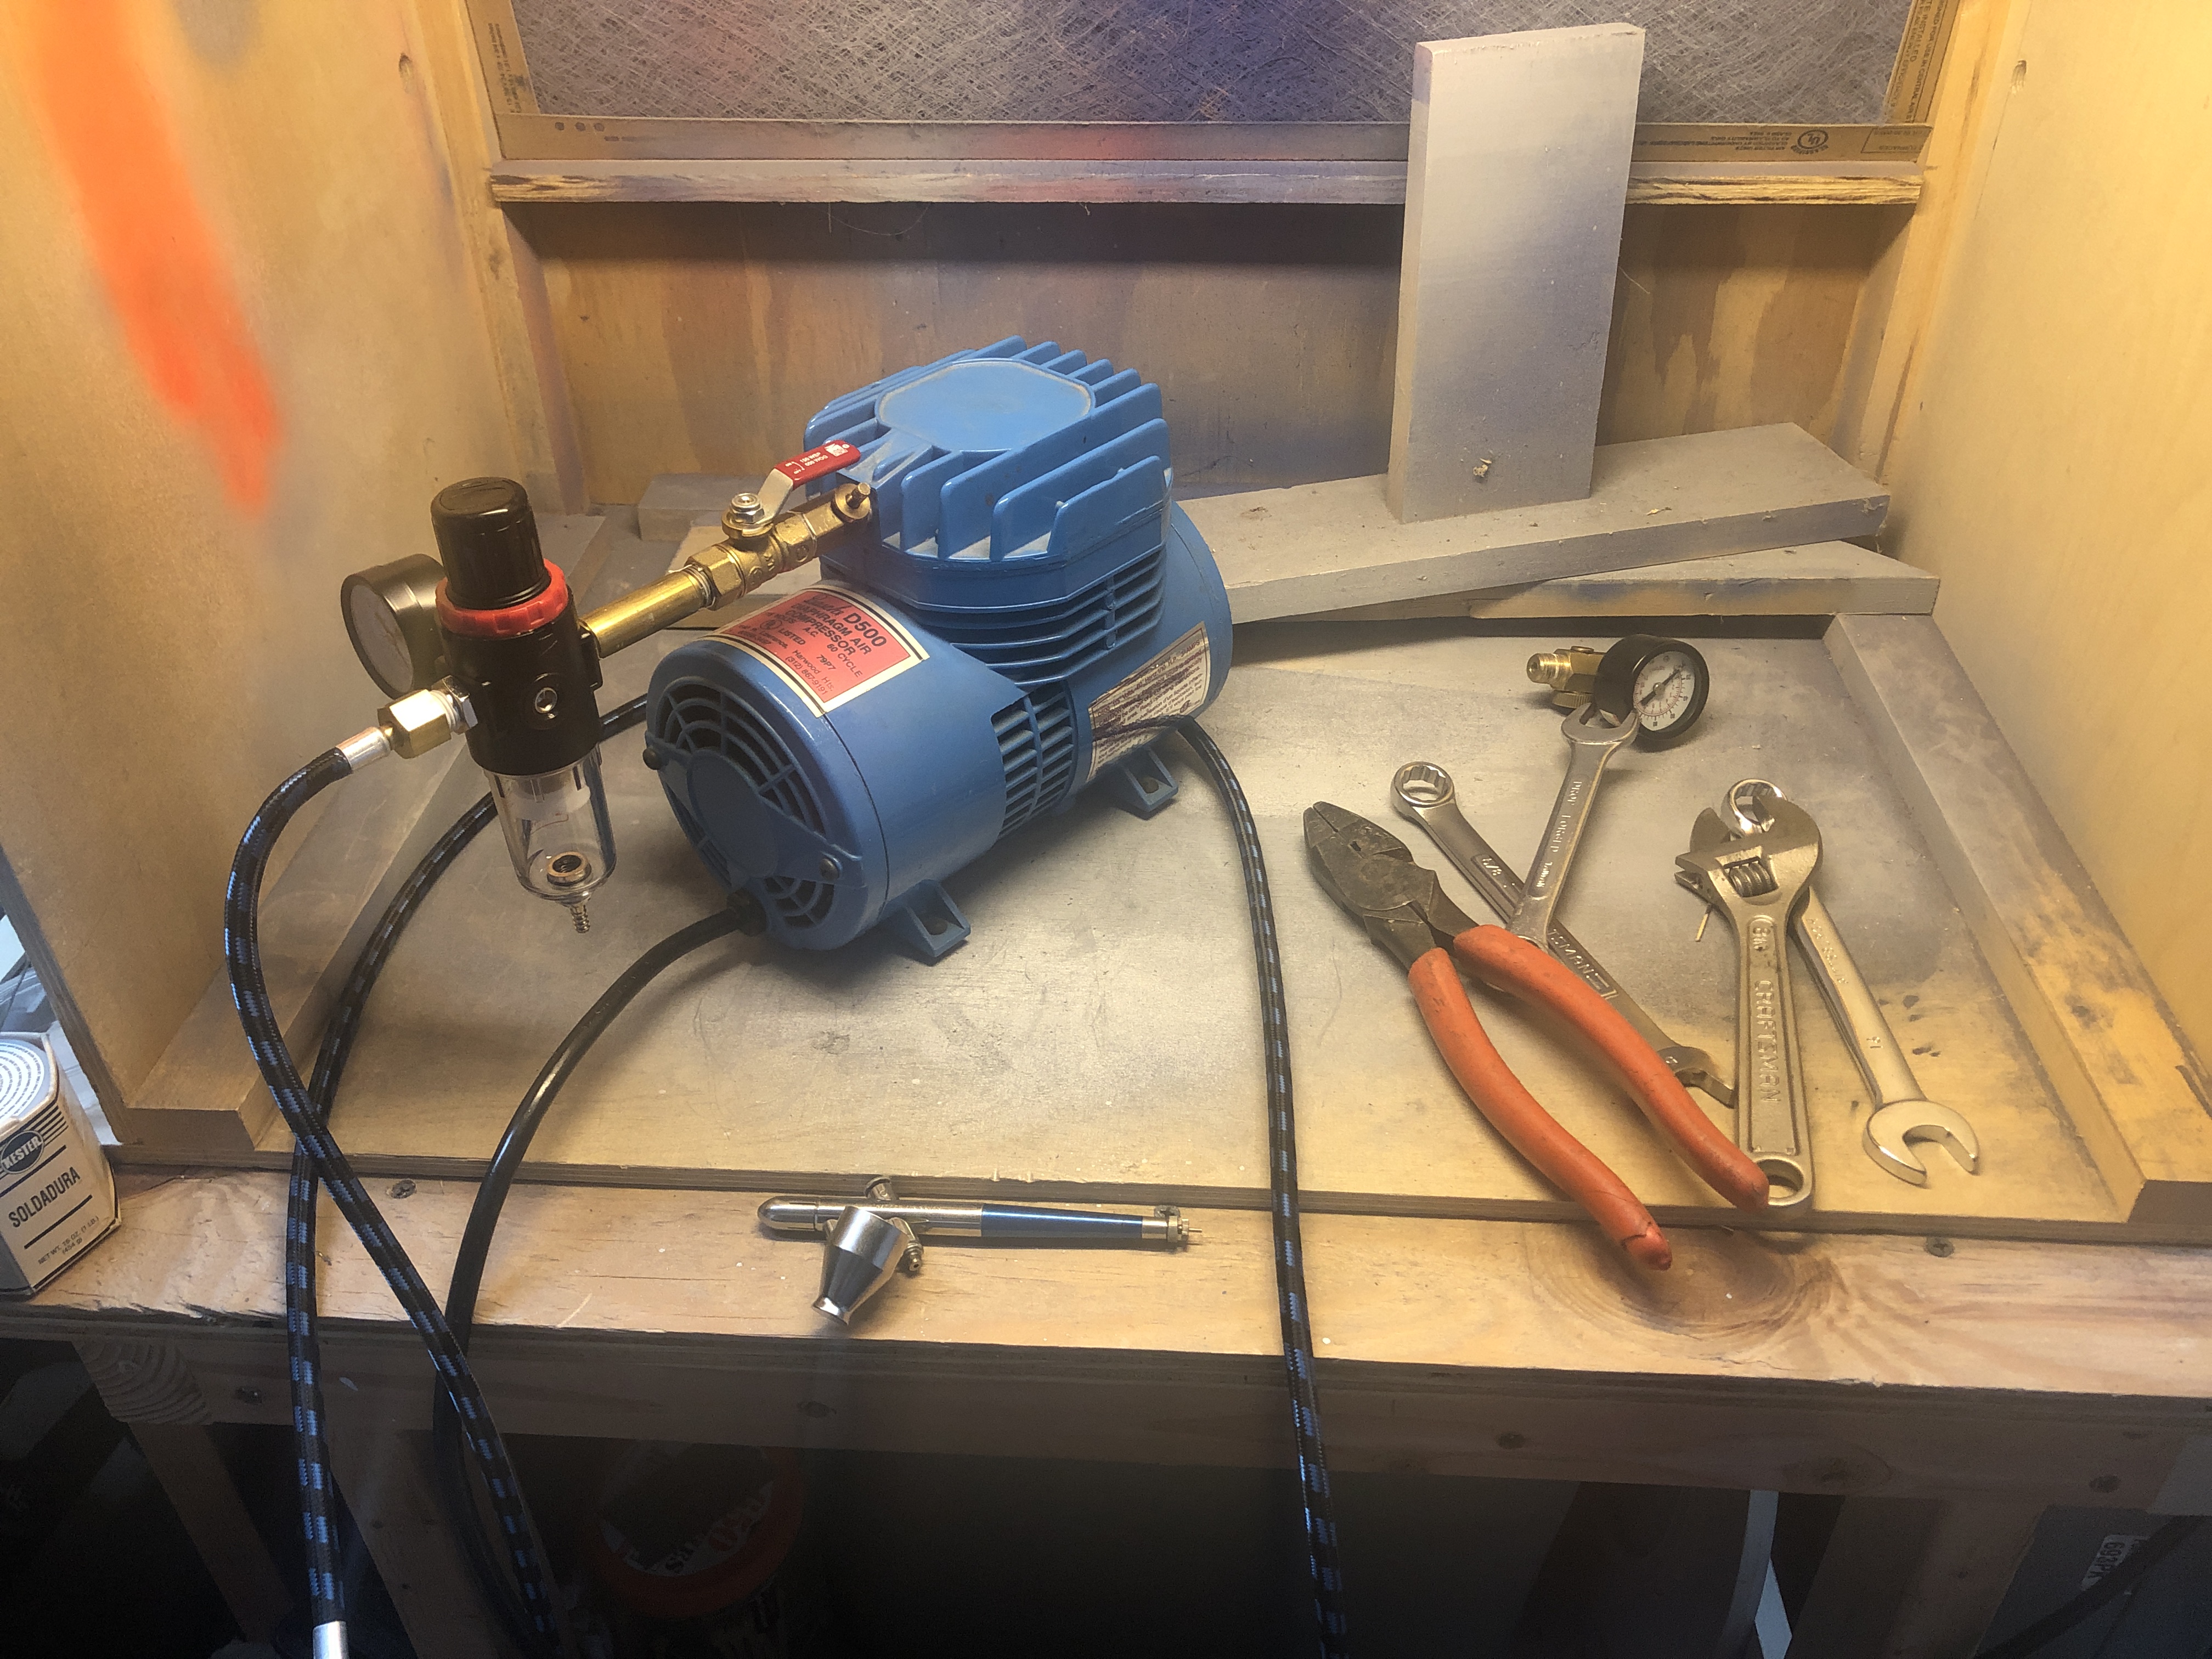
Airbrush Tune-Up – About a year ago I did an overhaul on my old Badger airbrush. I took it apart and checked all of the parts. Cleaned everything carefully and reassembled it. I decided to add a regulator to the compressor. I noticed a bit of a clunk when operating the compressor under load, so I took it apart. Inspected all of the gaskets and parts and found no issues. I reassembled it and adjusted the bleed valve. A friend from my model RR club, Greg (who you have seen here before) gave me his old air tank which I will press into service soon. I need to figure out what piping/tubing I will need. I have also been upgrading my paint supply with some proper thinners, new paint and other goodies.

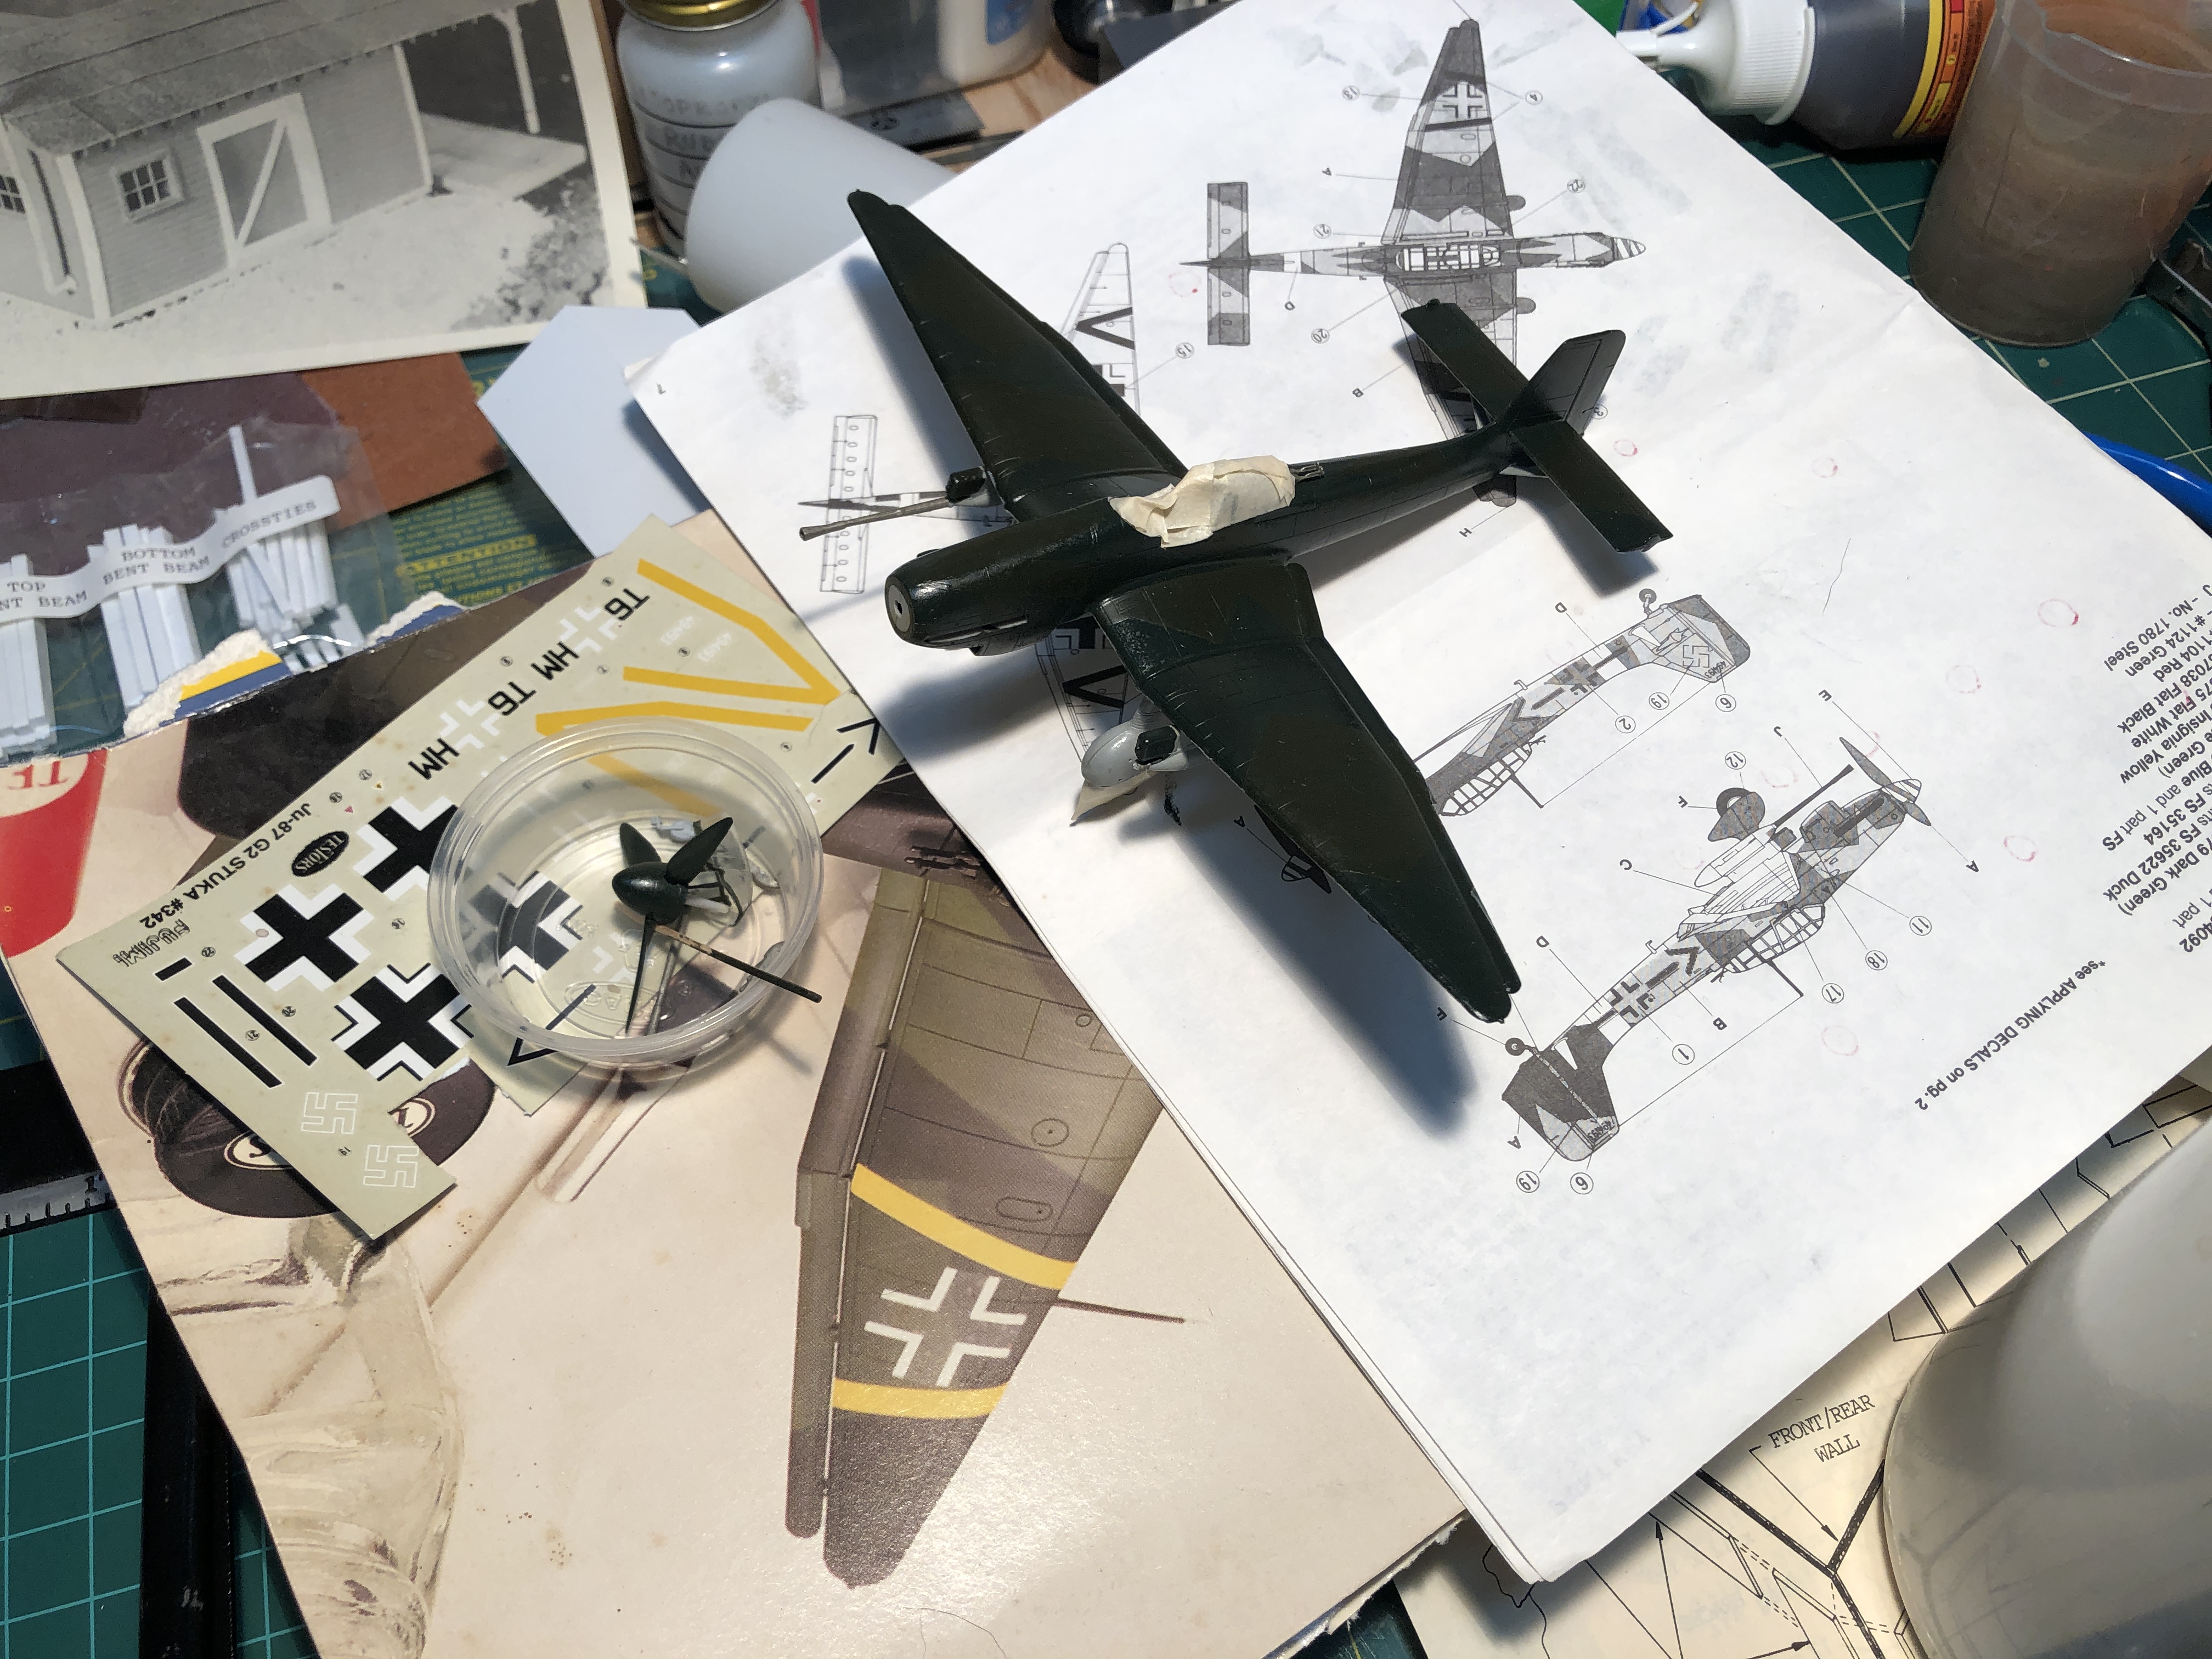
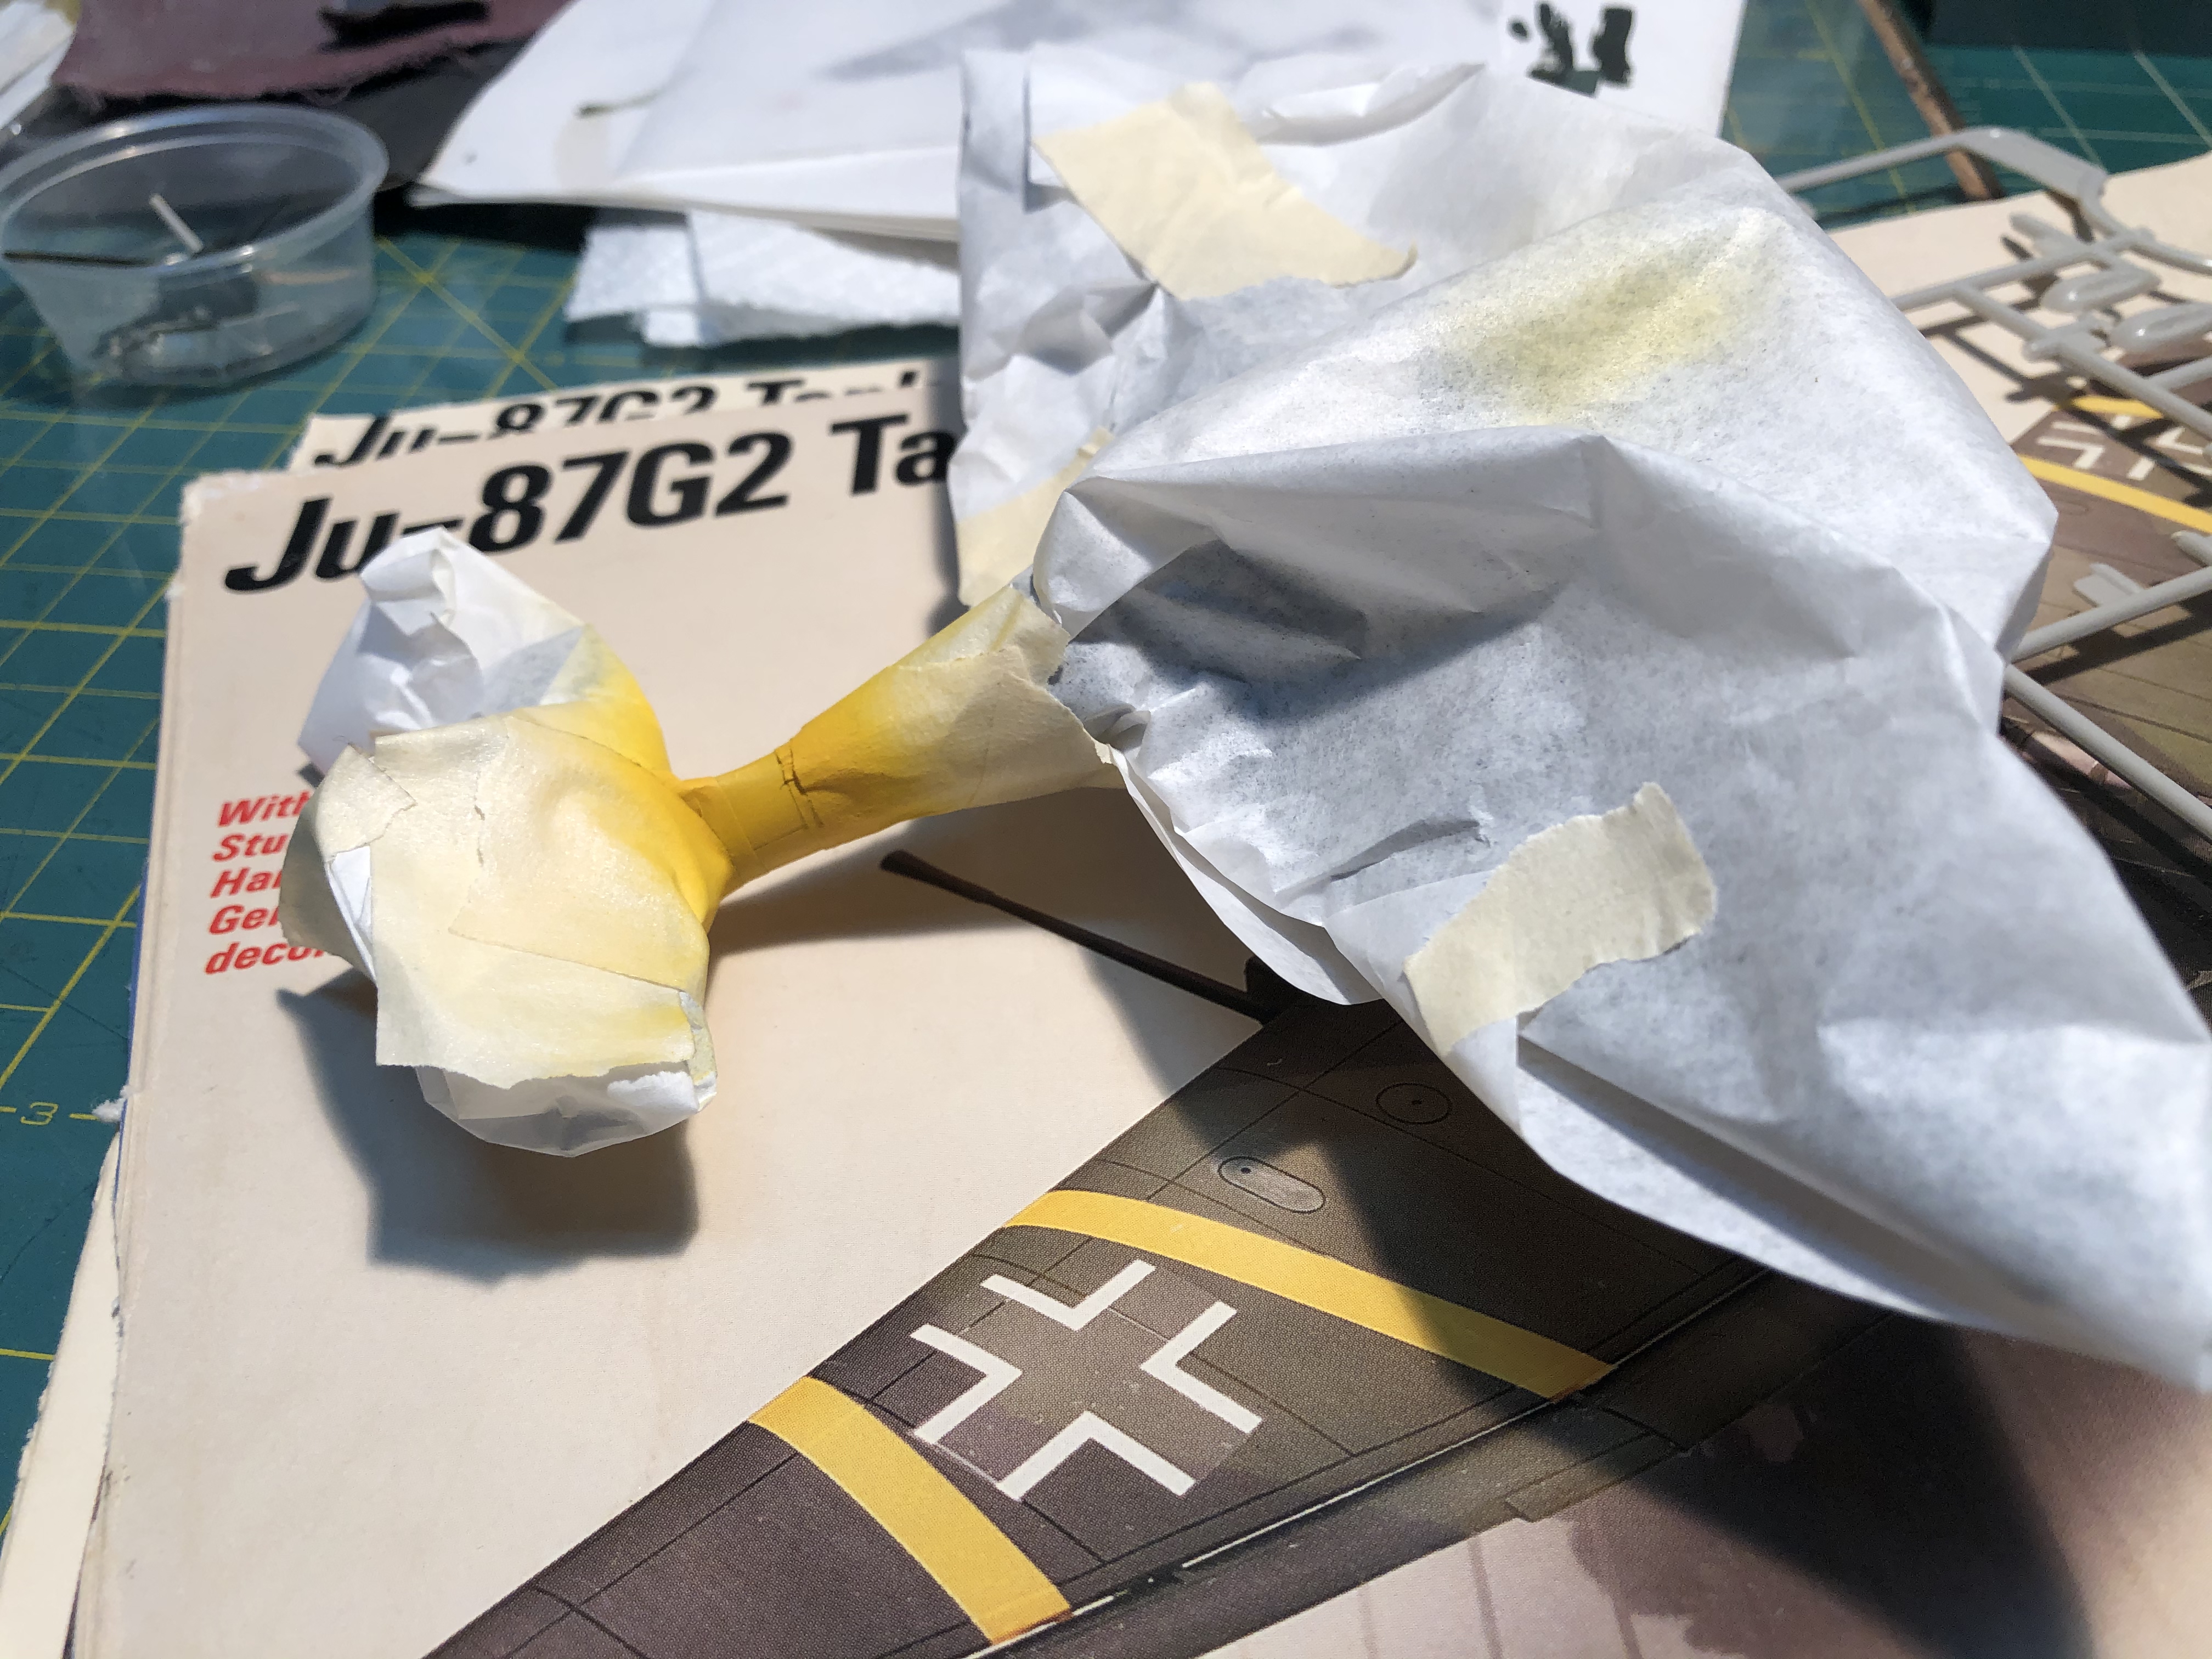
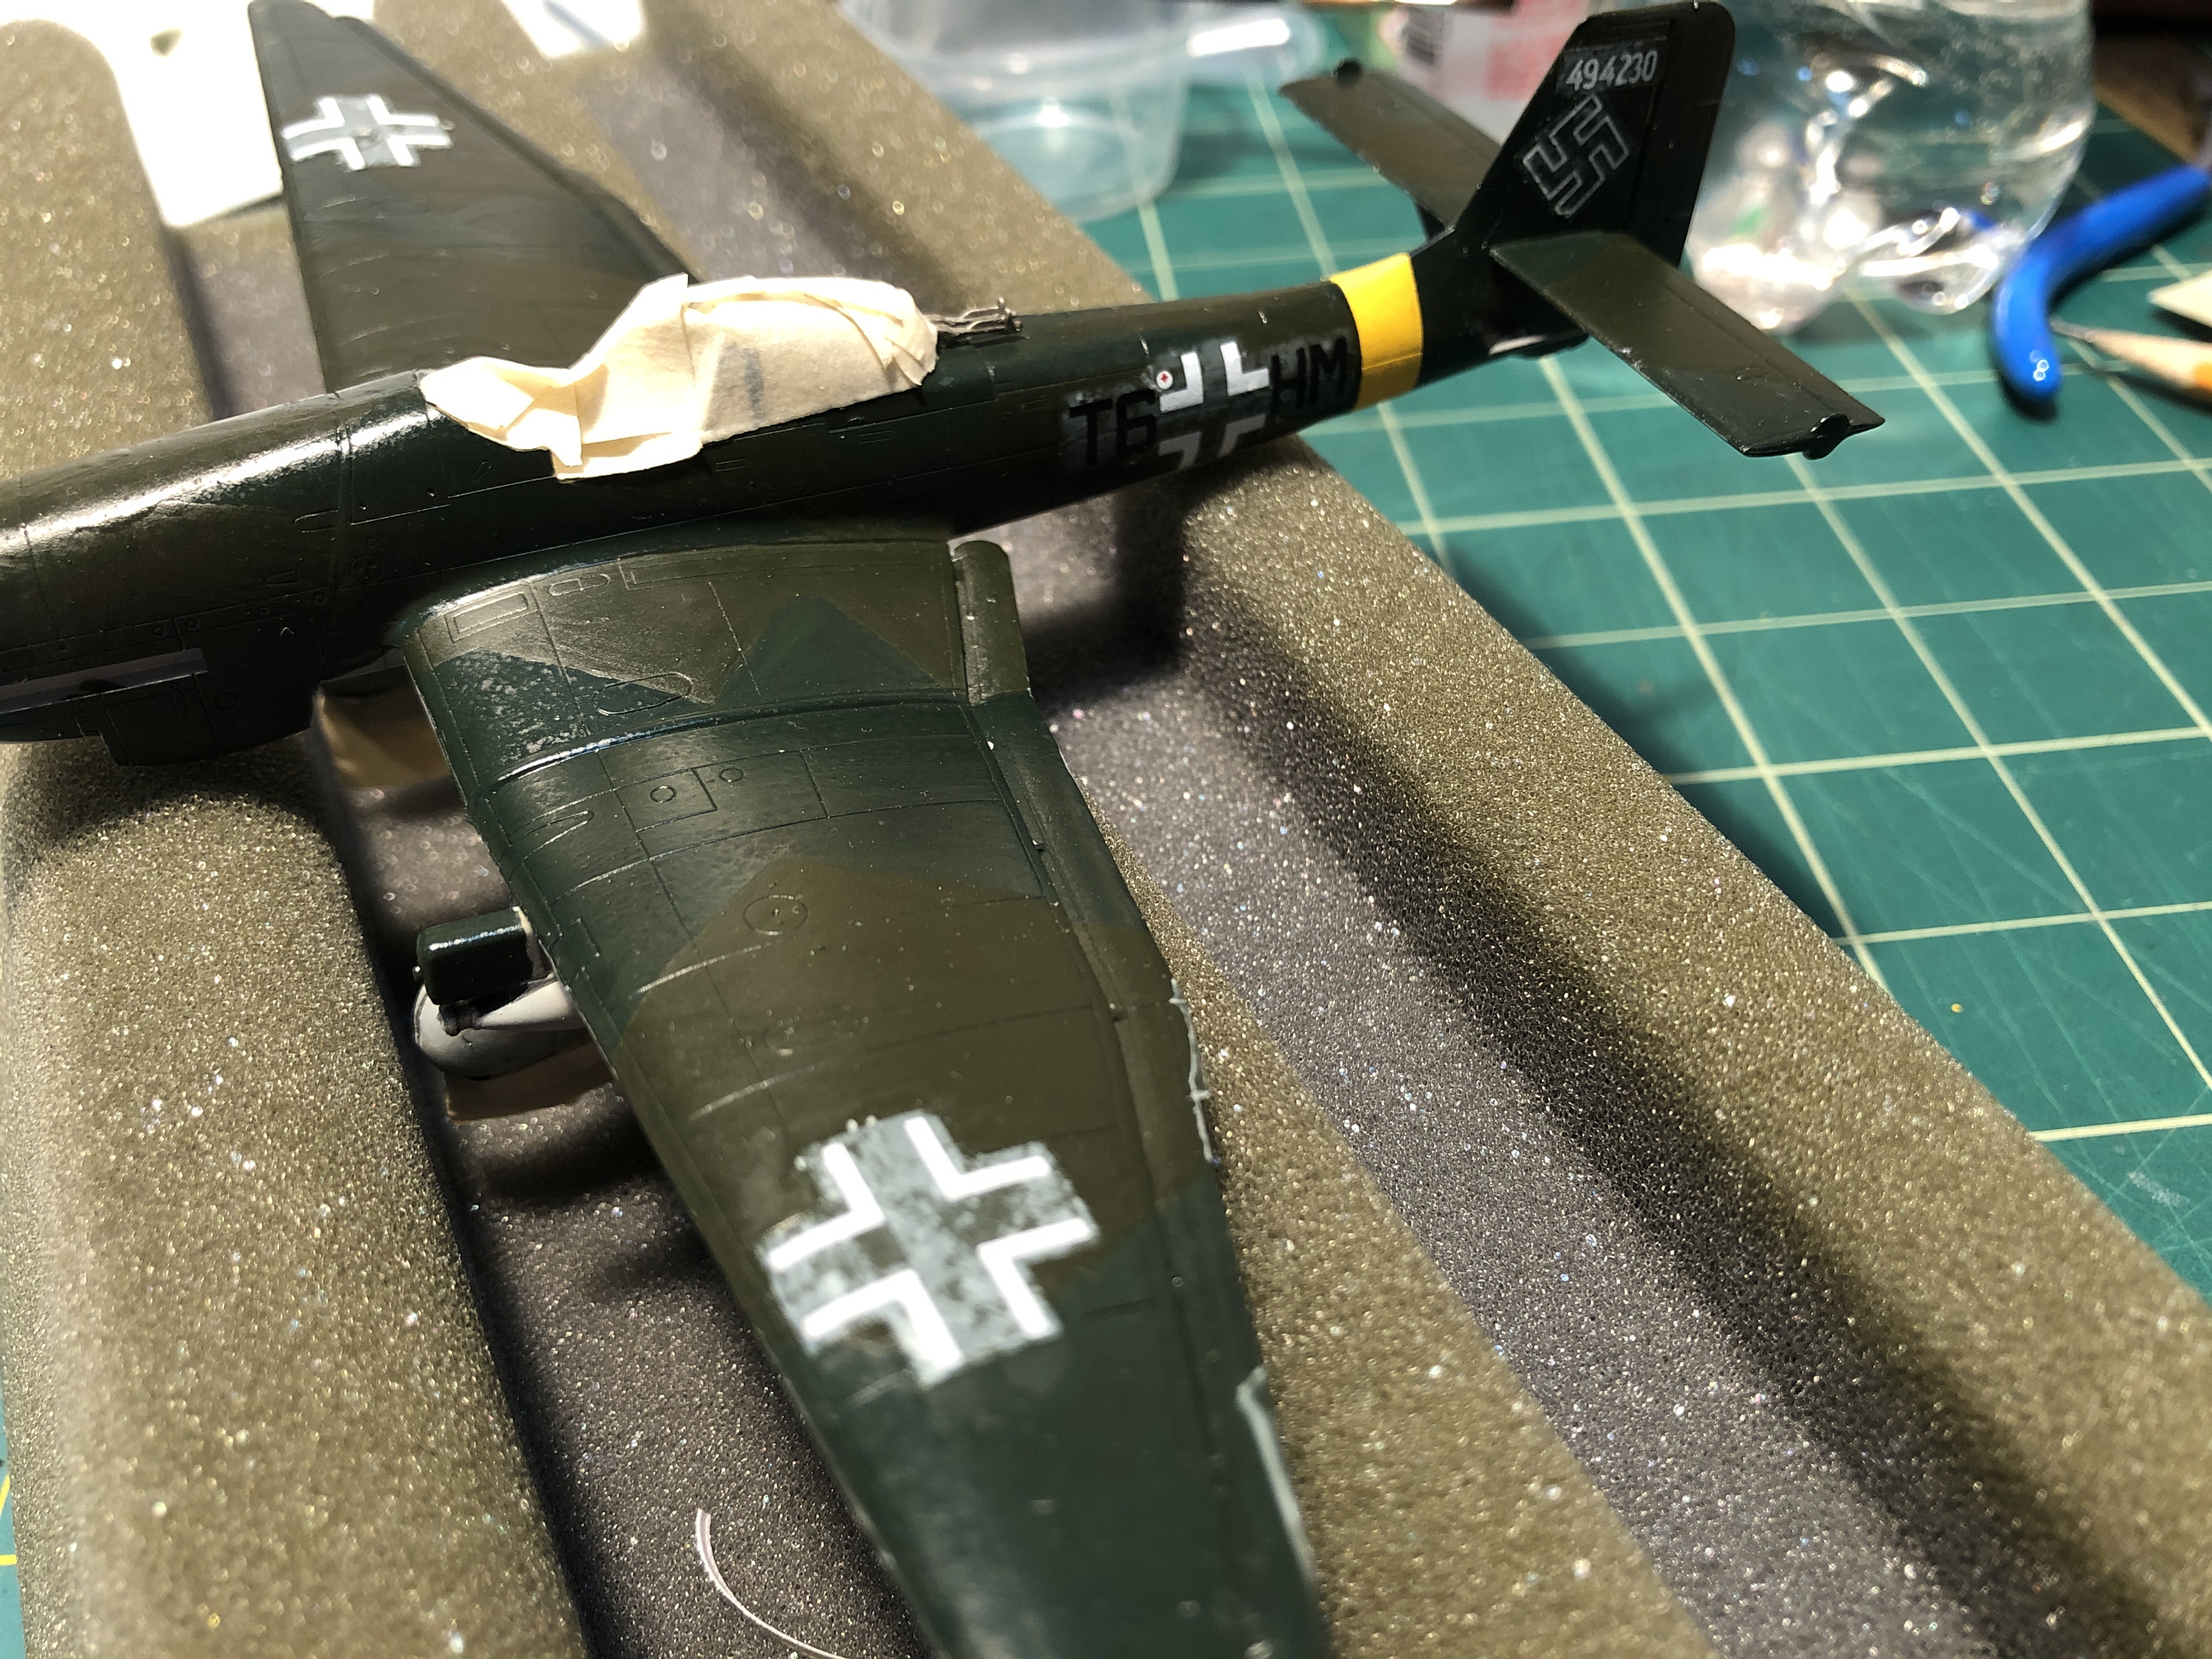
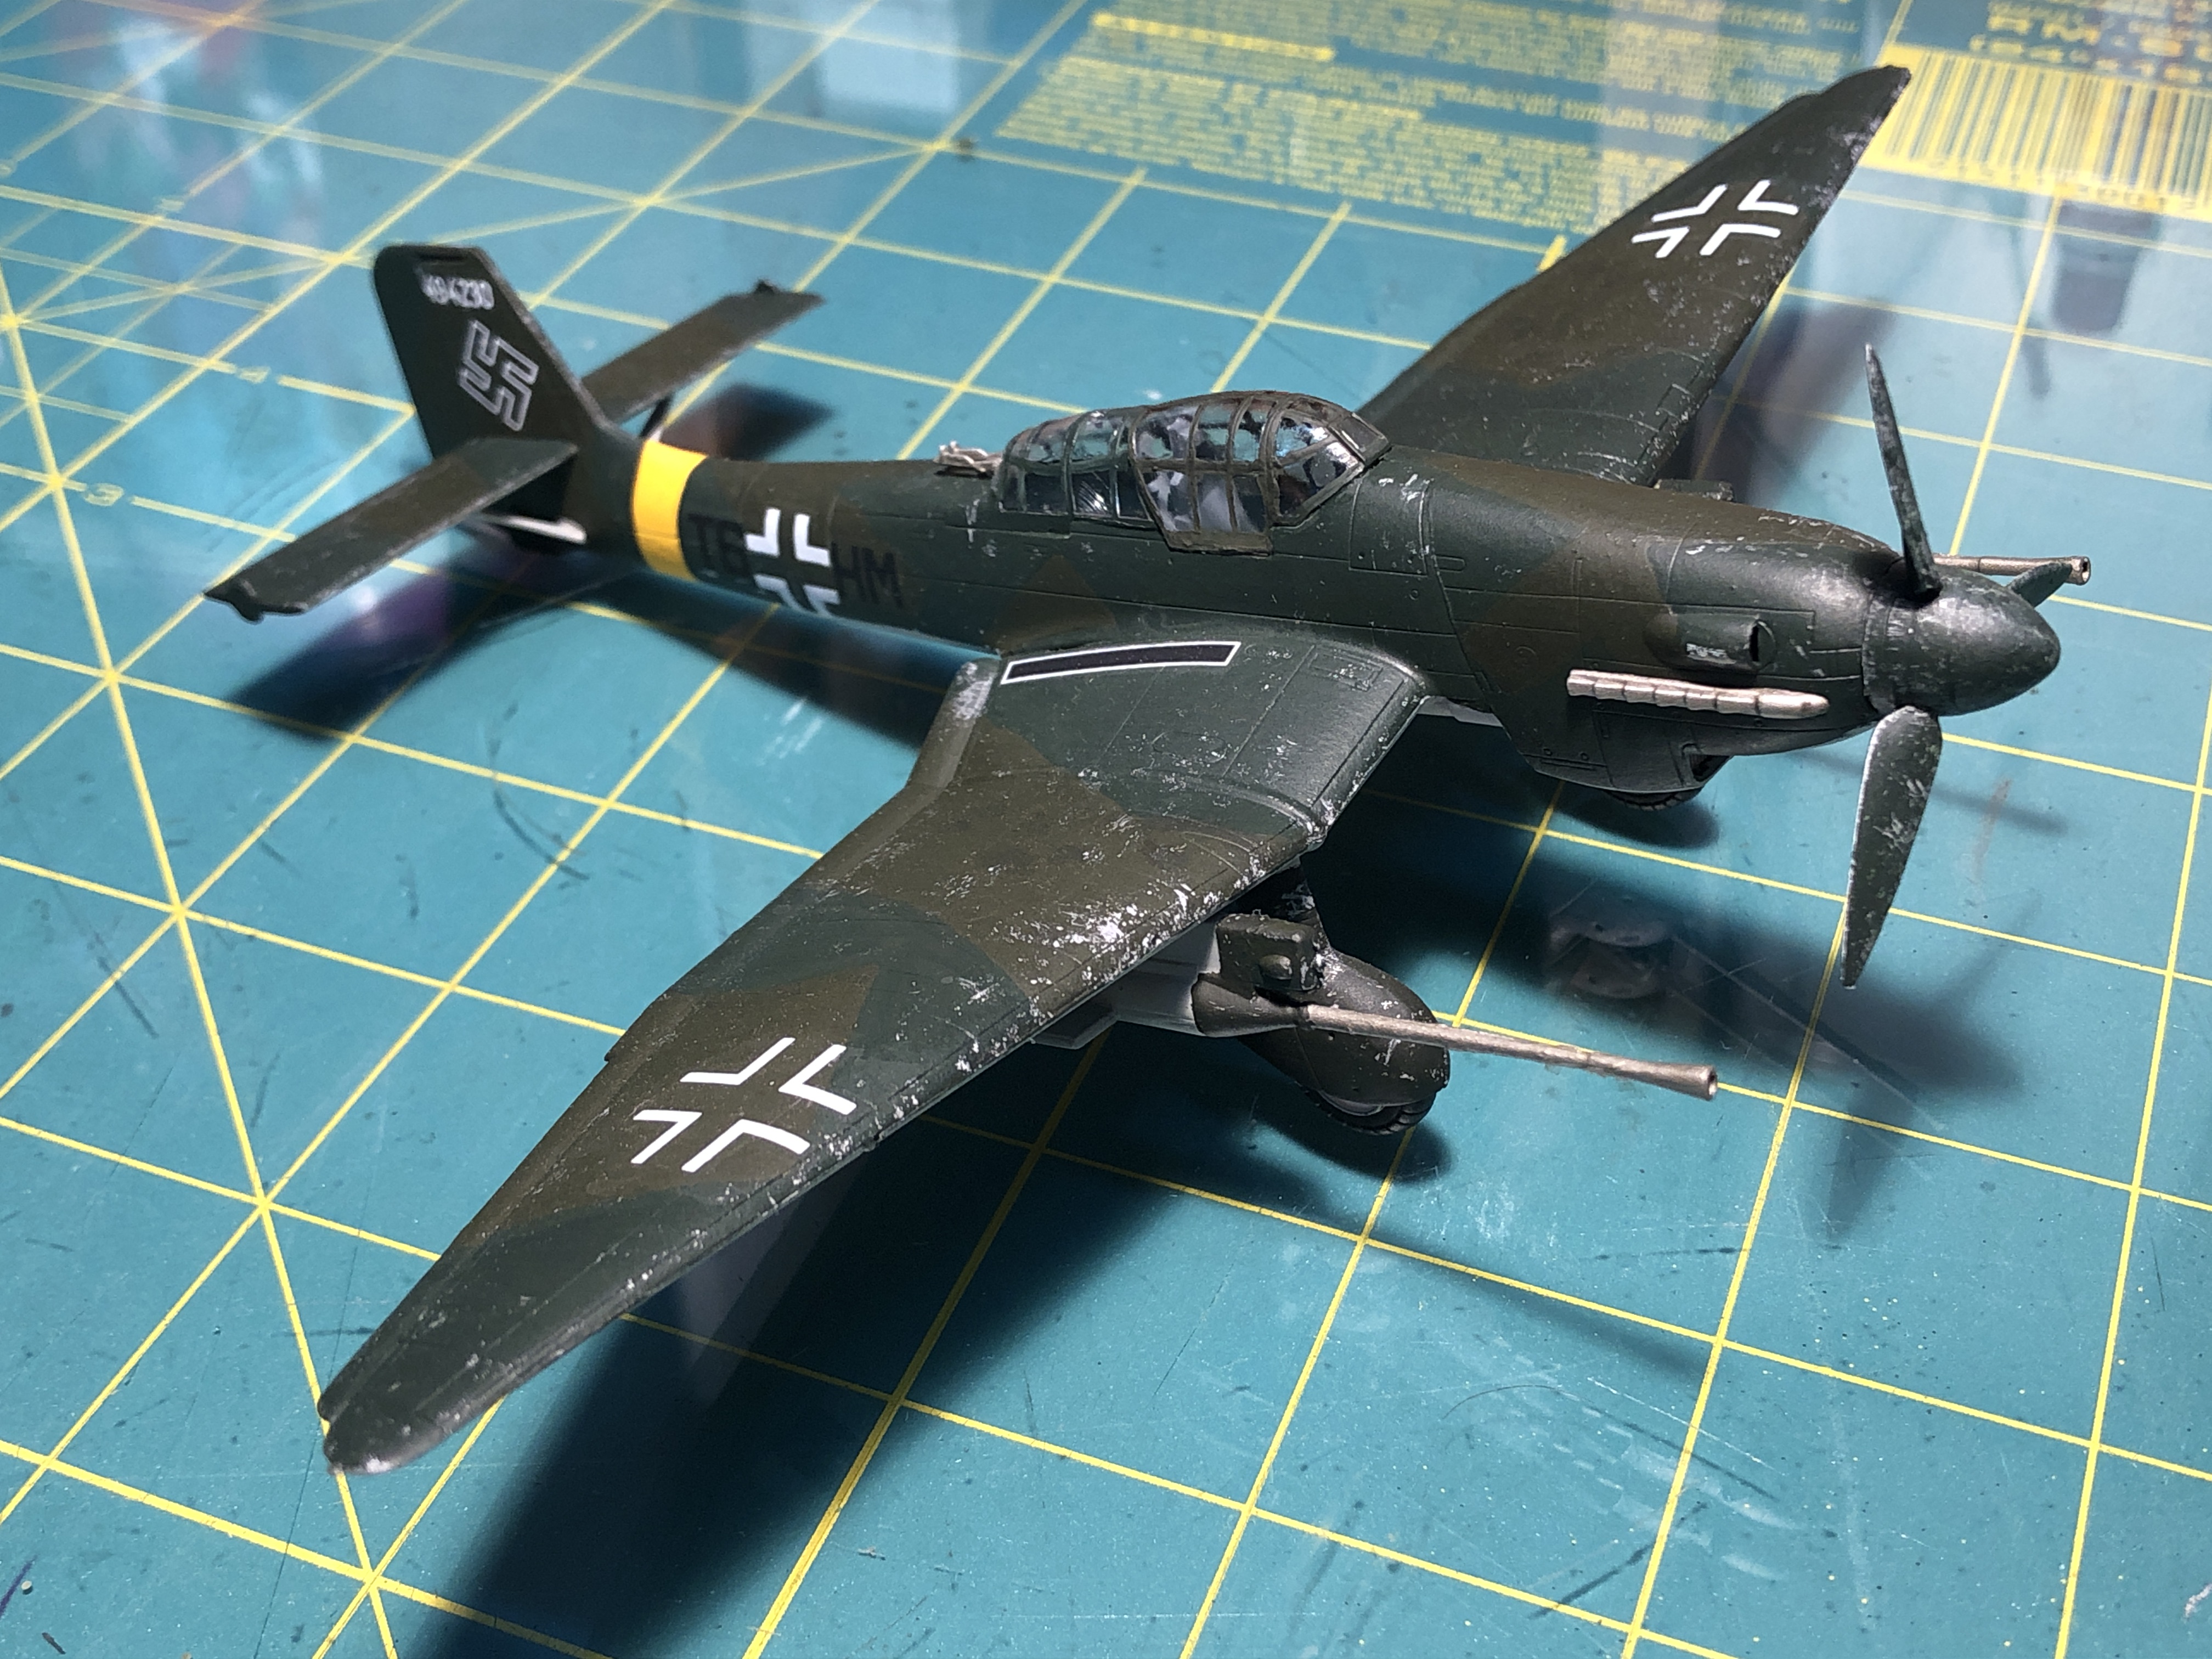
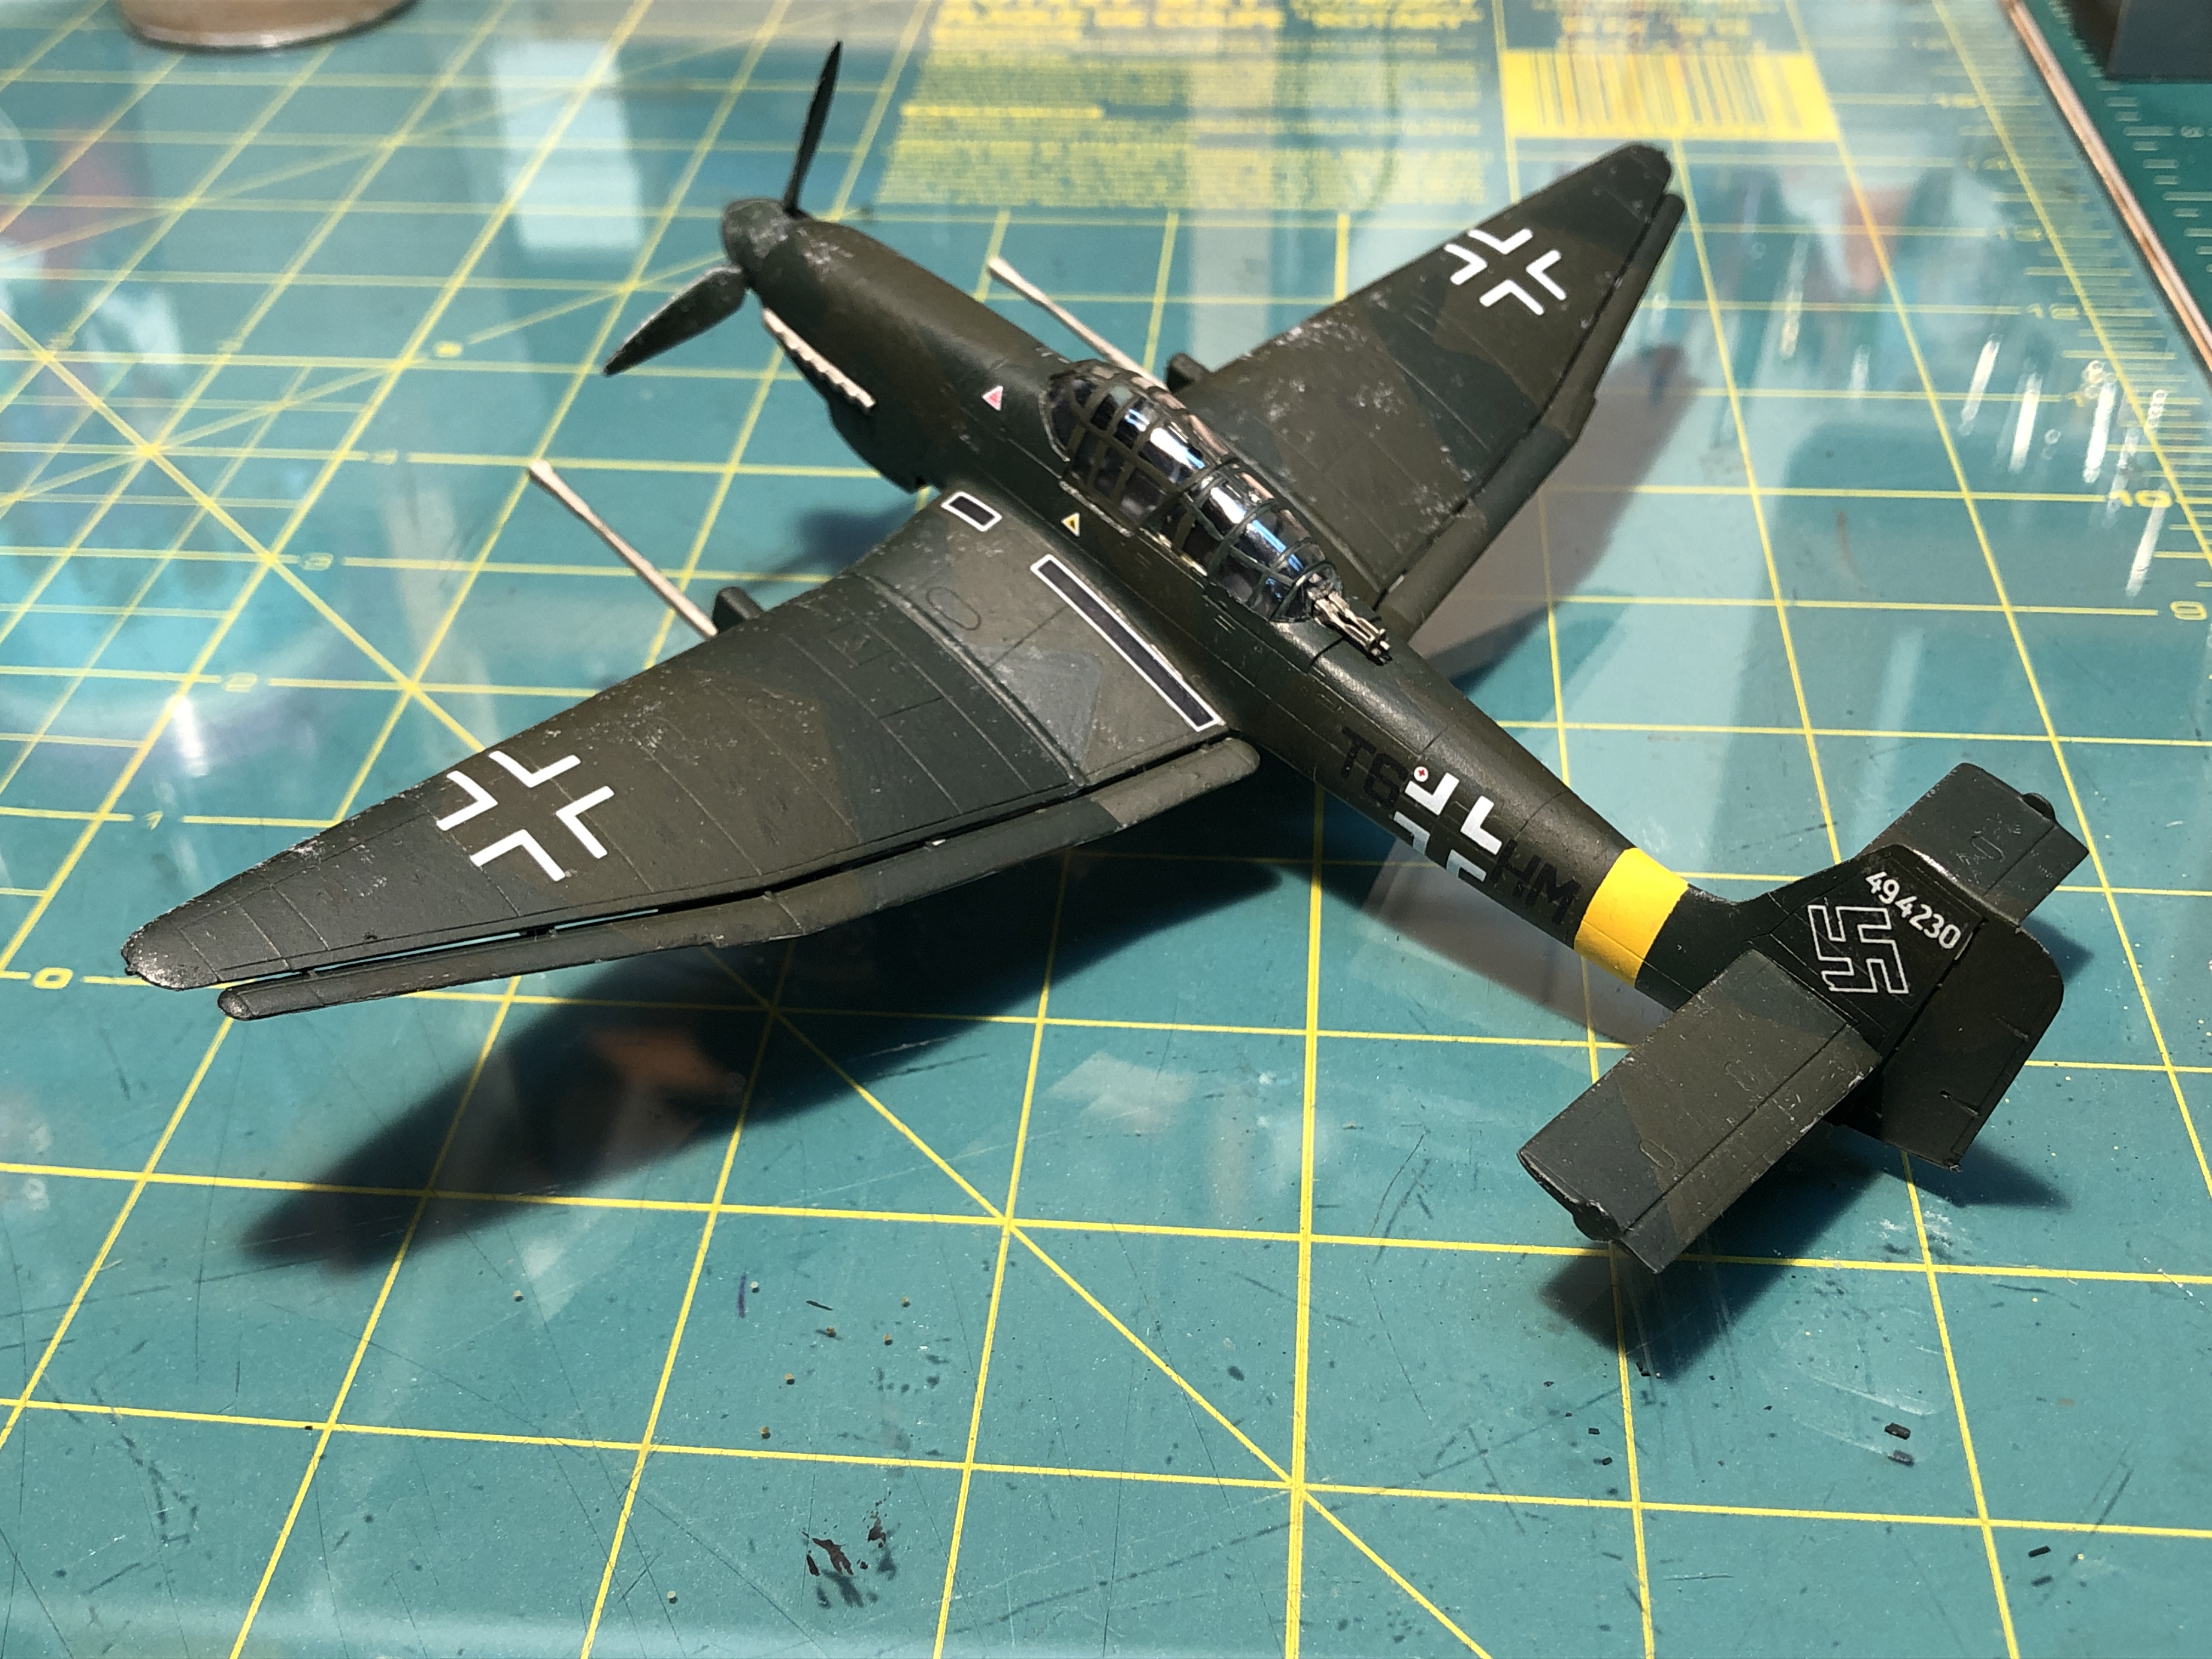
Testors 1:72 Stuka Model Wrap-Up – Another interest I have is military aircraft and armor modeling. I have many unfinished projects, but this one has been floating around my workbench for about 12 years. I decided it was time to wrap it up.

Masking complete, gloss coat on, now it’s time for decals.
But first, let’s airbrush that yellow stripe that you forgot to paint! The airbrush worked well, but I noticed the brush “dried up” rather quickly, that is to say the paint stopped spraying after a short while. This may be [VERY]old paint (Tamiya) or improper mixing/technique. Probably all three! HA
The 20-some year old decals did not play nice. I had to be very careful with them to not break them, and they were extremely cloudy. I picked up some Micro-SET and Micro-SOL recently and gave that a go. Not only did it get the decals to lay flat, but after a few applications of the SOL solution, the cloudiness disappeared. REALLY amazing results.
Sealed with dullcote and a tiny bit of chipping. I am waiting for some panel wash to arrive and I will then do some light weathering and finish this out!
You can see just how well the decals laid flat. Really pleased. Also, the flat coat did a great job as well. I used Tamiya flat clear out of a rattle can.
Next up! Dad got me an incredible birthday gift last month. WOAH. I just got paint delivered today. This is going to be a project with my son and I and I really can’t wait!

Hope you enjoyed these updates. I know it’s just a lot of rambling, but it feels great to make some progress on all these things. There are so many other items I’ve checked off lately, and really the layout room is coming back alive after being dormant for about a year. I am reinvigorated to get moving and hope to have more updates later this month. Anyone else out there getting stuff done these days? Sound off in the comments.

April 2020: Winter/Spring Layout and Modeling Update, PART 1

I figured it’s been a long time since an update on my layout & modeling progress, so here goes, in two parts. Like so many right now, I have been productive with my hobbies. I’ve chosen to spend time in the basement getting back into the layout construction and finishing up some old projects. It’s been a lot of fun, and hard work. Here’s a [long] report of what I’ve been up to:

Rock Creek Trestle

I got the plans to place I was satisfied with and decided to start doing some work. *A quick note about this – I ended up spending another few days modifying the plans because I wasn’t pleased with them. More on this later!

Plans for the Rock Creek Trestle.
I trimmed the mockup to the hill contours and pinned it to the roadbed to give a better idea of the scale of the trestle.

I ordered the lumber a few months back from Mt. Albert Scale Lumber (FastTracks) and Northeastern Scale Lumber and decided to laser cut some jigs for the bridge ties. I even picked up some tie plates, spikes and joint bars from the folks at Proto:87, which I will use to detail the bridge track.

The lumber yard.
The two laser-cut jigs for the bridge ties, rail and stringers.
Closeup on the escape platform area.
The B&O ties are a bit shorter than any commercially available ties out there, so I had to shorten them just a bit.
Testing some cuts and fitting in the jig.
Chop chop. Love this tool.

Next up was the stain. I did some testing with about 5-6 different Hunterline Weathering Mix stains and eventually settled on Tie Brown with a bit of Driftwood mixed in.

Staining the ties with the Tie Brown color. I opted to paint these individually instead of dipping them.
Staining all done.

Fast forward a couple months and I’m picking back up where I left off with this project. I was doing a mental and physical inventory of the trestle project to get back on track. As I started to go through my notes and compare them with what lumber I purchased last Winter, I realized I screwed up. I missed a few things in my order. Oops! A quick trip to FastTracks’ website and the order was in.

Laying out plans, drawings and materials. Wood to the left, plans and jigs in the middle and blueprints on the right.

So now that I am waiting for that material to show up, let’s get busy staining the wood we DO have! But how do you stain 2′ long x 1/8″ pieces of wood? I had to figure out a solution, so I designed a trough out of foil, but that failed catastrophically. (Cleaning up stain is NO FUN.) I cut a rigid paper tube in half, lined it with foil and used some old clay to create ends that are adjustable. I then laid a sheet of plastic wrap in and held it in place with clay blobs. The whole thing was rubber-banded to a piece of wood to keep it steady. This gave me a nice place to hold the stain while I dipped wood in and set to dry on drying racks I made from old Snap-Track. In the future, I may try to get some Flex Seal to spray on the tin foil and make it a bit more robust, as I worried the tweezers or the wood itself could poke a hole in the saran wrap and cause a leak.

My staining setup. The stained pieces were put on racks made from old Snap-Track. I would place a piece into the stain, let it sit, put another piece in, pull the first one out and lay it down to dry.
The stain trough. Worked quite well!
Here are all of the 1/8″ dowels which will make up the pilings of the trestle.

Tichy makes a 40′ plate girder bridge flatcar kit load, that is a very close approximation of the same sort of bridge span across Rock Creek. The major difference is that this one is 1’6″ taller than the B&O prototype.

A VERY nice kit! The details are very crisp. Assembly not to bad when I took my time. I had to re-read a few of the steps to really wrap my head around what the directions were saying, but it went together quickly. I used Tamiya Extra Fine cement.
Completed kit.
With a 50′ box car atop, for perspective.

Story time. I spent a good while putting this post together, and when I got to this point, I stopped and realized there was a problem. I sat looking at the open deck girder bridge model and realized it looked a bit tall to me. I quickly opened up my drawings and reference materials and looked a the B&O plans. They clearly indicate that the trestle is to be 40′ long, 6′ 6″ wide (girder to girder) and 4′ 6″ high. This Tichy kit is 6′ tall. I then went down the rabbit hole for several hours while I tried to figure out what to do.

I opened up the plans I had drawn and started to modify the sections where this 6′ tall center span would sit. I had to lower the bents and adjust all the cross bracing in those areas. I did not like it. Some of it looked a bit odd and threw the whole thing off. I was not happy. I decided to keep digging.

Months ago, when searching for a deck girder bridge for my model, I had a very hard time finding a nice 40′ long kit in HO scale. The Tichy kit really fit the bill, but I didn’t pay close attention to the height of the girders. Micro Engineering makes a 30′, and a 50′ bridge, but not a 40′ one. The 50′ bridge is just over 6 scale feet tall. Just like the 40′ Tichy model I already have. The 30′ bridge, albeit too short, is a scale 4′ tall. I have decided that this will be my way forward. I feel that a scale 6″ is easier to forgive and blend versus a scale 1’6″ which is quite a bit more and really changes the characteristics of an iconic part of the structure. Now, some will say “there are only a small handful of people in the world who will know the difference. Who cares!?” Well, being that I’m making this model for me, and I care, I am going to spend the time to do the best job I can. I’m already knee deep!

So I then set out to RE-adjust the plans for the trestle, now with this 4′ high girder. I will have to kitbash two kits into a 40′ span, but that shouldn’t be too difficult. I’m going to add slightly taller blocks under the bridge to add to the height just a couple more inches, to hide the disparity between the prototype and my model. In the end, we’re talking a few inches difference. As I went through the plans, I realized some other errors I had made, and I cleaned them all up. I also reformatted the plans to fit on 8.5×11 paper, so I can print at home, since I think I will be in it for the long haul. I will share my progress on the plans soon in a future post.

So, phew! This was a doozy. In a long period of time, not a lot has happened, but such is my life. I have been busy with other projects… *ahem*

Springfield! Always wanted to go to “the big show.” It was FANTASTIC. I hope to go again next year!
They had a STEAM ENGINE THERE. And it was OPERATING. Incredible.
Upgrades for the Fiesta ST…
New front-mount intercooler & an intake kit allowing for a stage 2 tune.
Took the FiST to Summit Point with the Audi Club and had a fantastic weekend, just before the COVID-19 pandemic stay-at-home rules came into effect.
Headed home for the weekend. The FiST is fantastic!

So, yeah. Been a lot going on. Second update coming SOON!

A Side Project: MD Tower

I’m playing catch-up on a few things and this is one of them. Better late than never, and all that. A friend is building a spectacular HO scale layout focusing on operations around Clarksburg, WV as the centerpiece. He asked if I could assist with building a laser cut model from some similar plans published in Model Railroader some years ago. I scanned in the drawings and went about trying to scale everything to fit. A bit of tweaking and I had a version 1.0 ready to go. This was laser cut and engraved into mat board, which is a great prototyping tool for making laser kits. Actually, I think it would be a great material overall for making inexpensive laser cut kits, but I digress. Here is a photo of the completed structure:

MD Tower in HO scale, version 1.0

The roof is made with strips of masking tape over the mat board, to give the look of shingles. This was a quick-and-dirty job. Just to get it done. Obviously, all of the windows, doors and other pieces are missing. This is to get the fitting correct.

I gave this version 1.0 structure to Matt and his buddy Brian couldn’t wait to paint & weather this stand-in model and get it situated on the layout with a few small modifications. I think it looks pretty awesome for a few minutes of work! 🙂

More is to come on this project. I am in the process of trying to develop the aluminum window frames, doors and other final pieces. Should be a neat model when it’s complete! Stay tuned…

Q-4 #4437 at Georgetown Junction, Feb 2, 1949

Another photo from my collection. I believe I purchased this on eBay but I’m not certain. The location is the far East end of the Georgetown Branch lead on the main line. B&O loco #4437 is on point as a crewman climbs aboard. The double-wide section shed is to the left, and still has its decorative trees in place. My best guess is that either they are dropping cars off at the team tracks or, more likely, picking them up from the yard. It appears the rest of their train is waiting on the Eastbound main of the Met. Looking at this photo just makes me feel cold! Enjoy!

19490202 BO 4437 Georgetown Jct
It’s a frosty February 2nd in 1949 and B&O Q-4 #4437 waits for orders as a crewman climbs aboard. Location is Georgetown Junction.

Layout Notes: Knife-Edge Blades For Cutting Homasote

Bosch T113A3
Bosch T113A3

I purchased a 3-pack of these Bosch T113A3 4″ T-shank jigsaw blades to make a go at cutting some 1/2″ Homasote that I will be using as subroadbed on the layout. My intent was to avoid the legendarily bad dust that is created using conventional wood-cutting, teethed blades. I have seen these type of blades around  but never given one a shot.

My initial impression was that the blade appears to be sharp and is wedge-shaped. It loaded easily in my DeWalt jigsaw and operated well. The initial cut into the Homasote was smooth and steady, to be expected and at first it seemed that it would work well. There was little dust. However, there was another problem. Smoke. Yep, after about 3-4″ the material started smoking heavily. I removed the blade from the material and the blade itself had burn marks on it. I switched to a regular wood-cutting blade and went back to cutting and it all worked out fine.

TL:DR: Knife-edge jigsaw blades are inappropriate for cutting Homasote. Stick with wood-cutting blades outside, with plenty of ventilation and preferably with a breeze to blow the dust away. Wear a mask!

View of Water St., Georgetown, ca. 1930

Aqueduct Bridge vignette, ca 1930

A fantastic and very rare view of Georgetown from beneath the Aqueduct bridge arch looking down Water St. You can see many things here including the new Key Bridge, the end of the Belgian block pavers that lined the street prior to it being converted to concrete and many of the waterfront buildings. An impressive view! (via the Old Time DC Facebook page)

View the image here at the Library of Congress: “Train tracks near Potomac River, Washington, D.C.

RIP Ray Mumford

Mr. Mumford passed away last Tuesday unexpectedly on Dec 13, 2011. His enthusiasm and pride for each and every photograph and story he shared with me was wonderful. I always considered his photo collection depicting the Georgetown Branch as the “missing link” of my research. I have never found any other sets of photos that document the railroad in the 40s and 50s as well as his. He was always friendly and helpful to me and I will never forget that. God Speed, Mr. Mumford.

To view photographs from the collection, click here.