I figured it’s been a long time since an update on my layout & modeling progress, so here goes, in two parts. Like so many right now, I have been productive with my hobbies. I’ve chosen to spend time in the basement getting back into the layout construction and finishing up some old projects. It’s been a lot of fun, and hard work. Here’s a [long] report of what I’ve been up to:
Rock Creek Trestle
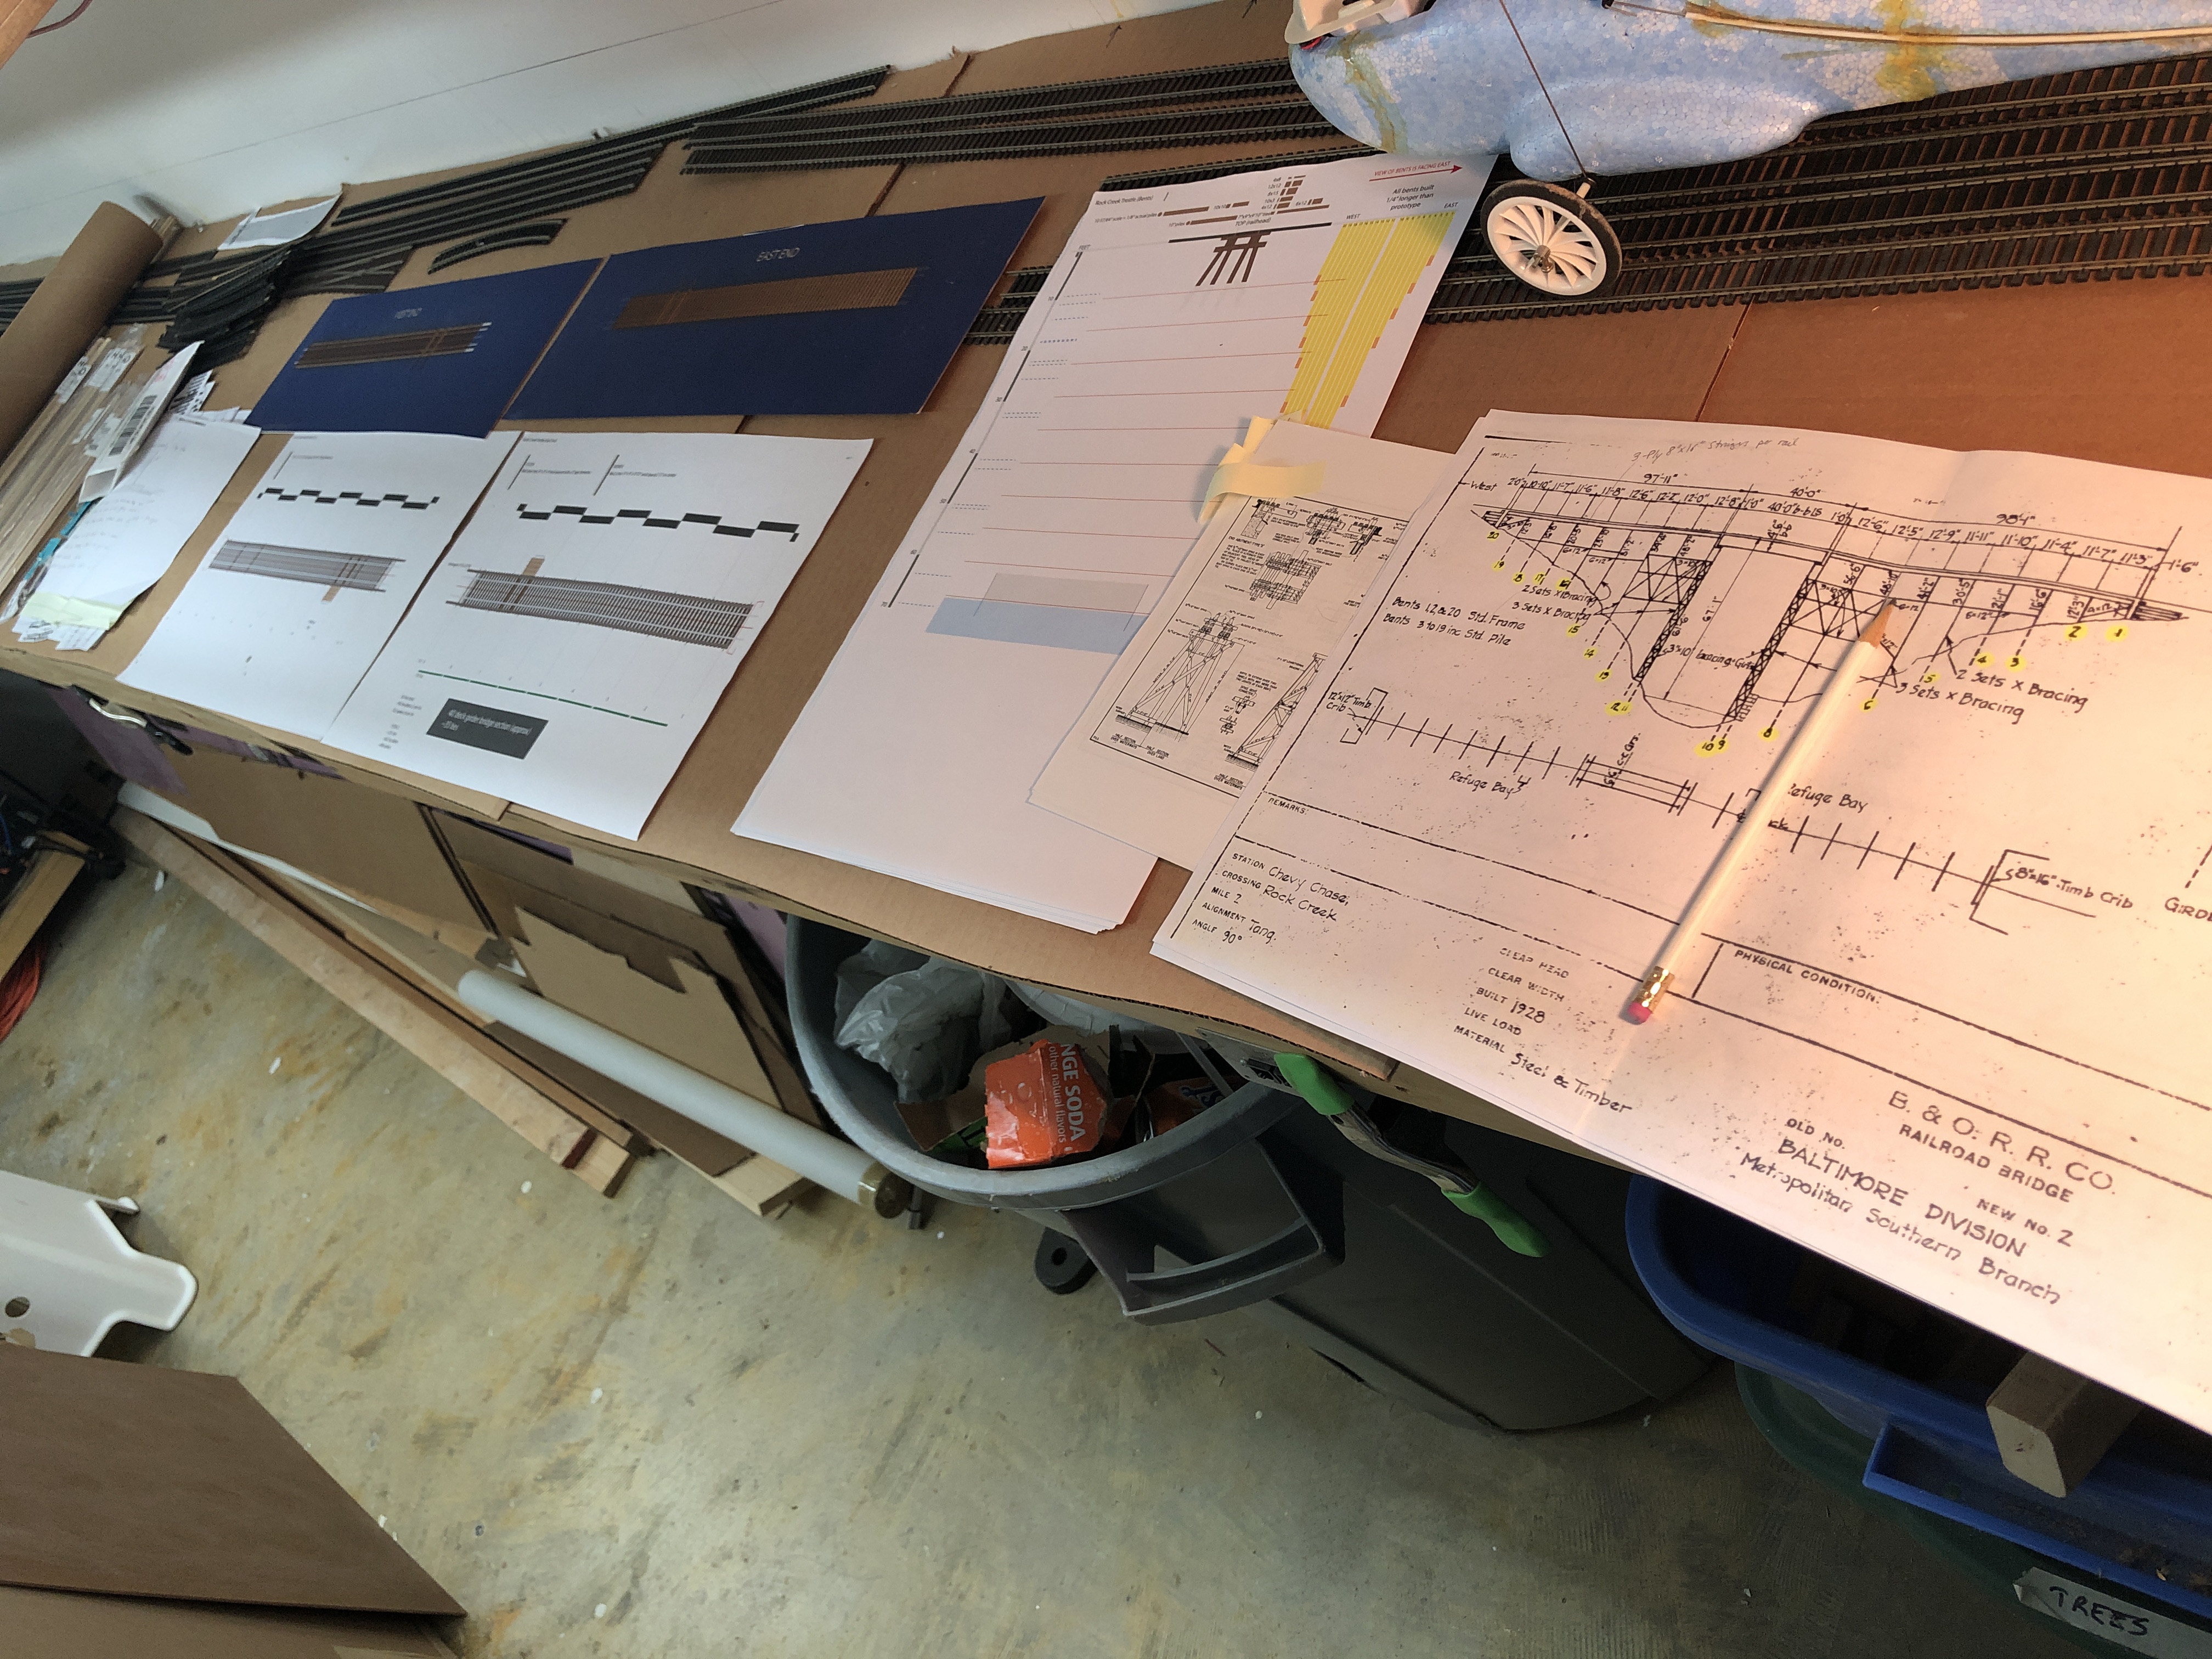
I got the plans to place I was satisfied with and decided to start doing some work. *A quick note about this – I ended up spending another few days modifying the plans because I wasn’t pleased with them. More on this later!

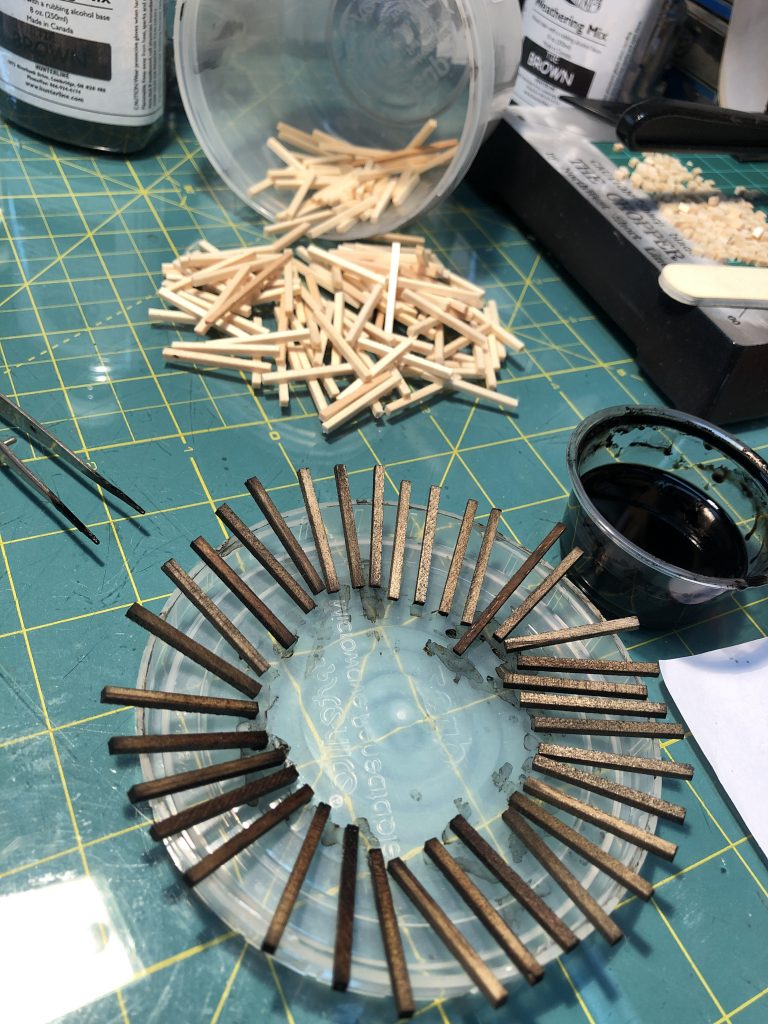
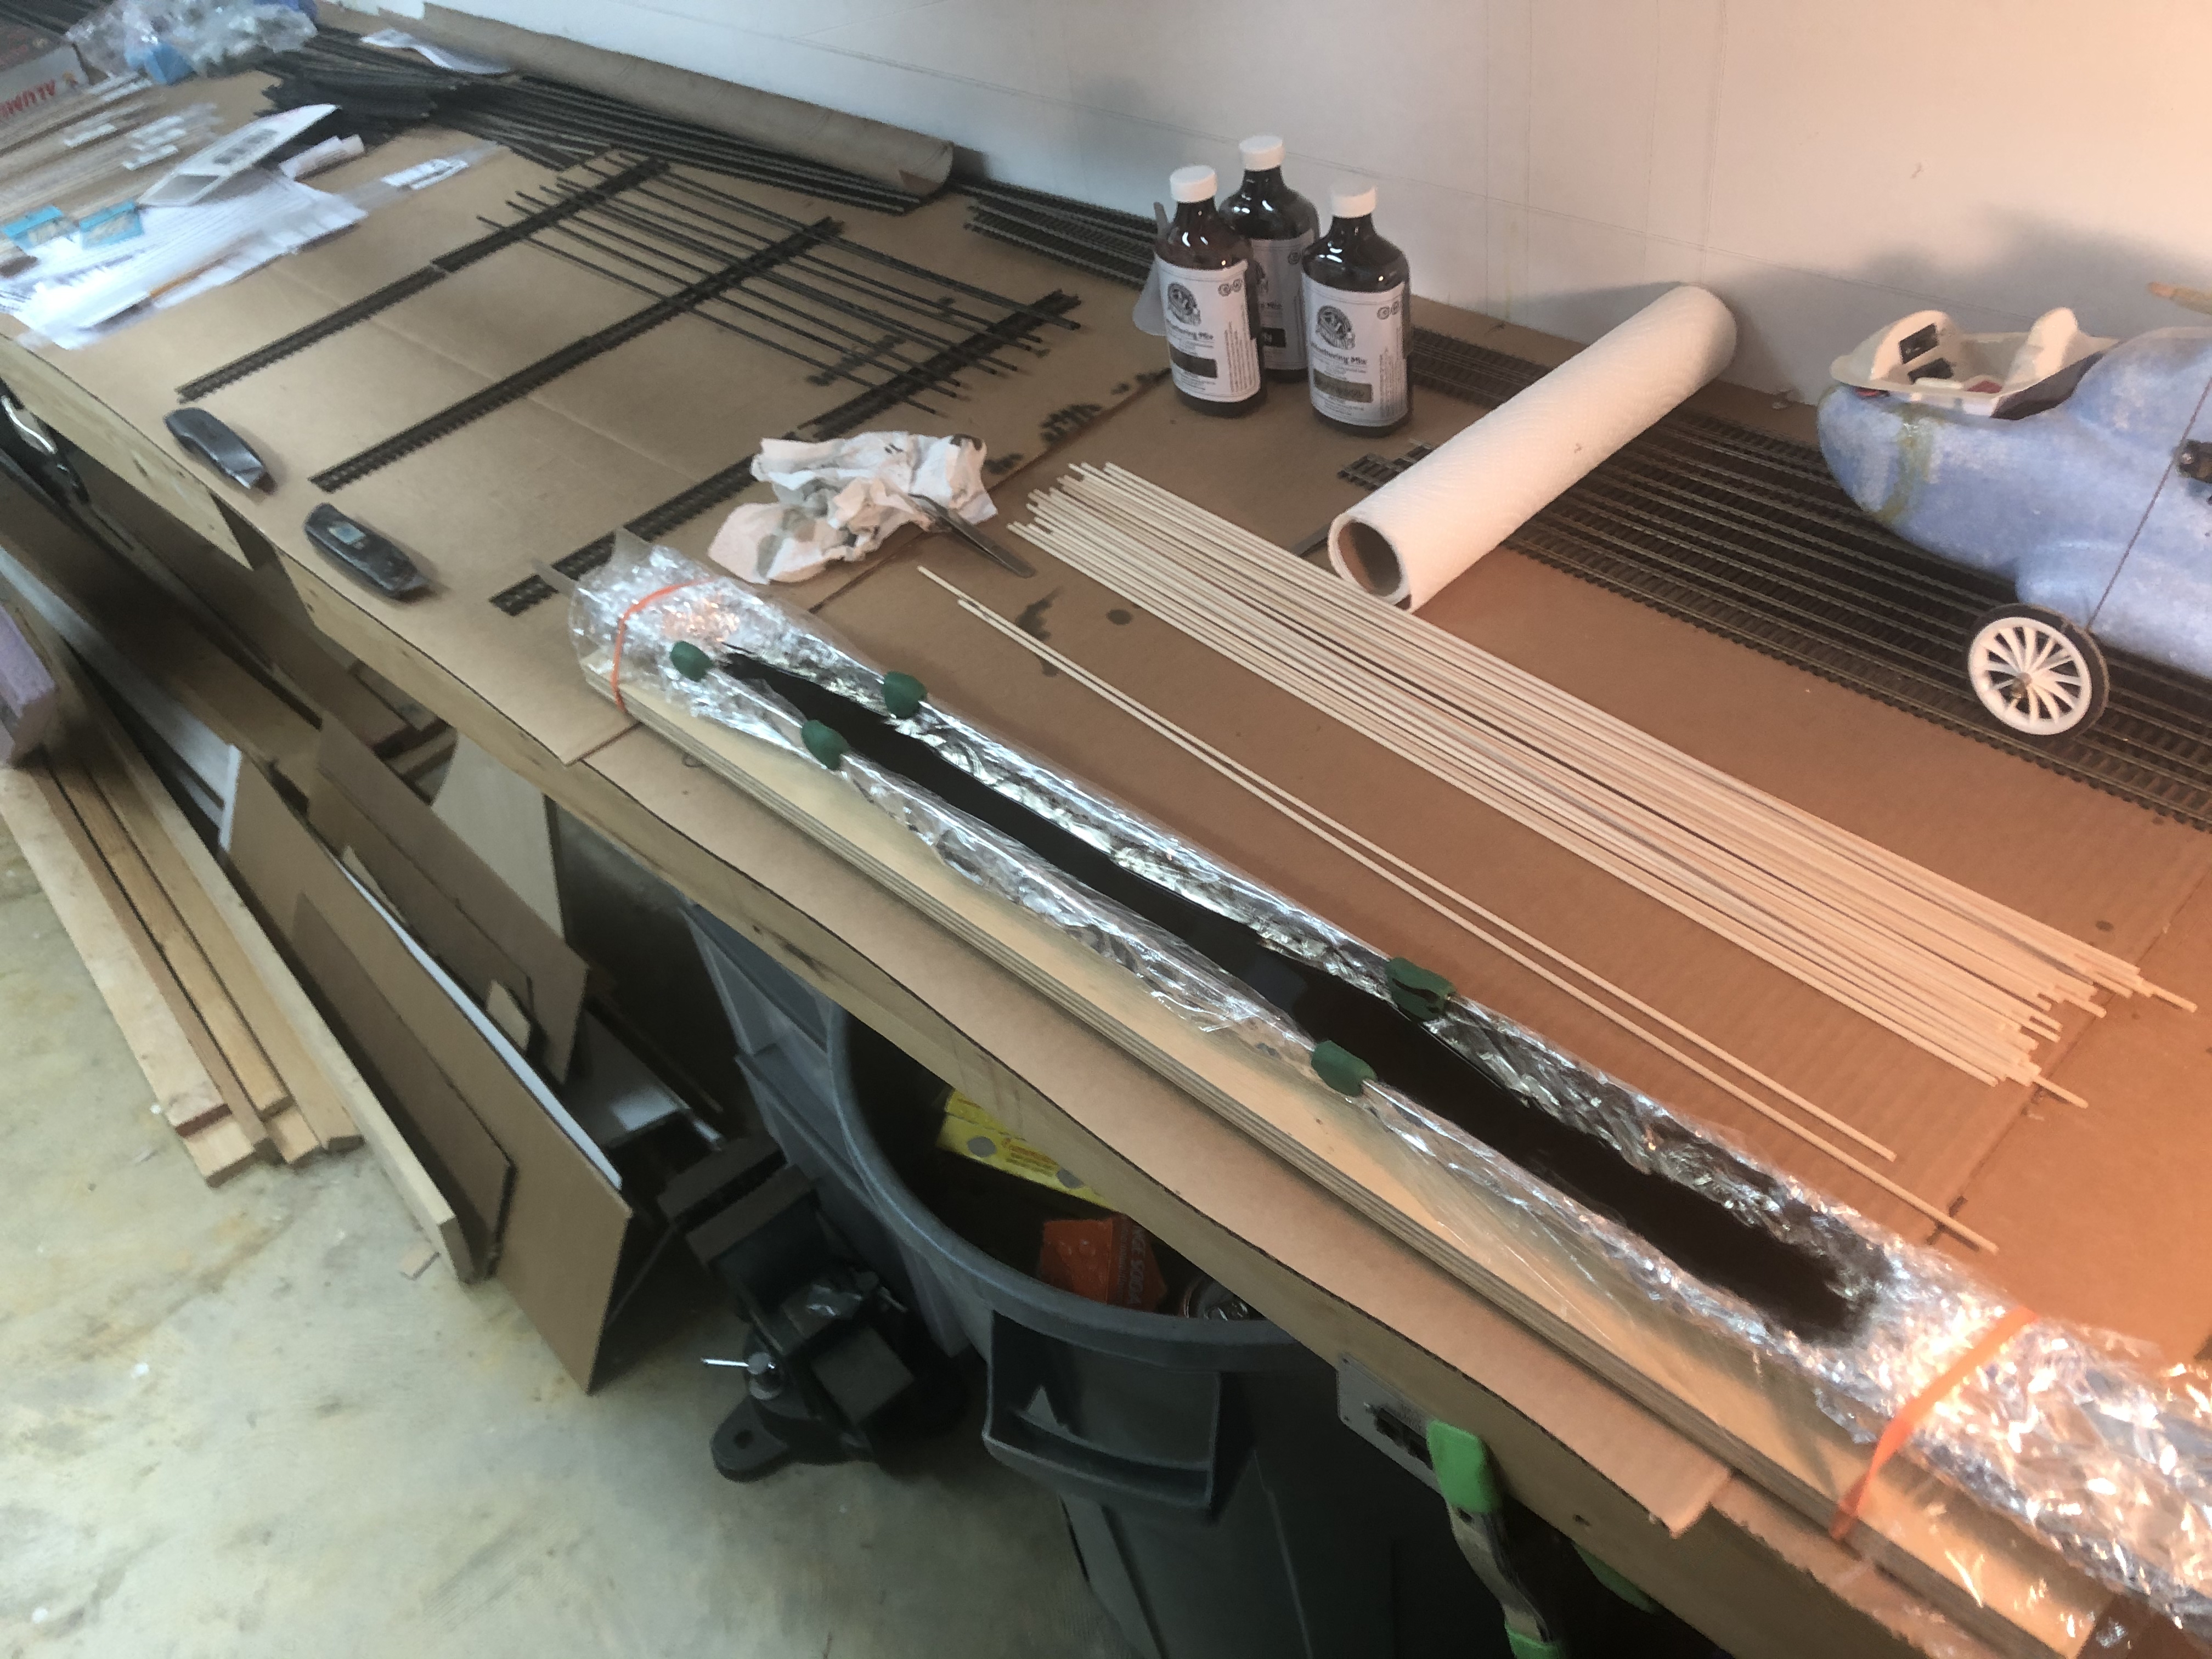
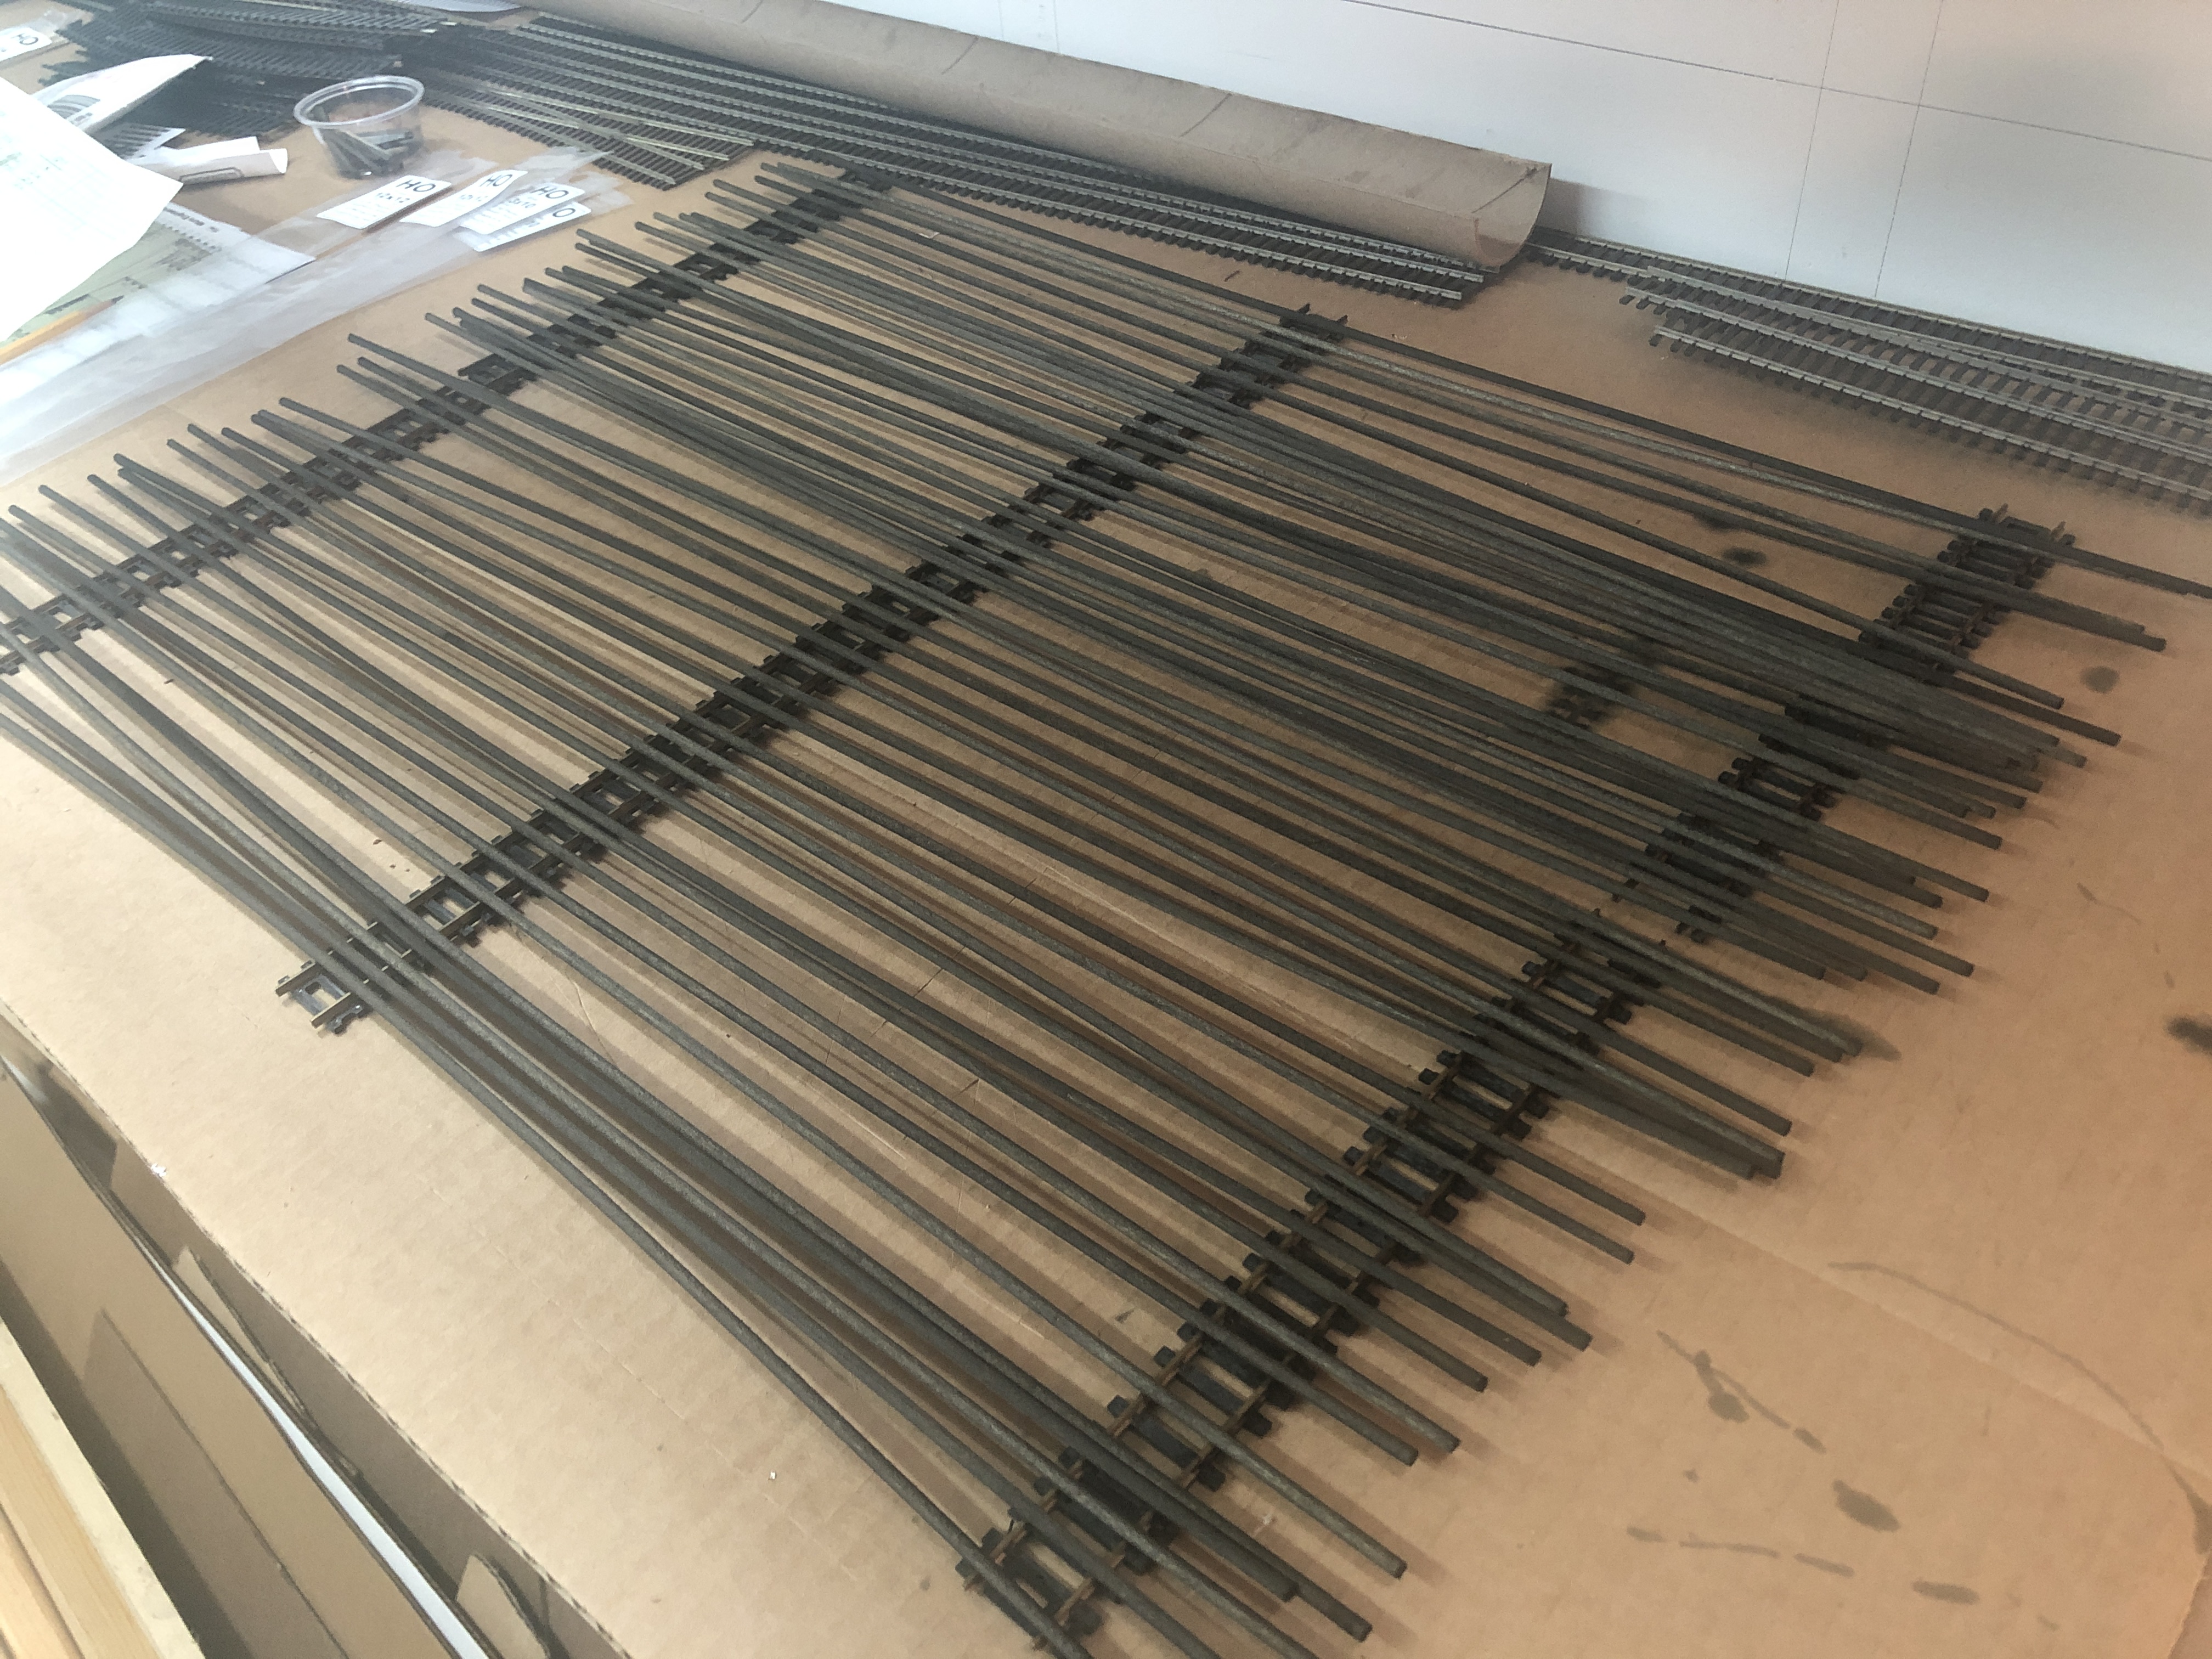
I ordered the lumber a few months back from Mt. Albert Scale Lumber (FastTracks) and Northeastern Scale Lumber and decided to laser cut some jigs for the bridge ties. I even picked up some tie plates, spikes and joint bars from the folks at Proto:87, which I will use to detail the bridge track.
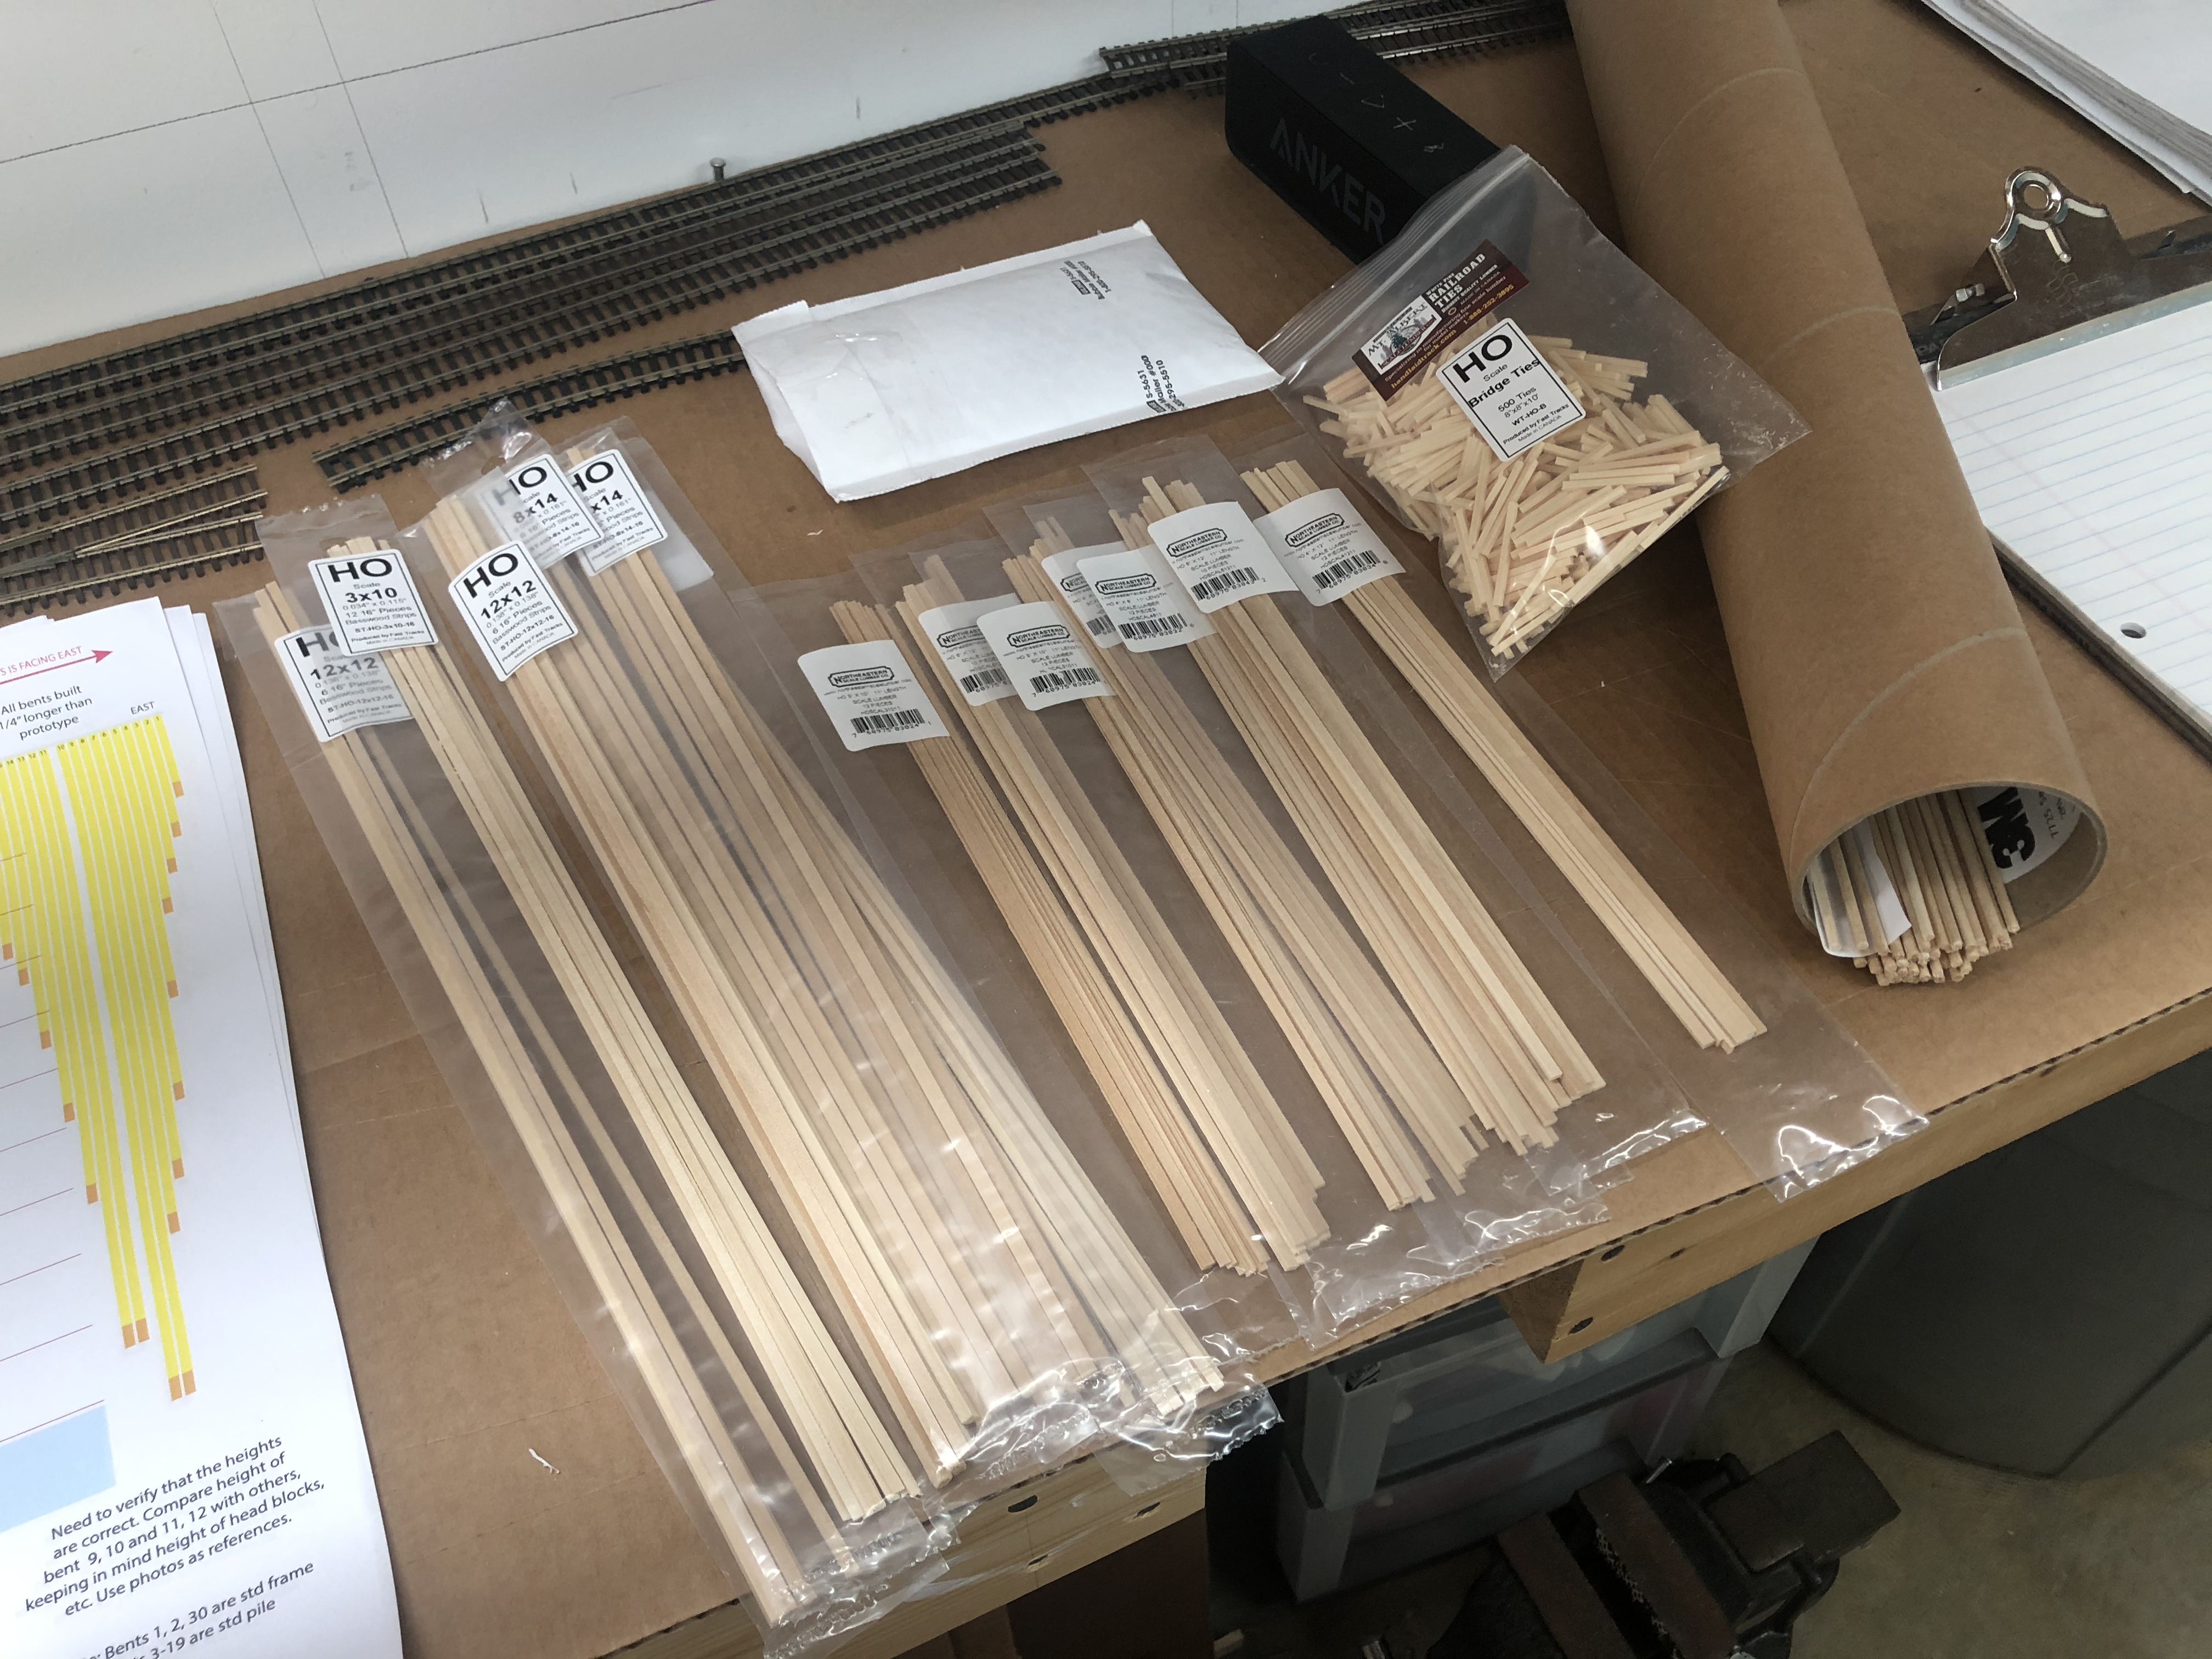
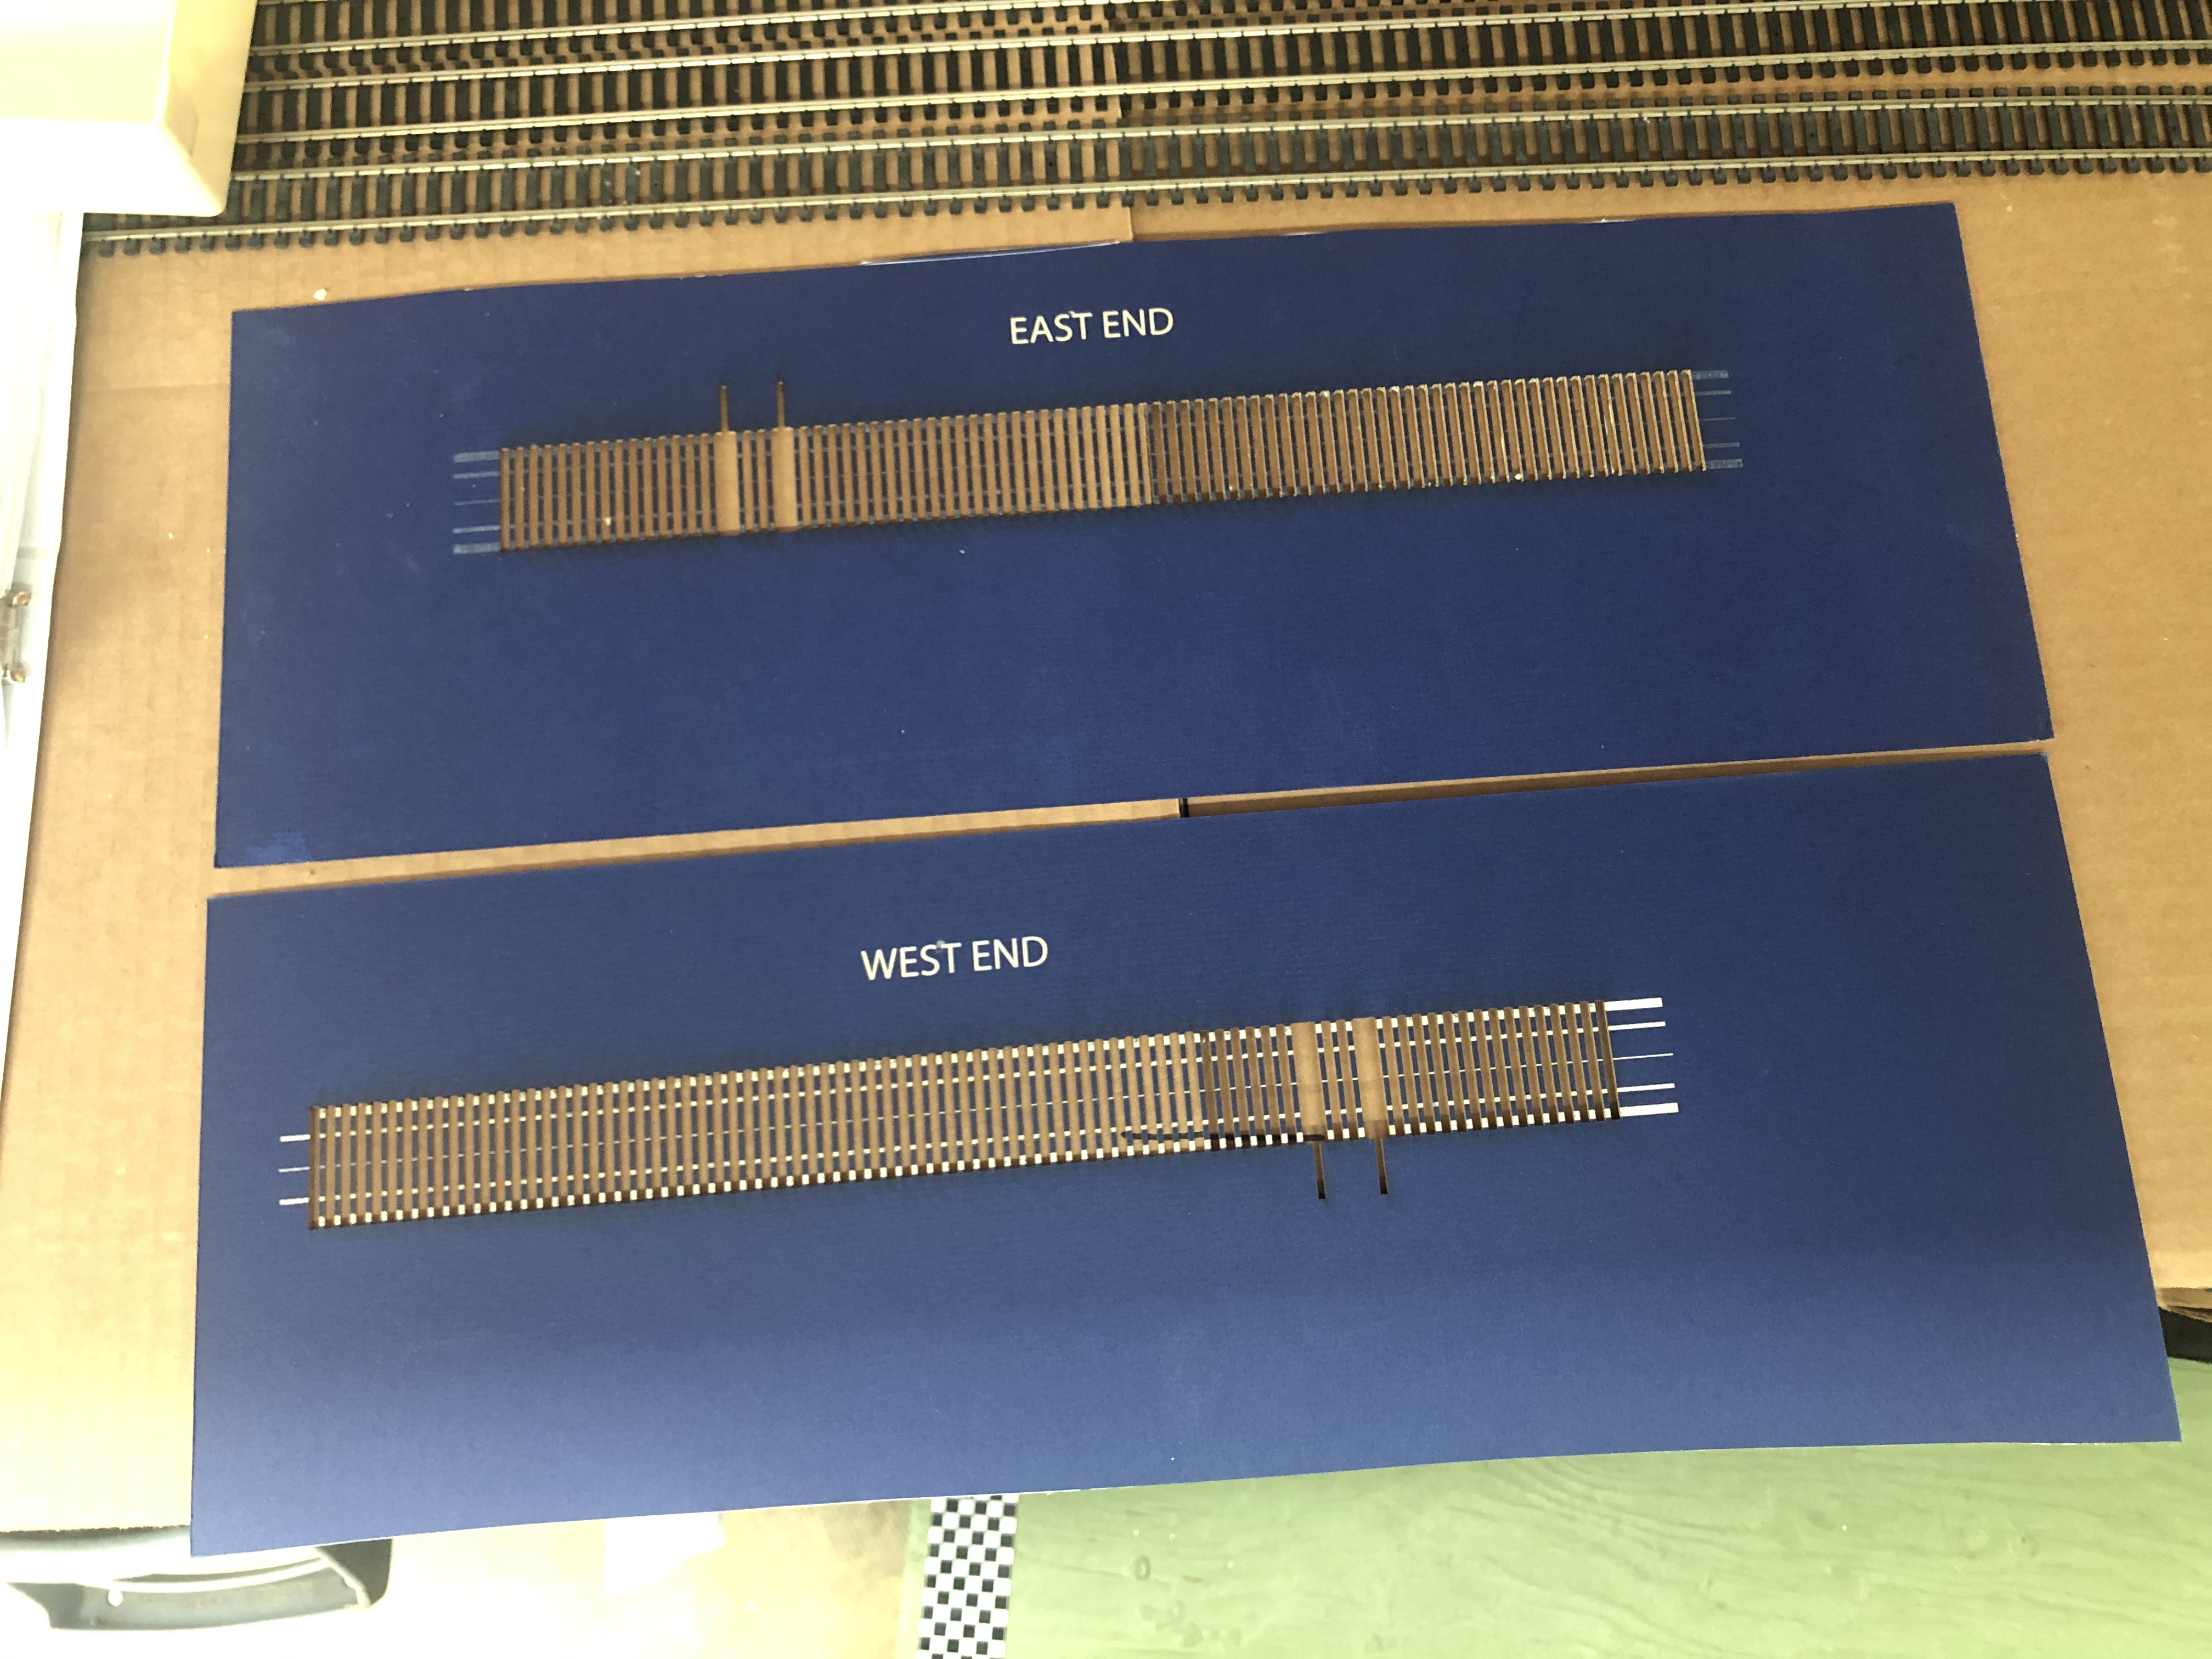


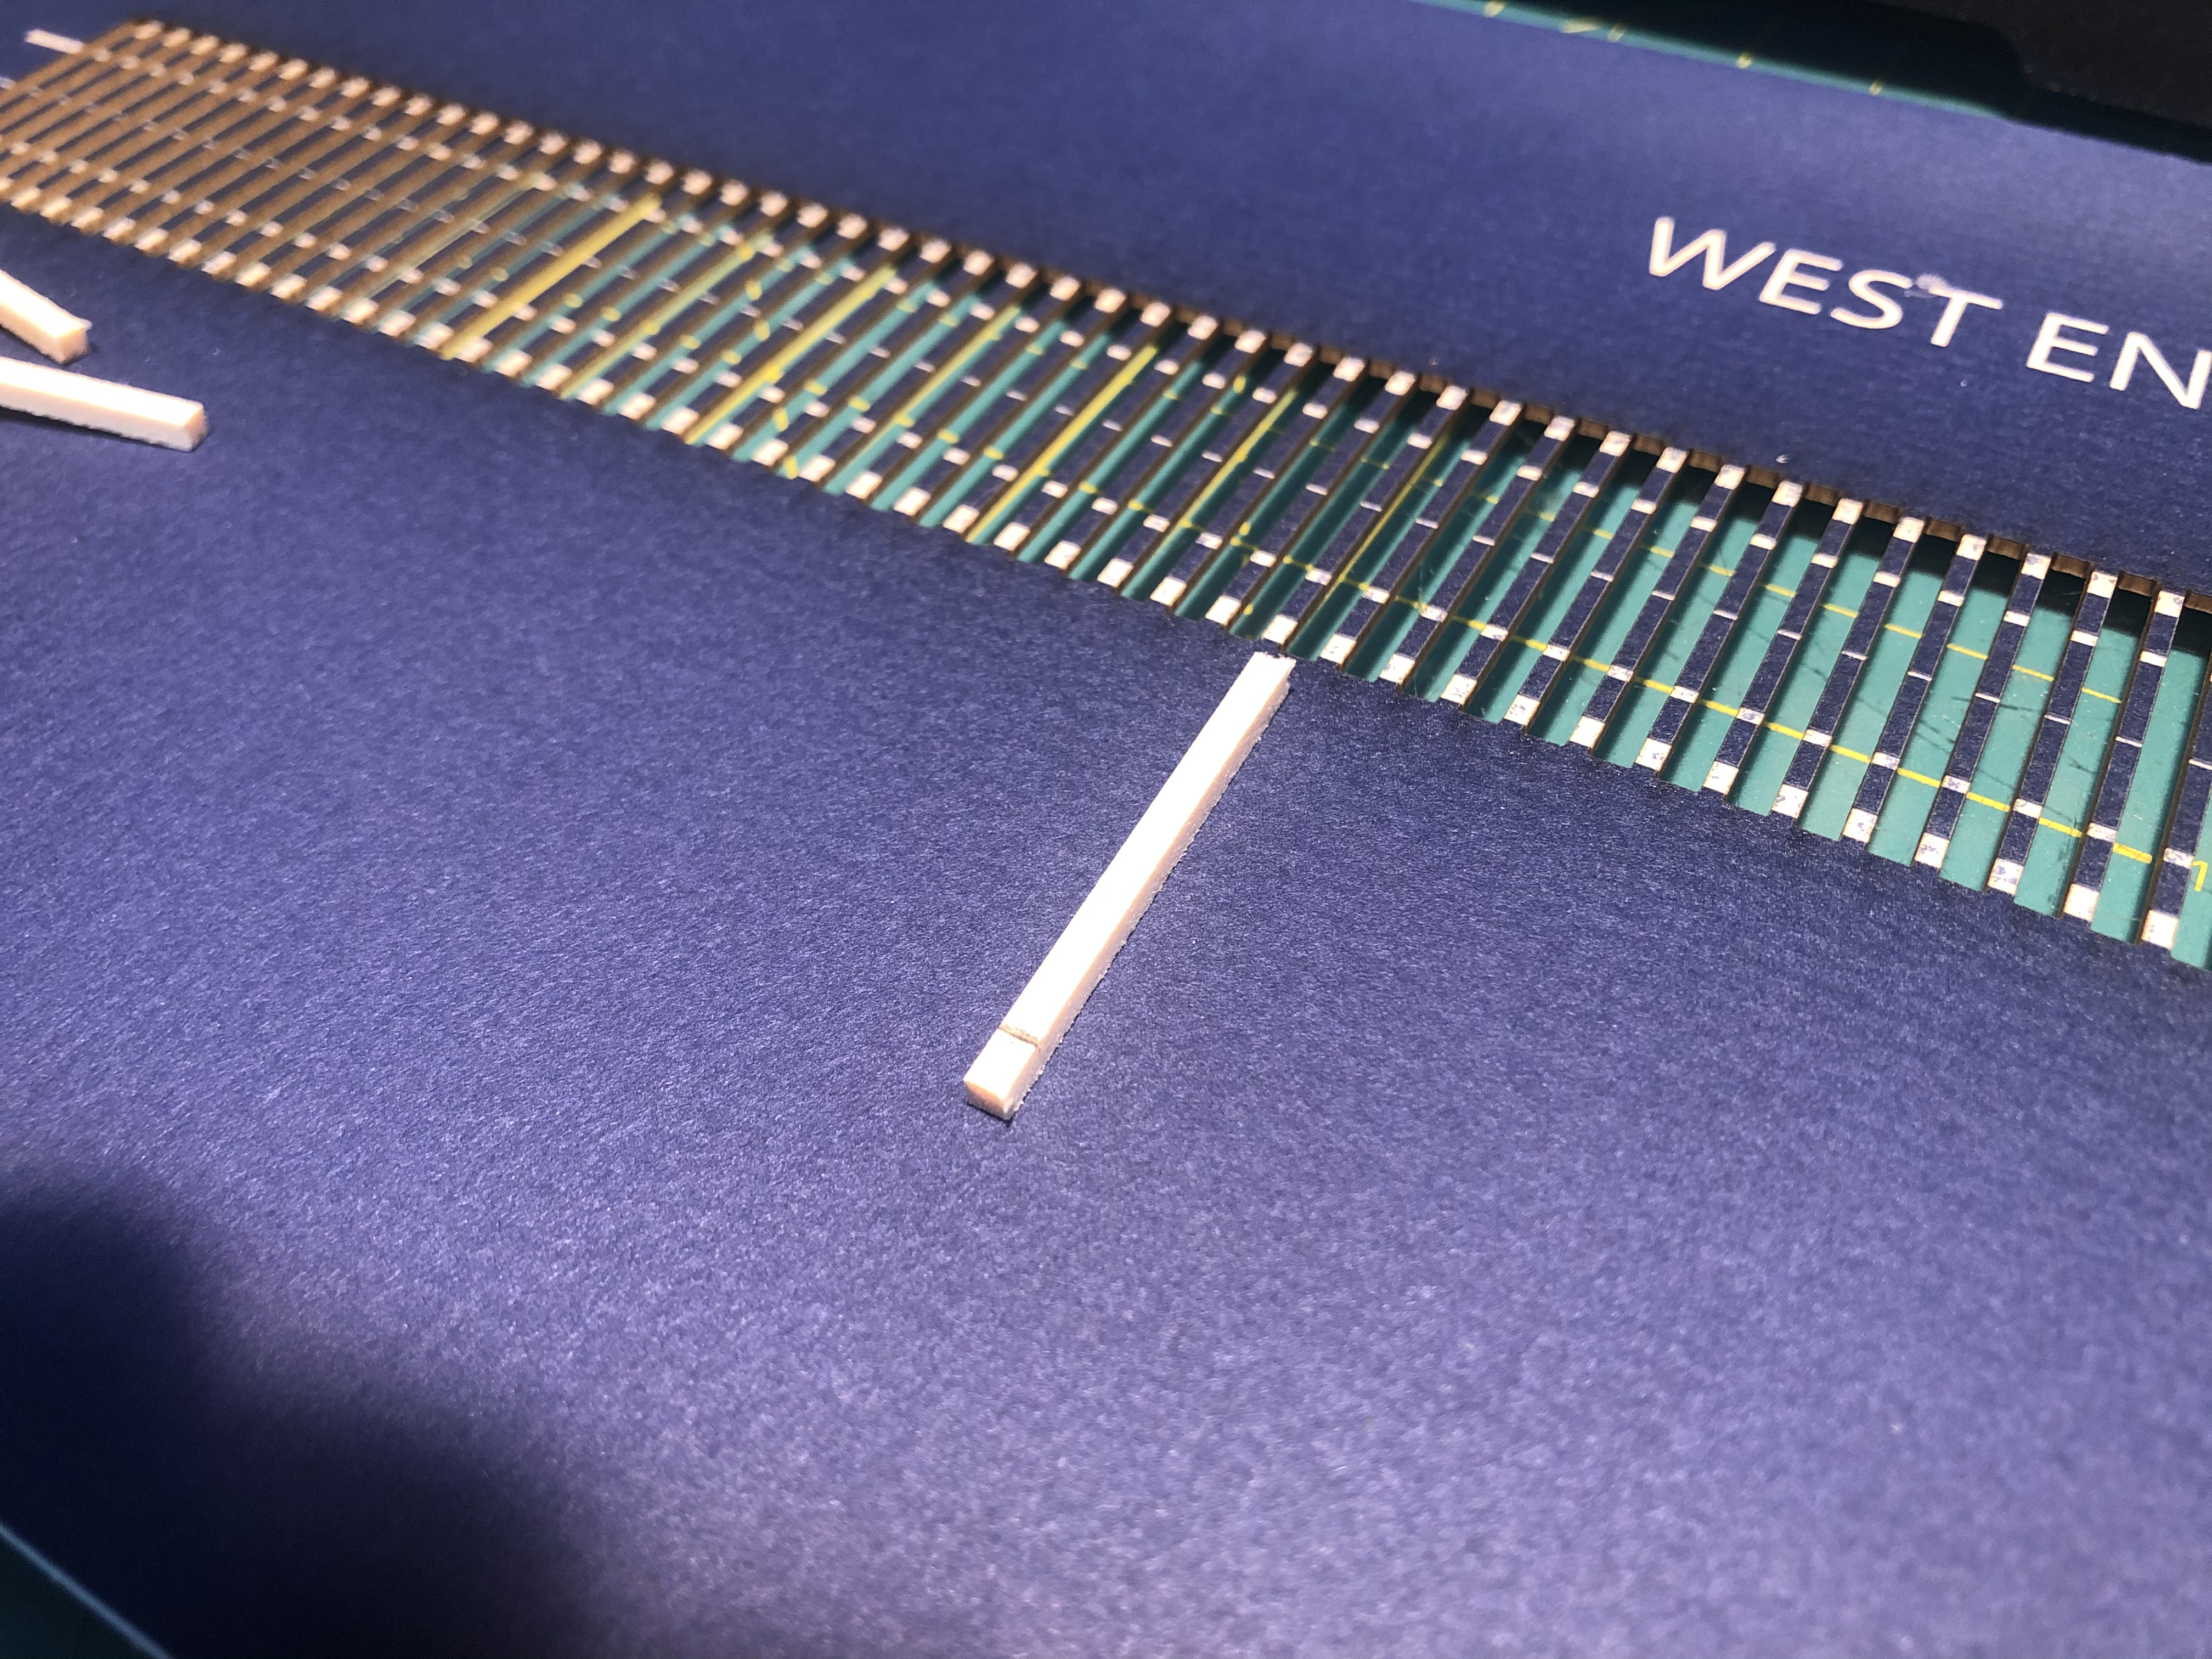


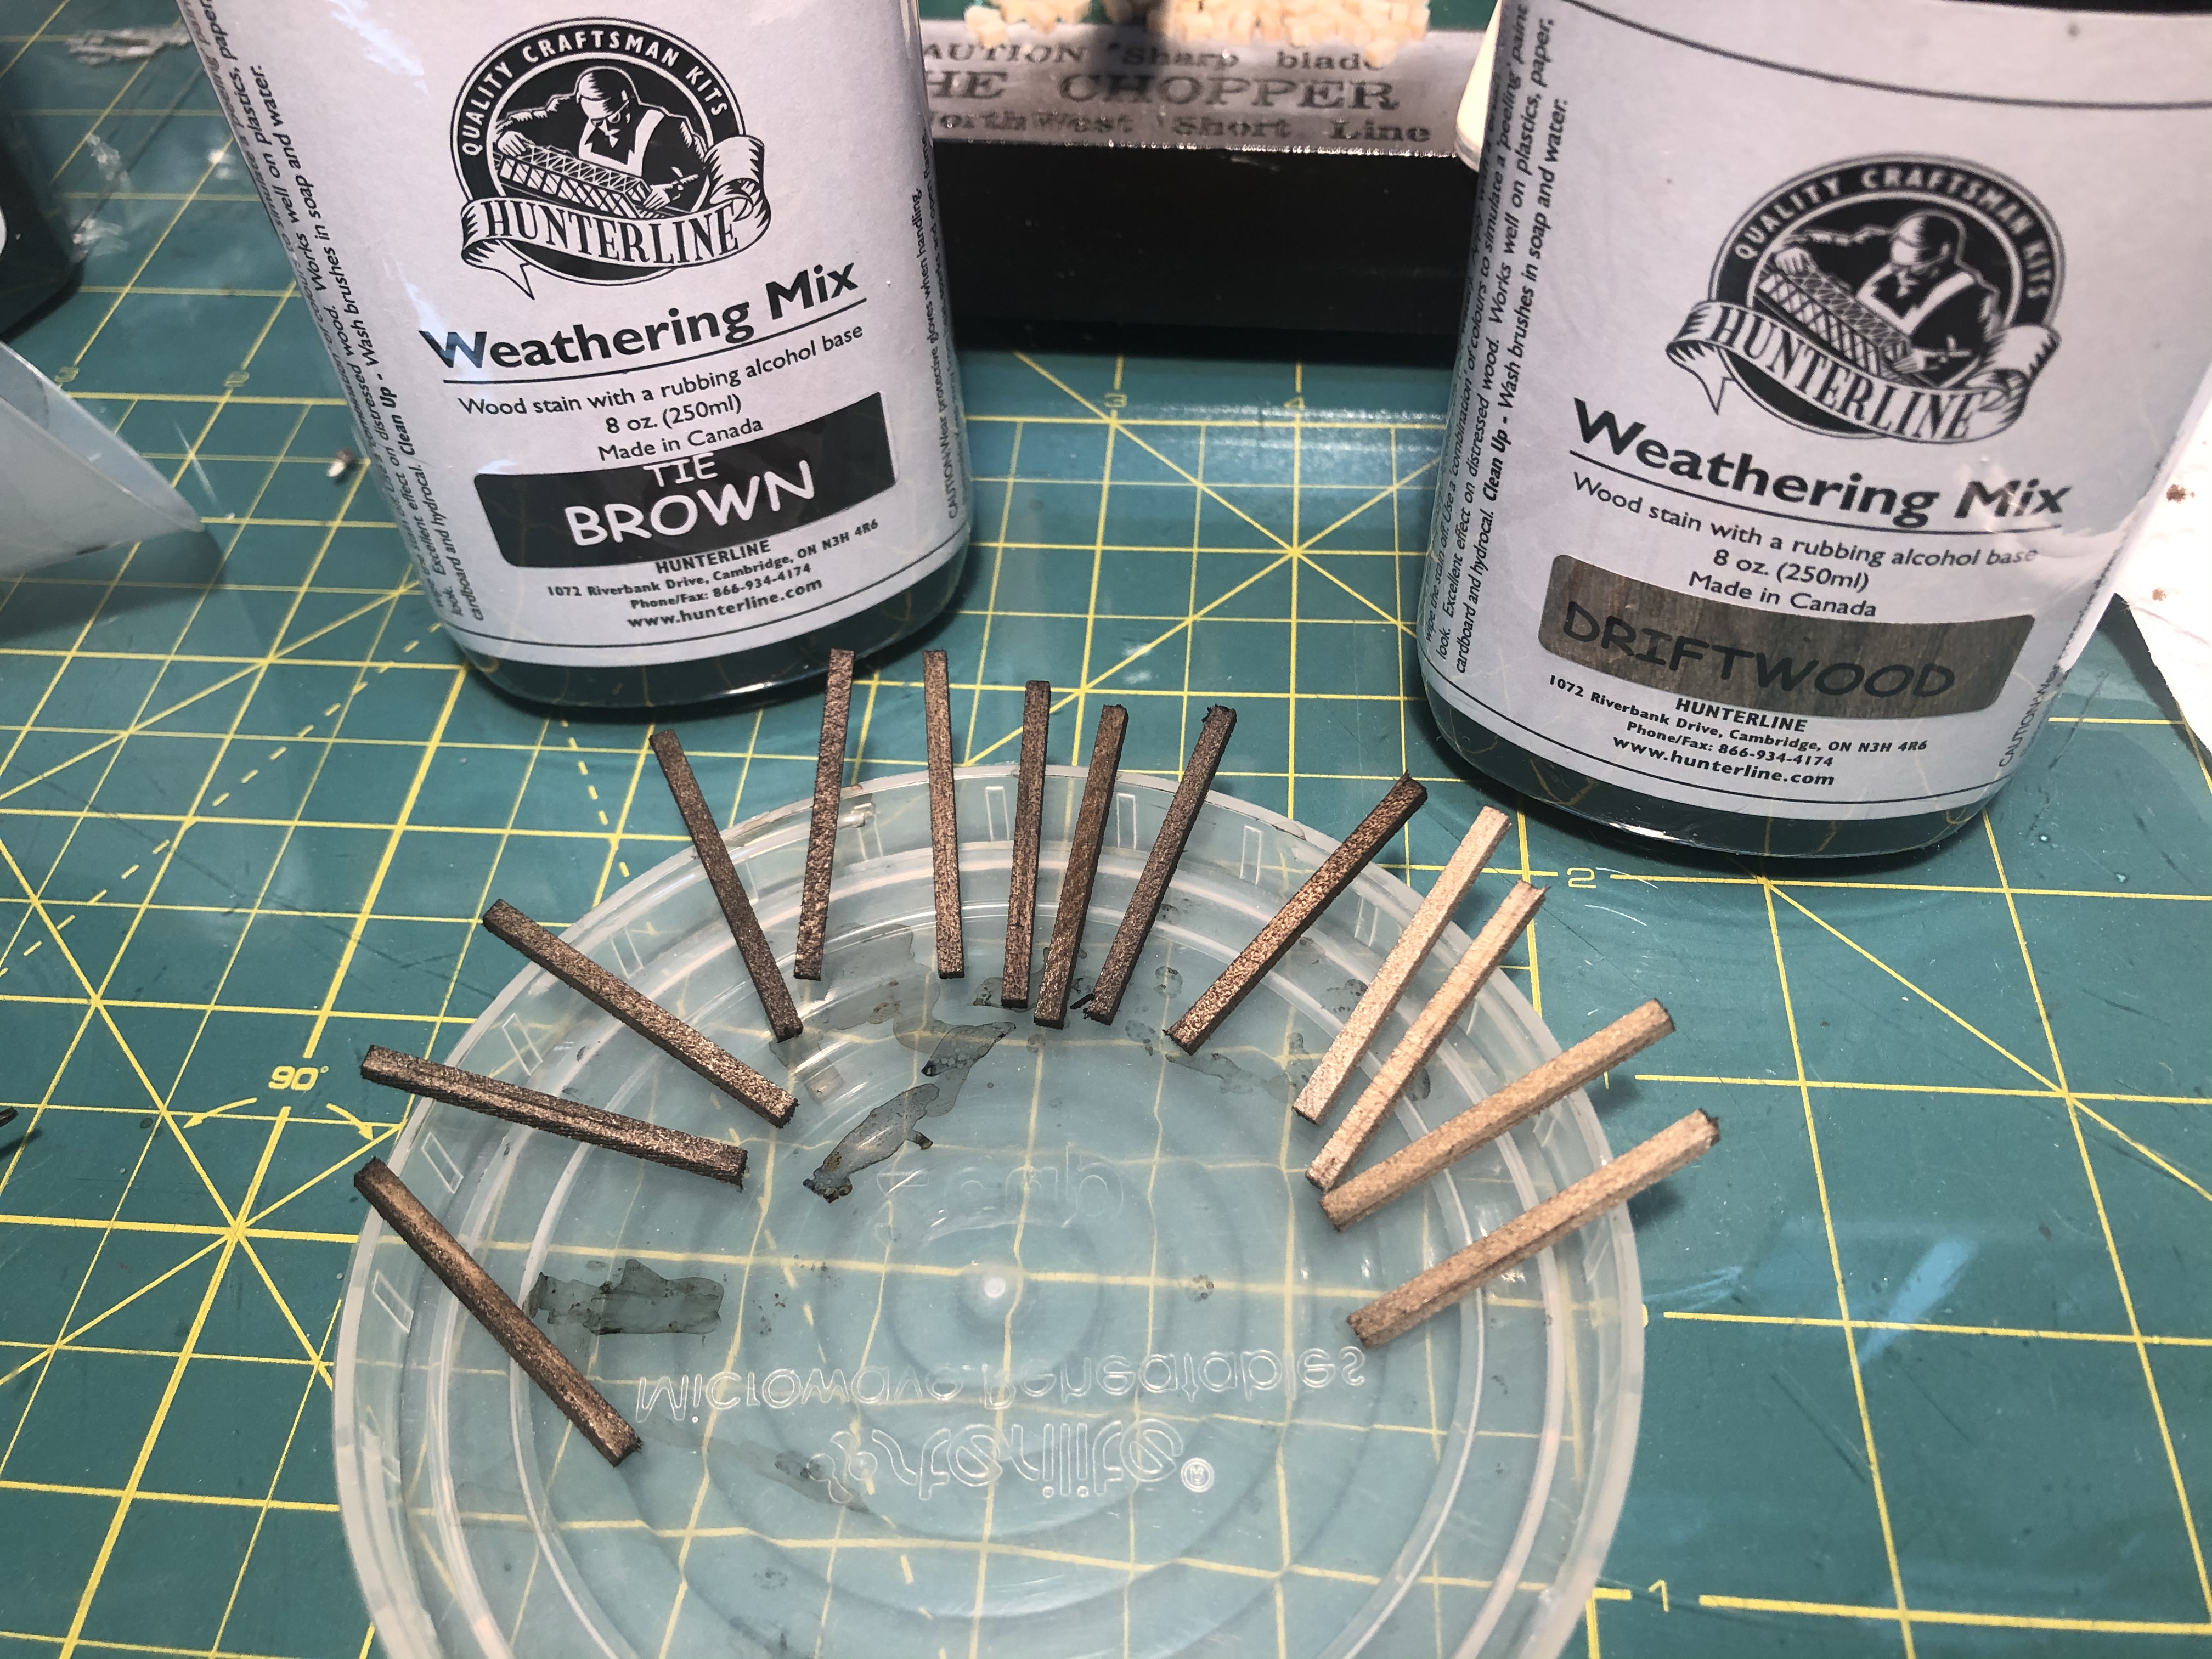
Next up was the stain. I did some testing with about 5-6 different Hunterline Weathering Mix stains and eventually settled on Tie Brown with a bit of Driftwood mixed in.
Fast forward a couple months and I’m picking back up where I left off with this project. I was doing a mental and physical inventory of the trestle project to get back on track. As I started to go through my notes and compare them with what lumber I purchased last Winter, I realized I screwed up. I missed a few things in my order. Oops! A quick trip to FastTracks’ website and the order was in.
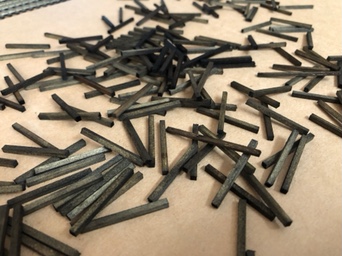
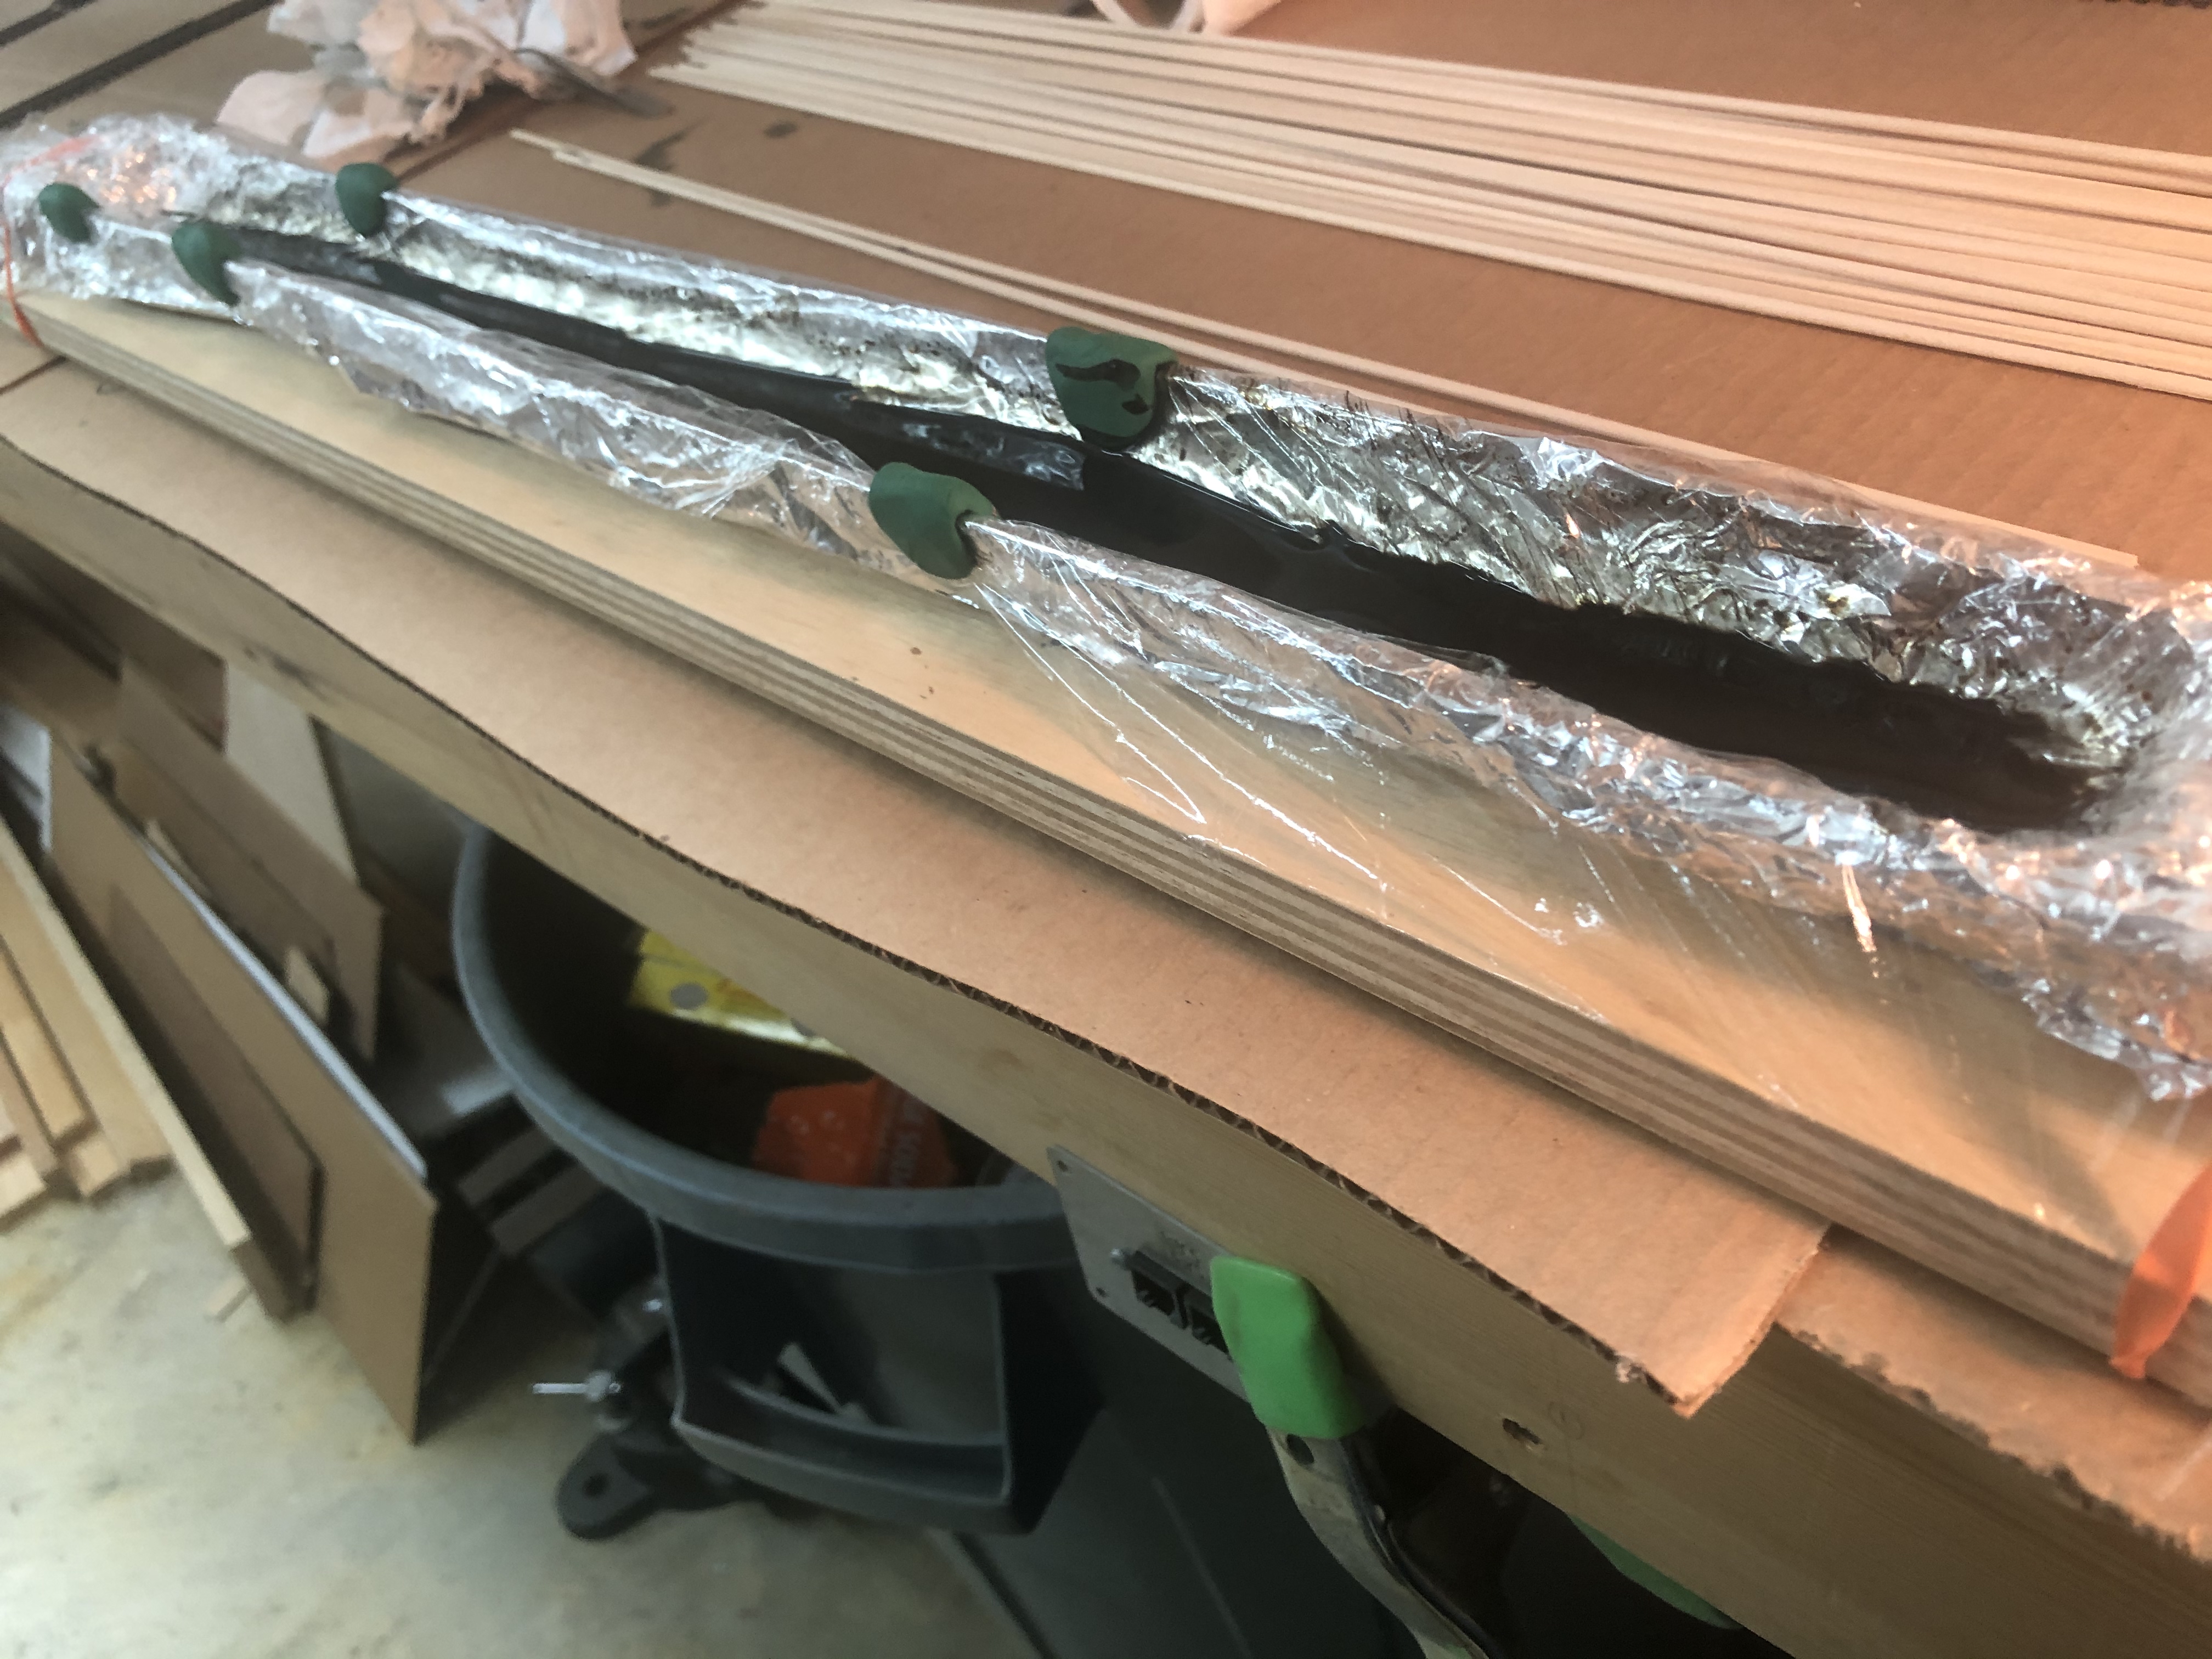
So now that I am waiting for that material to show up, let’s get busy staining the wood we DO have! But how do you stain 2′ long x 1/8″ pieces of wood? I had to figure out a solution, so I designed a trough out of foil, but that failed catastrophically. (Cleaning up stain is NO FUN.) I cut a rigid paper tube in half, lined it with foil and used some old clay to create ends that are adjustable. I then laid a sheet of plastic wrap in and held it in place with clay blobs. The whole thing was rubber-banded to a piece of wood to keep it steady. This gave me a nice place to hold the stain while I dipped wood in and set to dry on drying racks I made from old Snap-Track. In the future, I may try to get some Flex Seal to spray on the tin foil and make it a bit more robust, as I worried the tweezers or the wood itself could poke a hole in the saran wrap and cause a leak.
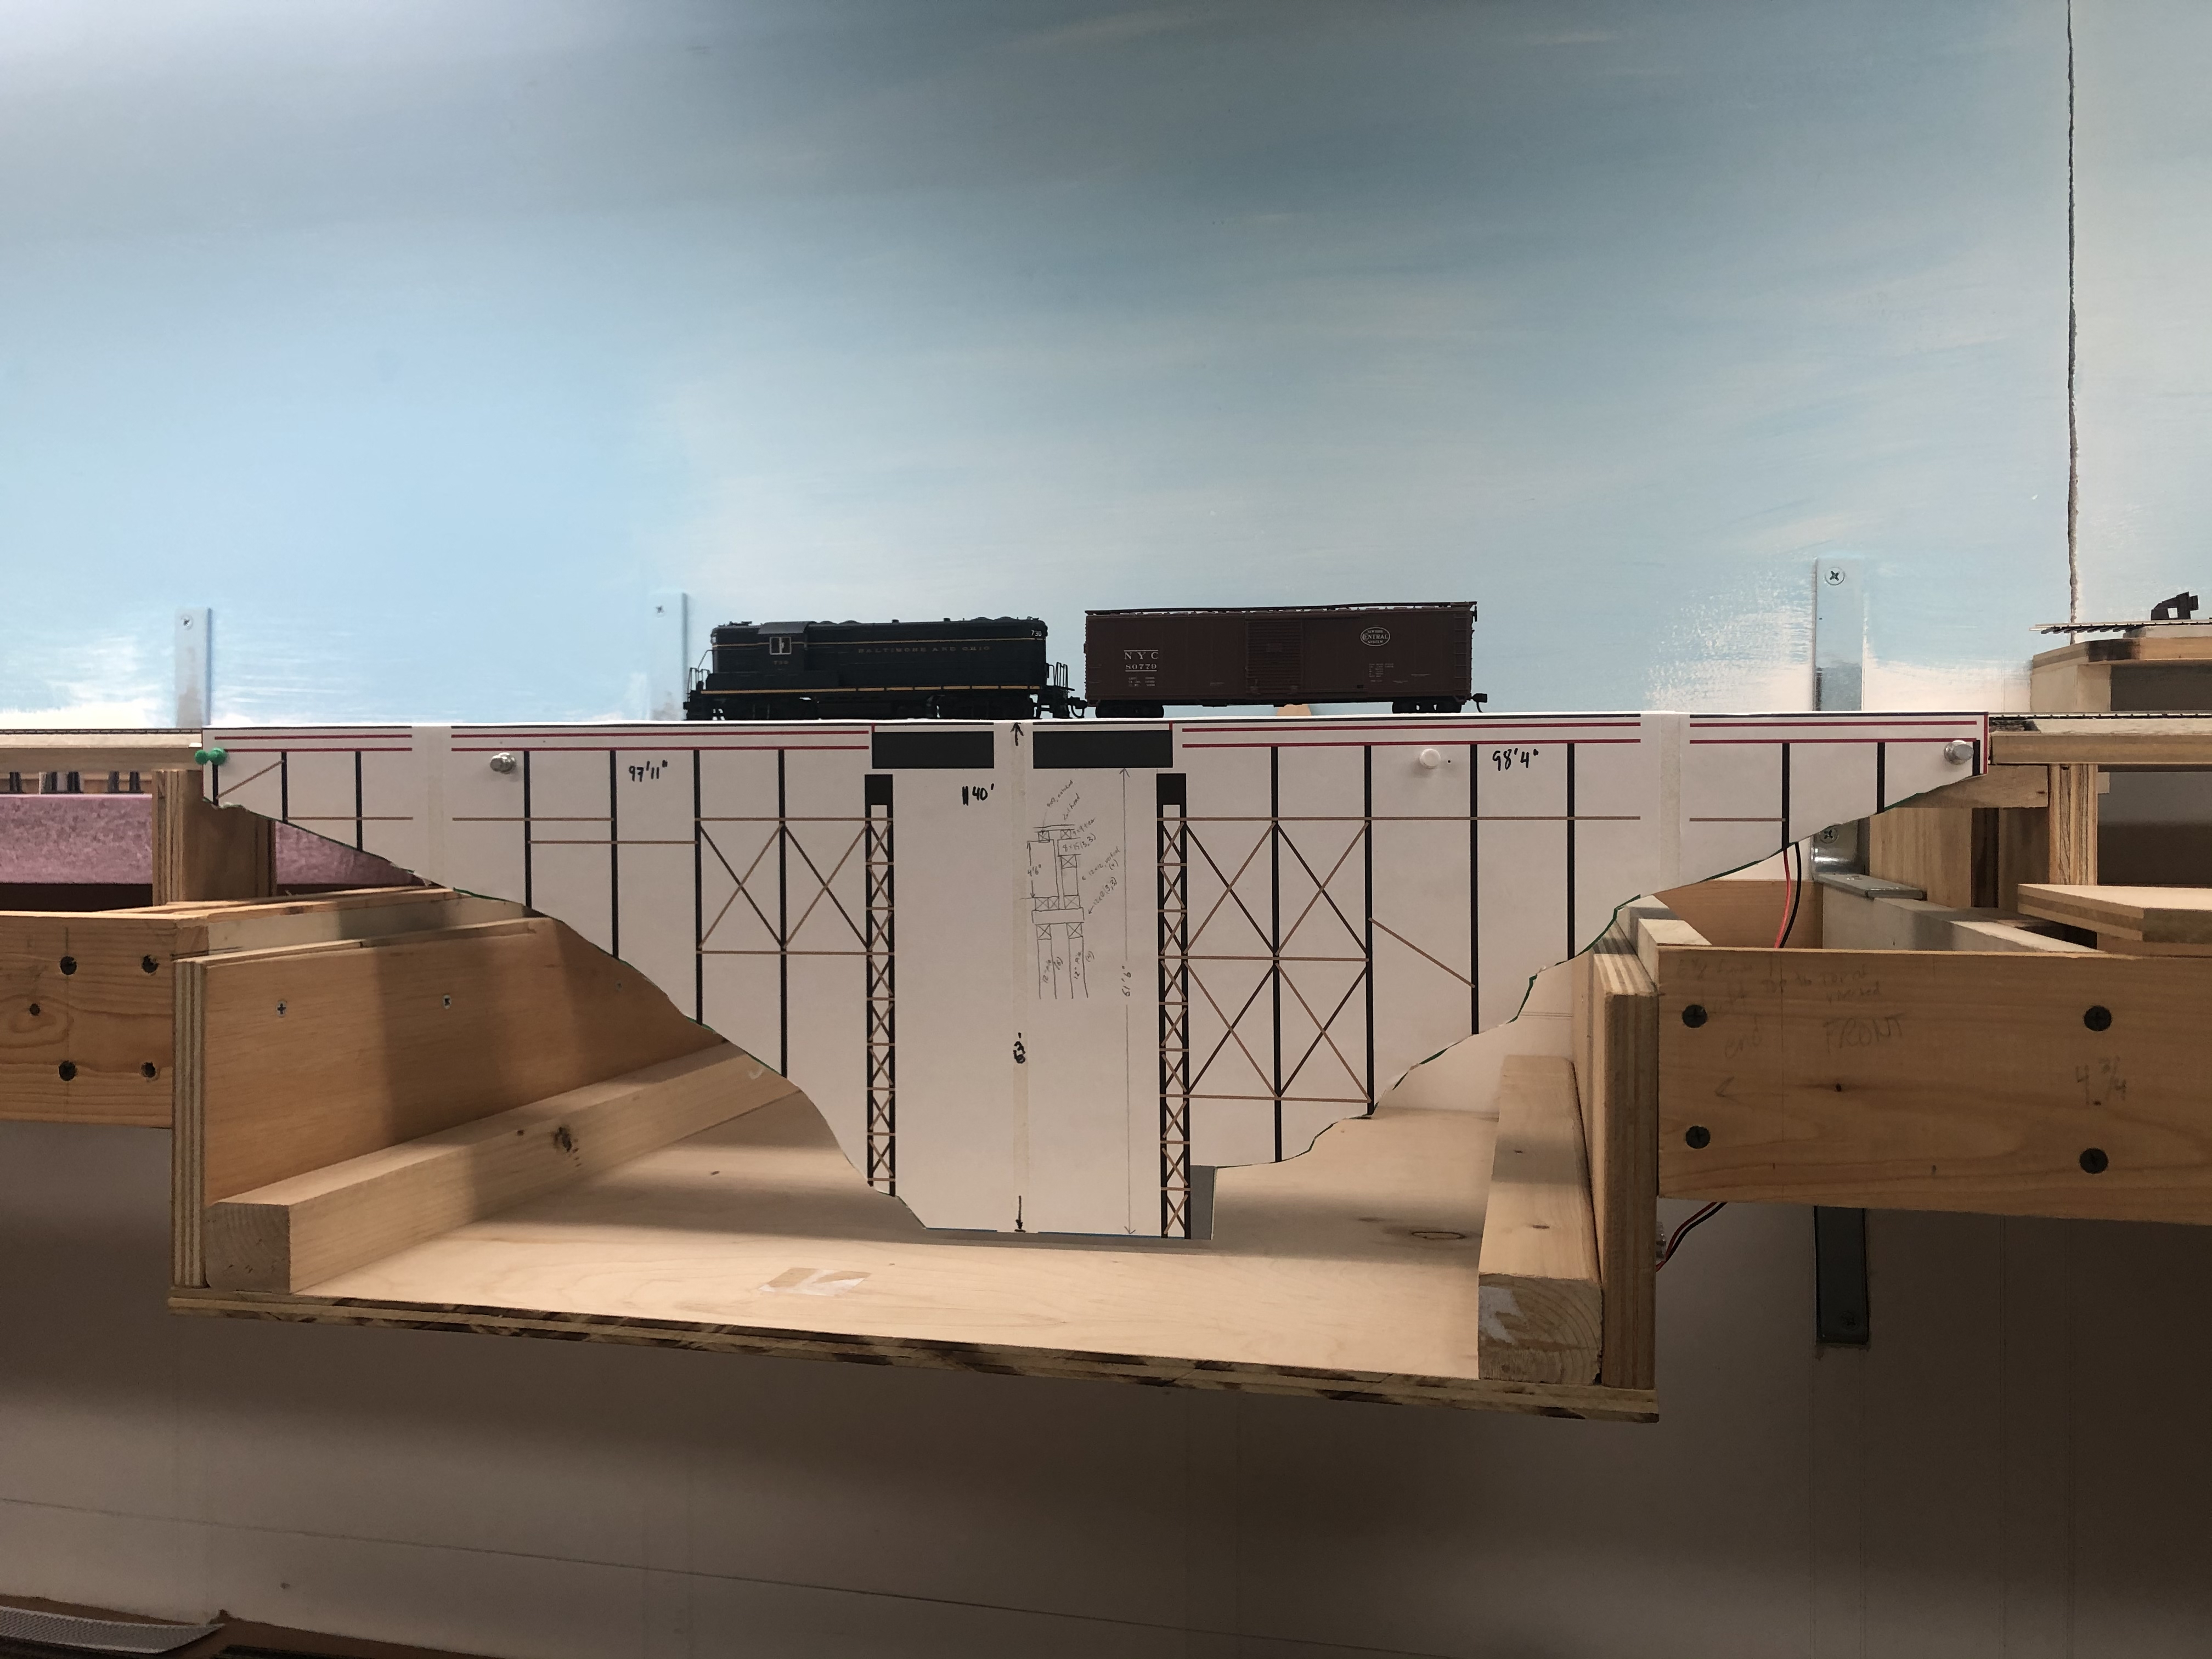
Tichy makes a 40′ plate girder bridge flatcar kit load, that is a very close approximation of the same sort of bridge span across Rock Creek. The major difference is that this one is 1’6″ taller than the B&O prototype.
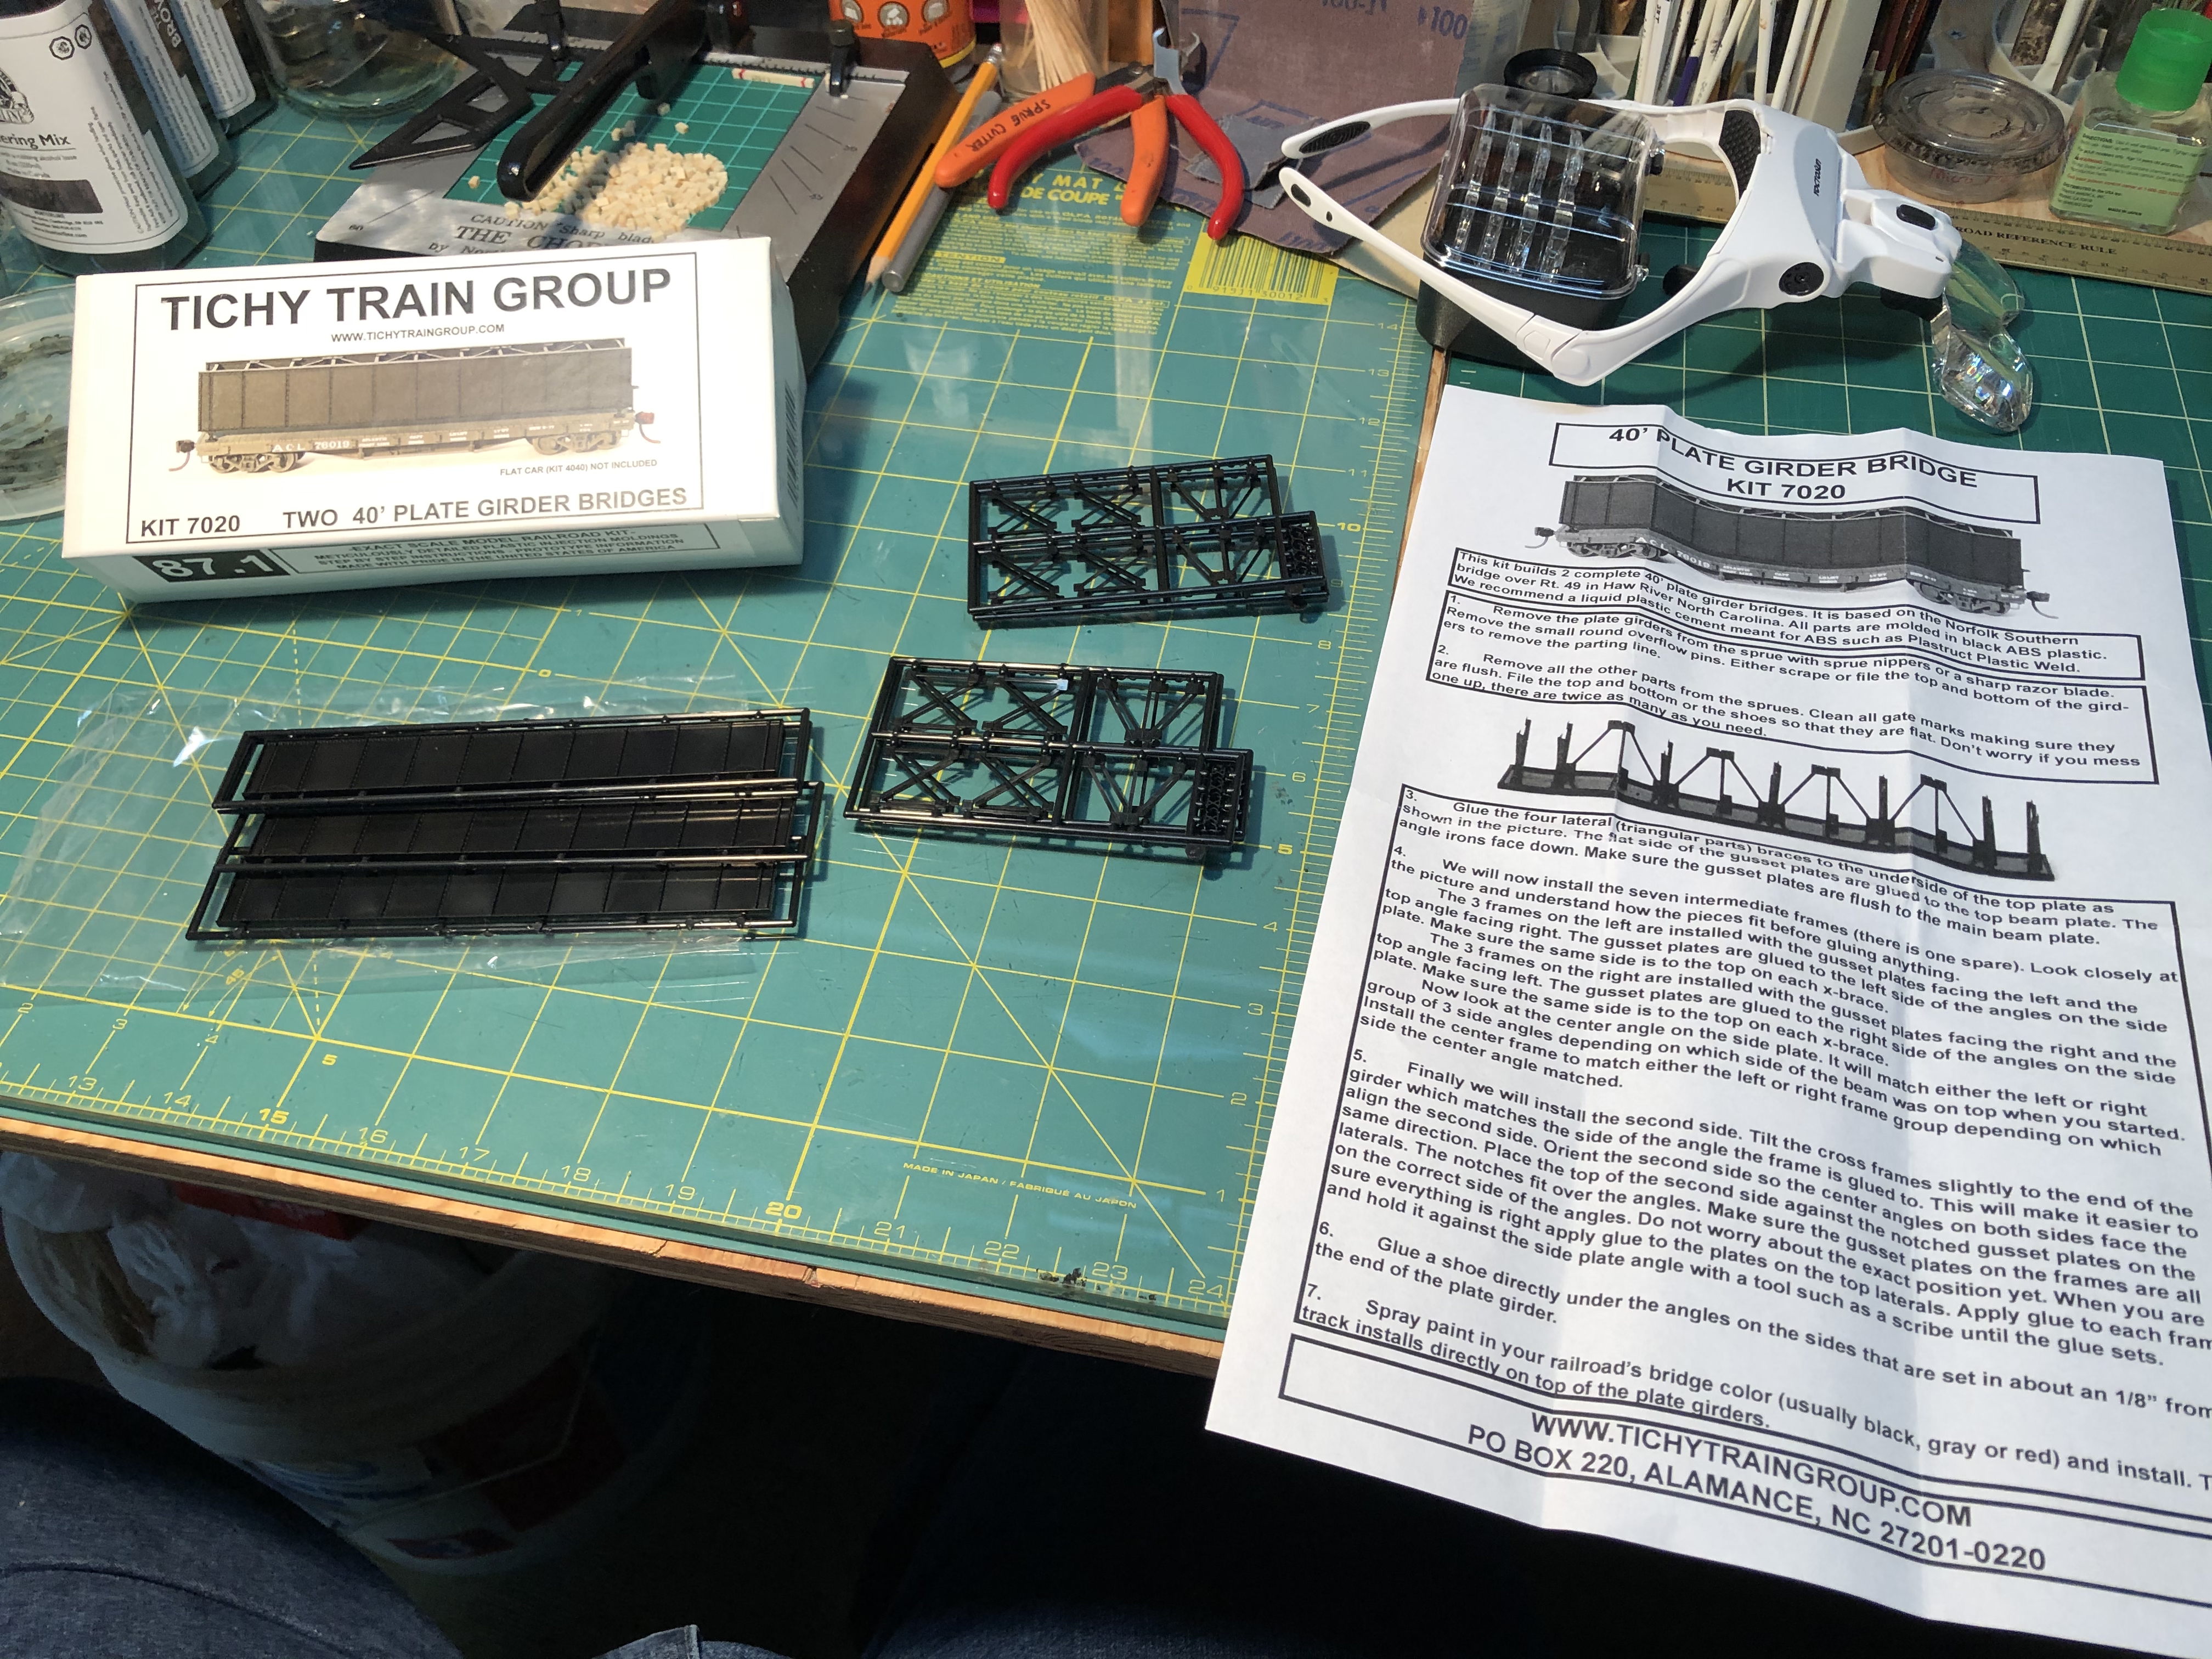

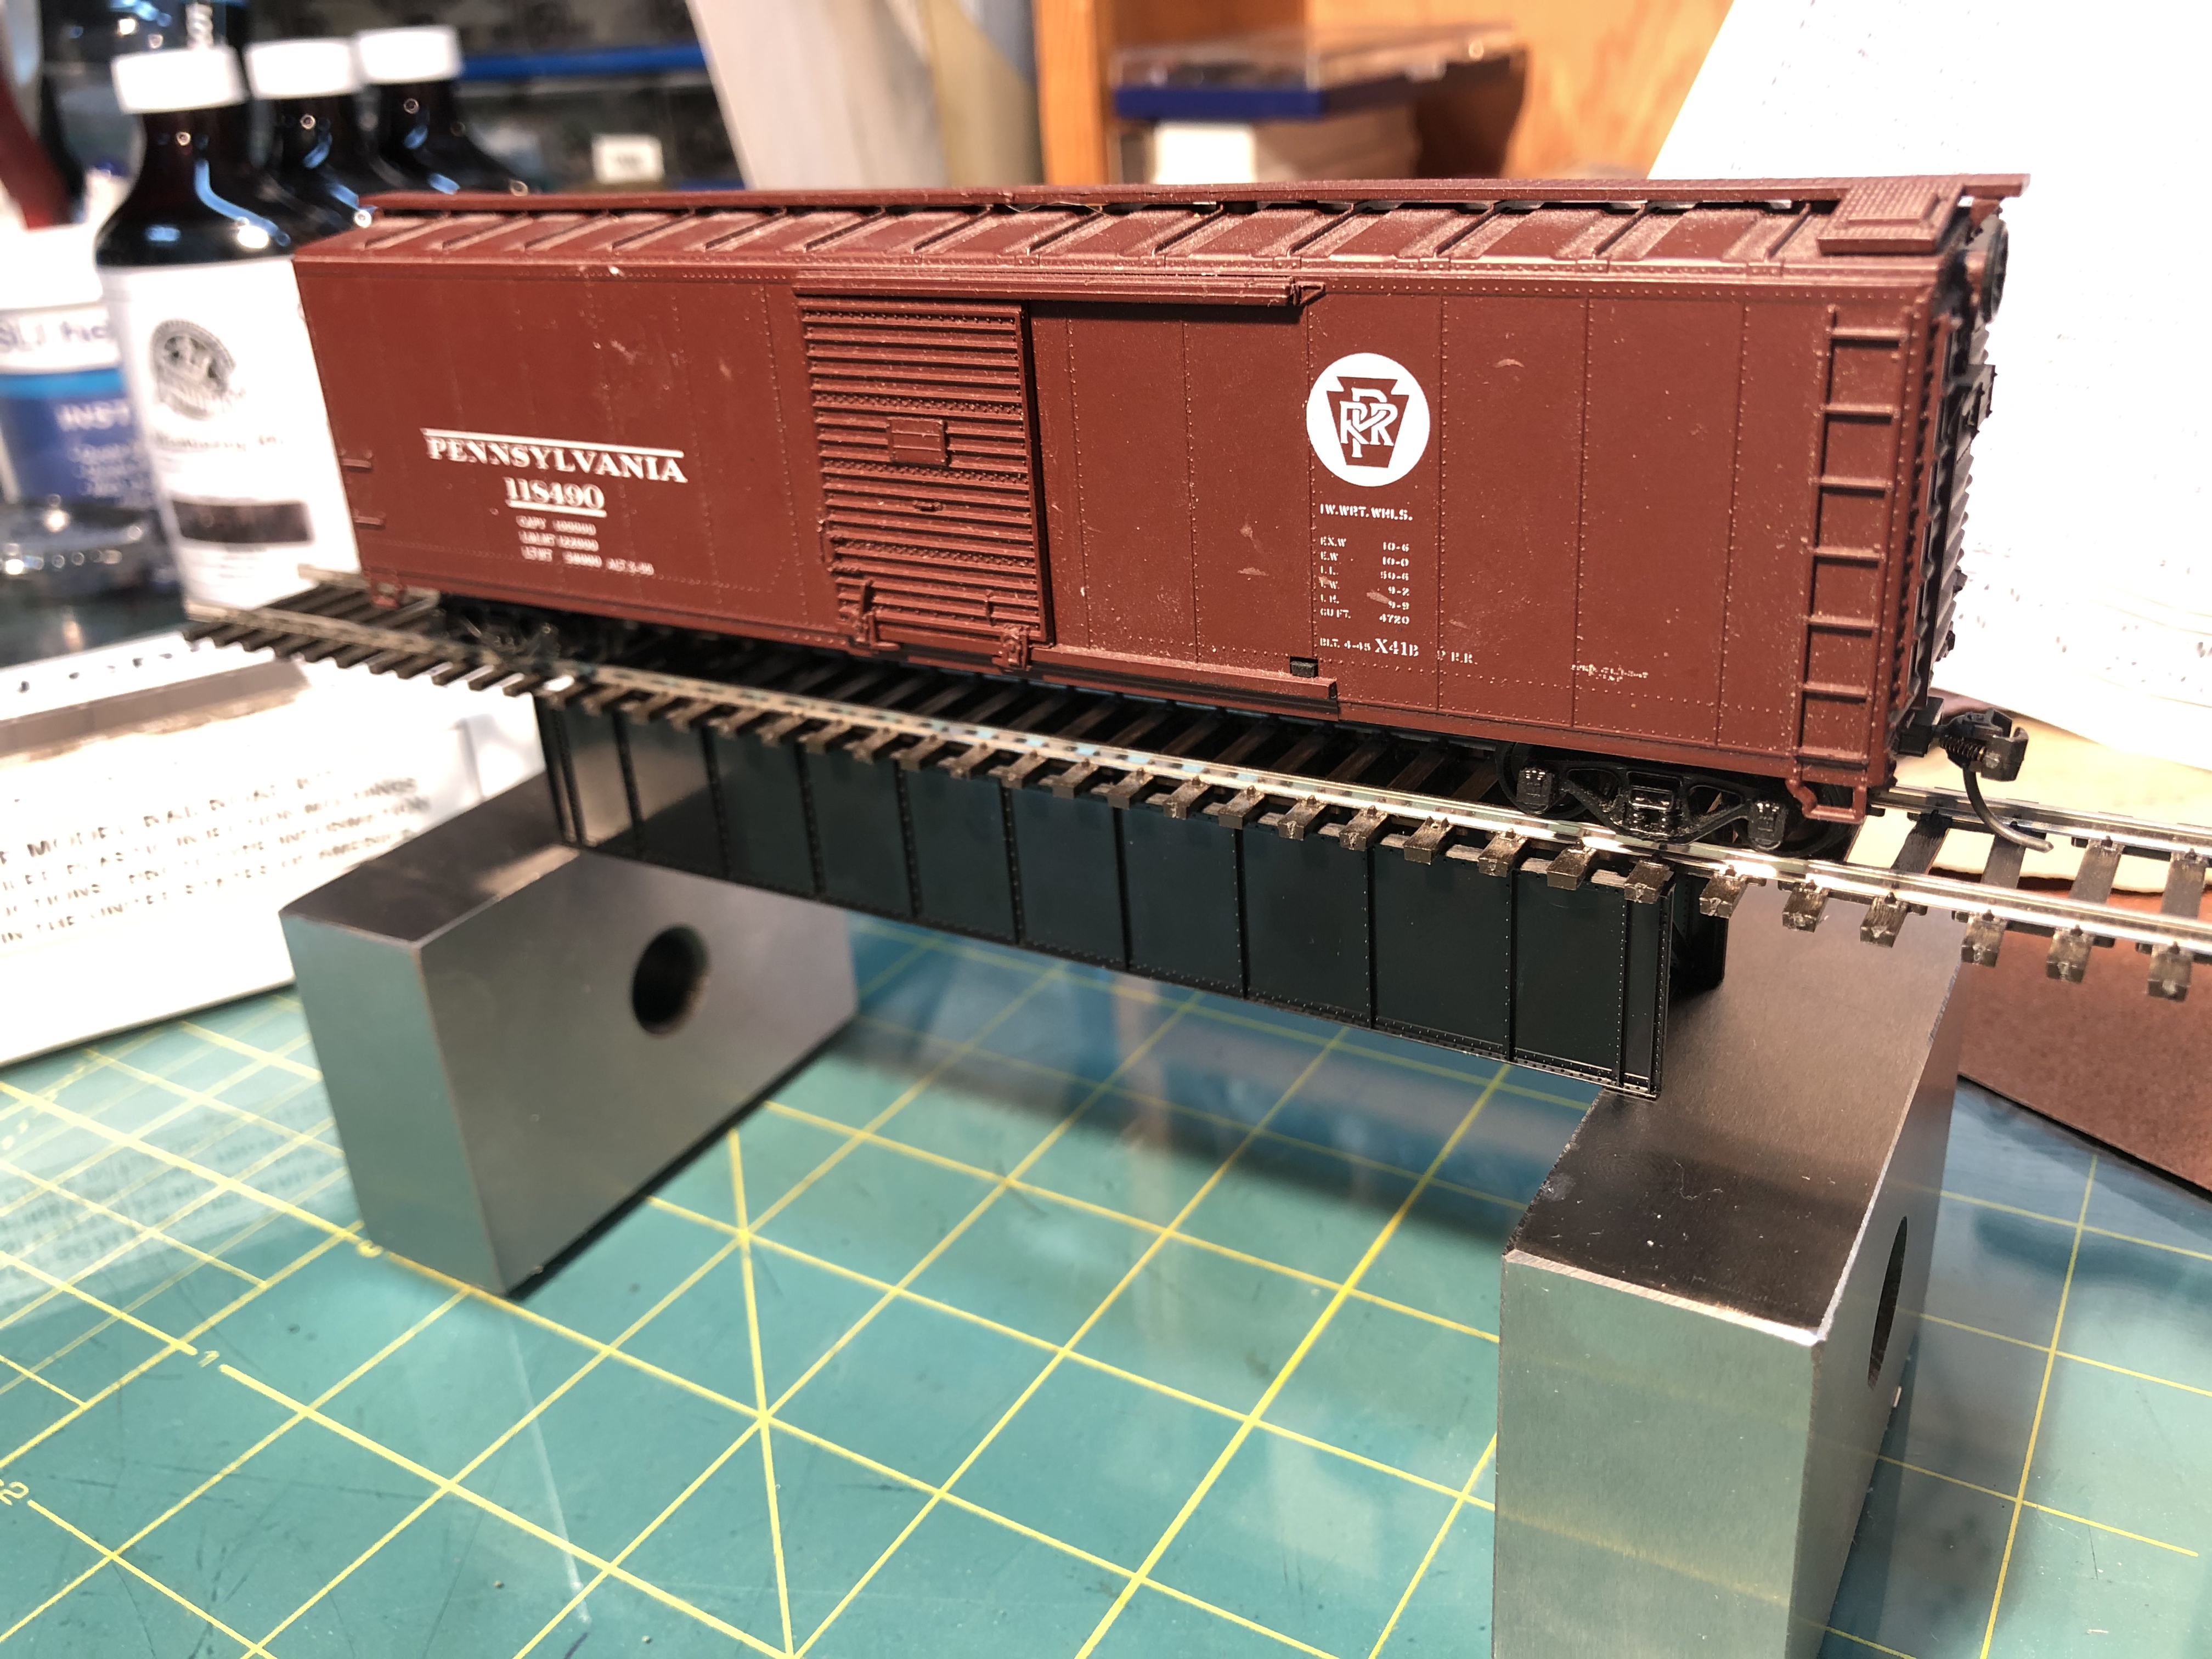
Story time. I spent a good while putting this post together, and when I got to this point, I stopped and realized there was a problem. I sat looking at the open deck girder bridge model and realized it looked a bit tall to me. I quickly opened up my drawings and reference materials and looked a the B&O plans. They clearly indicate that the trestle is to be 40′ long, 6′ 6″ wide (girder to girder) and 4′ 6″ high. This Tichy kit is 6′ tall. I then went down the rabbit hole for several hours while I tried to figure out what to do.
I opened up the plans I had drawn and started to modify the sections where this 6′ tall center span would sit. I had to lower the bents and adjust all the cross bracing in those areas. I did not like it. Some of it looked a bit odd and threw the whole thing off. I was not happy. I decided to keep digging.
Months ago, when searching for a deck girder bridge for my model, I had a very hard time finding a nice 40′ long kit in HO scale. The Tichy kit really fit the bill, but I didn’t pay close attention to the height of the girders. Micro Engineering makes a 30′, and a 50′ bridge, but not a 40′ one. The 50′ bridge is just over 6 scale feet tall. Just like the 40′ Tichy model I already have. The 30′ bridge, albeit too short, is a scale 4′ tall. I have decided that this will be my way forward. I feel that a scale 6″ is easier to forgive and blend versus a scale 1’6″ which is quite a bit more and really changes the characteristics of an iconic part of the structure. Now, some will say “there are only a small handful of people in the world who will know the difference. Who cares!?” Well, being that I’m making this model for me, and I care, I am going to spend the time to do the best job I can. I’m already knee deep!
So I then set out to RE-adjust the plans for the trestle, now with this 4′ high girder. I will have to kitbash two kits into a 40′ span, but that shouldn’t be too difficult. I’m going to add slightly taller blocks under the bridge to add to the height just a couple more inches, to hide the disparity between the prototype and my model. In the end, we’re talking a few inches difference. As I went through the plans, I realized some other errors I had made, and I cleaned them all up. I also reformatted the plans to fit on 8.5×11 paper, so I can print at home, since I think I will be in it for the long haul. I will share my progress on the plans soon in a future post.
So, phew! This was a doozy. In a long period of time, not a lot has happened, but such is my life. I have been busy with other projects… *ahem*

So, yeah. Been a lot going on. Second update coming SOON!