All posts by bsullivan

Layout progress report: 12/23/18

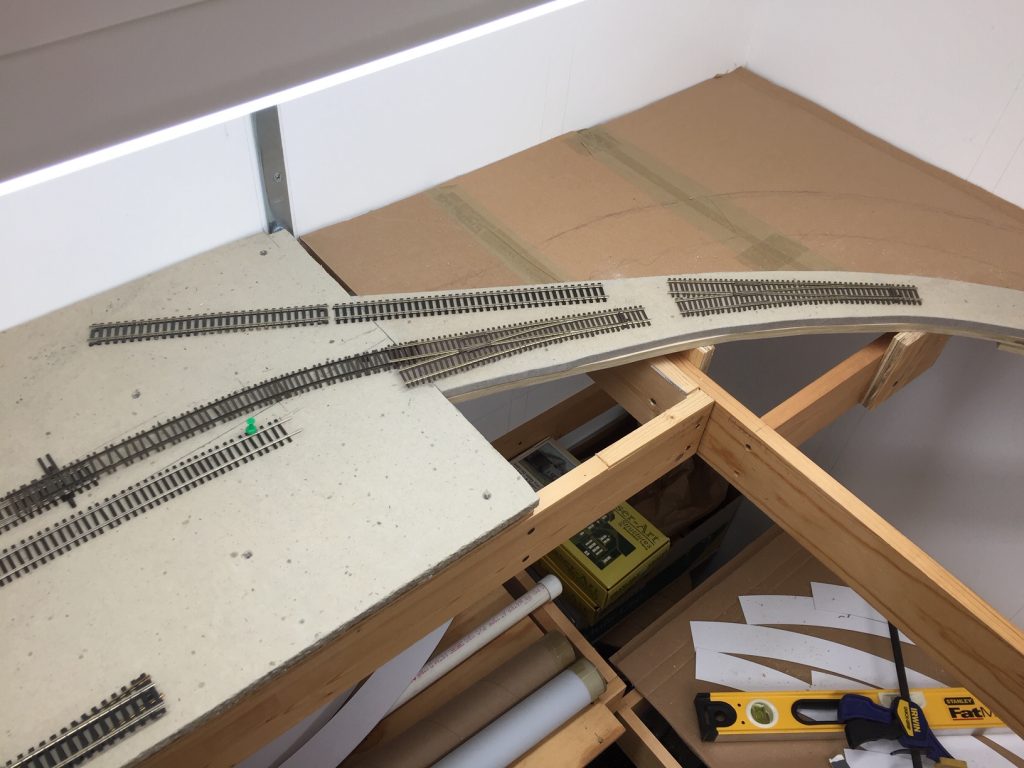
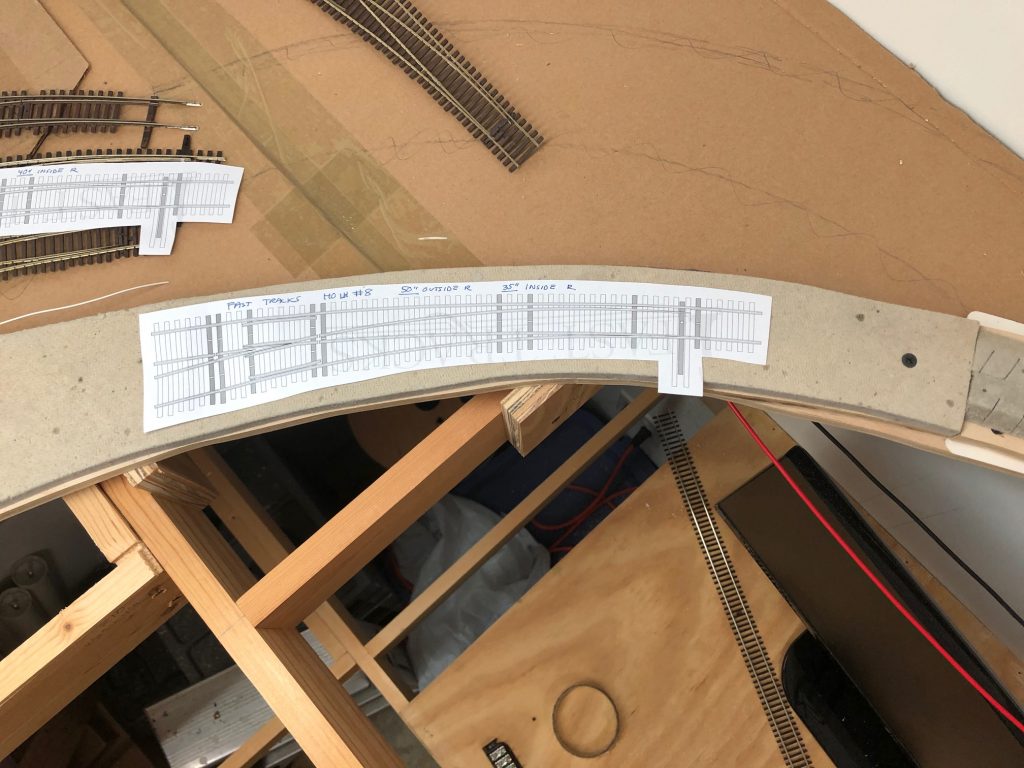
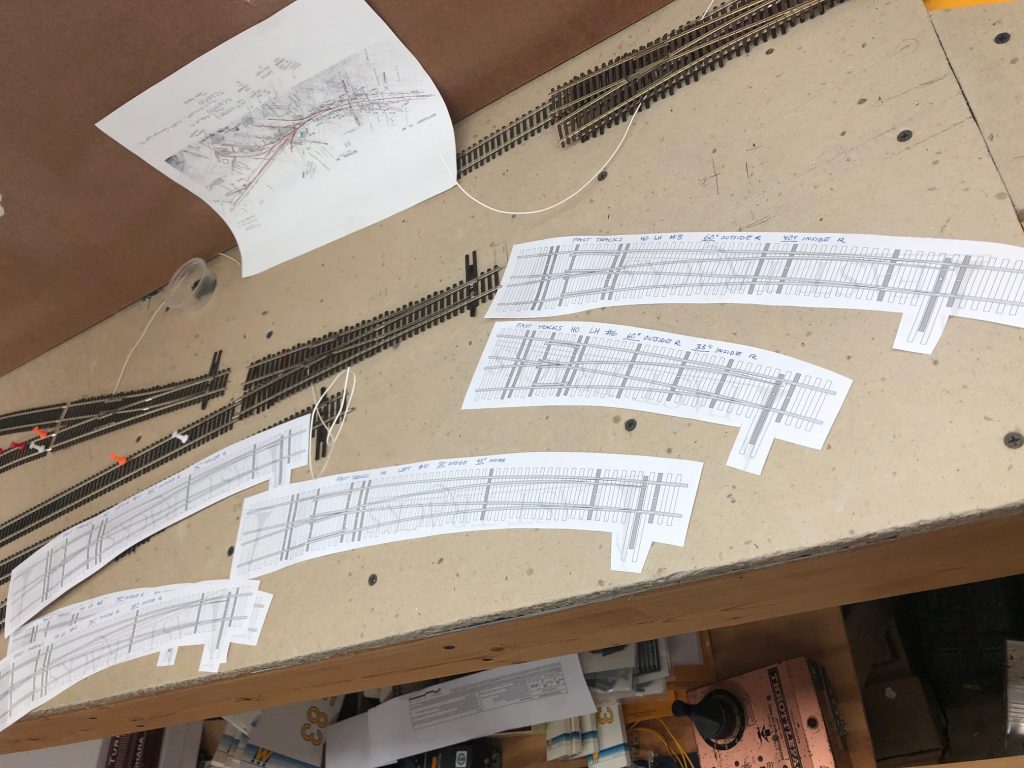
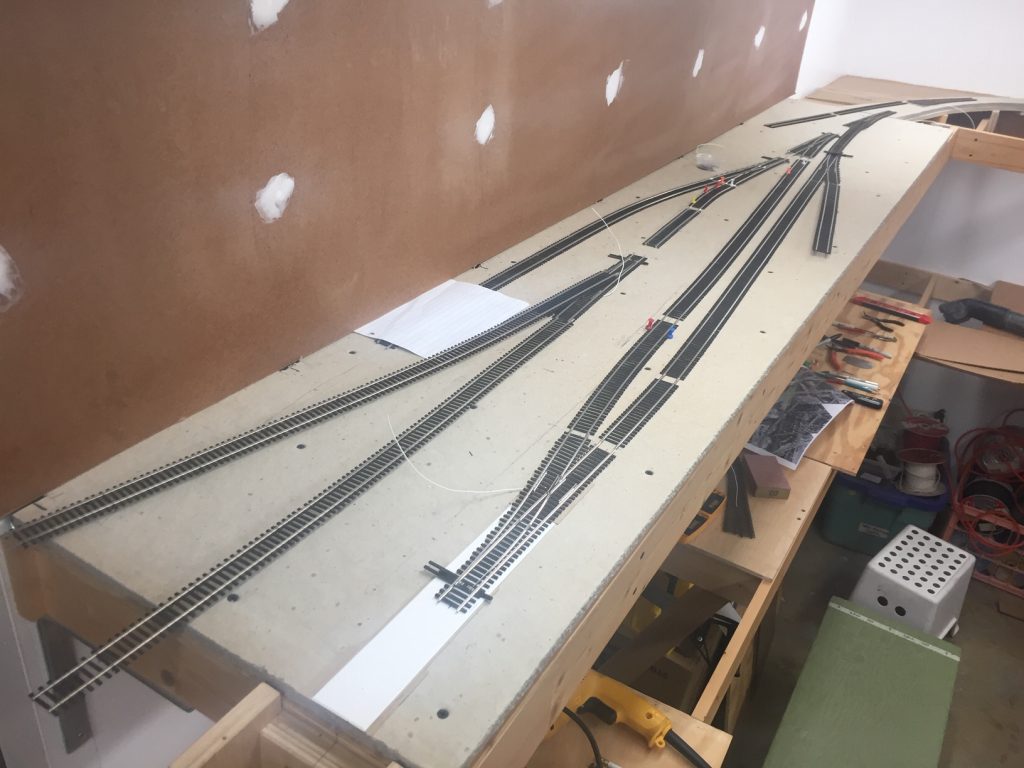
Made some great progress this past week. The area around Chevy Chase is taking shape. I laid track halfway through the area and finished fitting the rest of the main and passing siding. I ran out of time to complete laying it. Still need to solder the drops to the rail bottoms and spike into place. After that I will install the team track which will go on the curvy bit of roadbed I installed.

I also installed a new-to-me Digitrax system that was graciously given to me. It’s an Empire Builder 2, about 15 years old but nearly new. Unfortunately the DT300 throttle suffers from the capacitor plague and I will have to have it repaired by Digitrax. Since they were badly hit by hurricane Michael it will not be for a few months. No worries for now, I have an old UT1 to play with. ๐Ÿ™‚

Did some cleaning up and consolidating of scenery materials and storage in the layout room and a few other layout tasks. It’s been a productive week! More soon.

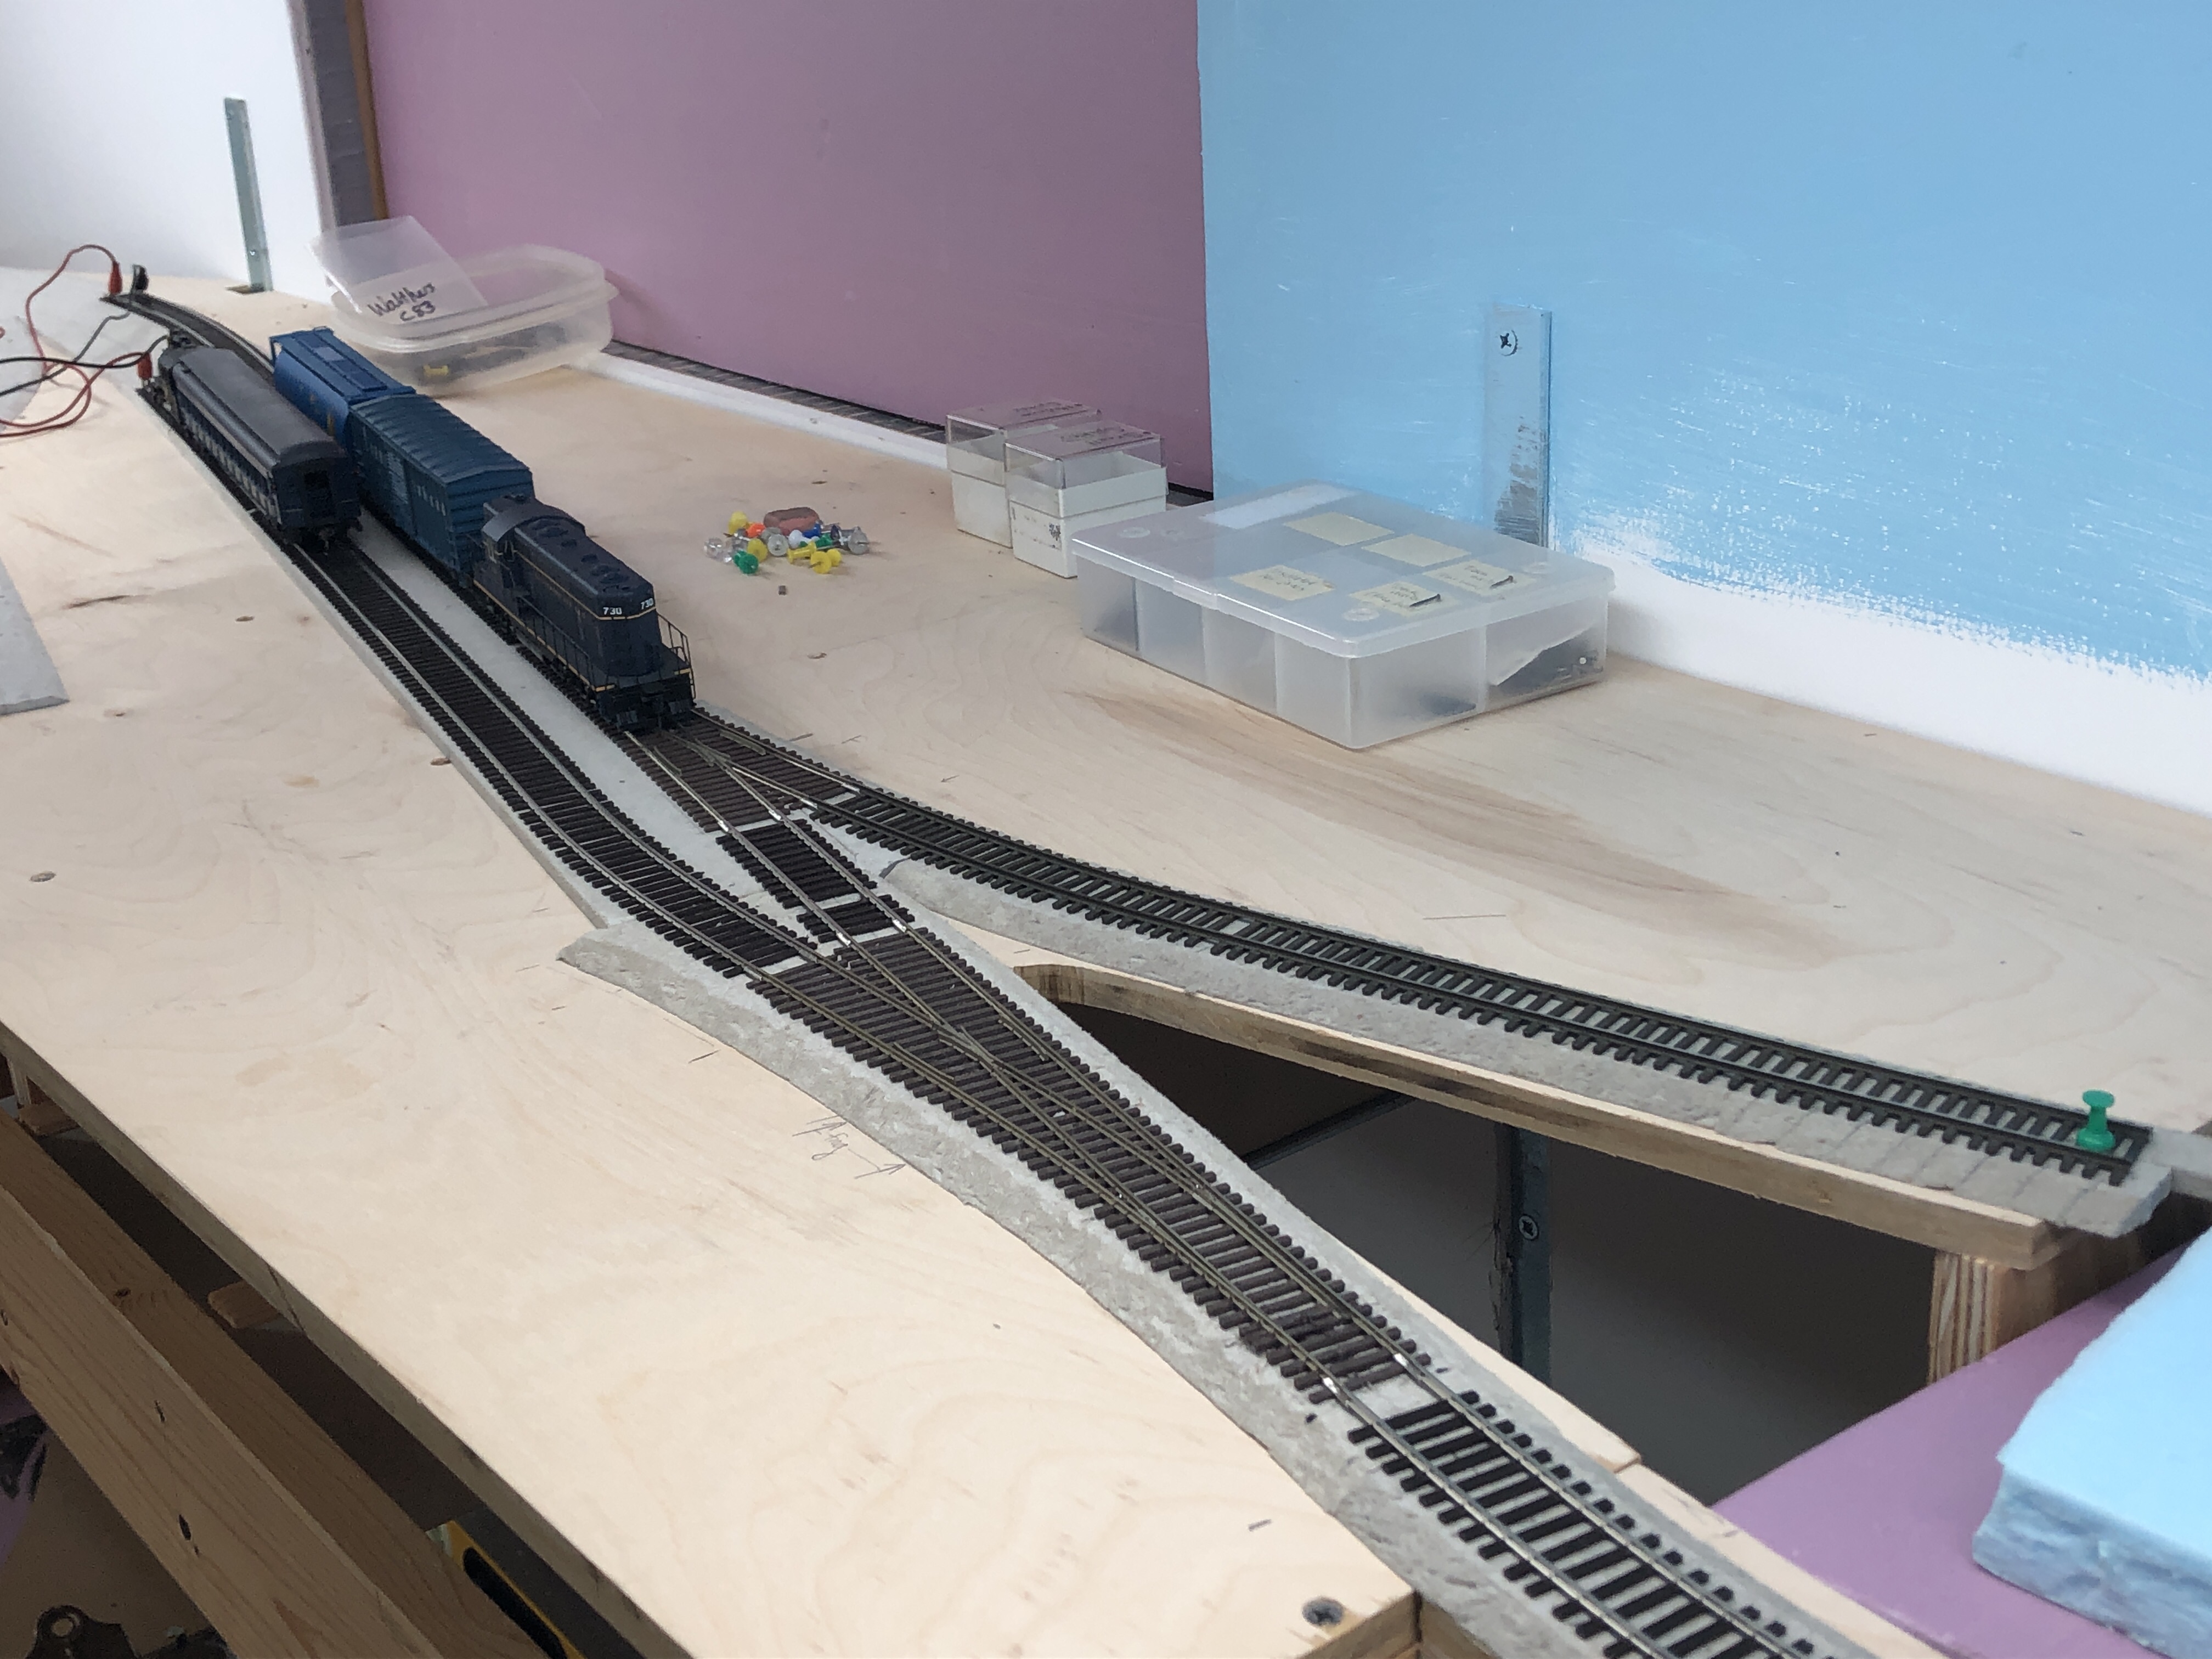
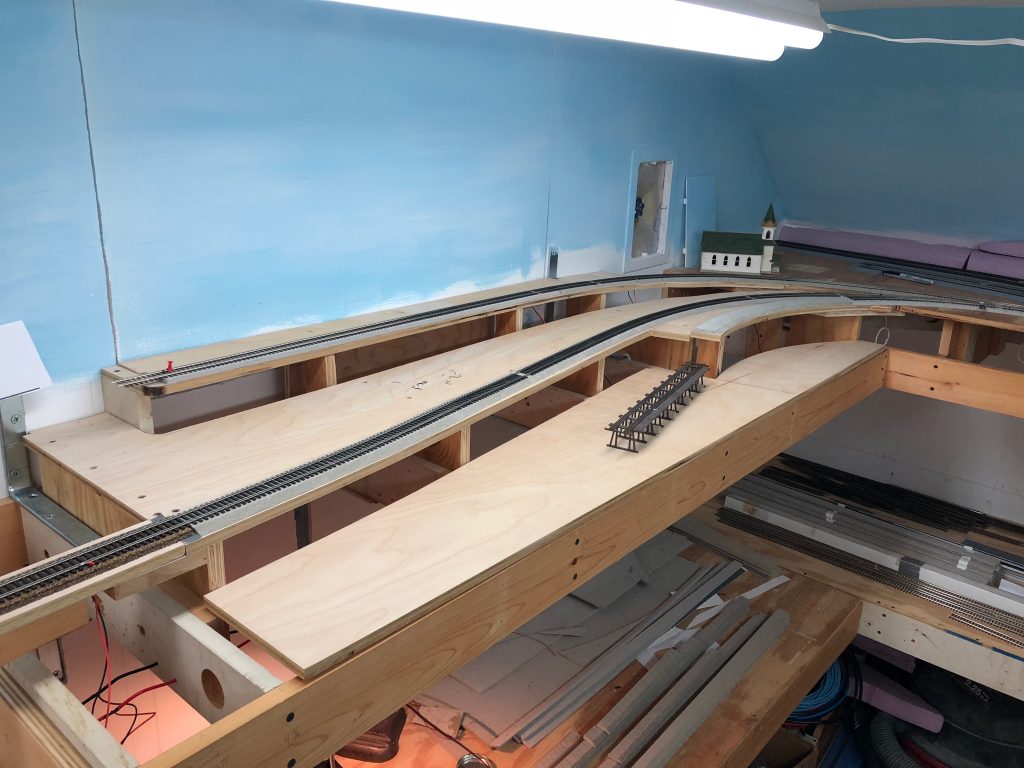
Friday view of work completed, showing the roadbed for the T.W. Perry siding (to the right) and the mainline and passing siding (to the Left) laid down as well. Ignore the jumper cables; they were just there to test the track as I hasn’t soldered the feeder wires yet.)
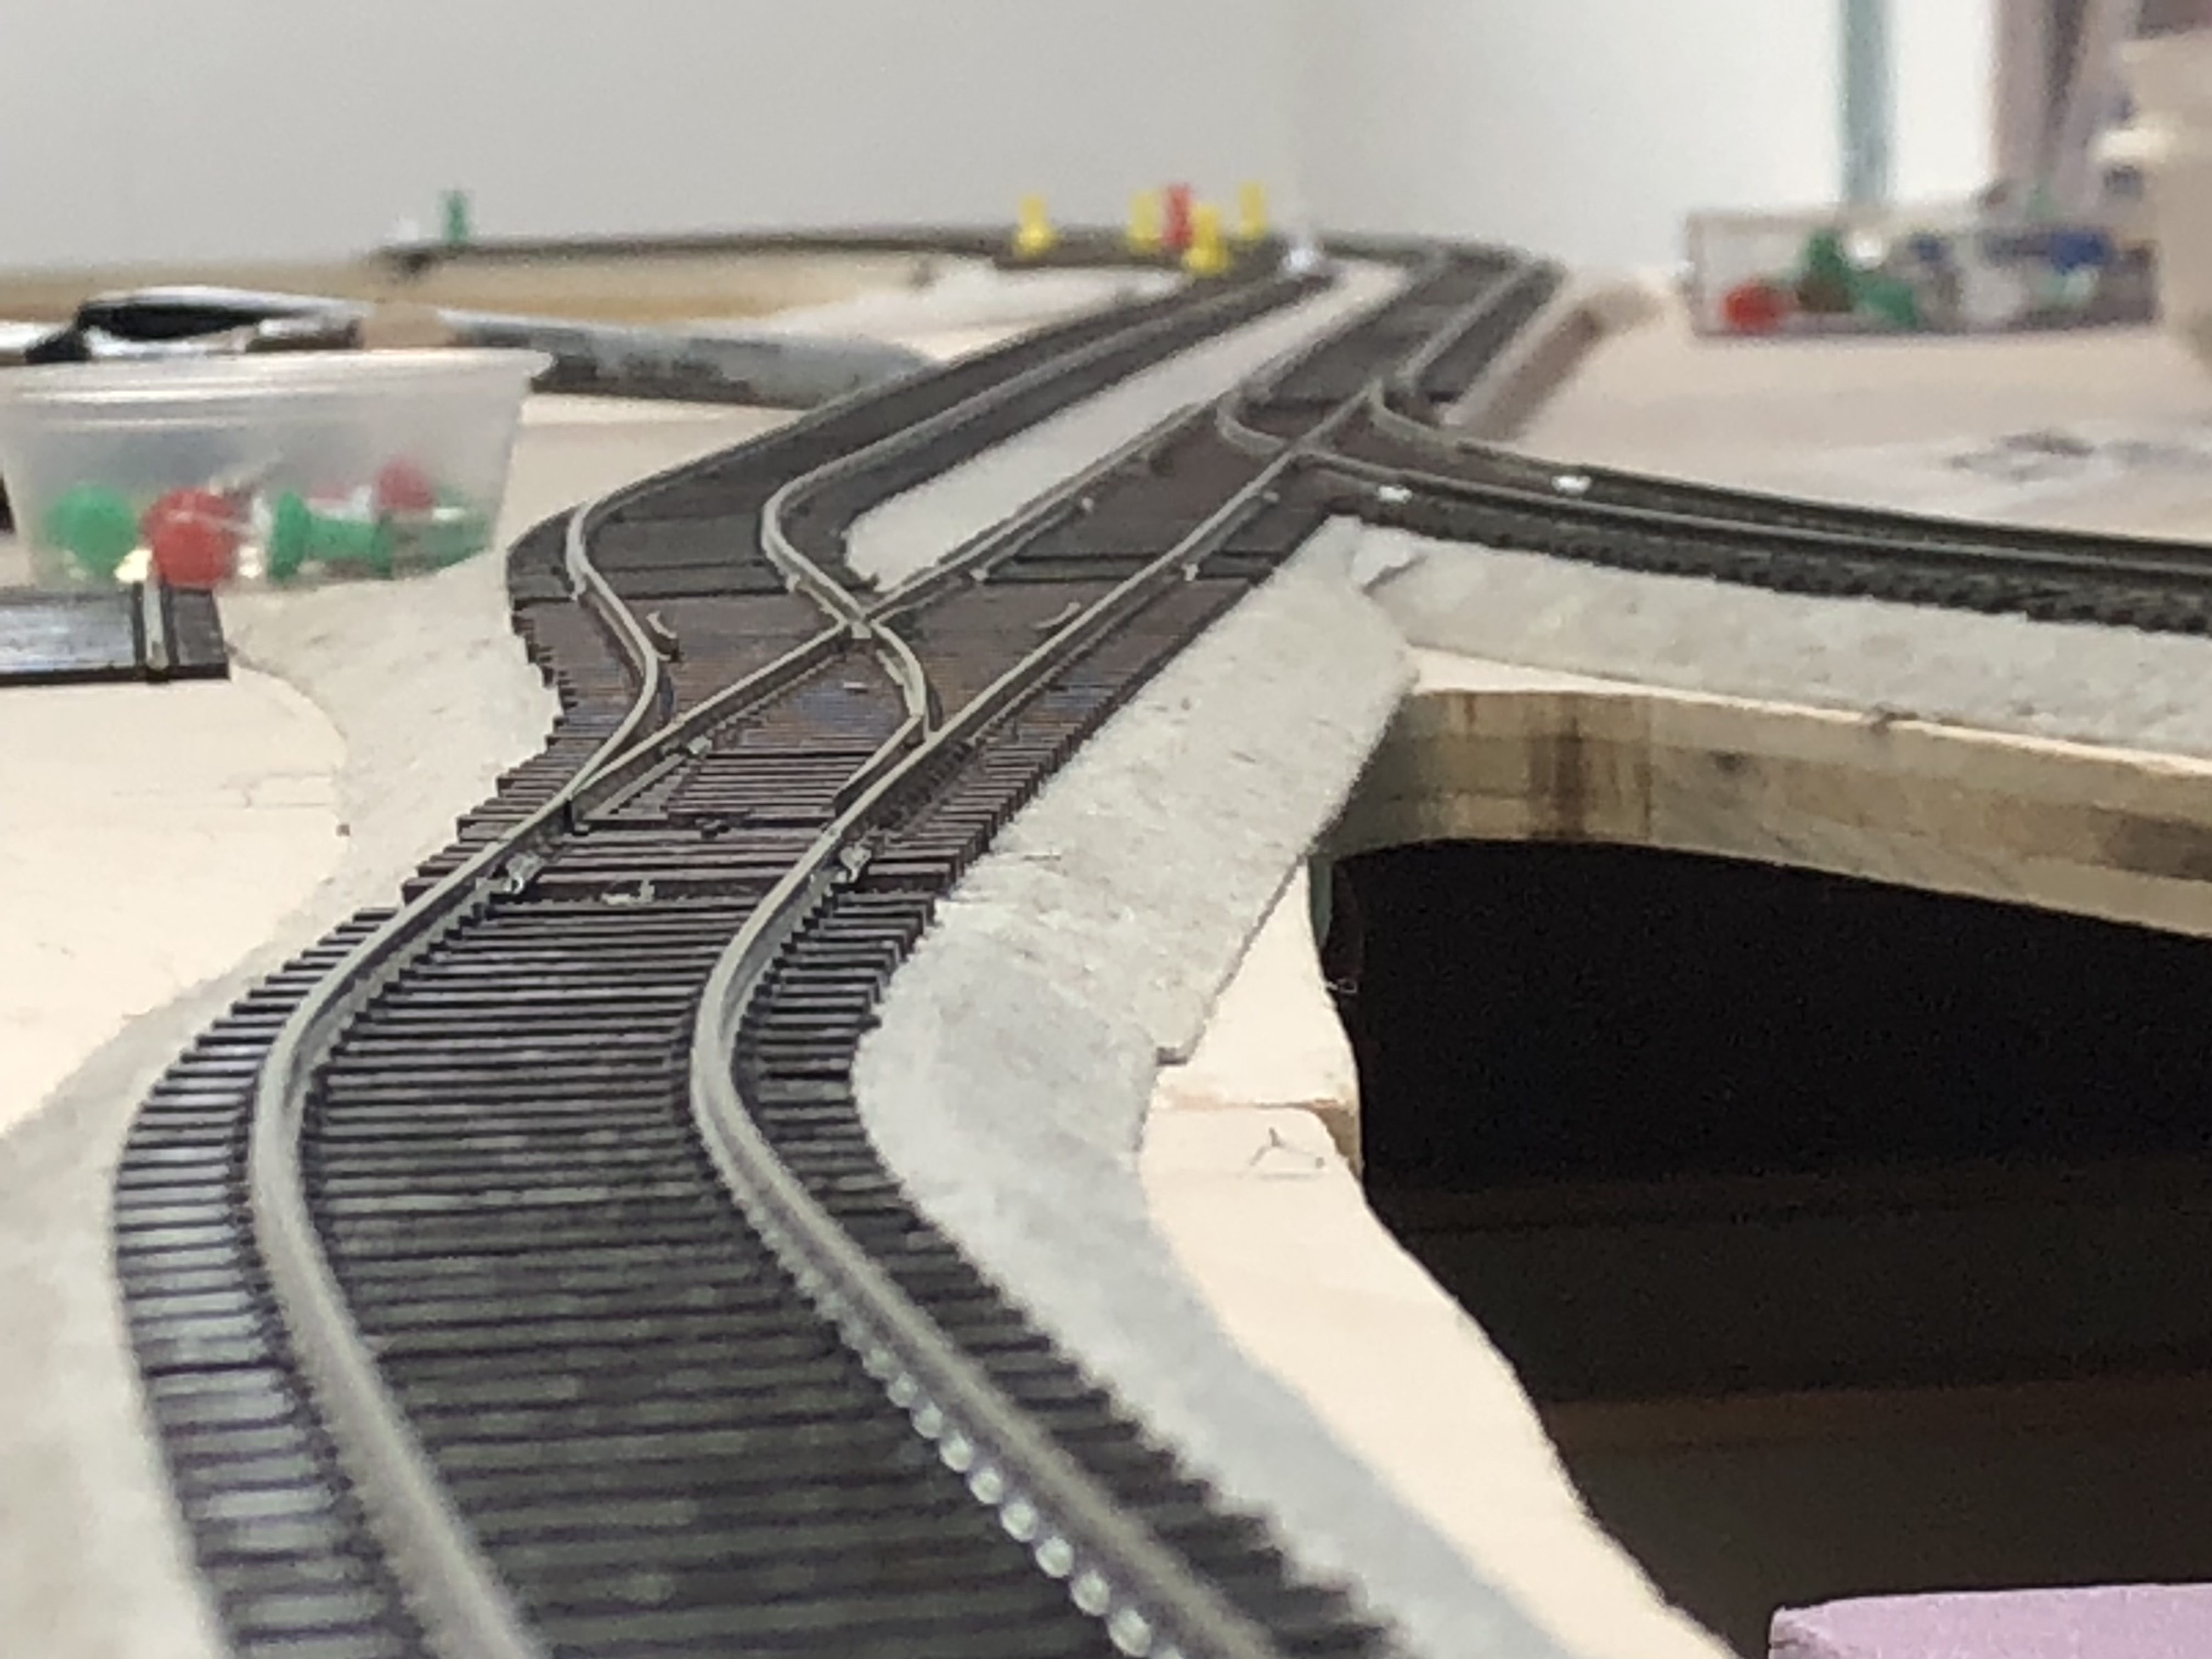
Sunday evening update. The track is laid in for the second half (West end) of the Chevy Chase section. This “boxcar-eye-view” of the track is looking geographic West, with the T.W. Perry siding on the right and the passing siding branching off of the main to the left.
An overview pic from Sunday evening showing the progress. The curved roadbed coming off of the passing siding is the team track. This track is slightly sunken as the prototype was.

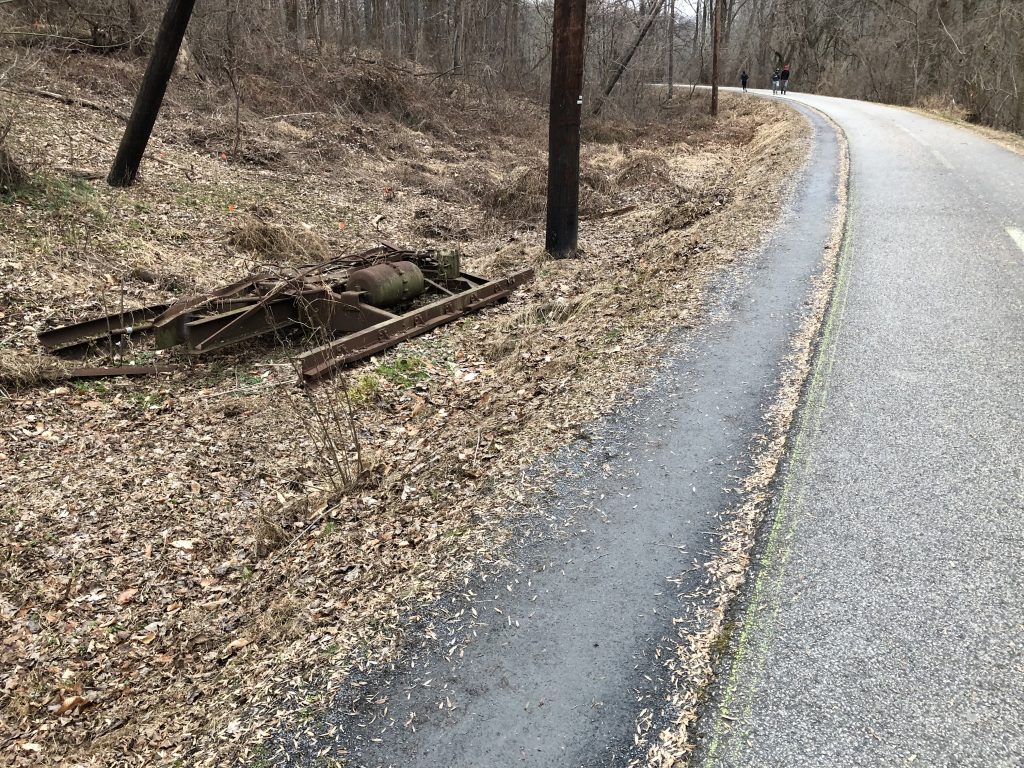
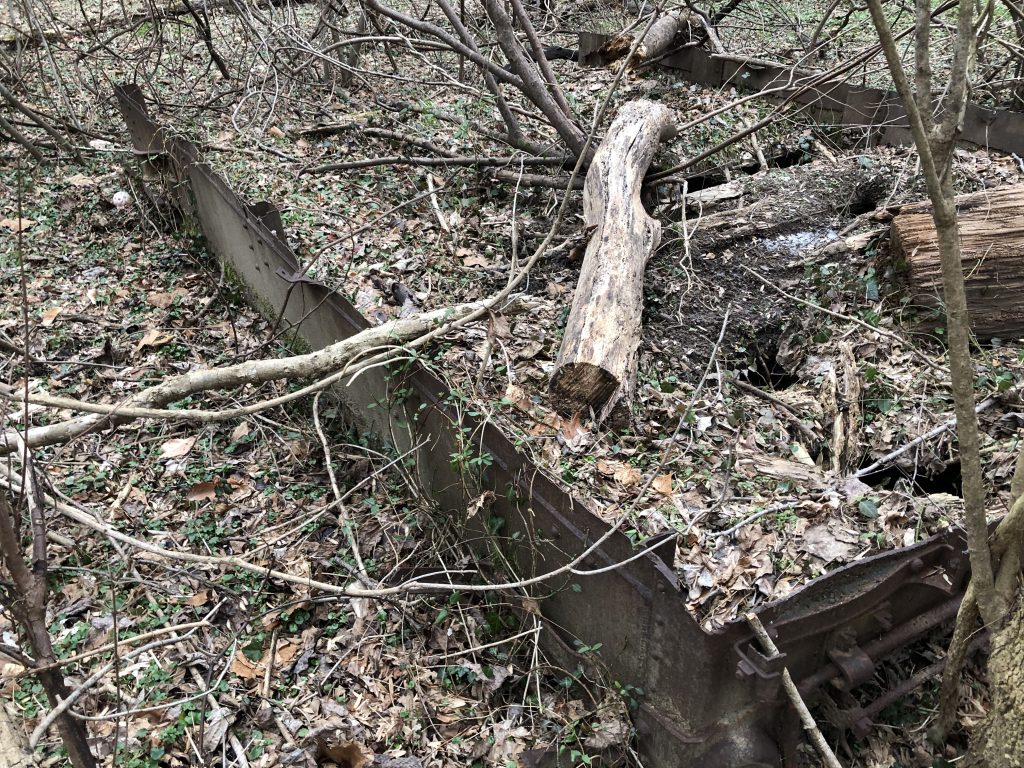
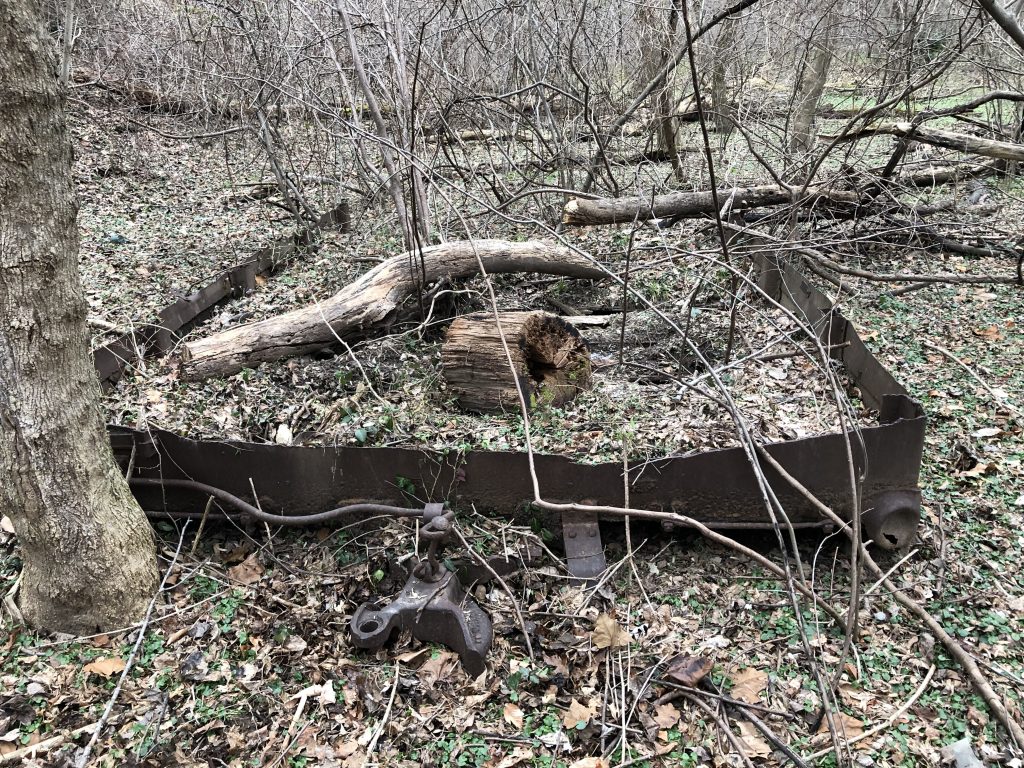
River Road Metropolitan Fuel Co. Siding Survivor

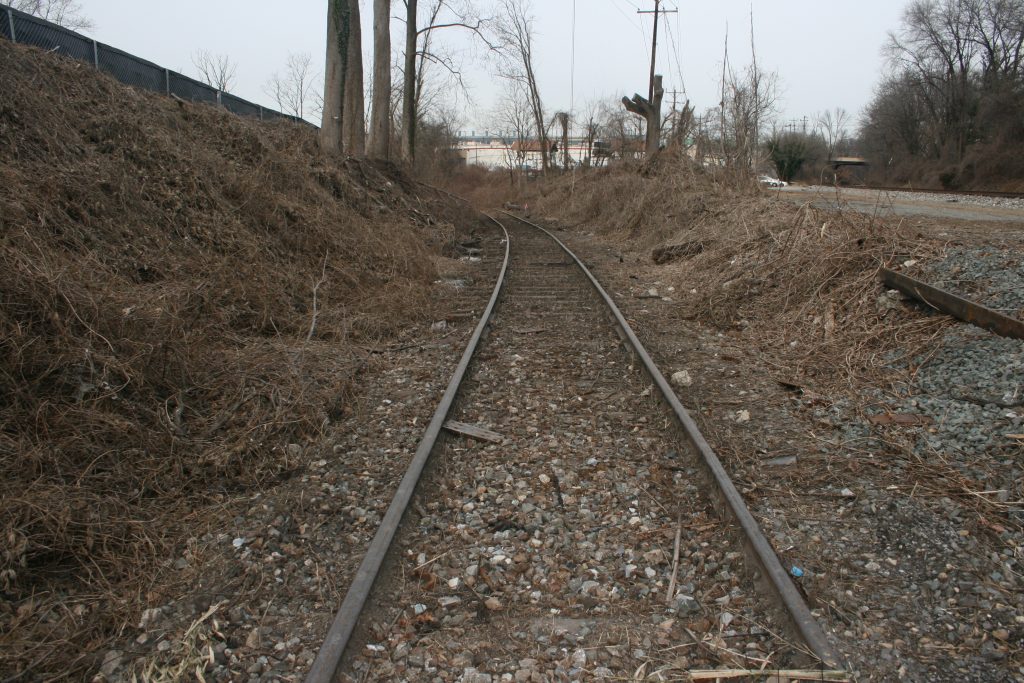
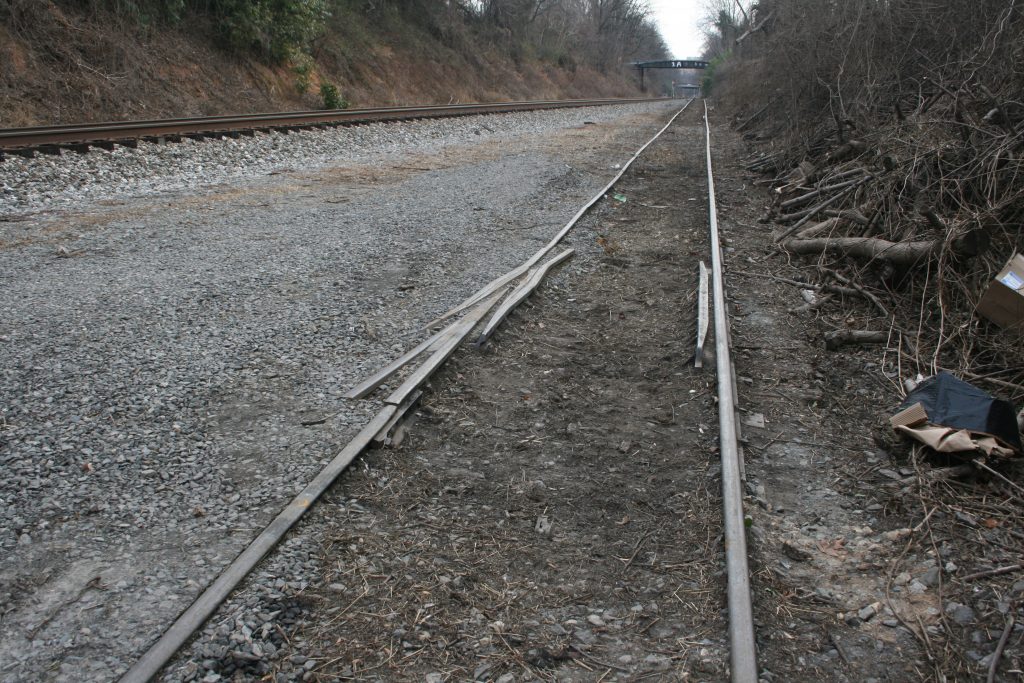
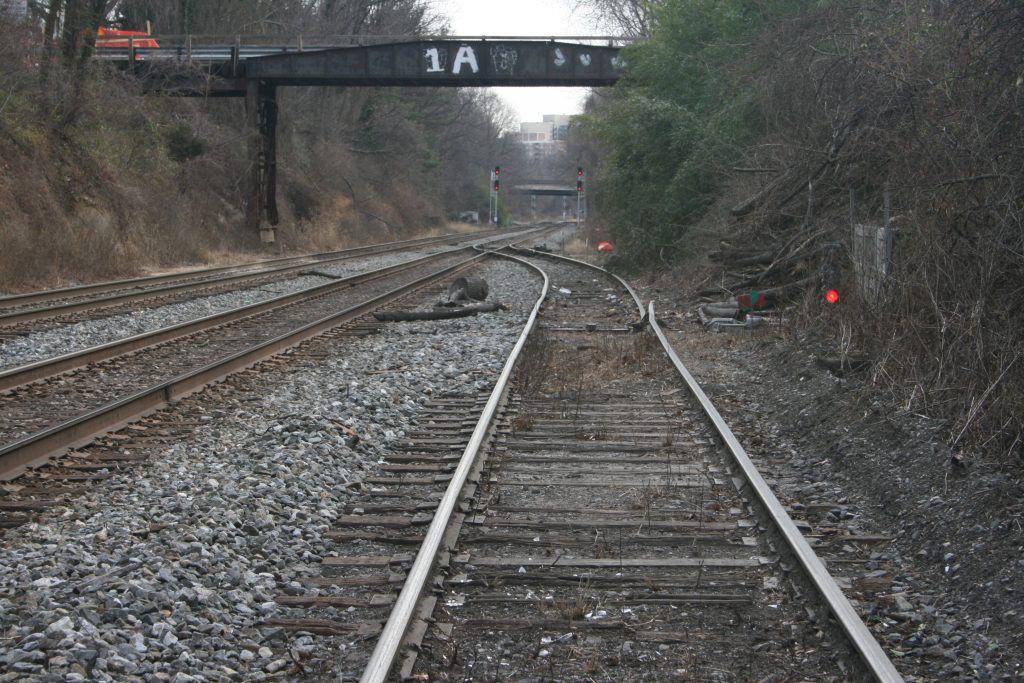
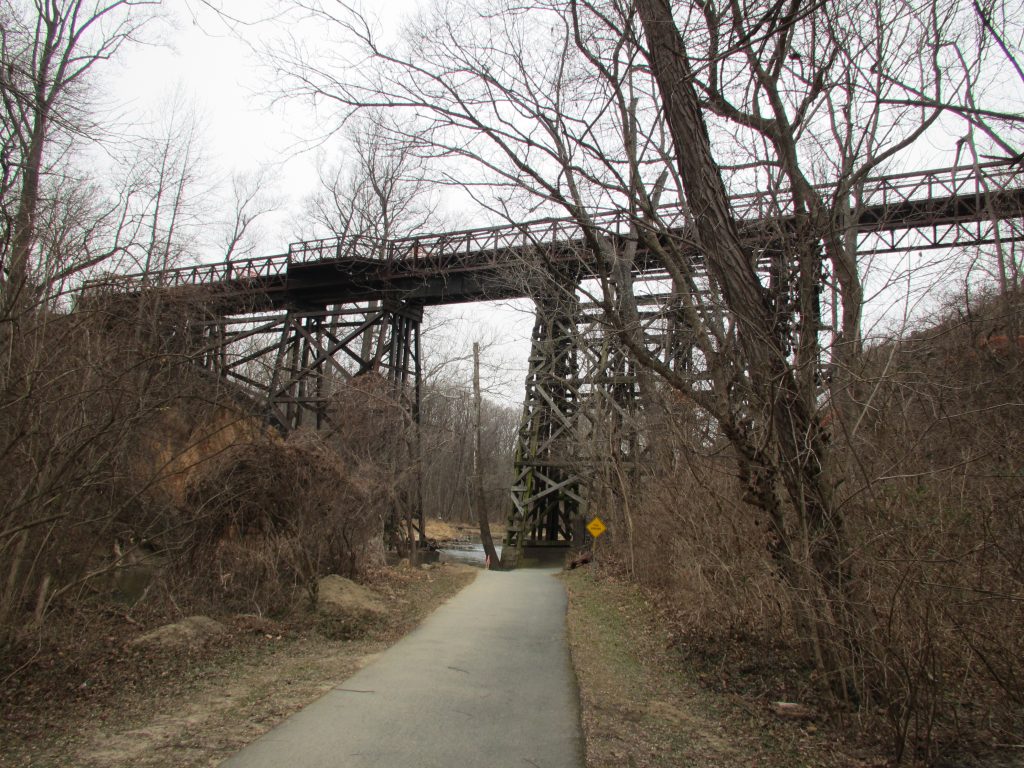
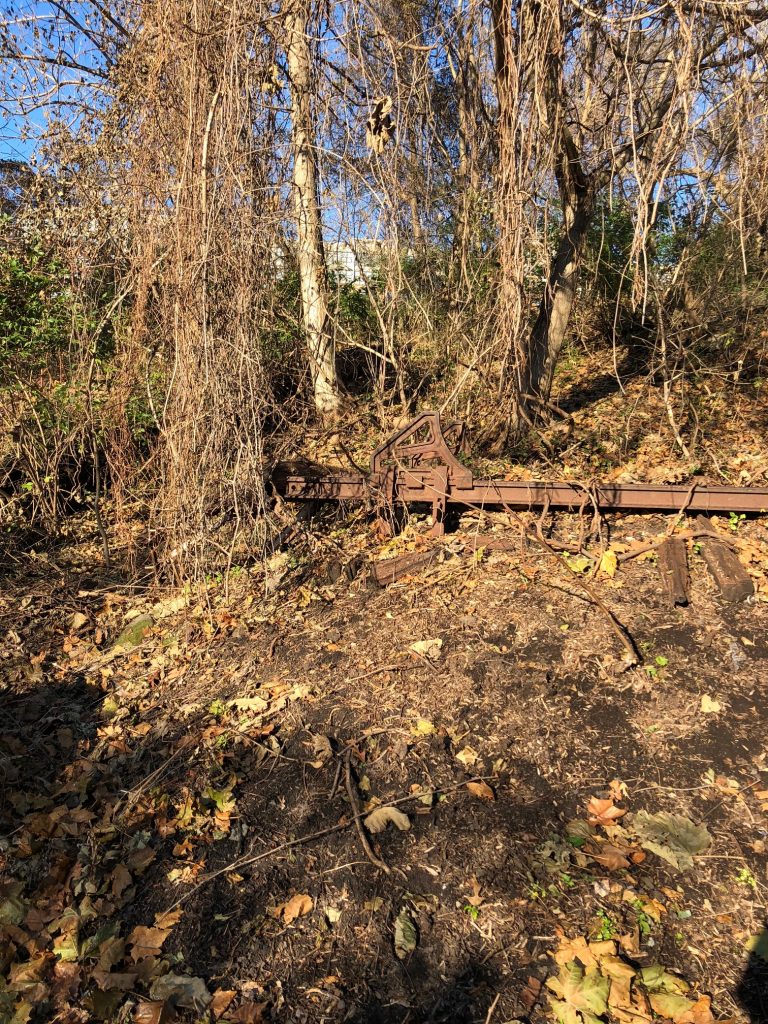
Another relic from the Georgetown Branch surfaces as a siding in Bethesda at River Road emerges from the brush.

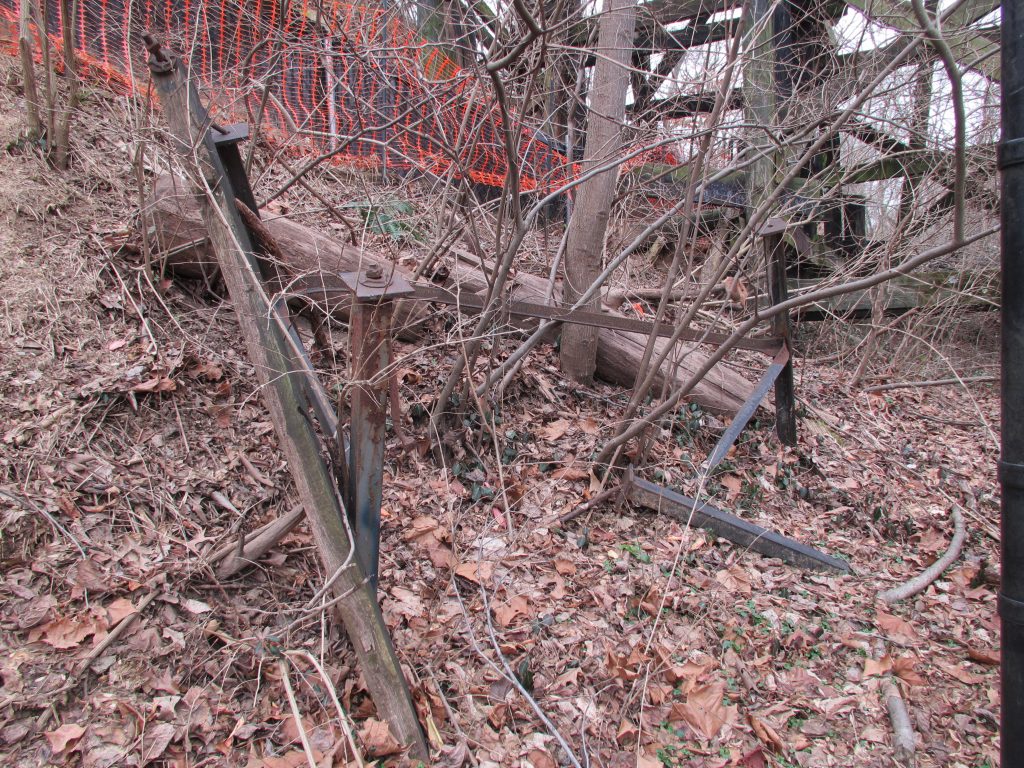
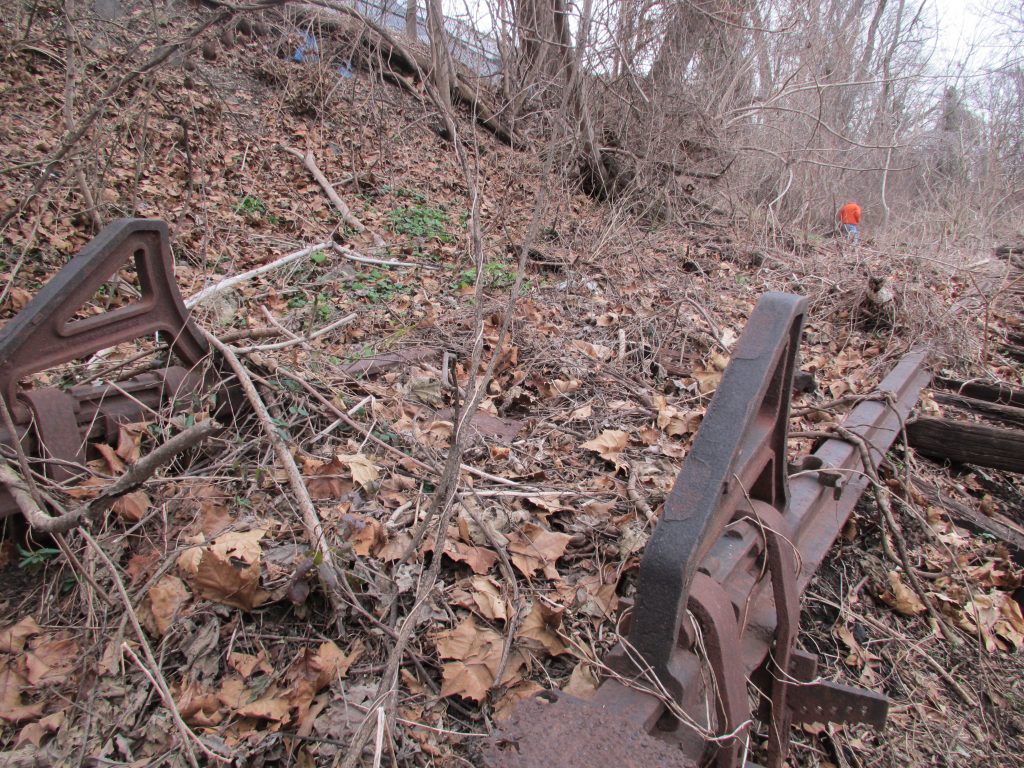
Note the wheel blocks fastened to the rail so the cars would not roll off the end of the siding.

Eagle-eyed viewer, contributor and friend Rich Pearlman went exploring the area around the crossing at River Rd. and came across the tracks on the South side of the intersection. I had a sneaking suspicion there were tracks there as I had previously seen and photographed rails buried in the dirt but I hadn’t seen them listed/shown on the maps I have, nor do I have period photos of them.

Well, Rich did the heavy lifting, digging through the B&O Railroad Yahoo! Group site to uncover a comment from Christopher Parker outlining a brief history of that siding. Here is what he wrote:

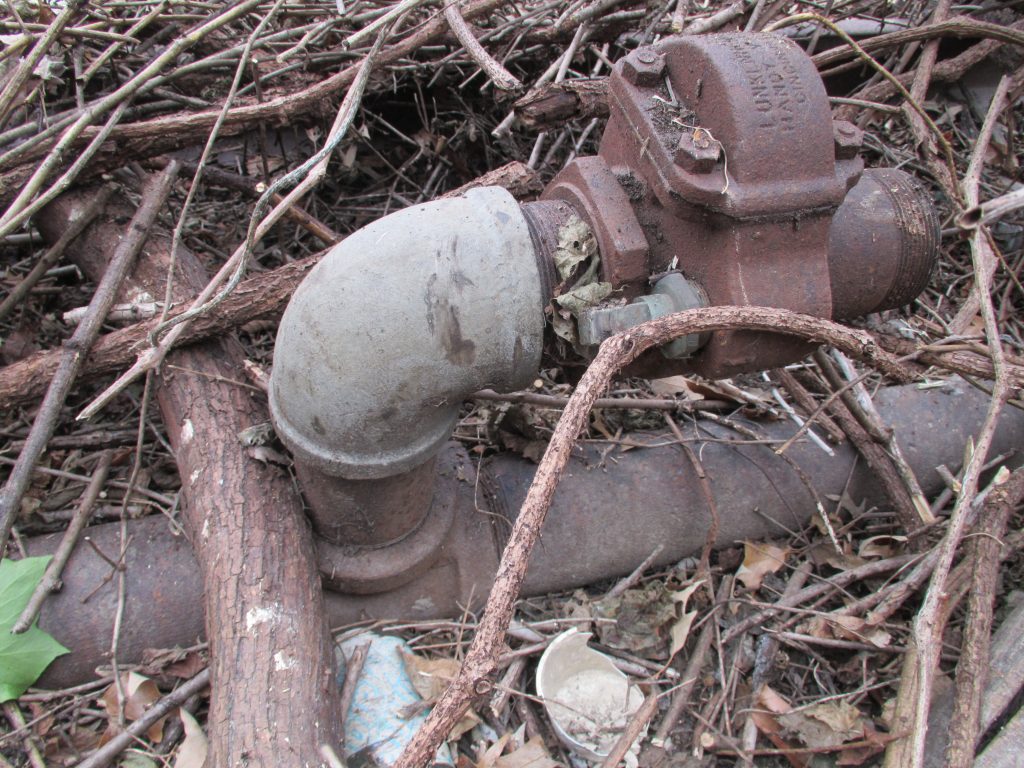
The siding, which was quite long (more than 10 cars), once served Metropolitan Fuel Company, across the tracks. By 1980 it was grown over and disconnected from the main, but the pipes and connections for
unloading tank cars were all still present. Metropolitan Fuel Company was purchased by Stuart Petroleum along with next-door Washington Fuel
sometime in the early eighties.

A red wooden caboose sat on this siding all through the seventies. When I first got a look at it in the late seventies, it was quite abandoned and didn’t have a road name on it. Around 1982, give or take a few
years, it was damaged by fire.

In 1981 or 1982, this siding was re-connected and the first 100′ was used by Jack’s Roofing Co to unload Cedar Shingles. They’d get a box car about every two weeks, sometimes less. UP, BN, BCOL, SP. Jack’s
Roofing also used piggyback service (unloaded elsewhere) to get a truckload of shingles every day. Jack’s Roofing company was located a bit behind Roy Rogers, a few buildings away from the tracks. I recall
them using a two axle flatbed truck and forklift.

So there you have it – the siding had multiple purposes and served a few industries over the years. It’s a neat story and a neat relic! I should really get down there and see it myself, because the fact that someone cleared the brush and put up those small red survey markers leads me to believe it won’t be around for long. ๐Ÿ™

Layout Update: October, 14, 2018

Have been really making some great progress on the layout these last few weeks and it feels great. I last updated that I had got my DCC system up and running and after a little tweaking it is working flawlessly. I power up the system, turn the layout power on, open WiThrottle on my phone, acquire a loco and away I go! And on that note…

Power at Georgetown Junction
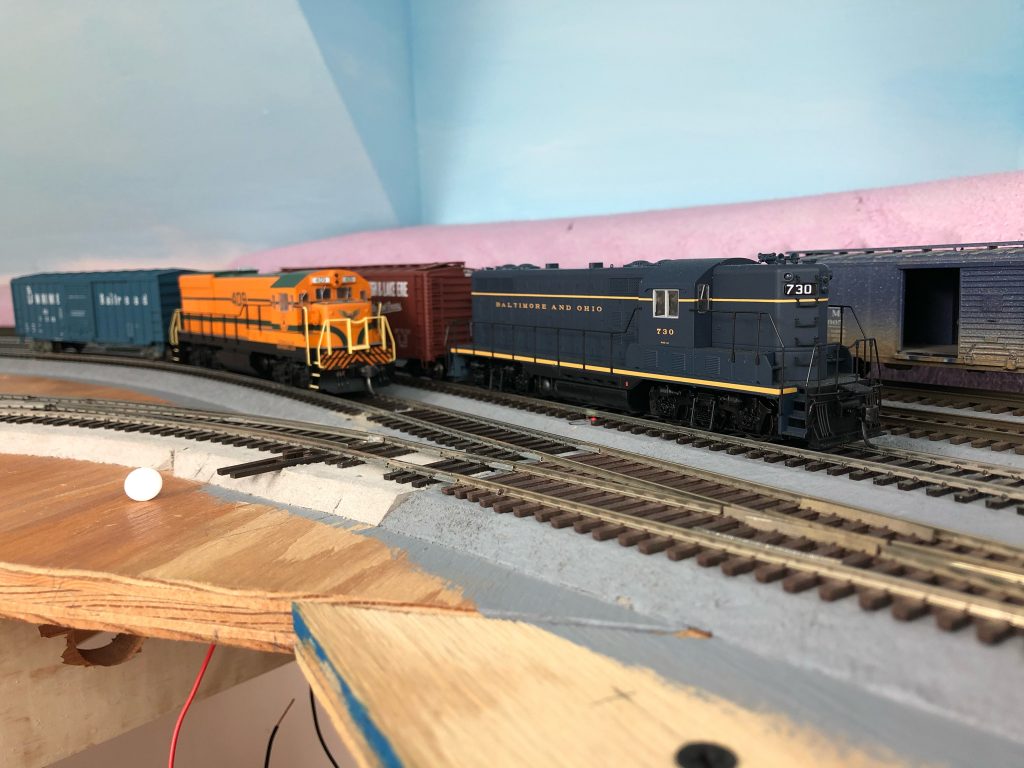
A visiting Maine Central U18B and B&O 730 prepare to switch the Junction.

I’ve completed the Junction area as well as nearly all the trackage in the first section of the layout. Bus wires and feeders are in place and trains are running! There are a few trouble areas that I am working on- the biggest being the sharp curve leading from the Junction on to the branch. Not sure how I’m going to solve this but I’ll work on the major issues when I get closer to them. I can see my steam engines having a hard time negotiating that tight turnout. In the meantime, here’s more…

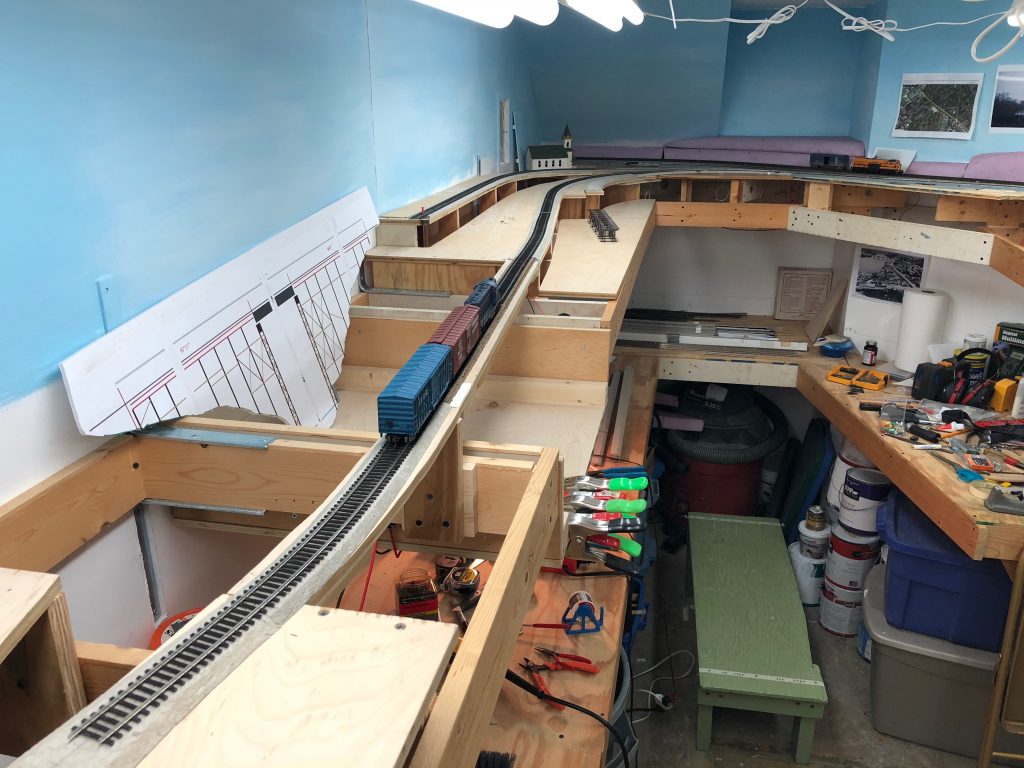
Wide shot of layout progress
Here you can see all of the new trackage and lay of the land.
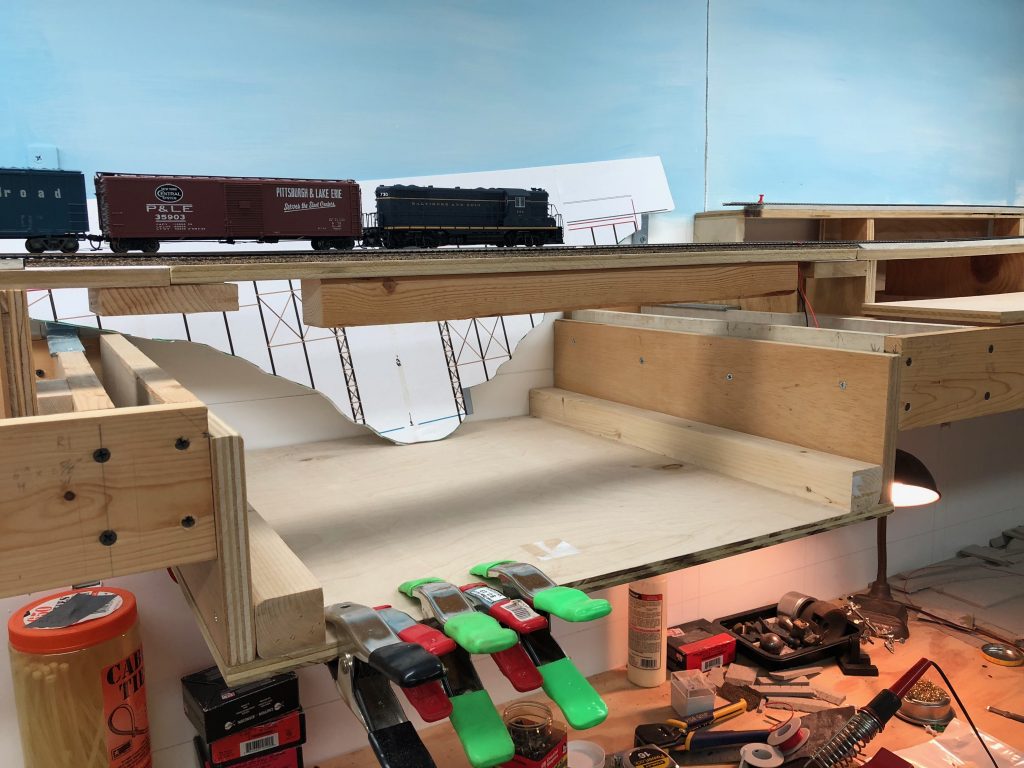
B&O 730 crossing Rock Creek
Here you have a nice view of the construction of the lowered section of benchwork. A fully scale representation of the Rock Creek Trestle will go here.

I created the temporary bridge from some plywood with an old 2×2 screwed to the bottom for rigidity. The bridge is easily removable with two wood screws. Feeder wires are screwed into a terminal block for easy removal. Right now track is laid semi-permanently on top of the bridge for operational purposes. Once I have the trestle model complete, I will “cut out” the old bridge and replace it with the model. Since that is far off, the temporary bridge is solid.

The drop down area is where the creek bed will be located. The trestle will be built to scale, an exact representation of the prototype as it stood in the 1940s.

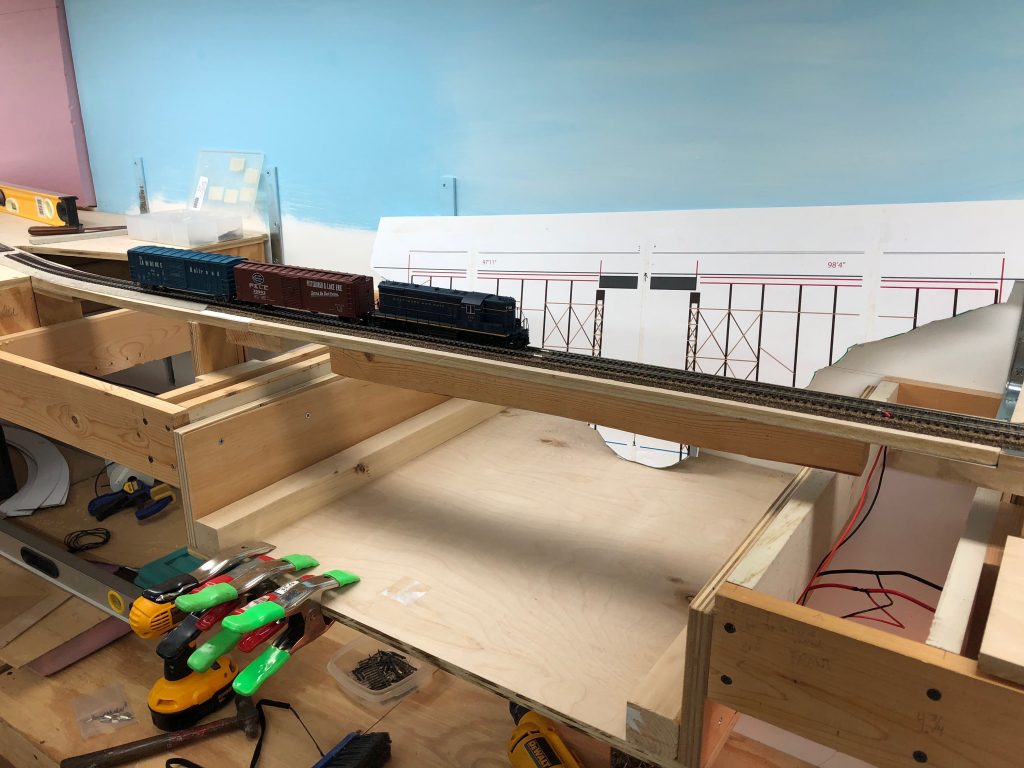
B&O 730 crosses Rock Creek with its train
The first train across the temporary bridge over Rock Creek
The area around Georgetown Junction
Just after the junction we have the E.C. Keys siding, the coal trestle and the “main line” of the branch.

In this wide view you can make out the approximate location of the long coal trestle which will branch off from the main right after the junction. I really like how the re-worked grades turned out for the junction area. Originally I had the mainline up very high and it presented some real challenges down grade. My friend Matt helped to re-work the Junction completely. We spent a few hours looking at photos and studying maps to come up with the existing layout, which more realistically follows the prototype, where the Branch drops off quickly from the Metropolitan Branch mainline and is sunken between sidings. (E.C. Keys and the coal trestle) So far, everything is working smoothly. It feels great to make real progress. It feels even better to be able to run a locomotive on the layout! ๐Ÿ™‚

Next up I’m going to continue track laying into Chevy Chase and on into Bethesda. If I stay on track, I should make my goal of completing all of the upper-deck track work before Christmas. ๐Ÿ™‚

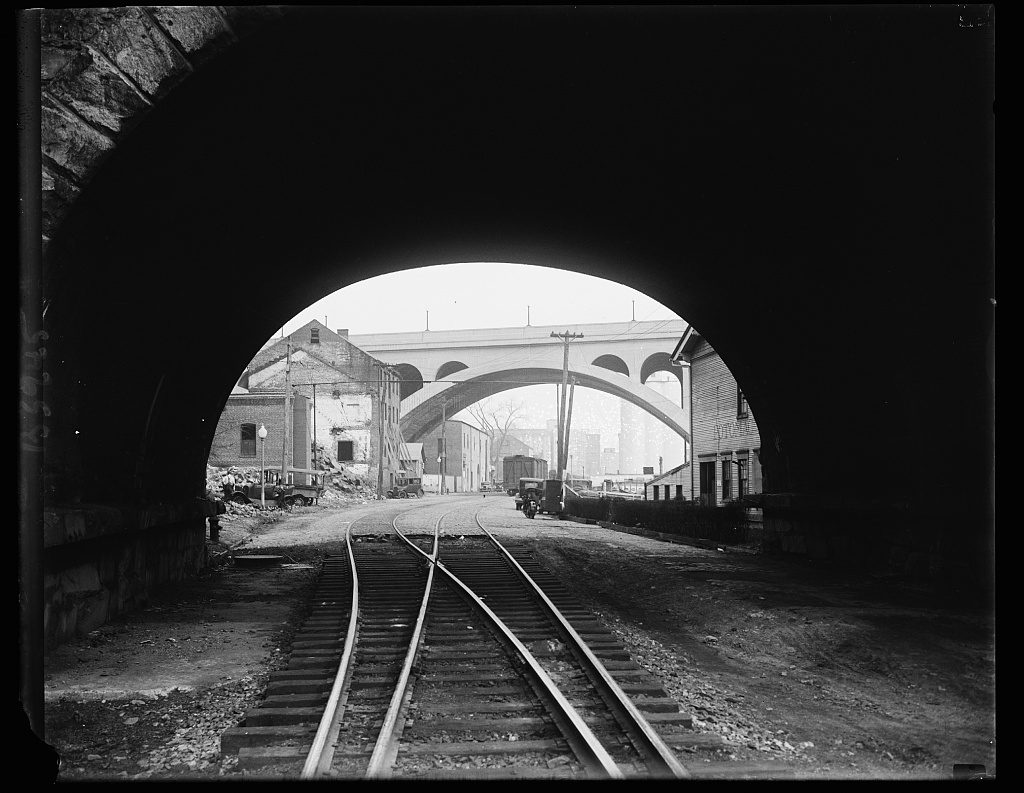
ca April, 1930 View of Georgetown from Beneath the Aqueduct Bridge

Train tracks near Potomac River, Washington, D.C.
Harris & Ewing, photographer. (1930) Train tracks near Potomac River, Washington, D.C. District of Columbia United States Washington D.C. Washington D.C, 1930. [April] [Photograph] Retrieved from the Library of Congress, https://www.loc.gov/item/2016889645/.
This view is facing geographic East, looking from beneath the Aqueduct Bridge down Water St along the tracks. Here, the switch opens up to dual trackage laid in the cobblestone streets of Georgetown. In the distance one can see old brick warehouses in disrepair; remnants of an era that was coming to a close. A wood sheathed box car sits alone to the right and various automobiles and motorcycles line the street. The Potomac Boat Club is just visible to the right, nicely done up with shrubberies out front. Through the haze in the background we can make out the Wilkins-Rogers Milling plant and the Lone Star Cement plant on the right. An arch of the Key Bridge dominates the scene.

One interesting thing to note is the double-track “telltale” which spans the tracks just beyond the bridge. The little dangling “whiskers” were there to warn any railroad brakemen raiding atop the cars that the overhead structure (in this case, the Aqueduct) was approaching. There was a matching set on the other side, behind the photographer.ย  Also of interest is the cobblestone street and the girder rail, used to ensure a flangeway in the shifting cobbles. In the early 1940s the road was paved with concrete and the flanges were cast as part of the right of way.ย  Surprisingly, several structures remain today that are in this photo; the small brick building to the left, the Brenizer Brewery building straight ahead, the Key Br. (obviously), Wilkins-Rogers Milling (although altered), Potomac Boat House and the Aqueduct arch.

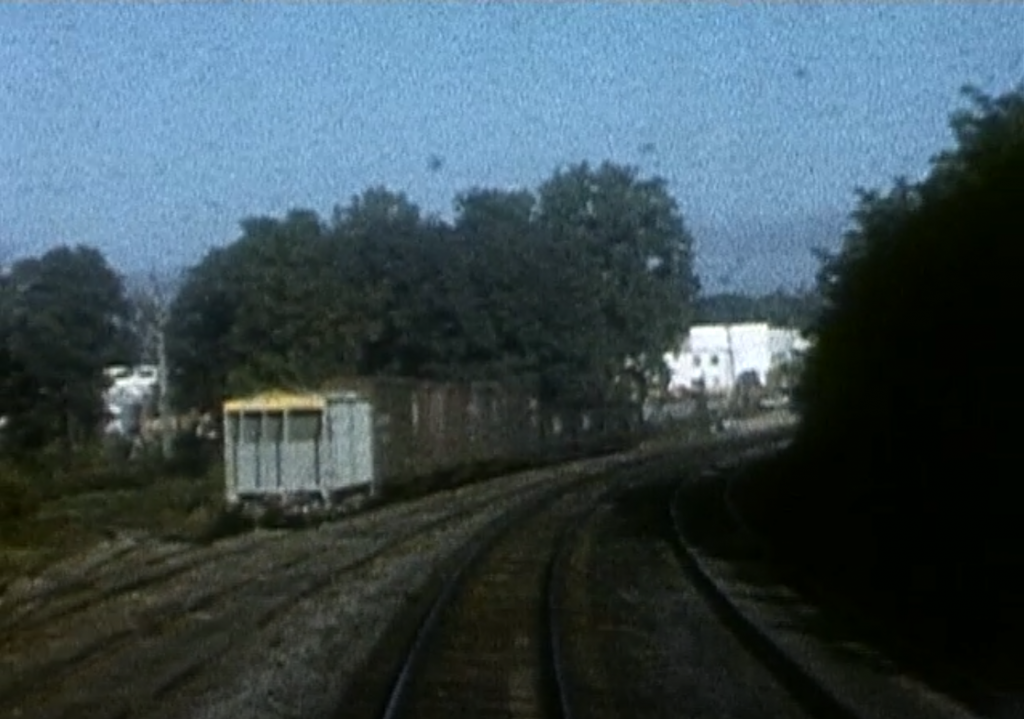
Oct 6, 1958: Film Footage of Georgetown Junction

I was alerted to this film over on Archive.org by an alert viewer who pointed out to me that at the very beginning of this home movie from October 6, 1958 there is a twenty-second view of Georgetown Junction from the rear window of a passenger train! Now, videos of the Georgetown Branch are exceedingly rare, so this is particularly special! The train is moving relatively slowly as it rounds the curve past the team track yards at the Junction. You see cars parked on the sidings, and as it proceeds further you see B&O hoppers, some box cars and a ubiquitous covered hopper. Then a view down the Georgetown Branch appears and the Talbot Ave bridge appears overhead. Nice! The shot closes shortly thereafter.

It’s only twenty seconds long, but for me, it’s all gold. Anyone who conducts research for building model railroads will tell you how important the details are. The colors of ballast, the amount of scrub brush and grass that has grown up along the right of way, the height of trees, the discoloration on the ties, the placement of switches and track alignment, buildings and signs… all of those things inspire and help to fill in the scene. Since photos & videos are uncommon, it really is special to see an actual film of the area. There is a legend of the NRHS having a film of the 1958 fan trip down the GB but I have not been able to locate it yet. The folks over there didn’t have a record of it. I will keep hoping!

Click here to view the movie. Enjoy! (*The GB footage begins at about 00:39 and ends at about 01:00)

Berko Collection: Vacation to Baltimore, Md. and Washington, D.C., October 6-12,1958, Reel 1

August 14, 1904: Tragedy and an View of Georgetown’s Industry

Scene_of_Accident_Launch_Recreation
Medium view of the rescue work conducted in the aftermath of the sinking of the naphtha launch boat “Recreation” in which ten individuals drowned.

Another image I found on DCDIG. From a story in the Washington Post, there was a large, popular regatta in Georgetown out on the Potomac and a pleasure boat sank, with ten drowning victims. The helpless crowd that gathered was large and there were photographers covering the race who also managed to photograph the scene of the tragedy.

The images are fascinating for me, as they portray what the waterfront was like just prior to the introduction of the B&O railroad to the scene. Six years after this photo was taken, B&O trains would be plying the street trackage along this waterfront. In fact, there are buildings in this photo that are still extant today! See this image from Google Maps showing one of the oldest buildings in DC still standing. Unfortunately it’s just the facade, but still impressive! The location of the photographer is approximately 32nd and Water street, but out in the Potomac. (obviously)

Another interesting article:ย https://chroniclingamerica.loc.gov/lccn/sn84026749/1904-08-15/ed-1/seq-1/

https://dcpubliclibrary.tumblr.com/post/164176912521/dcpl-special-collections-librarian-jerry-mccoy

1936 Flooding in Georgetown – Aqueduct Bridge & Boathouse

I just stumbled on this image over at DCDIG which shows the flooding in Georgetown on Mar 19, 1936. The Georgetown Branch ran from the right side to the bottom, through the arch of the old Aqueduct bridge and toward the photographer. If you look carefully you can see the old cast iron DUAL telltales in the foreground! They span the right of way and warned brakemen of the approaching arch. Remember, brakemen rode the roofs of cars back in the older days. The Potomac Boat Club boathouse survives to this day, as does the arch of the Aqueduct bridge.

1936 Flooding in Georgetown
Mar 19, 1936: Flood of the Potomac River on Water Street covering much of the Potomac Boat Club boathouse. Five individuals stand atop the Aqueduct Bridge looking down at the floodwaters.

Hello, World! (DCC++ & JMRI) * UPDATED 1/2/2022

** UPDATES BELOW **

The prototype DCC system is up and running. I decided to home brew my DCC when I read about DCC++ and realized I had an Arduino laying around with no real purpose. I bought a motor shield and hooked up my laptop and an old power pack to test it out. It worked but I knew I had to come up with a more complete and permanent setup.

I immediately considered the Raspberry Pi (RPi) as it’s a low cost, full featured Linux computer and I can run JMRI on it! I needed a power supply and a bit of research found others doing similar things using various inexpensive devices. I also wanted a proper booster so I chose a Tam Valley unit. I’ll invest in a second one for my other power district in the future. EDIT: I used Steve Todd’s “JMRI RaspberryPi as Access Point” which is a pre-built configuration for RPi which sets it up by default as an access point, connects to the DCC++ system and runs PanelPro, etc. It’s fantastic and worked right away.

Today I spent several hours putting all the pieces together that I had collected over the last couple years. The monitor was a donor from my dad. The mouse, keyboard and cabling was all old stuff laying around. I put everything onto a board, first laying it out and planning the cable routing. Once everything was good, I screwed the pieces into place.

Next was to test voltages and see what worked. A bit of tinkering and everything looked good. I set it all in place and started configuring things in the RPi. A bit of trial and error getting things to talk to each other, with some luck, and it’s working!

There are still lots of kinks to work out and I need to experiment with a lot of the features. My intention is for this to be a fun project and provide a robust DCC system to get me started for the Georgetown Branch. We will see how it works in the long run.

incidentally, I had planned on taking apart my Proto2000 GP7 to have a look at the plastic gears, as last time I ran it it was making lots of noise.

Wouldn’t you know it, all four gears were cracked! I replaced them with Athearn units, like a charm. Here’s one of the cracked units:

I was asked to give some more details about parts and prices so here is a list. Building this setup requires many things that you probably already have on hand, so the cost will vary. Also, you can find things on sale occasionally and you can simplify or streamline it with your own skills or modifications. I included rough estimates for a few things which you will need just to get the ball rolling. Feel free to reach out with any questions you have.

List of parts: (Updated 1/2/2022)

A few more things

Updates: (1/2/2022) – this is not definitive, but rather a couple notes.

DCC++ Issues

I ran into issues with my DCC++ setup, essentially it would read some decoders and not read others. I spent hours troubleshooting it and eventually moved on. I suspect it has to do with my power settings, but as I am not a programmer by nature, I didn’t feel like spending more time figuring it out. I’ve moved on from using DCC++ but would VERY much like to revisit it in the near future as I think there have been some wonderful developments with the growth of the DCC++ EX project; essentially an updated version of the old DCC++ project. They even have a Discord! I have tried DCC++ EX but still have issues. Again, I’d like to revisit this.

Raspberry Pi / Arduino Availablity

I don’t know why Arduino and Raspberry Pi units are so hard to come by right now. I basically couldn’t find ANY for sale right now, anywhere. I’m not sure if this is a result of the global chip shortage, the global shipping crisis, a combination of the two, or something else entirely. If you are in the market for one of these, you’ll have to get creative. It really is a frustrating situation! Let me know if you see things change.

JMRI RaspberryPi as Access Point

Model Railroader and programmer Steve Todd has designed and offers totally free a whole lot of cool stuff on his website. This includes Engine Driver, the awesome Android app you can use to run trains on a WiFi-equipped DCC system! In addition, he offers a completely self-contained, packaged solution for using a Raspberry Pi as an access point to run your layout with JMRI and WiThrottle. Simply write the image to your RPi SD card, boot it up, point it at your DCC system (with WiFi enabled), configure your throttles (smart phones) and you are running trains. It’s amazing. You don’t even “need” a keyboard/mouse to do this. Here is a link to the page with all the info you’ll need: https://mstevetodd.com/rpi I have set this up on my layout and it works great. Really awesome!

That’s all for updates for now. Good luck with your DCC++ adventures. I’d love to hear more about what you all are up to!

The Metropolitan Branch is Complete

Even though it’s a short stretch of track and is purely cosmetic on my layout, it feels great to get it done. The track is some Micro Engineering weathered code 100 flex track that I received in a lot of very old track. It’s probably over 20-some years old, if not older. As such, it required me to drill all of the spike holes, which I did about every 4-5″ with a Dremel. Soldered the joints and pre-bent the curves. This stuff is very stiff and tough to bend smoothly! All in all, it turned out nicely. It will be a great spot to stage a mainline passenger train.

Next is to work on bus wiring, roadbed at the Junction and getting more track down.

Freight Cars at the Lincoln Memorial Construction Site

I’ve always kept an eye out for photos showing freight cars at the Lincoln Memorial, as all of the stone for the Memorial was brought down the Georgetown Branch and onto a temporary branch extension that was laid from the end of the GB, across Rock Creek, down along the Potomac River and over to the construction site. The cornerstone was laid on Feb 12, 1914 so one can reasonably assume that track was laid at some point the previous year when construction began on the massive footings. Foundation work was completed in 1915 and work continued steadily until the Spring of 1917 when the US entered WWI. In Dec 1919 & Jan 1920 the Lincoln statue was assembled. The dedication was on 5/30/1922. So, for roughly ten years the GB was extended to the work site, bringing in the massive marble blocks and pieces needed for one of the most impressive monuments in the US. Pretty neat!

Photos of the construction site are plenty, but rarely focus on the railroad apparatus and right of way that served the site. I have only found a few images and am still uncertain as to the exact alignment of the tracks and yards there. I imagine they would reconfigure to some degree as time went on. Eventually the site around the monument would be filled in with dirt, covering over all of the construction yards surrounding the monument. So recently I found an image which has a couple freight cars visible. I’ve zoomed in on these to highlight the details.

Lincoln Memorial Construction

Unknown flat car with marble load

LV wooden box car. Note the black “LV” logo to the left.ย 

Postcard view, ca 1918 (eBay)

Aerial view, 1919. (Harris & Ewing / Library of Congress) Note rail yard which has been shortened, at the top of the image.ย 

Lincoln Memorial under const., January, 1915 (Library of Congress)

1916 Lincoln Memorial construction