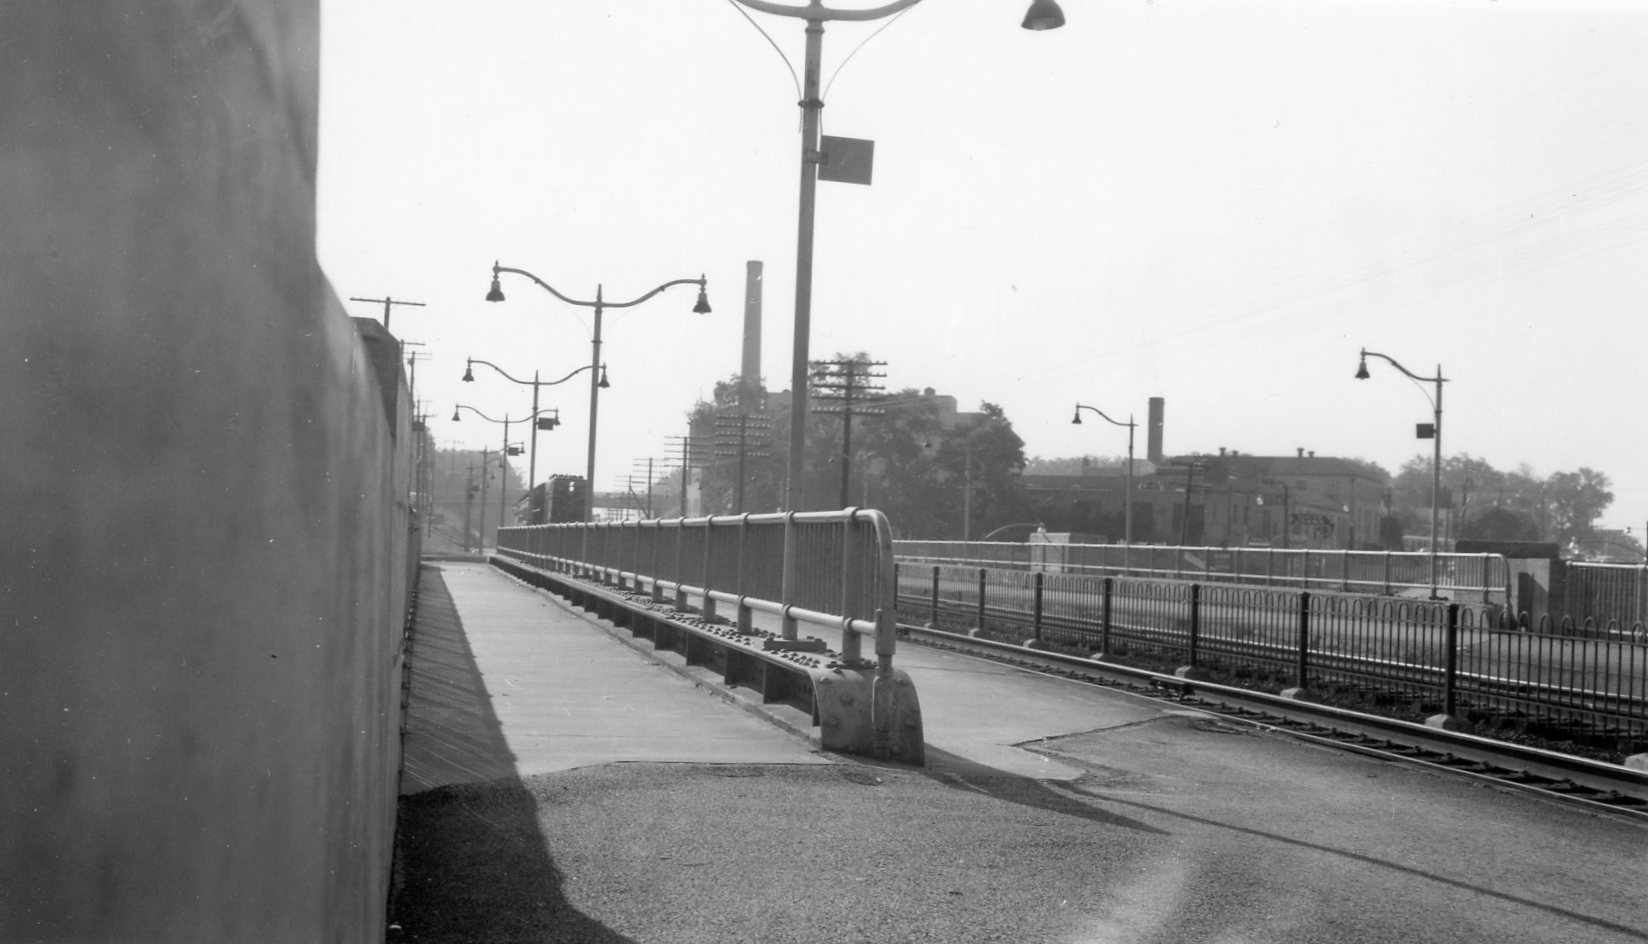
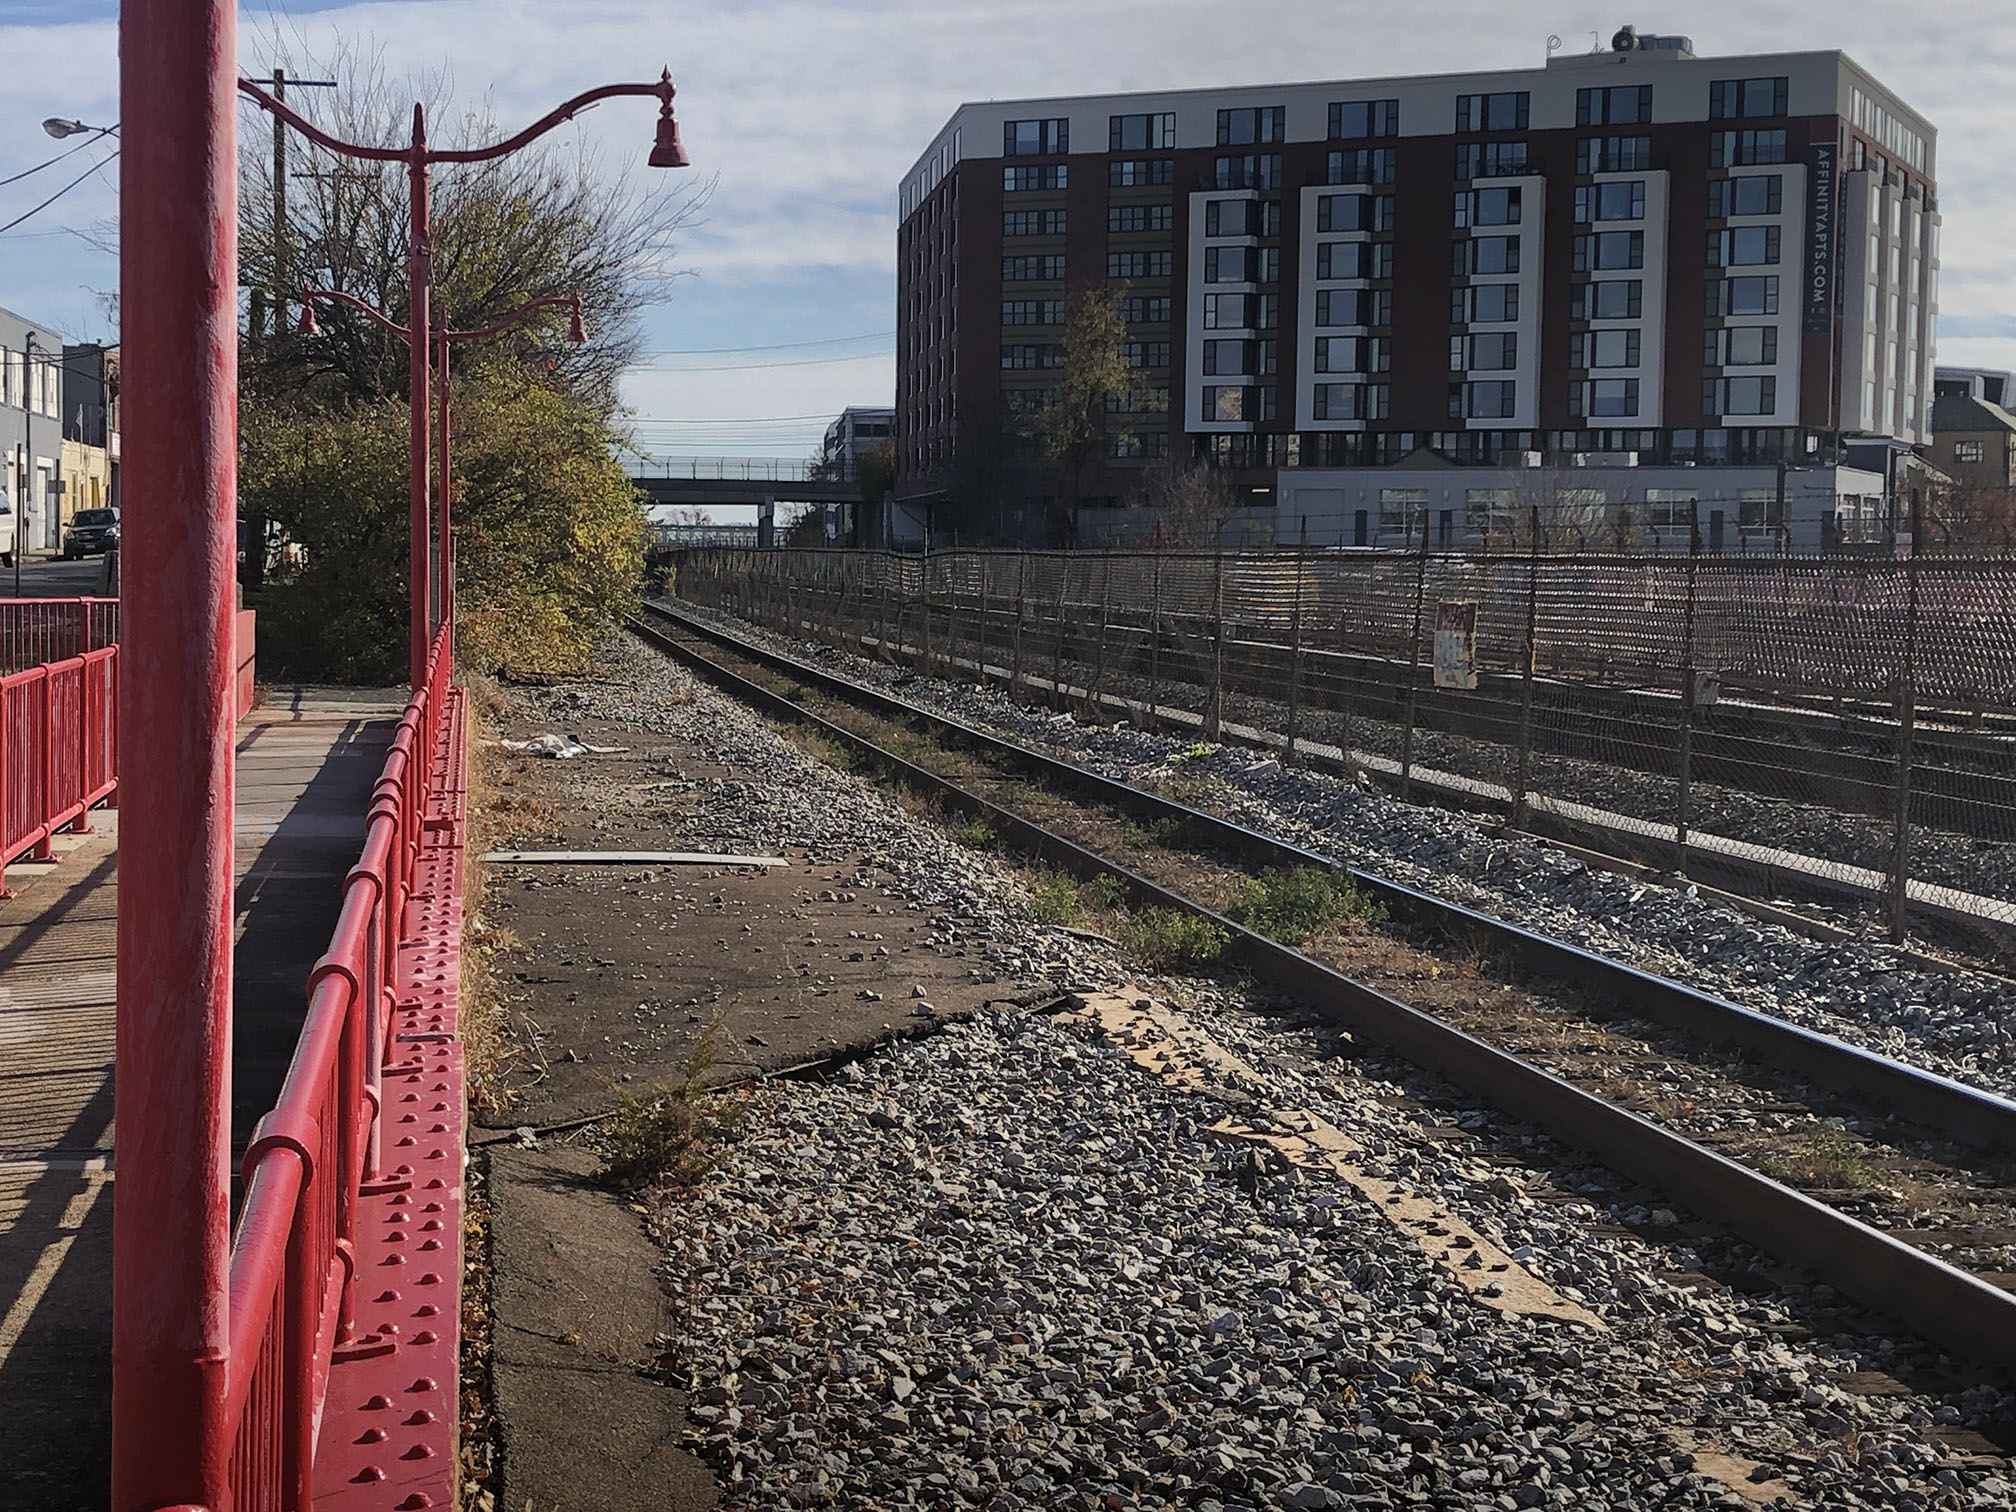
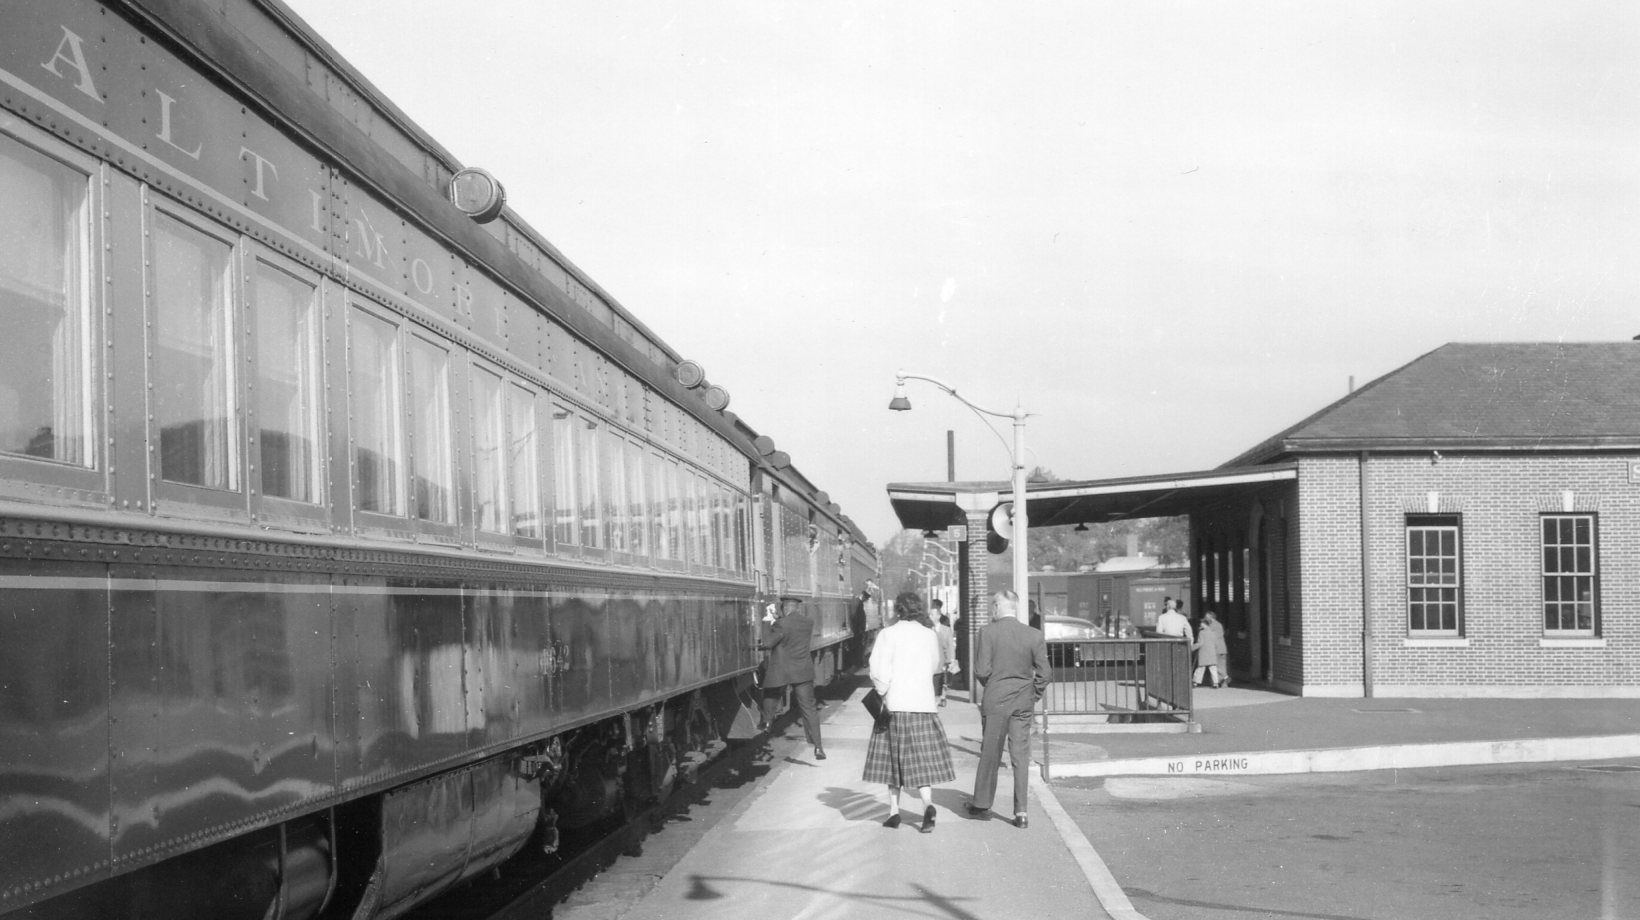
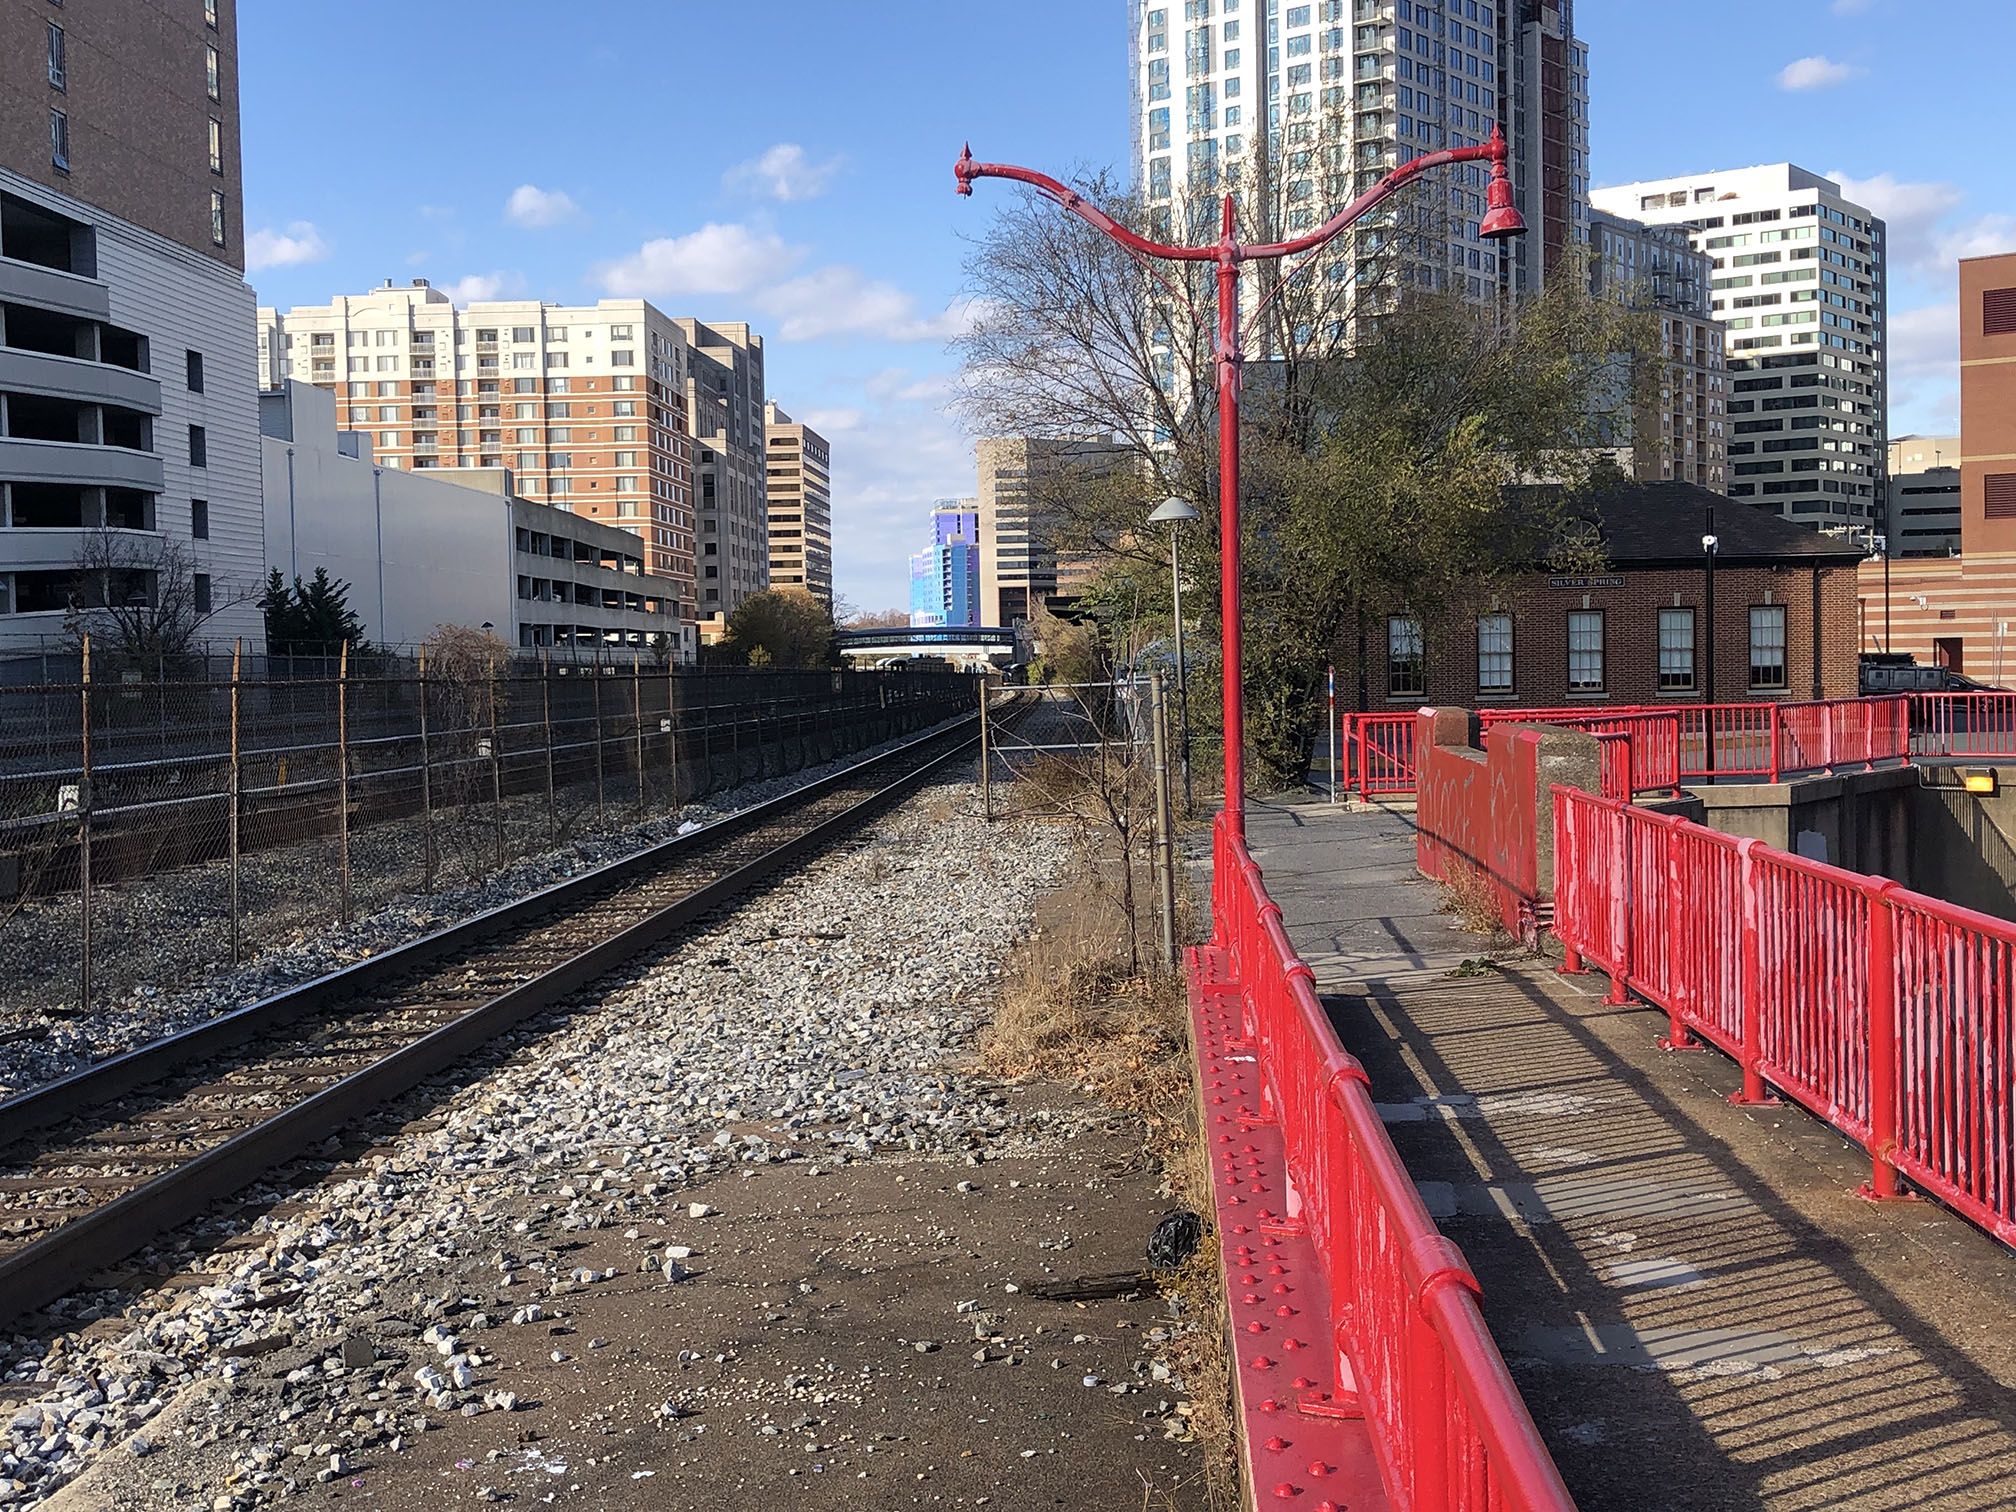
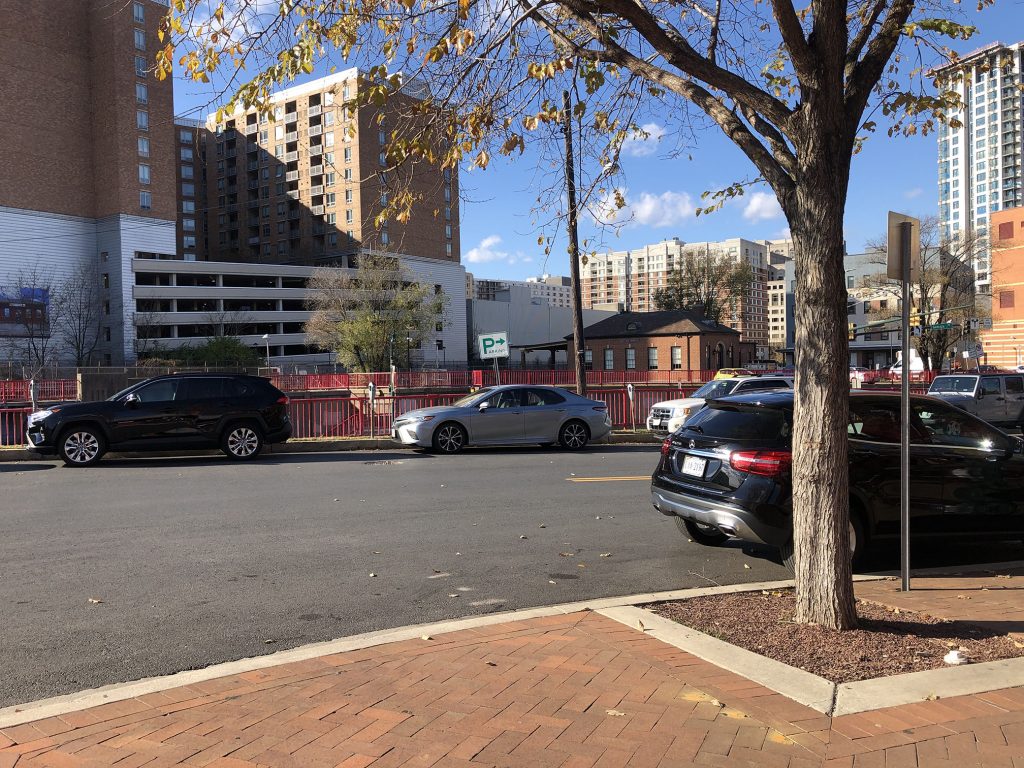
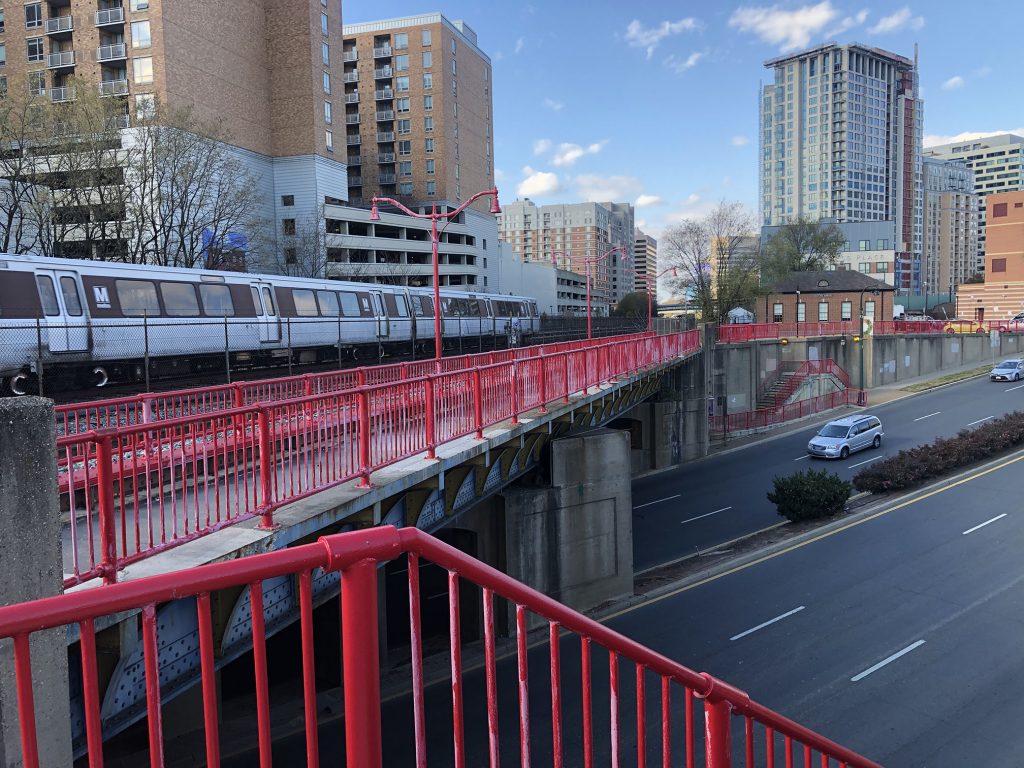
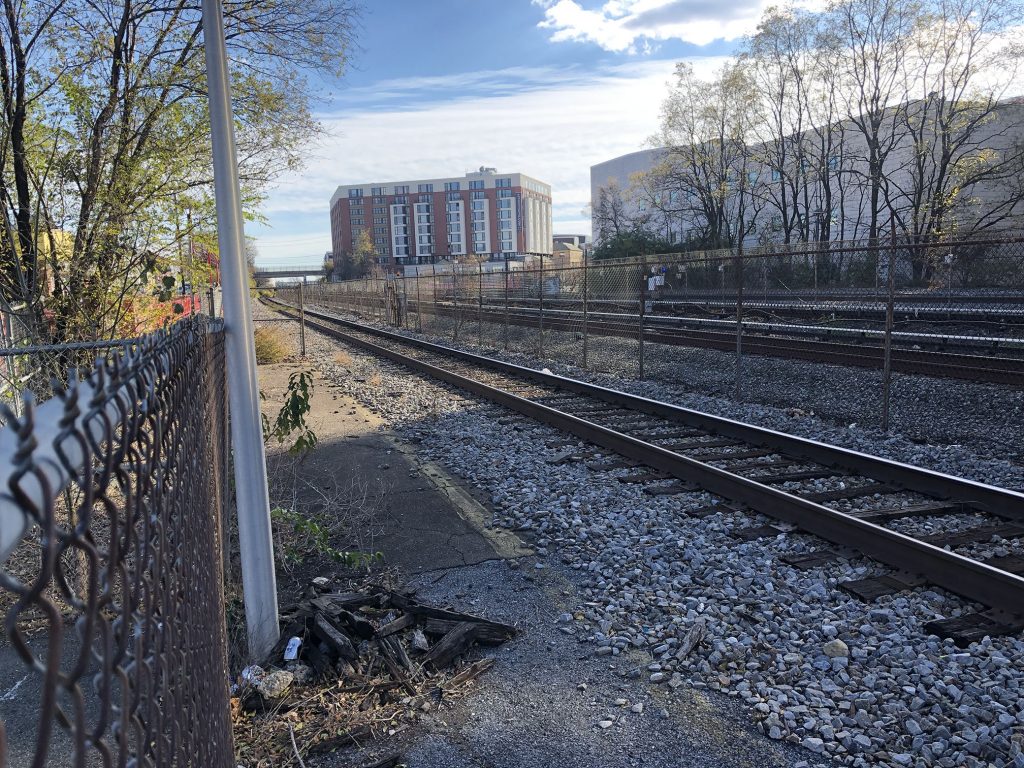
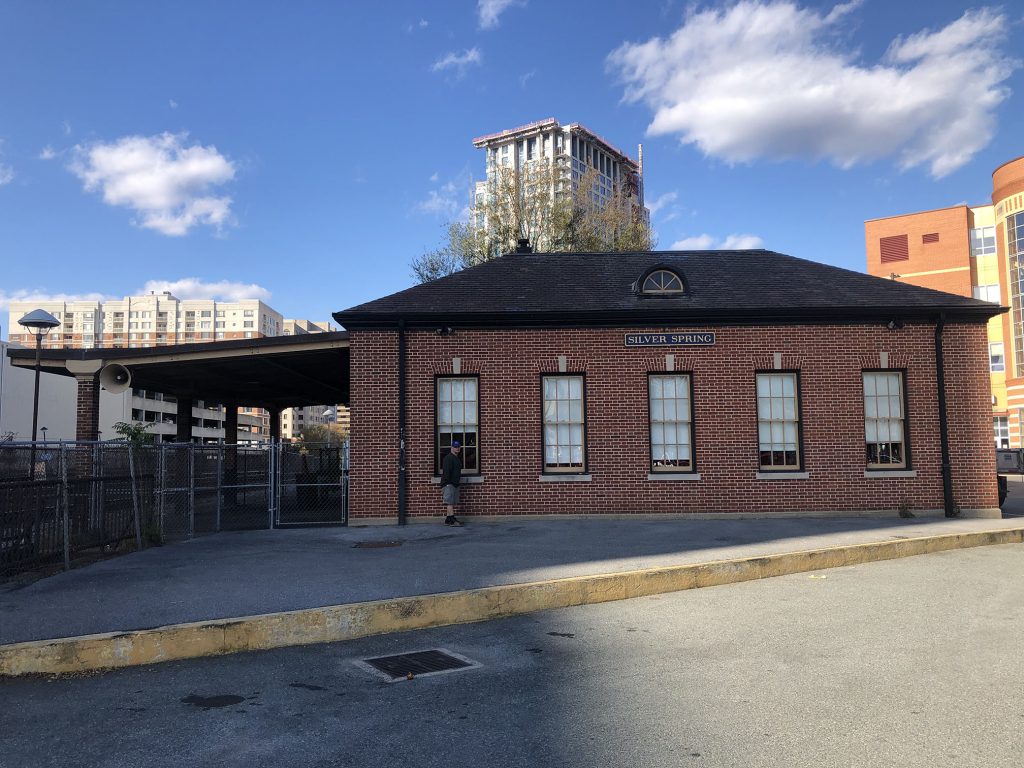
Yesterday I had lunch in Silver Spring with a friend and was reminded of the fine photos taken by Dr. Ira Pearlman on Sunday, Ocrober 24, 1954. This NRHS excursion traversed the Georgetown and Alexandria Branch lines. The train was pulled by B&O GP7 743 and consisted of three passenger cars. Here we see a couple shots from 1954 and the view as it looks today. Enjoy!
Here Dr. Pearlman captures GP7 743 leading its train west, about to cross over Georgia Ave. on the morning of October 24, 1954. Today, the bridge is still in place but now a second span supports both the CSX tracks as well as the Metro tracks. Station platforms are still evident and the original lamp posts as well. The nearby Silver Spring Metro station opened in 1978. Dr. Pearlman snaps the train as it picks up passengers at the Silver Spring station. The train was scheduled to depart Eckington around 8:45am, so I imagine this was a scheduled stop for others to hop on before heading to Georgetown. The station was built in 1945.The same view, Nov 28, 2021. The photographer was a bit closer to the station. The single-fixture lamp post (seen in the “then” photo) is in storage on the ground on the other side of the station.
I’d like to get back one day to take more detailed/composed shots, as these snapshots were serendipitous after we had lunch across the street. To view the rest of Dr. Pearlman’s wonderful photo set, please visit my Gallery. Hope you enjoy them! I snapped a few additional photos:
View from Lotus Café – fantastic food!
Metro speeding past the old station
View to the east
The 1945 station is well preseved
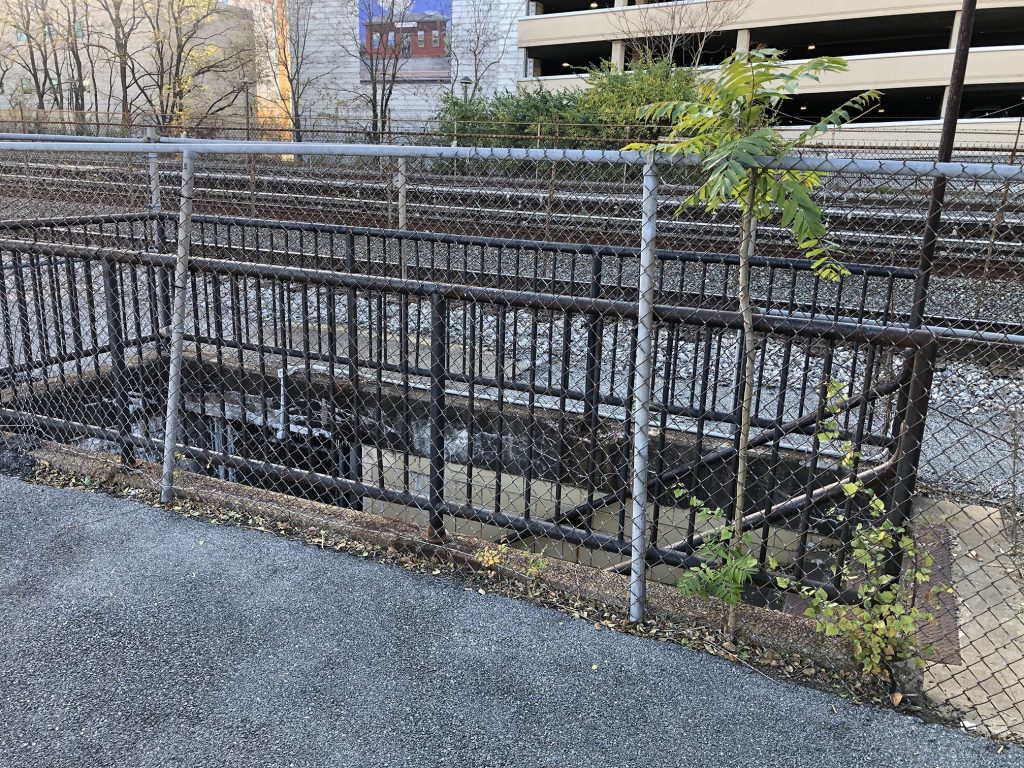
This is the staircase leading to the old pedestrian tunnel, closed to public
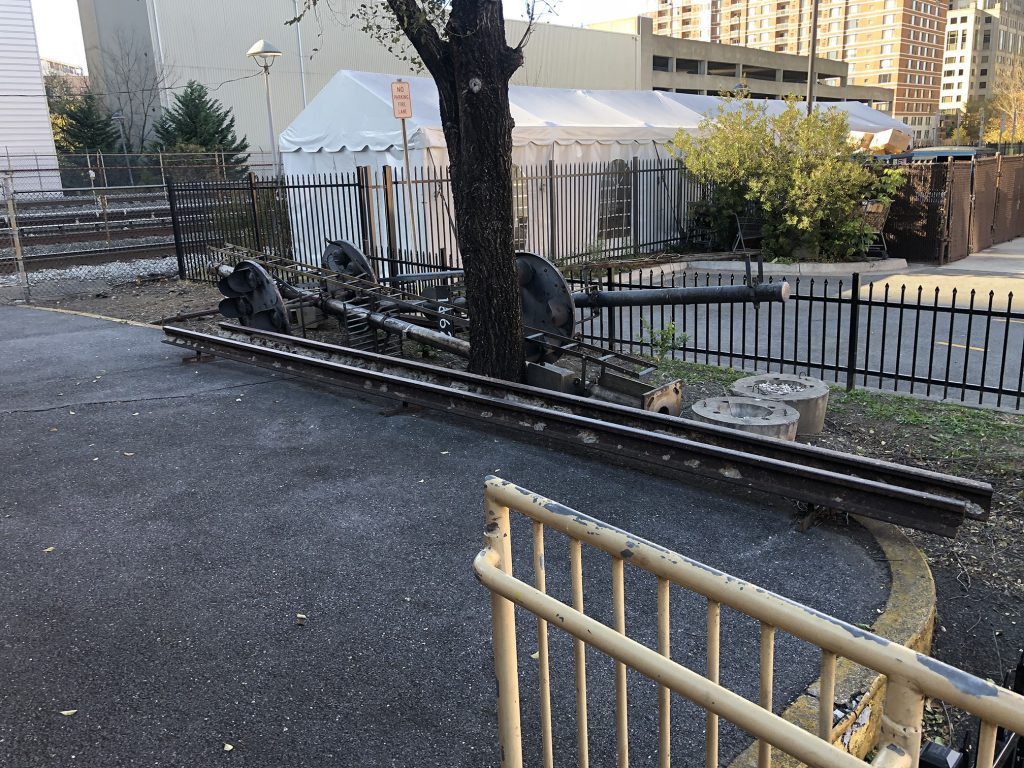
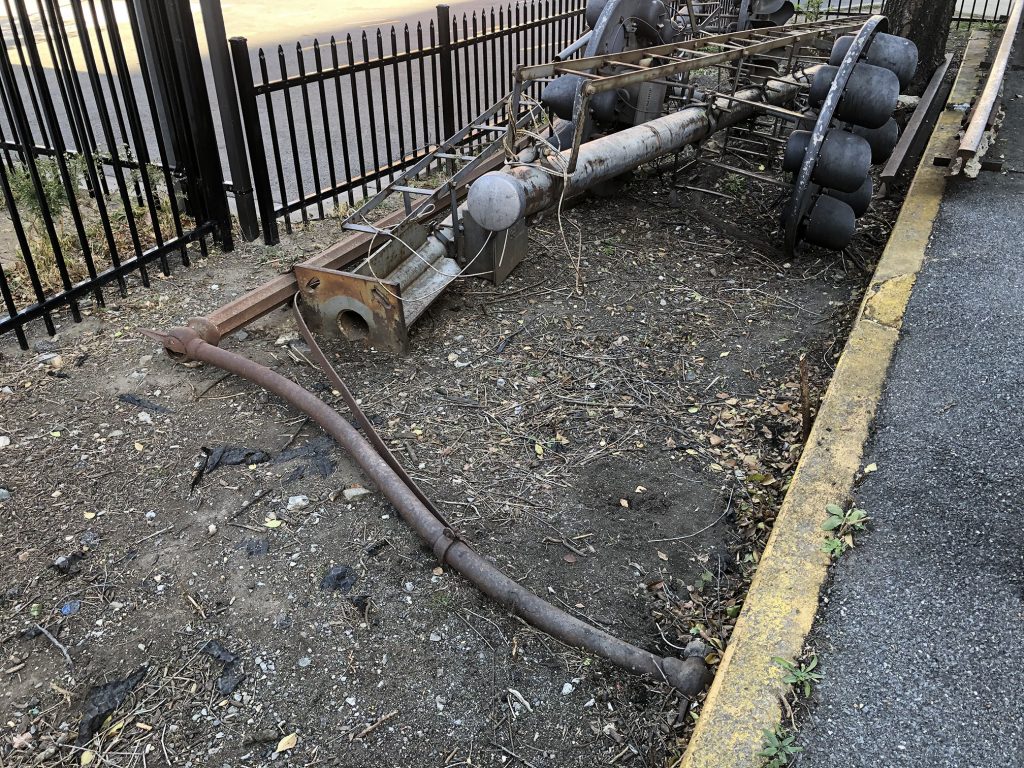
some old CPLs and a lamp post in storage here
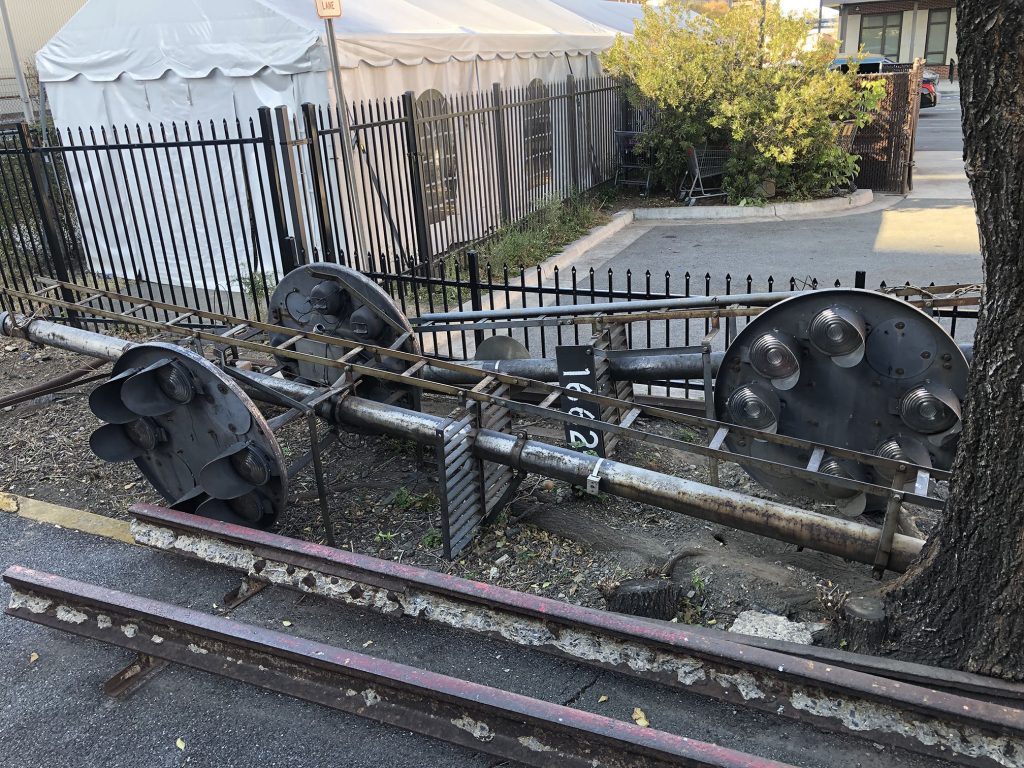
Details of CPLs. Hope to see these restored one day.
And here is likely what is the lamp post that is visible in the second photo above, located just next to the station parking lot.
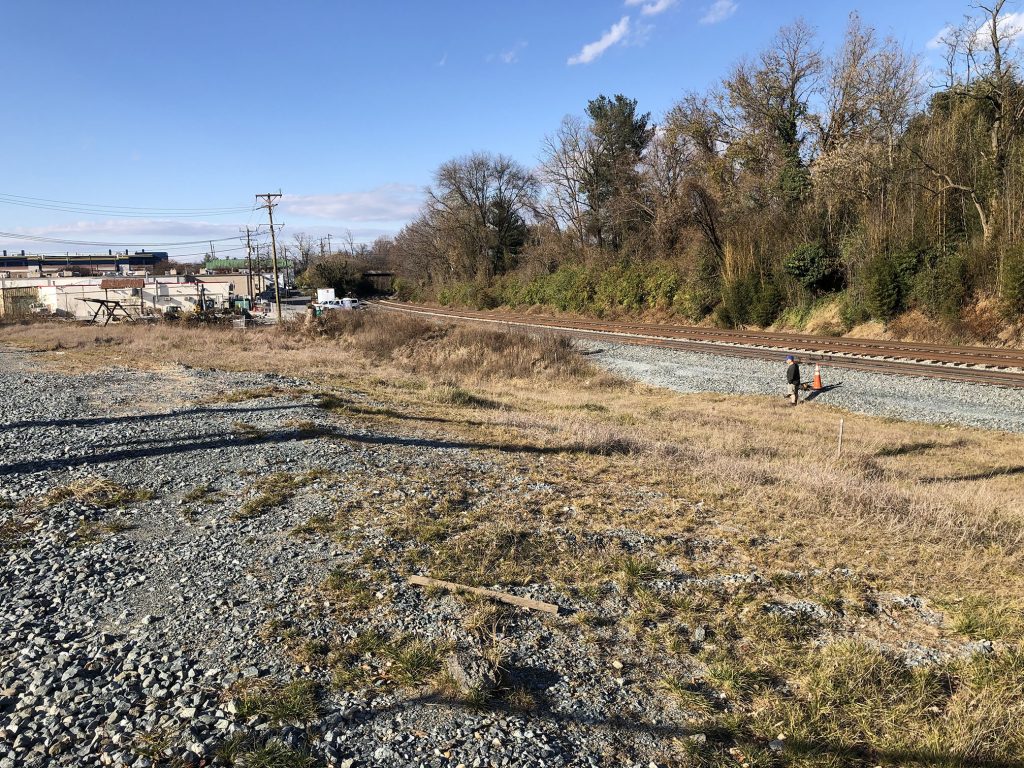
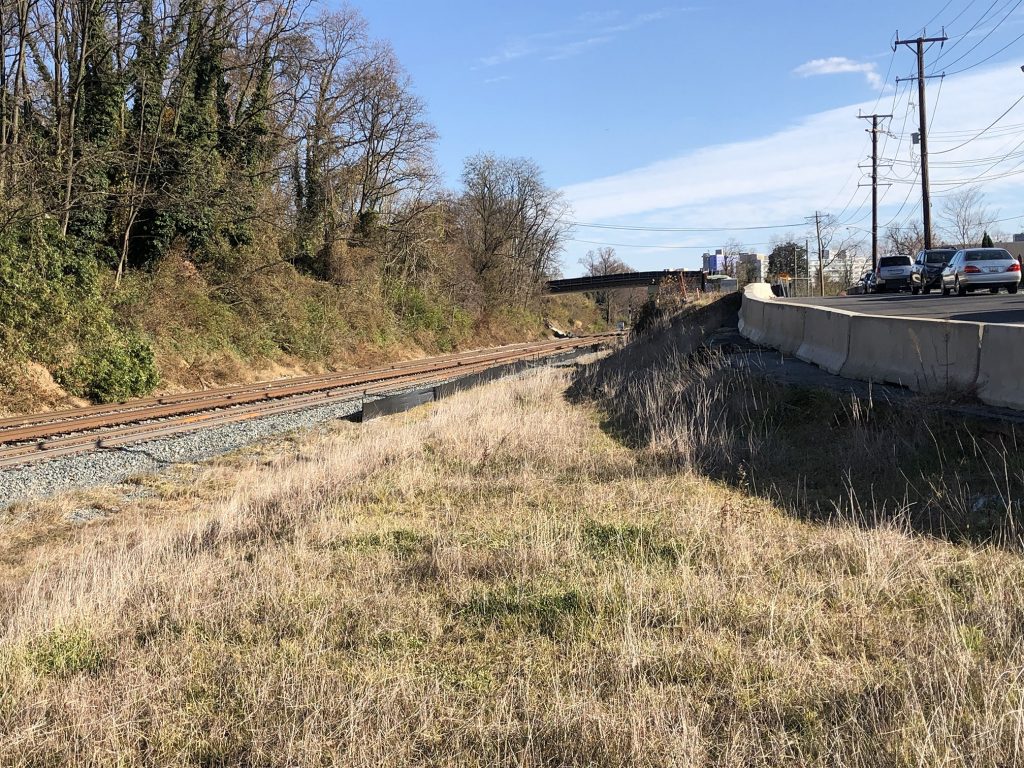
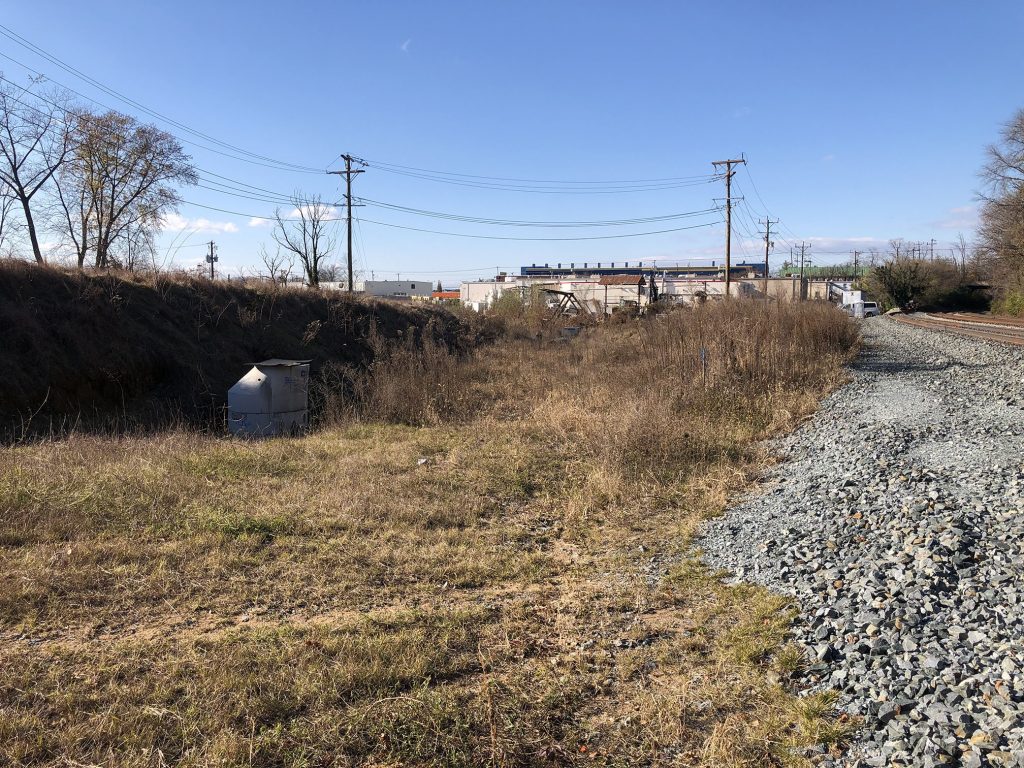
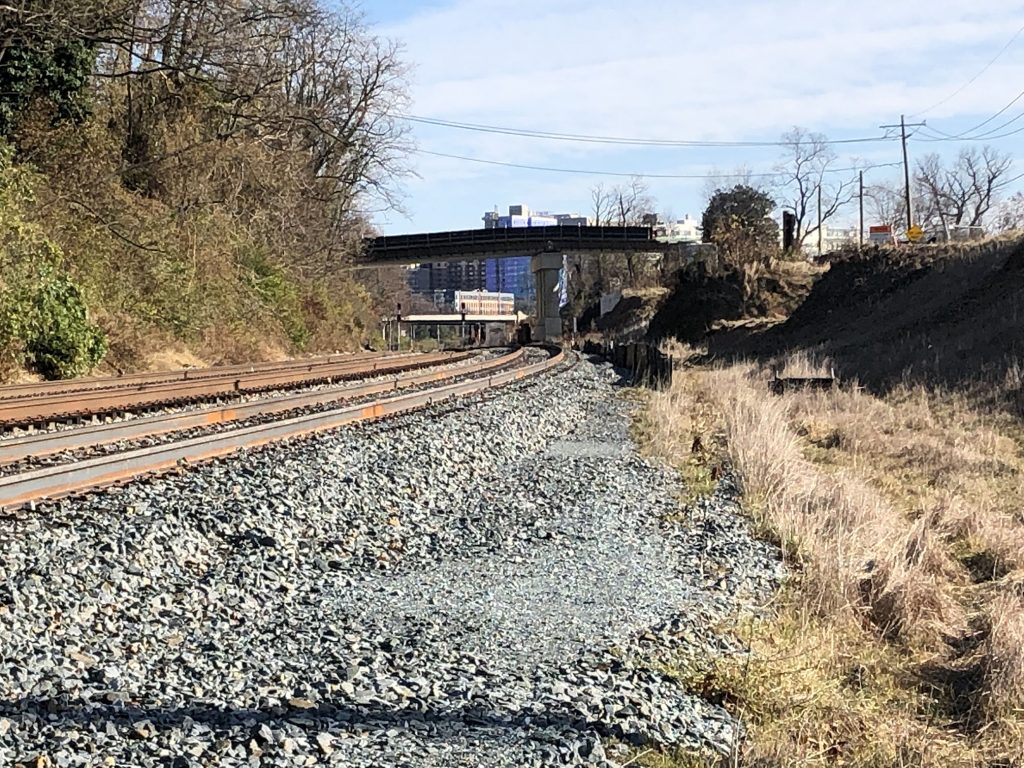
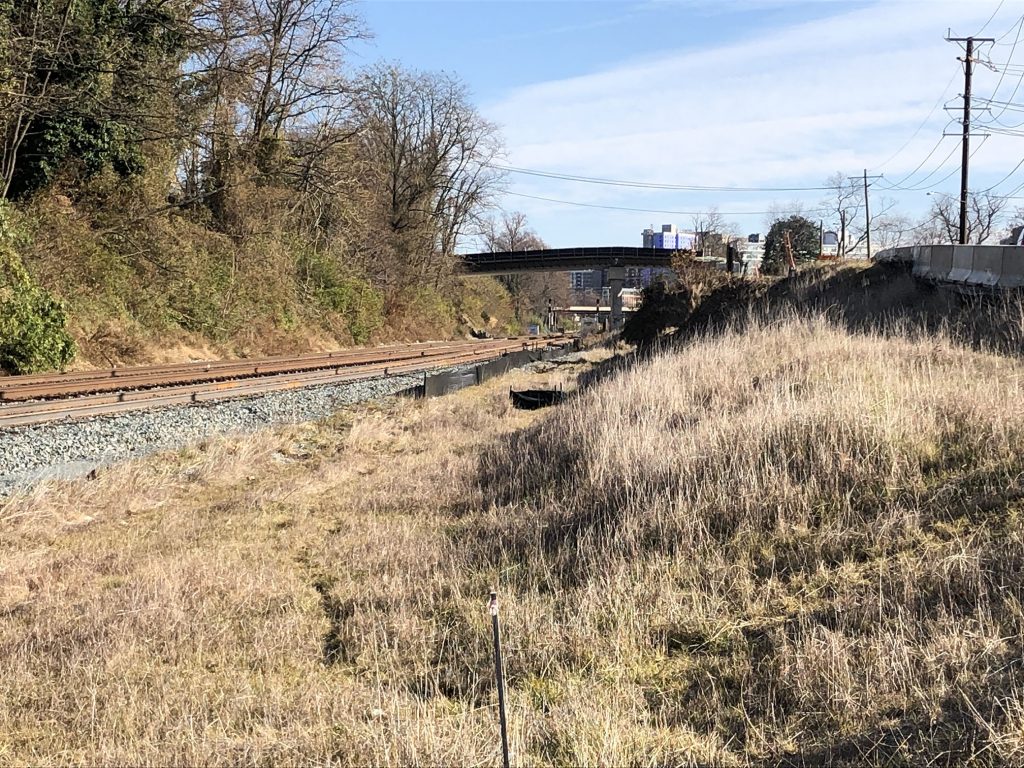
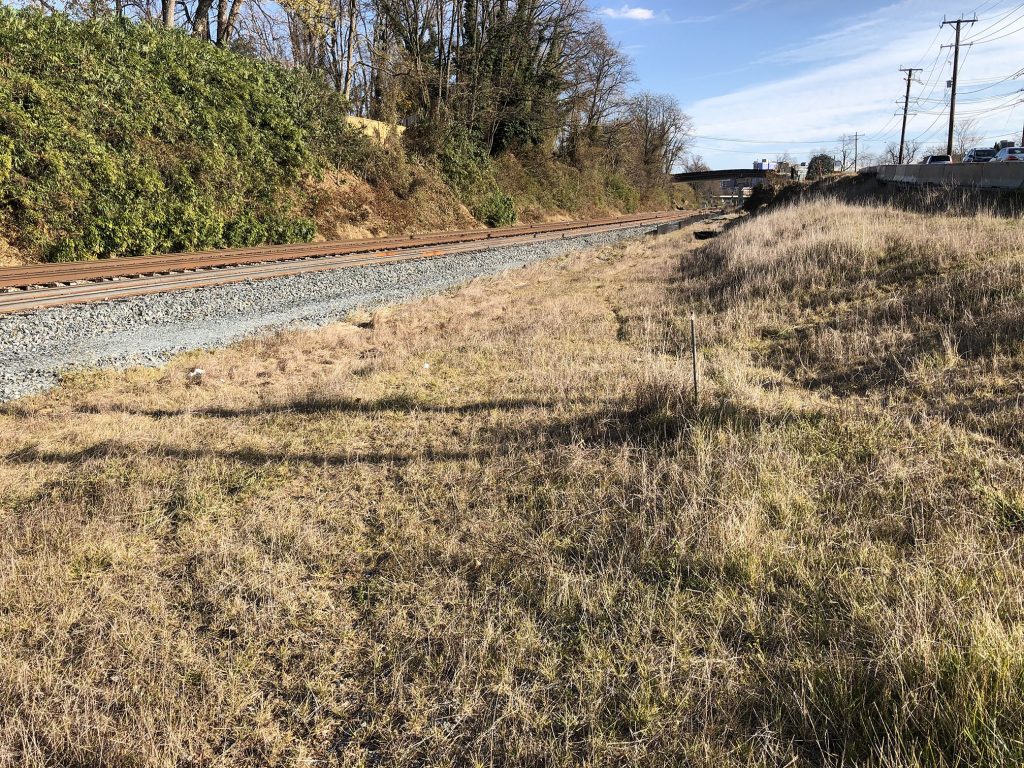
Today I had the good fortune to be in the Silver Spring area and decided to take a side trip over to the Junction to see how the construction has been going. It was heartening to see much of the old layout still intact but at the same time sad to see much of it has changed so much. Some of the preliminary Purple Line grading seems to have been halted while other areas are moving forward. The long siding CSX replaced is the spot where the eastbound interchange track was located, which was fun to see.
A couple years ago I met Chris Brown who was writing a book on the history of the Washington Canoe Club. He was one of the founding members of the CCCT and had accumulated a very large collection of slides documenting the early years of the CCCT’s efforts to convert the Georgetown Branch into a rail trail. In the early 1990s, the rail trail concept was a relatively new one and converting the Georgetown Branch would prove to be a great challenge. The efforts of the CCCT members paid off and the success of the Capital Crescent Trail is a testament to their hard work. I spent a few years in the early 2000s commuting from Bethesda to Rosslyn via the CCT and its during that time that I really fell in love with this little branch line.
Chris generously involved me in the slide review and cataloging process which was eye-opening, with many views of the right of way as it existed in the 1990s before being and during its conversion to a rail trail. I hope you will enjoy this large collection of slide scans!
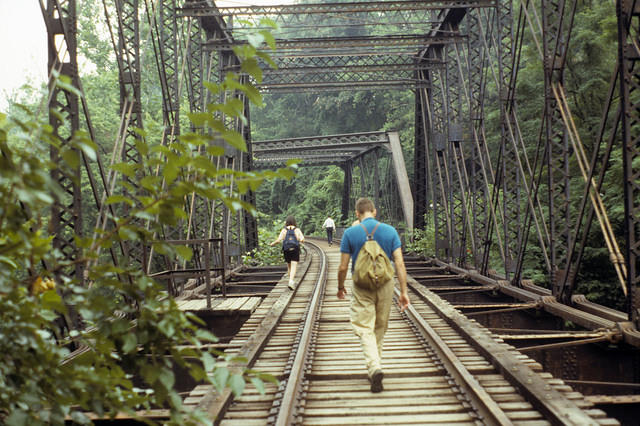
Found this great creek-level view of the Rock Creek Trestle just before it was demolished over on the BridgeHunter website. Some of the bents have been removed, and it is shown in its final days, but it’s great to have a visual time capsule of the bridge and surrounding area.
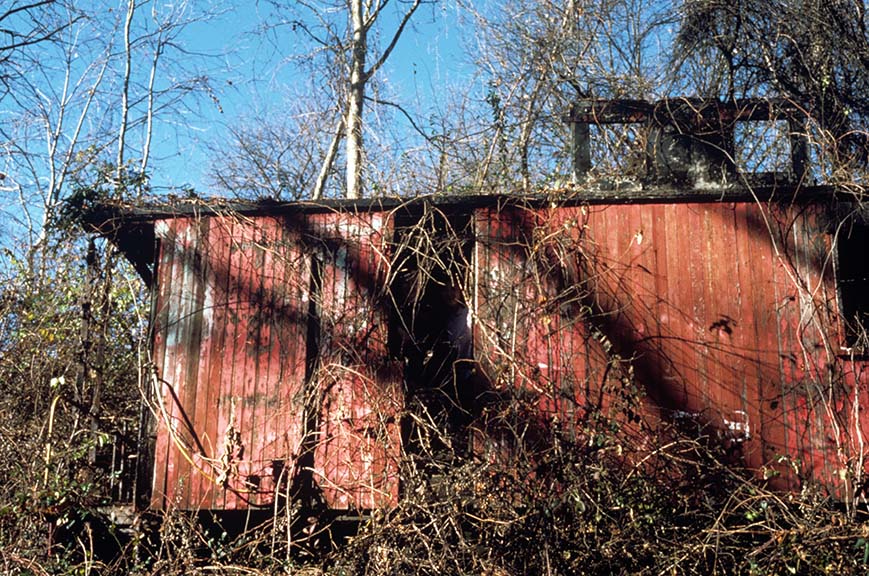
I have long heard legend of a caboose that sat forlorn on a siding in Bethesda in the years after the railroad was abandoned. Apparently a private owner had parked the caboose there for future restoration or display, but instead it sat, torched by an arsonist and rotting away until finally being removed.
Date unknown – likely ca late 1980s/early 1990s. Collection of the Coalition for the Capital Crescent Trail.
I have no idea of the disposition of the caboose or of its heritage. The only B&O caboose I could find that resembles this one is an I-10 class, but it may be a stretch. There appear to be numbers on the side of it, but the only one I can definitively read is an eight and perhaps a five to the left. I believe it sat on the siding just south of River Rd. on the west side of the tracks; the location of the old oil unloading siding.
If anyone knows any additional information about this caboose and its heritage, I’d love to hear it!
PS. I have a large collection of images shot in the years after the Branch had been abandoned and during its conversion to a rail trail that I will be sharing over the coming months. Stay tuned!
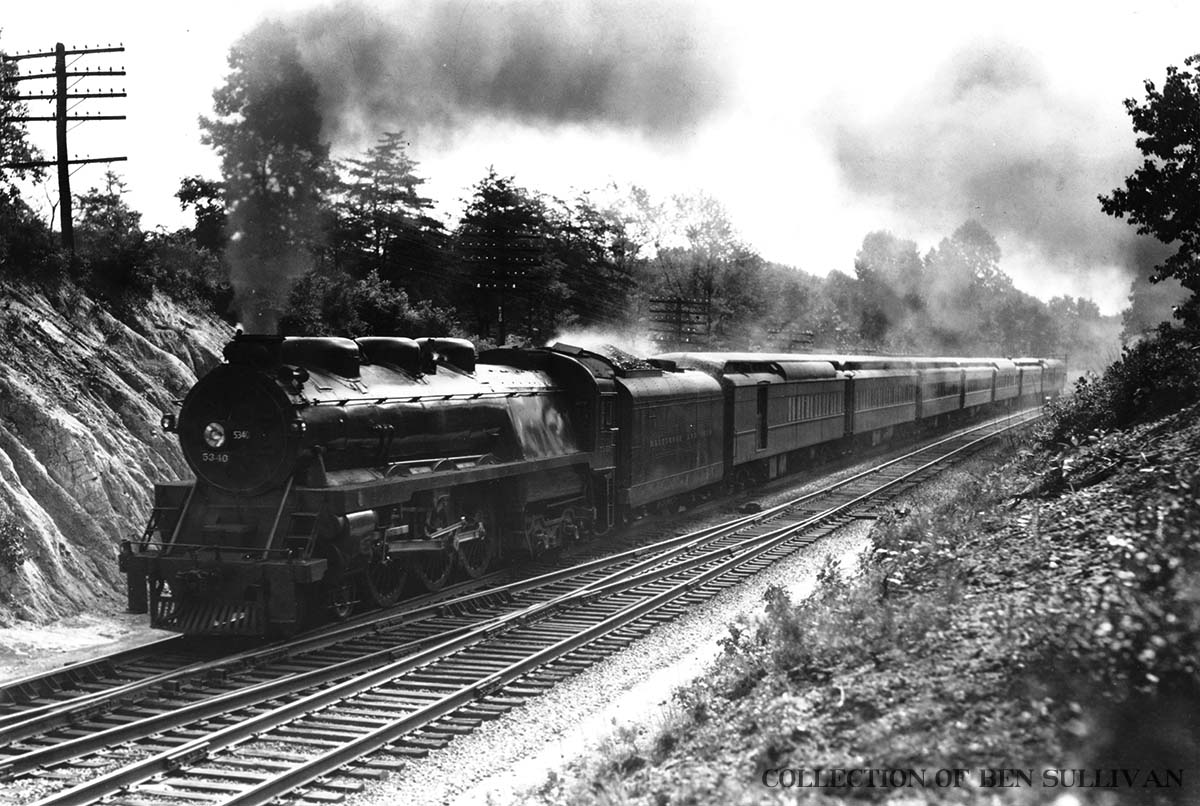
July 26, 1942, 10:32am. Newly-shopped B&O V-2 class 4-6-4 locomotive 5340, the “Lord Baltimore,” heads up a westbound train #21, “The Washingtonian,” as it pounds across the crossover at Georgetown Junction. The iconic locomotive was built by in 1935 by the B&O at its Mt. Clare shops in Baltimore, MD. In 1942, it was shopped and assigned #5340. The locomotive was scrapped seven years after this photo in April, 1949. The Washingtonian ran between Baltimore, MD and Cleveland, OH from 1914 to 1956.
I recently set up a Facebook blog page for the Georgetown Branch. I will try to cross post anything that is posted on the blog over to FB, so any subscribers shouldn’t miss anything. Head over there if you are on FB and join us!
I normally don’t like catch up posts, but I figure I should give everyone an update on what’s been going on. Earlier in the Summer I began a class in Cinema4D which occupied nearly all of my free time. Besides the weekly train club meetings, my hobby time shrunk to zero. The class wrapped up a few weeks ago so between catching up on email, attending the GSMTS as a vendor, and attending the NMRA NER convention and visiting family, I have had little time to spend on the GB project.
That is not to say nothing has been going on! Nay! In the small bits of free time I have had, I have been researching various photo mysteries, objects, buildings, freight cars and more. One thing I have spent a significant amount of free time on is working on the operations scheme for the railroad. This involves studying what information I do have, namely photographs of freight cars, first and second-hand stories about how the railroad operated and various other documents. (My life for a stack of waybills!) I will likely be using JMRI Operations Pro to handle movements on the layout. I have really enjoyed tinkering with the software and am impressed in the flexibility and utility it offers.
I have plans in the works to share several things here on the blog in the near future as well as push more to get some progress made on the layout. My Rock Creek trestle model is soldiering along, bit by bit. In the near future, I will be attending an Audi Club HPDE at VIR in Nov so I have a ton of car prep work to tackle for that! Busy busy.
In the meantime, I wanted to leave you with a teaser. I finally found a photo of the 1954 National Christmas Tree when it was parked down in Georgetown:
At some point I will try to write up a full article on this phenomenon, as I find it really fascinating and a super interesting facet of operations on the railroad. And to answer your question, yes, I will definitely be modeling this! 🙂
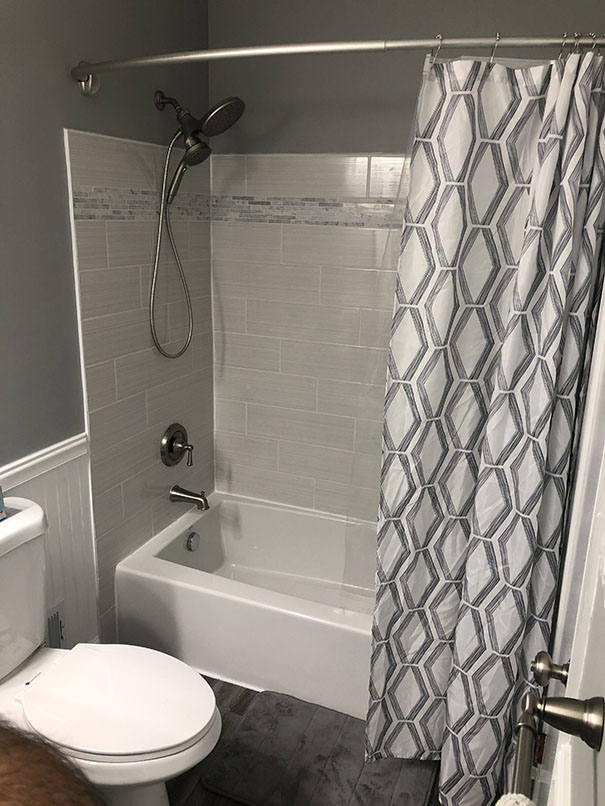
I am playing catch-up with many things including getting everyone up to speed on my progress with Rock Creek trestle model. Unlike many folks, COVID was not a super-duper productive time for me with my model railroad. At the outset of the stay-home orders, I embarked on a remodeling project that took most of my time, sanity and family peace away for several months. The upstairs guest (kids) bathroom was gutted and renovated all by myself. This included a completely new tub, surround with tile, plumbing, new tile flooring, toilet, vanity/sink, beadboard, ceiling fan, and a custom-made mirror made using the very large old one and some leftover trim. It all came together in the end, but the journey burned me out. I found that I had no time during the project to work on my model railroad, and for a very long time after was uninterested in doing layout work at all. As such, my progress over the last year has been slow.
The completed bathroom.
NONETHELESS, I have made progress! Today I’m going to share a slew of photos showing where I am with the Rock Creek trestle model. This will be a showcase piece on the layout so taking my time is not necessarily a bad thing. I’m learning A LOT along the way with this scratch build and it’s been fun so far. Tedious, but fun. If you recall from previous blog posts, I drew the plans from drawings, photos and some measurements I made. The challenge was great, as there are no good reference photos from the time frame I want to model (late 1940s) so a lot of time was spent making careful judgements and measurements from the few photos I DO have. In the end, I’m quite proud of the plans I made.
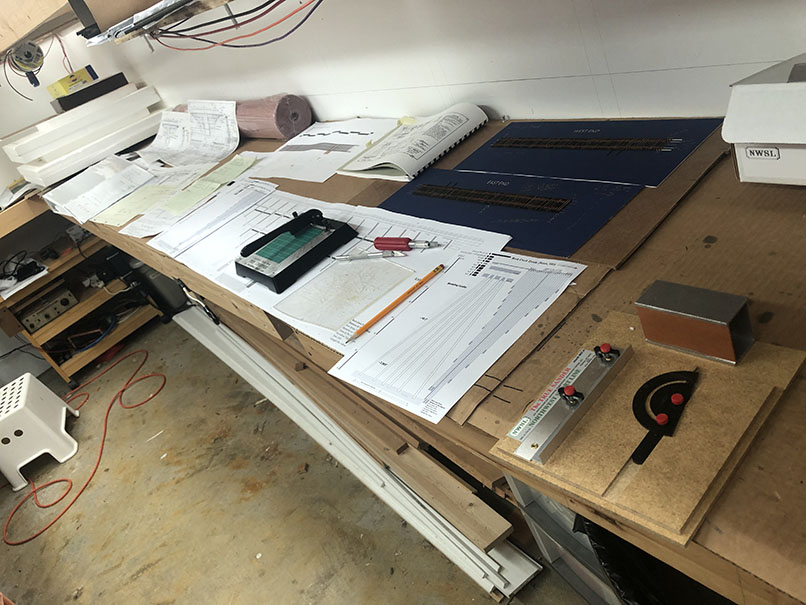
Prepping materials and plans for the trestle. Jun 2020.
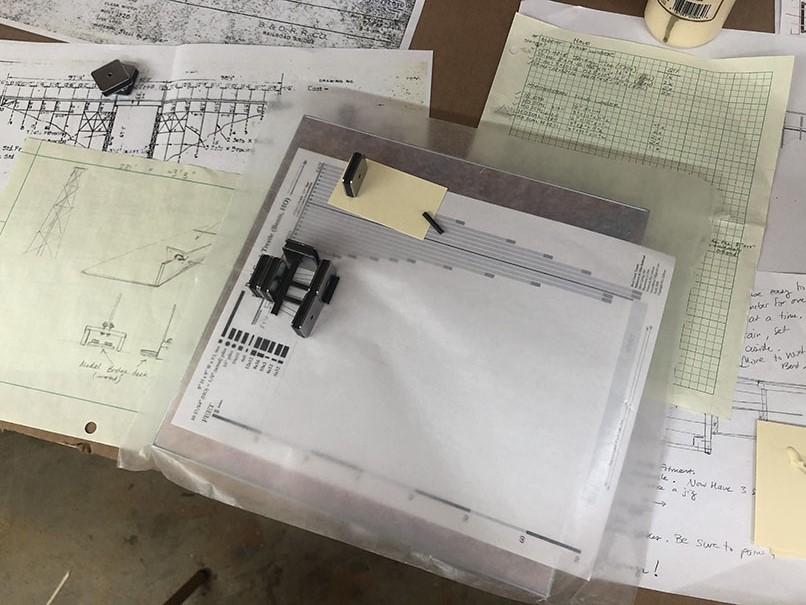
I started in earnest on actually building the trestle back in June of 2020. (yeah, yeah, a YEAR AGO…) A few early experiments helped me to refine my technique for how to assemble the trestle bents. At first I had hoped to use a magnetic tray to lay out the parts. This quickly was dismissed, as I realized the magnets did not allow for fine adjustment and placement that was necessary for this sort of construction.
The magnetic tray didn’t cut it
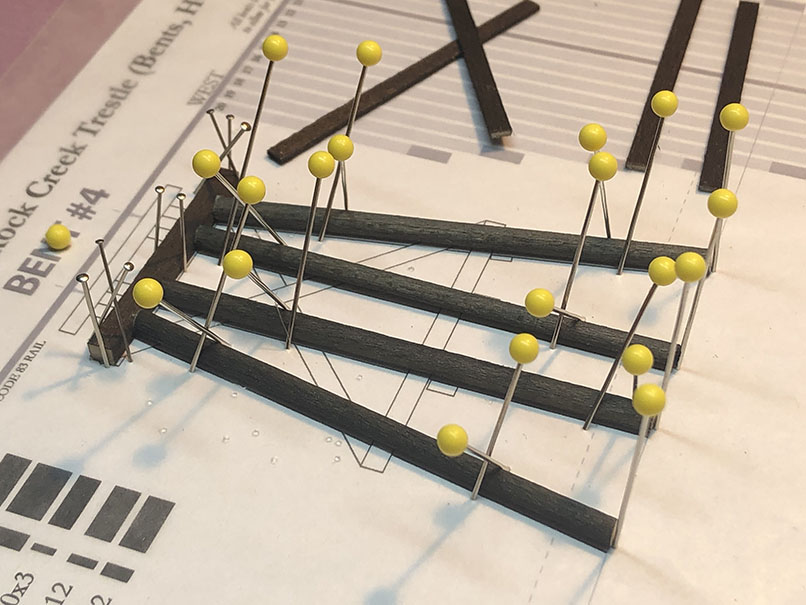
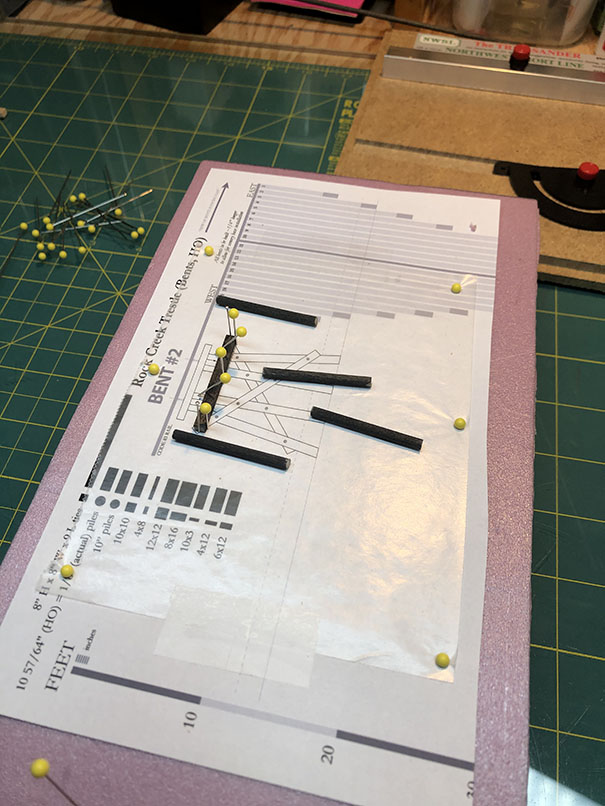
Reaching back to my youth, I decided to use the same technique I used to build balsa airplanes; pins. This turned out to be a great choice, and paired with small slabs of 2″ extruded pink foam boards, worked beautifully.
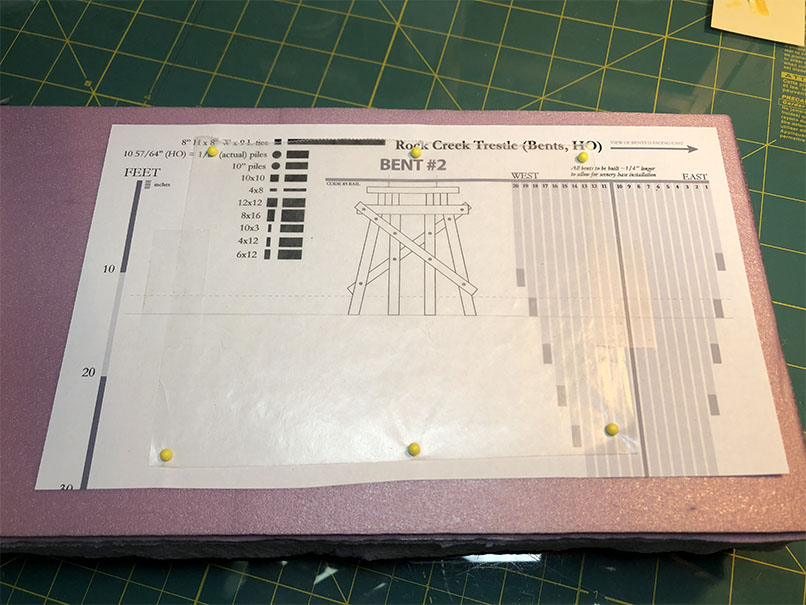
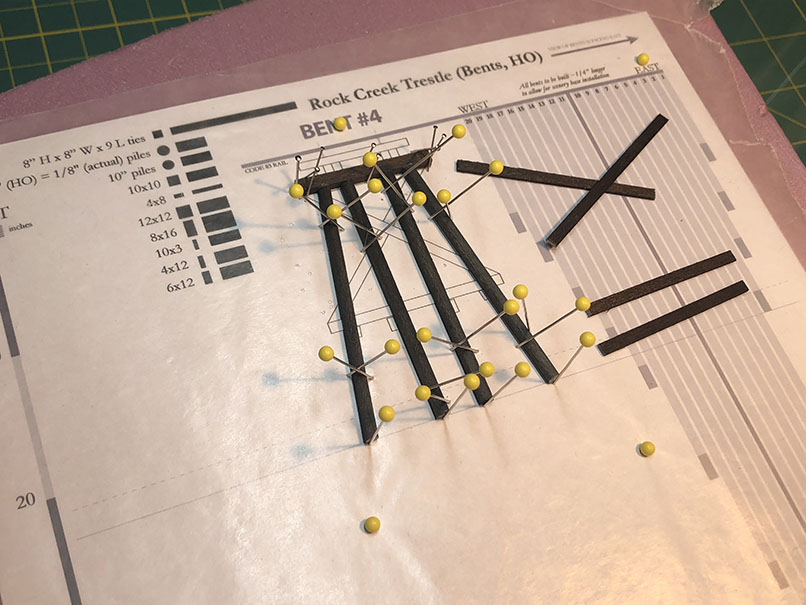
2″ Pink foam, pins and wax paper made bent construction very easy.
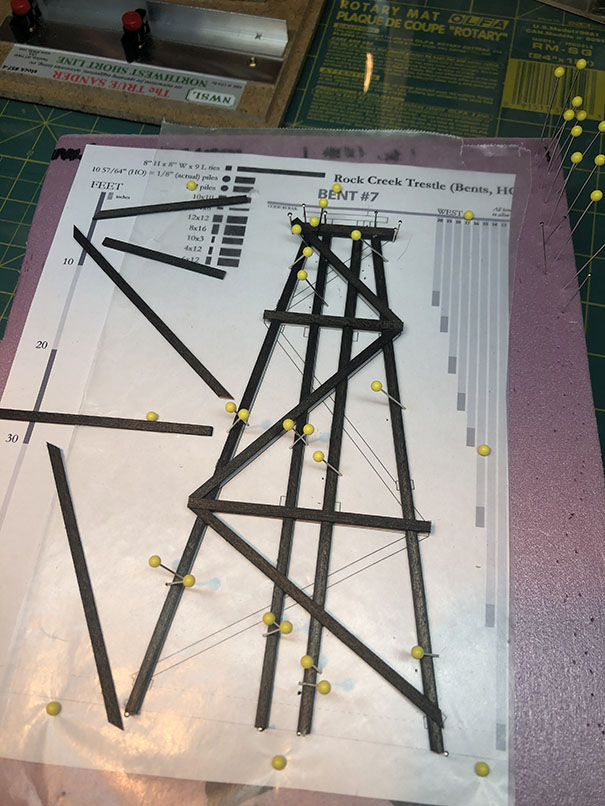
My technique is to trim the 8.5×11″ sheet of paper the plan is printed on to fit on the foam block. Then, place the plan down and a small sheet of wax paper atop it. Use pins to secure to foam. Then I will place my dimensional lumber atop the plan to mark and cut using The Chopper II or a new X-Acto blade. I use the NWSL True Sander to achieve a good angle on the trestle bents. I use white glue (used carpenter’s glue for a while) and pins to hold the pieces in place while they dry.
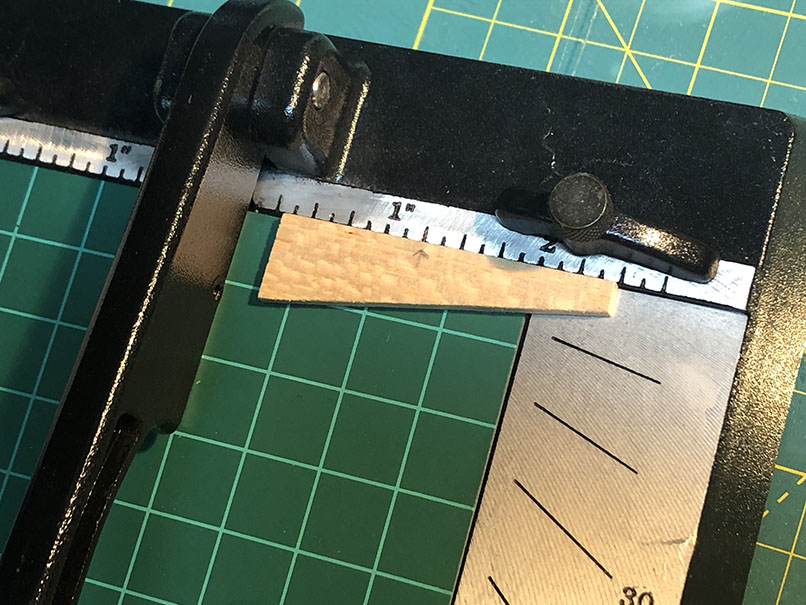
The benefit of using the slabs of pink foam is that I can have 5-6 of them working at once. I start one, glue and pin it up, then set it aside. Prep another bent, glue and pin it, set aside. Rinse and repeat. Once a bent is dry, I flip it over and finish the other side. I made up an angle template for my Chopper to cut bents at a consistent angle. I would then clean them up on the True Sander. These were really coming together nicely.
Balsa angle template for the Chopper.
Cutting lumber.
Pinning and gluing.
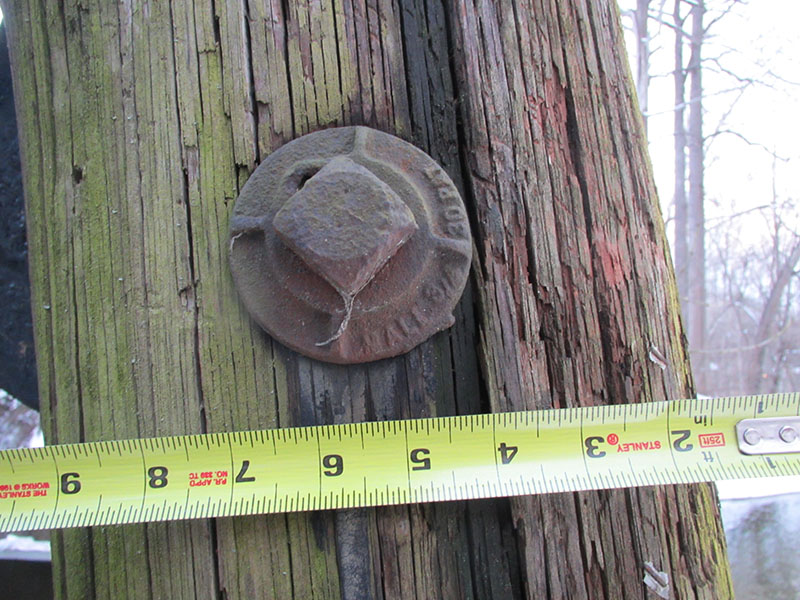
After the bents had dried, I would trim up any angles or edges with an X-Acto blade. The next step is to install the NBW (Nut-Bolt-Washer) castings. I prefer the Tichy 8016 as they are molded in brown plastic and reasonably well resemble the prototype. I also have some of the NWSL 5046 NBW and they are very nice, too. EDITORS NOTE: While writing this, I looked more closely at the image below and realized I should be using the NWSL 5066 (1 1/4″ NUT, 3″ MALLEABLE WASHER .014″), as it is a MUCH better match. I will have to get some of these now.
Photo I took from Jan, 2019 before the trestle had been torn down. This is one of the original bolts and washers.
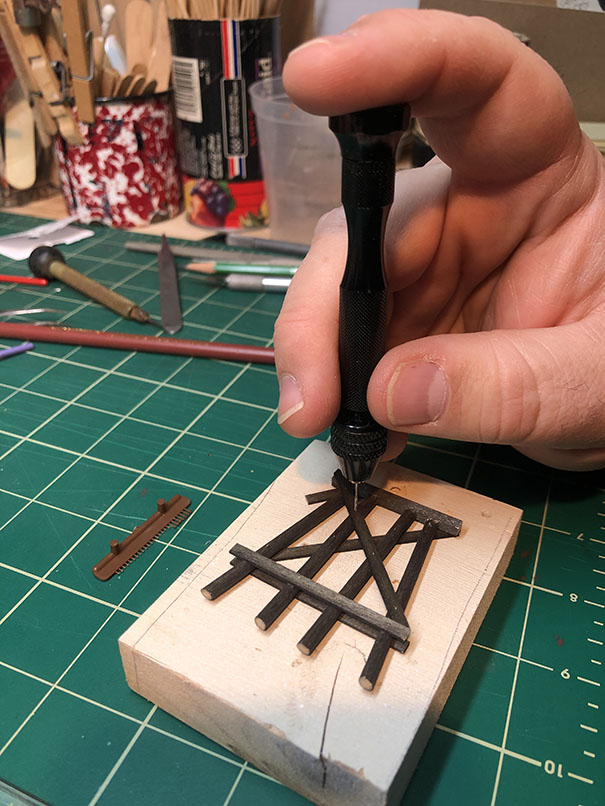
I first painted the tips a rust color, trimmed using sprue cutters and then installed the NBW castings on several bents using a pin vise and a small #76 drill.
Drilling holes for the NBW castings.
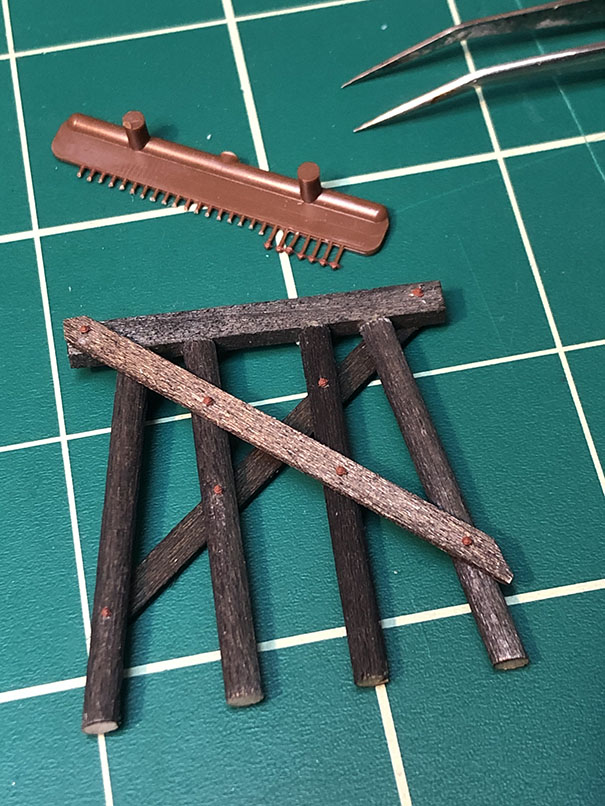
The results were quite nice, but my fingers were starting to get really sore.
A nearly completed bent with NBW castings installed.
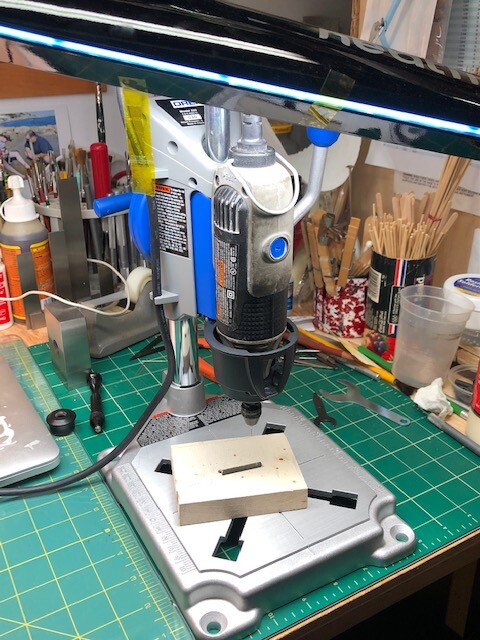
I knew there was a better way. A bit of brainstorming and Googling, I found the Dremel 220-01 Workstation, which is essentially an arbor press for your Dremel multitool. Using the Dremel 4486 Keyless Chuck with my #76 bit, this worked a treat. The Workstation was only $45 at Home Depot, which I think is a bit of a steal considering the excellent functionality of the tool.
The Dremel set up in the Workstation arbor press. After some configuration and adjusting, the press made quick work of drilling holes for all the NBW castings. The block of wood provides a surface that I can safely drill into as well as move the trestle bent around easily and position for drilling. This took a bit of practice to get right. I use a very small pin awl that belonged to my grandfather to “mark” the holes prior to drilling.
After assembling several bents, I decided to change gears and work on another part of the trestle – the deck. I needed a change of scenery. This required clearing down my workbench and developing a new workflow. I knew I wanted to assemble both sides at the same time. This would allow me to have everything aligned and placed on the same level, except for the center deck girder section which I’d have to spike in place later. Once both sides were spiked down, I could flip the whole rail and top deck over and glue the bents in place, upside-down. Again, this would allow everything to be aligned perfectly on the same plane. At least, this is the plan. I used an old shelf that I had in storage in the garage as a base. The shelf is straight and level and when I need to move it off my workbench I can do so easily.
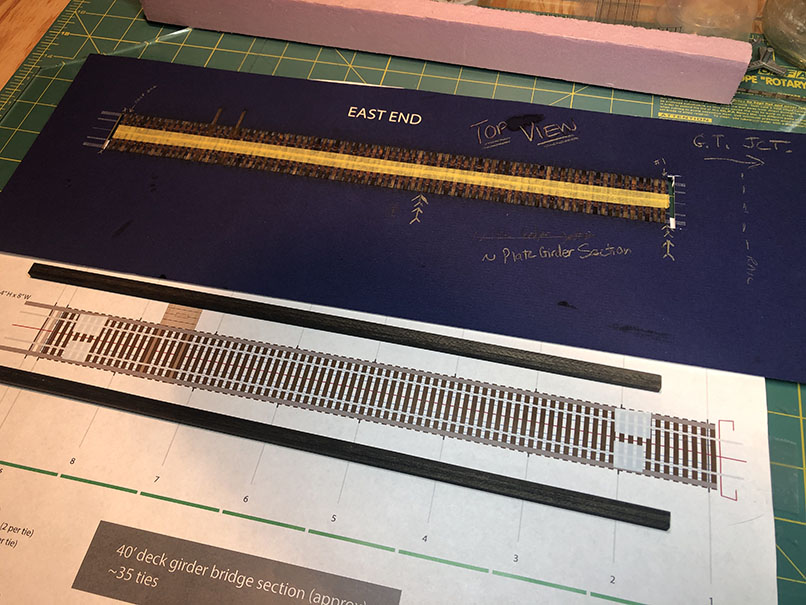
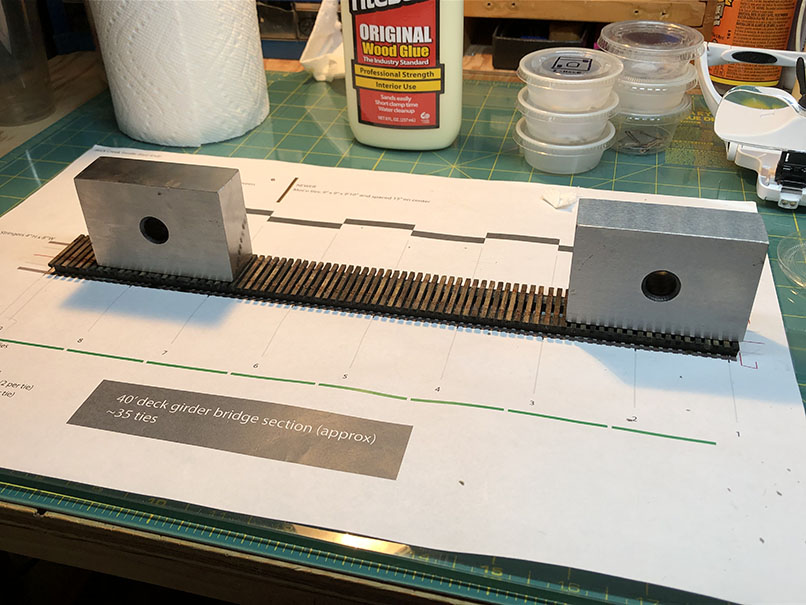
I first used a straight edge to align and then tape down the plans on the board, side by side. I then used used some double-sided tape (which I had removed some of the tackiness from by touching my fingers to both sides) placed on the plans to secure the laminated stringers to the plans. (I previously laminated four sets of three 8″ x 16″ (HO scale) cut to length using a straight edge on a sheet of glass)
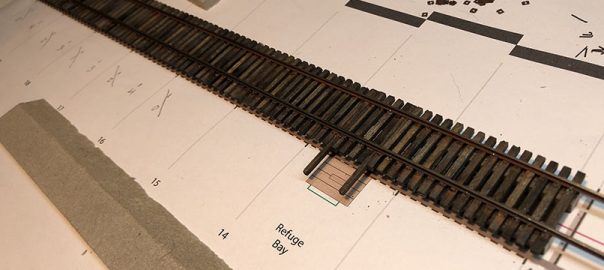
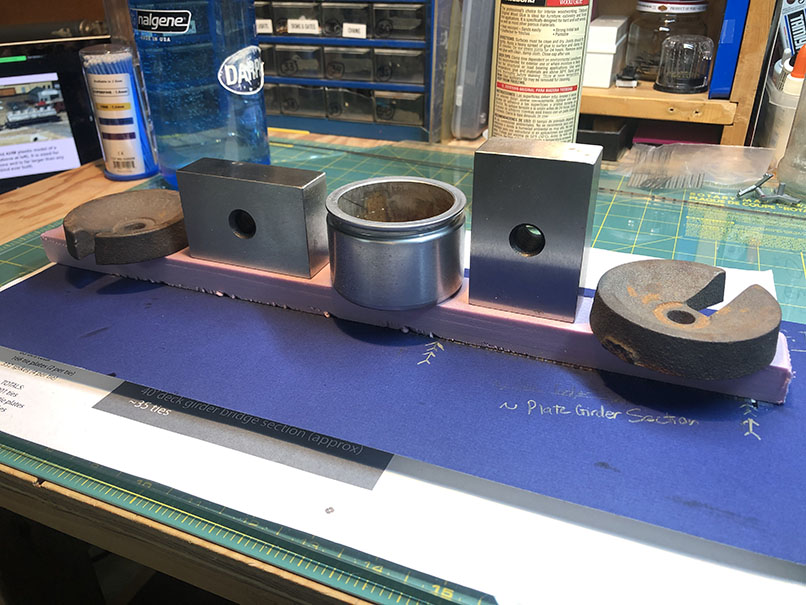
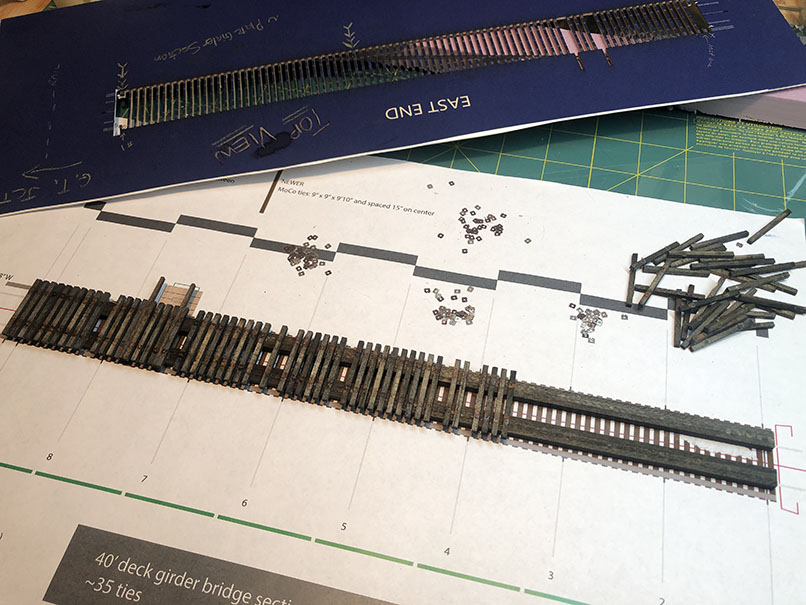
As you may recall, I had previously installed the ties into the laser-cut mat board jigs I made and installed Proto:87 tie plates. My plan was to put some glue on the bottom of the ties and then carefully place the jig/ties onto the stringers, weigh them down, and then once dry, lift the jig off of the glued-down ties.
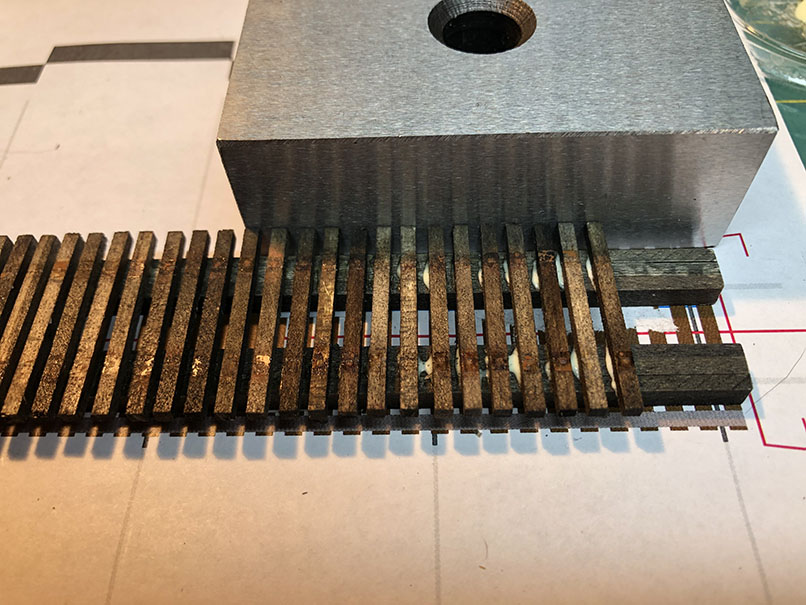
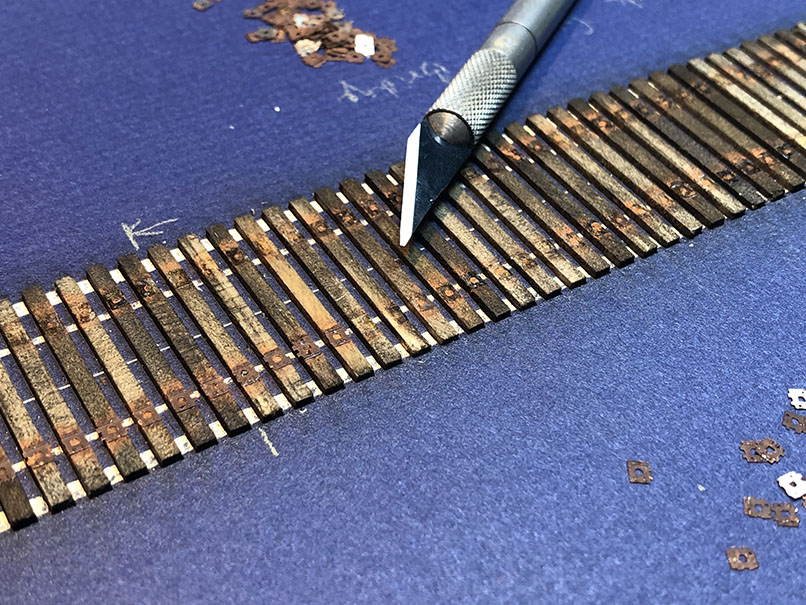
Well, this very much did not go as planned and resulted in the first big “disaster” of this project for me. When I began to remove the jig, ever-so-carefully, it began to “flake off” the scale tie plates and about 1/3 of the ties with it. Apparently the glue did not quite reach between the ties and the stringers (not enough) and the tie plates, well that was a mistake to begin with. They were never really aligned correctly and I should have never put them on first. In hindsight, this was a mistake. So now I had a mess to clean up.
First, I picked off all of the old tie plates from the ties, sorted and stored them. I then removed any other loose ties. Next, I re-glued any of the wayward ties back in place, using my plans as a guide.
Gluing the ties
Aligning the ties
Weight while glue dries
Picking off the previously installed Proto:87 tie plates
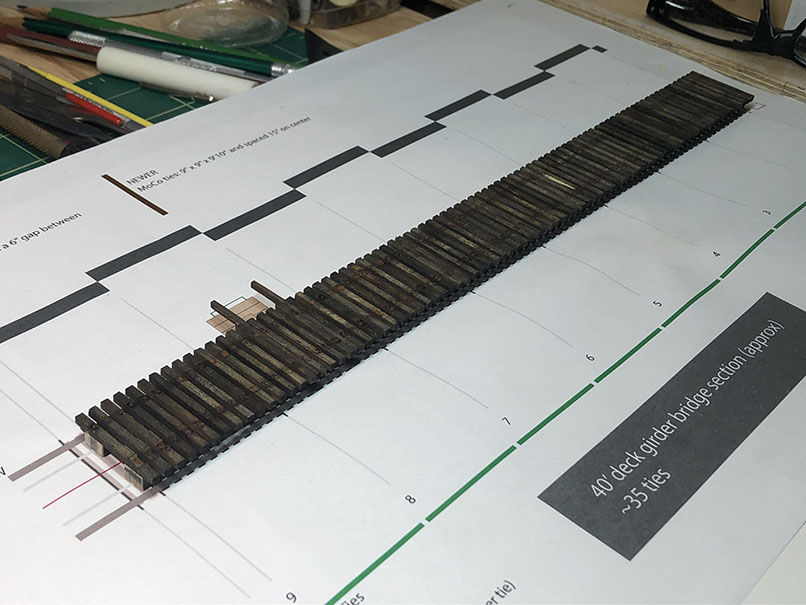
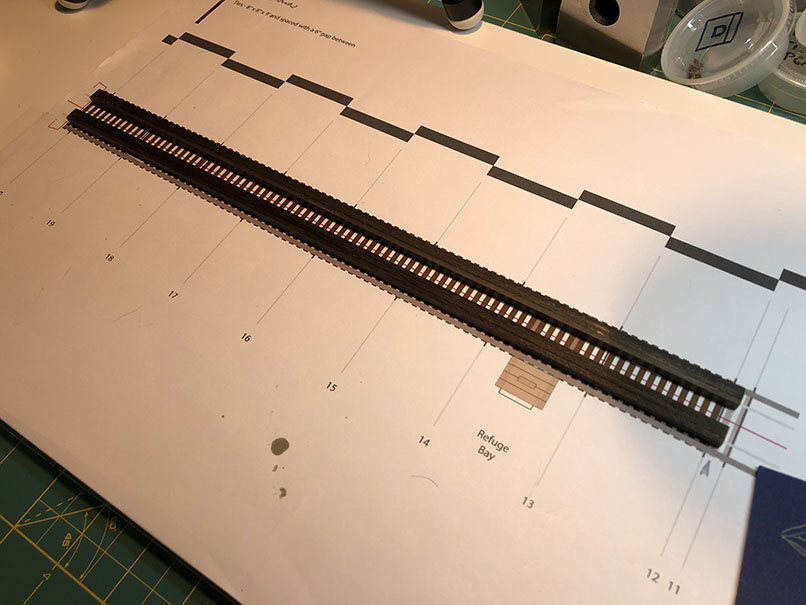
Finished gluing ties to stringers.
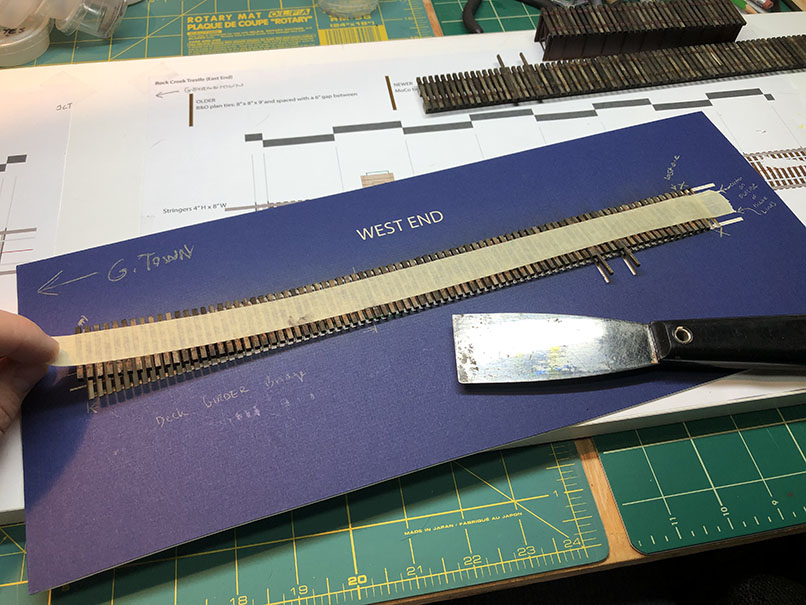
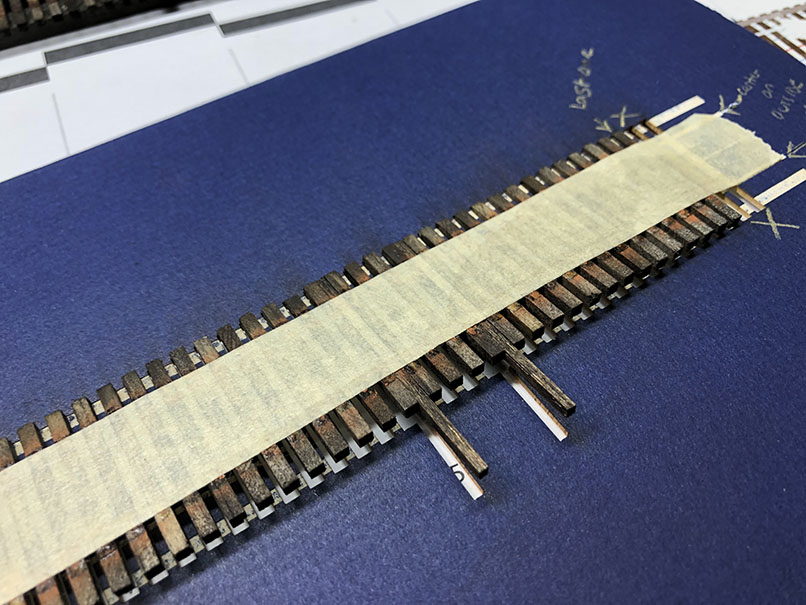
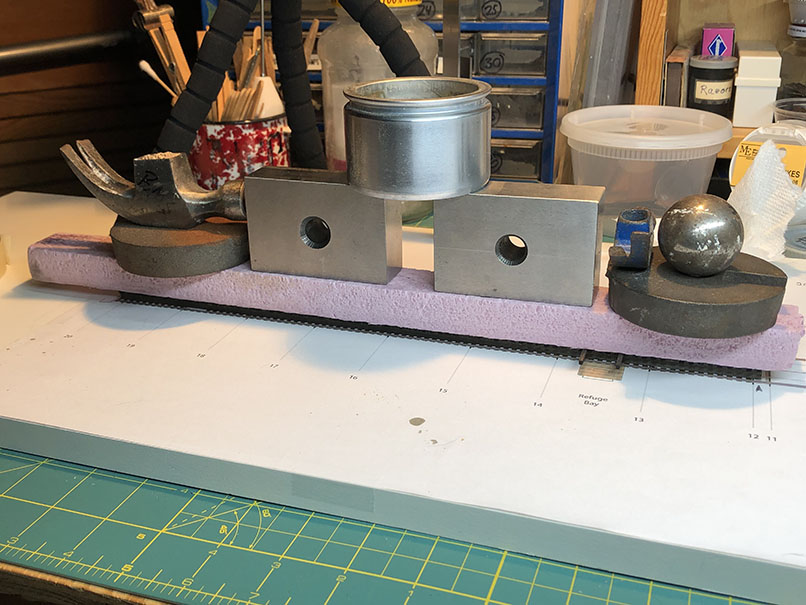
For the other side, I decide to be a bit smarter on the approach. I laid a strip of masking tape atop the ties in the jig and carefully, using a putty knife, pried the ties slowly out of the jig. This worked well. Once they were removed, I laid glue on the ties and placed them atop the stringers where I aligned them using the plans. I placed a piece of extruded foam and some weights atop the assembly to dry overnight. This worked well.
Prying up the ties
Nearly done
Stringers laid down on the plans
Ties glued and placed on plans with weight
Time to dry overnight.
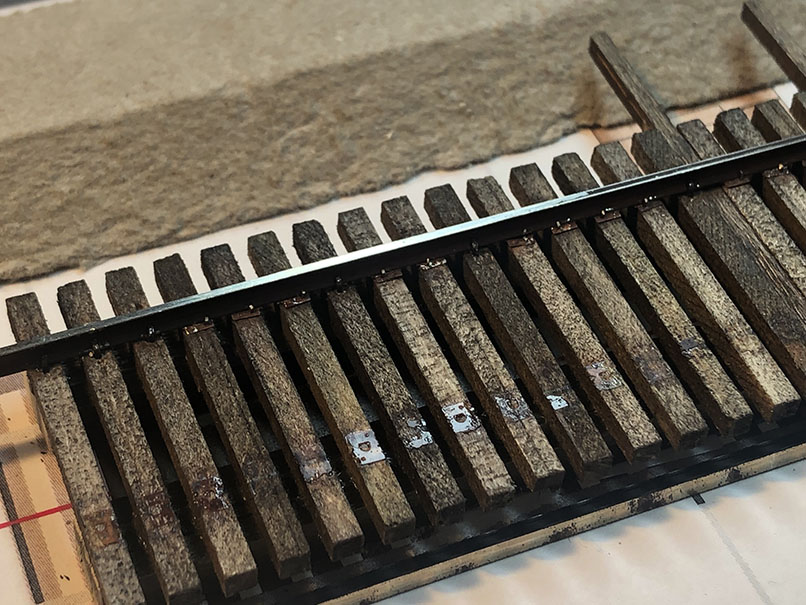
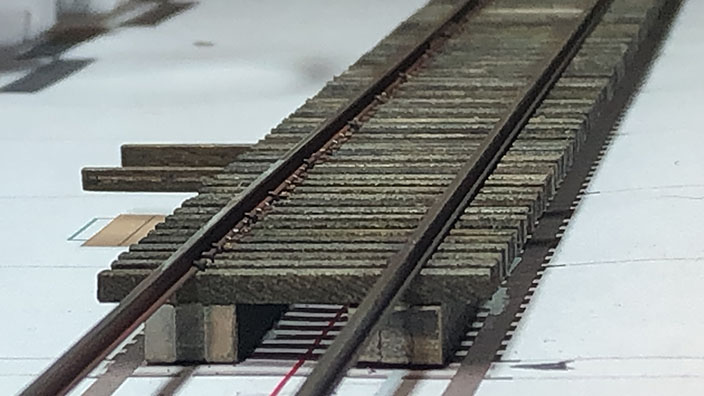
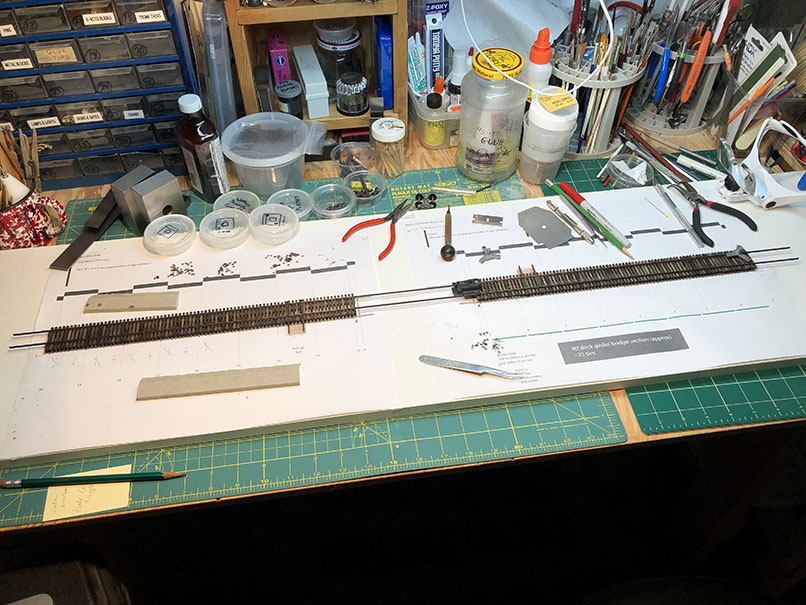
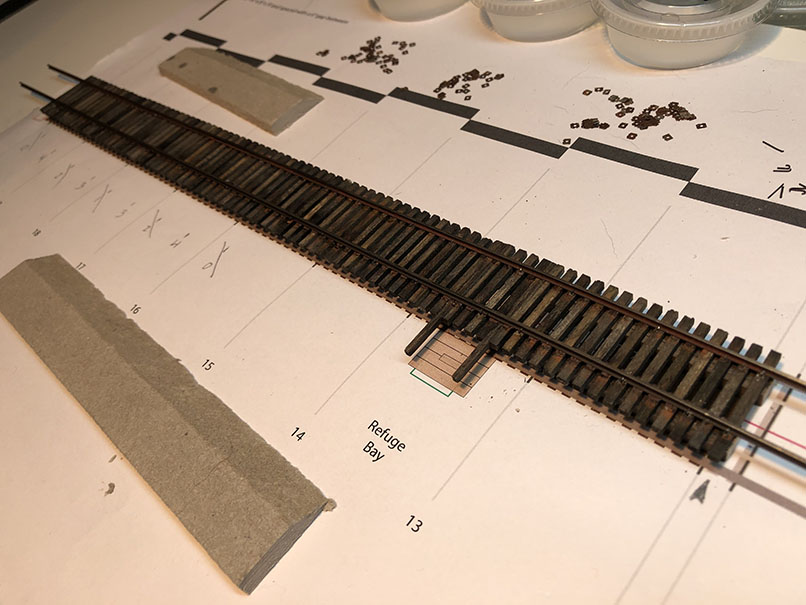
Over the last few weeks (catching up to today) I have been working on installing the rails. I chose to use Micro Engineering’s 30-108 Micro Spikes and the Proto:87 tie plates. I am generally spiking the rails about every five ties, and the ties that have no spikes will get the tie plates. This is an incredibly tedious process but the end result will be some nicely detailed track. I experimented with installing the Proto:87 spikes, but decided I didn’t have the patience to go through with spiking all the tie plates so that’s where I’ll be drawing the line. Here are some photos of this process:
And so here is a photo from today:
I’ve got three of the four rows of spikes done. The bottom right is the one I’m working on now. Once this is completed, I will set it aside and continue working on the trestle bents. Once they are done, they can begin to be installed. My aim is to have this completed by the end of the Summer, so hopefully you’ll be seeing an update sooner!
If you’ve got any questions or comments about the project, would love to hear them!