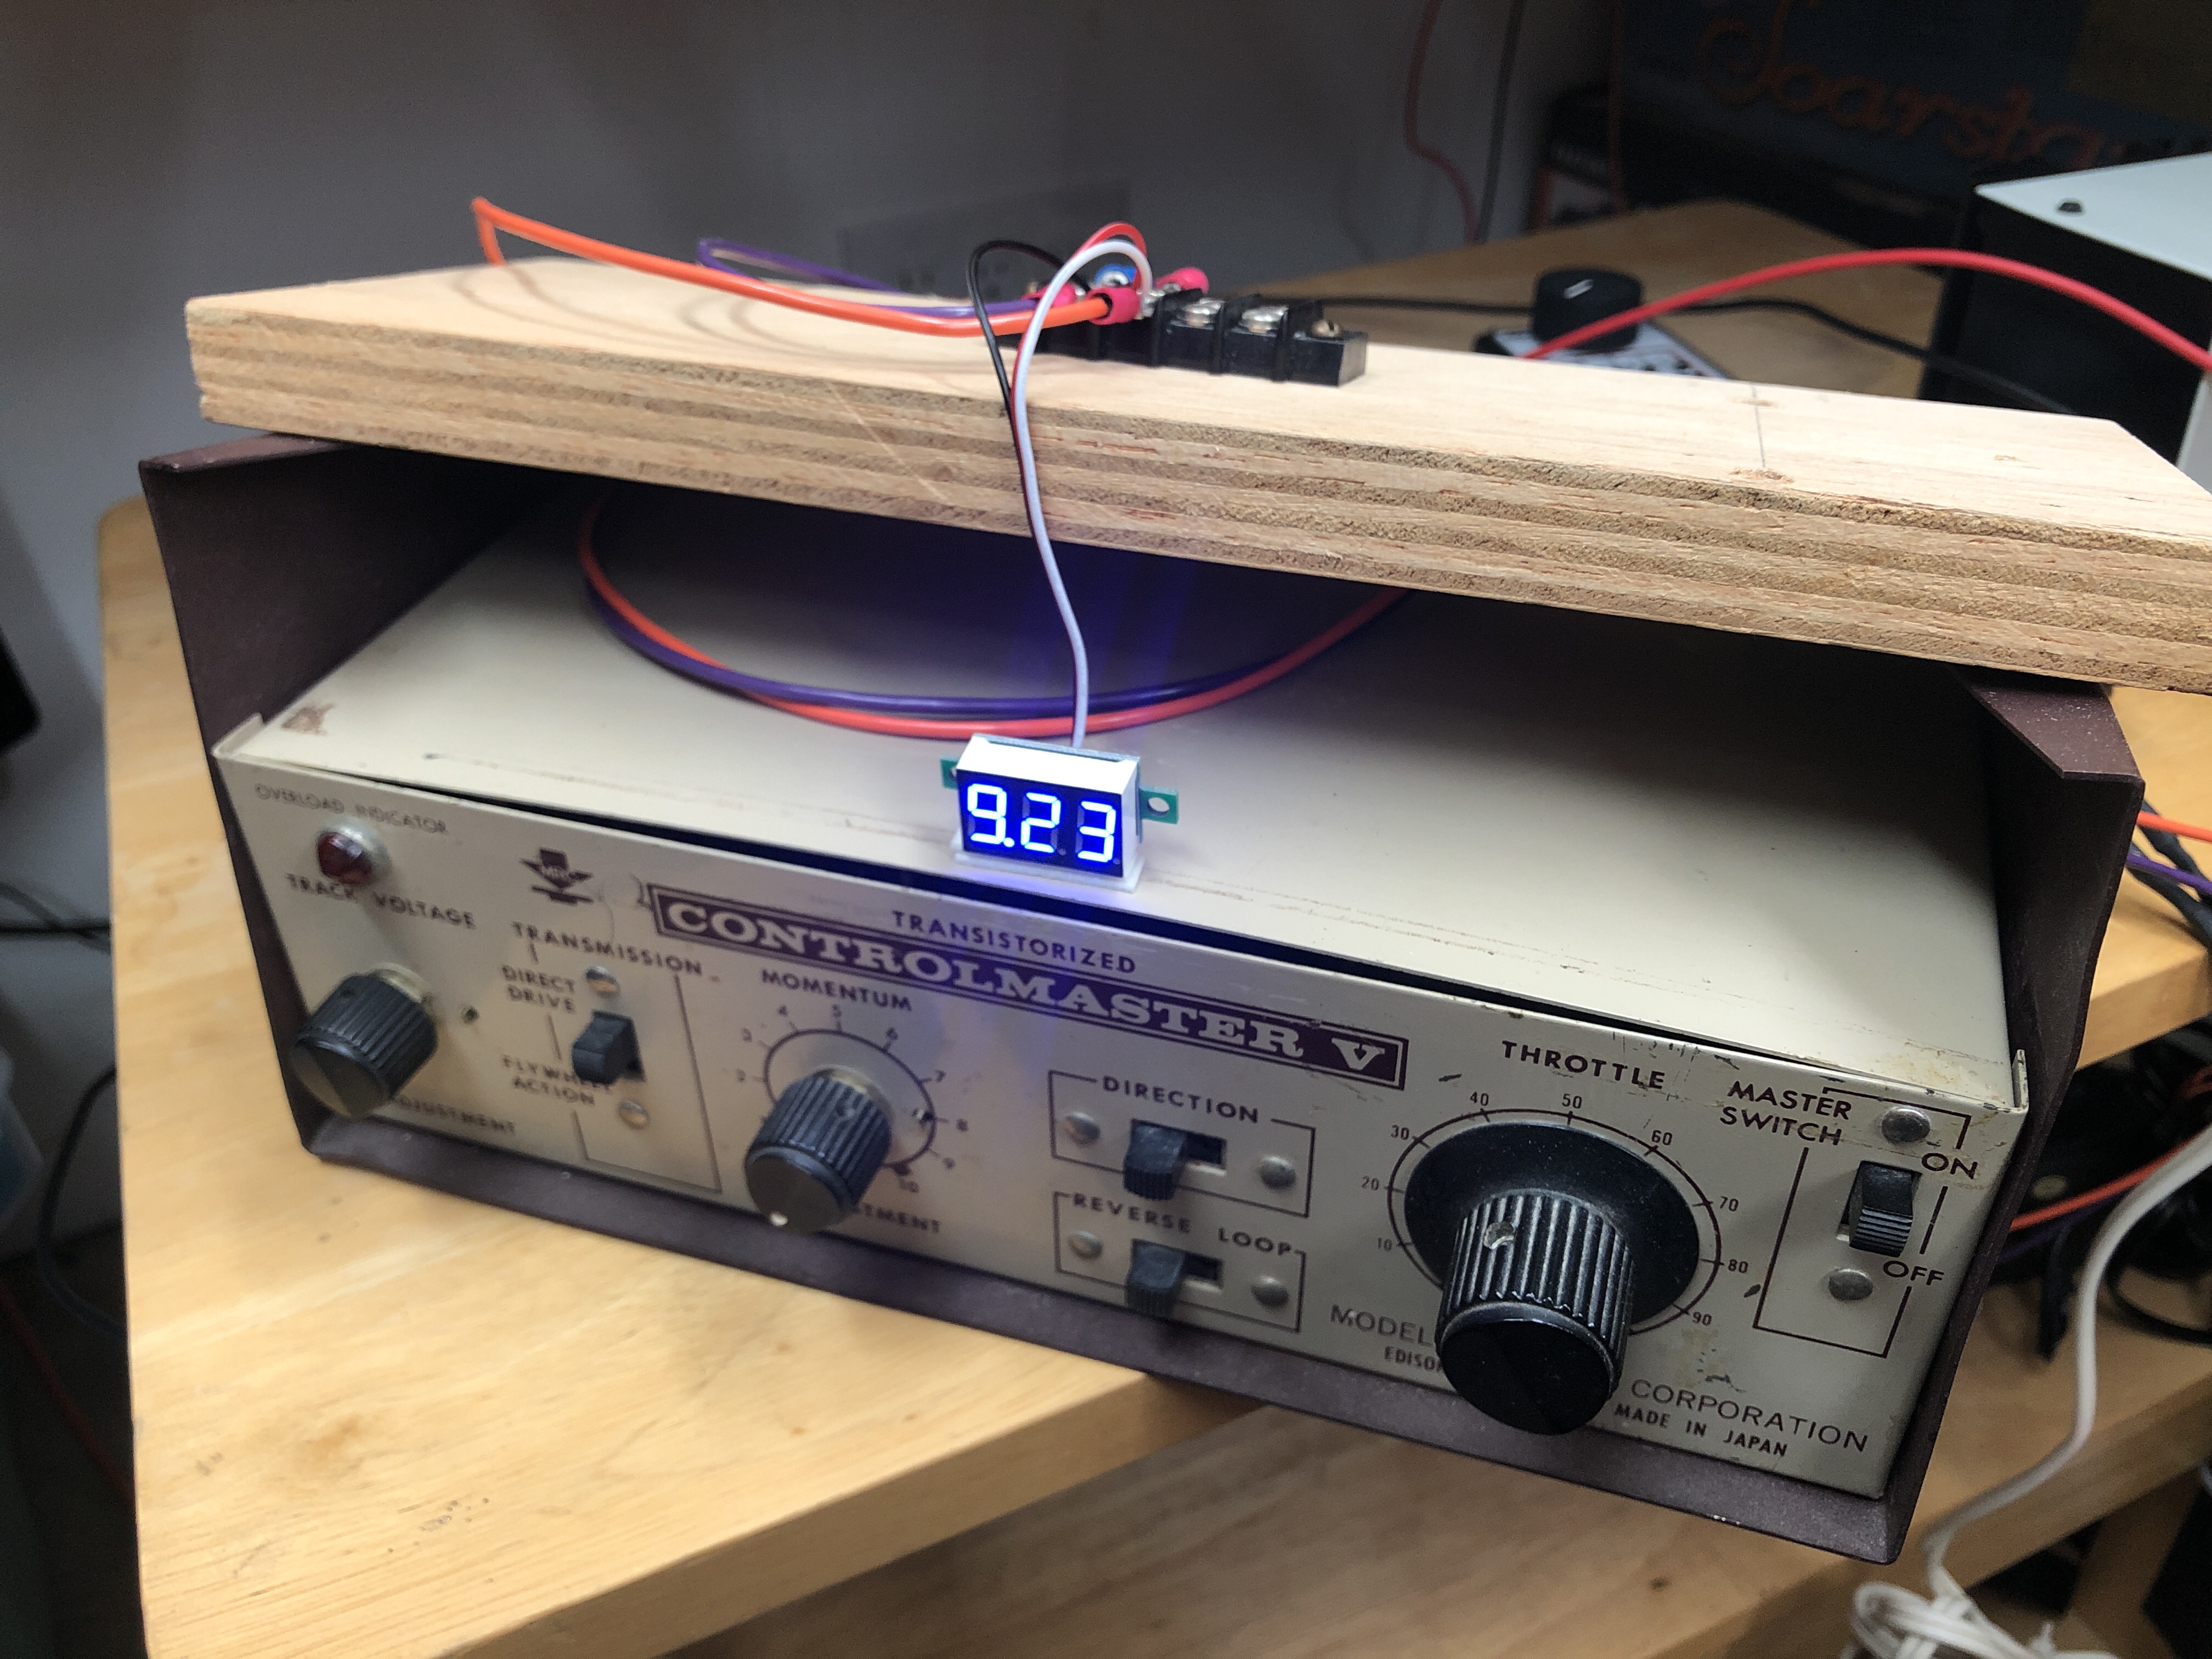
Picked up a five pack of these tiny DC voltmeters to track voltage on my accessory bus running switch machines and lights. It’s a nice blue color and is working well so far.
Picked up a five pack of these tiny DC voltmeters to track voltage on my accessory bus running switch machines and lights. It’s a nice blue color and is working well so far.
I have spent a good amount of time over the last week working on some new and some old projects. I made another revision to the Rock Creek Trestle plans after discovering a new photo showing how the top of the bents appeared. I adjusted one of the beams and shortened the ties, as I realized I used the wrong length in my plans. That is all corrected. I also stained all of the new wood I received a few days ago and have that drying.
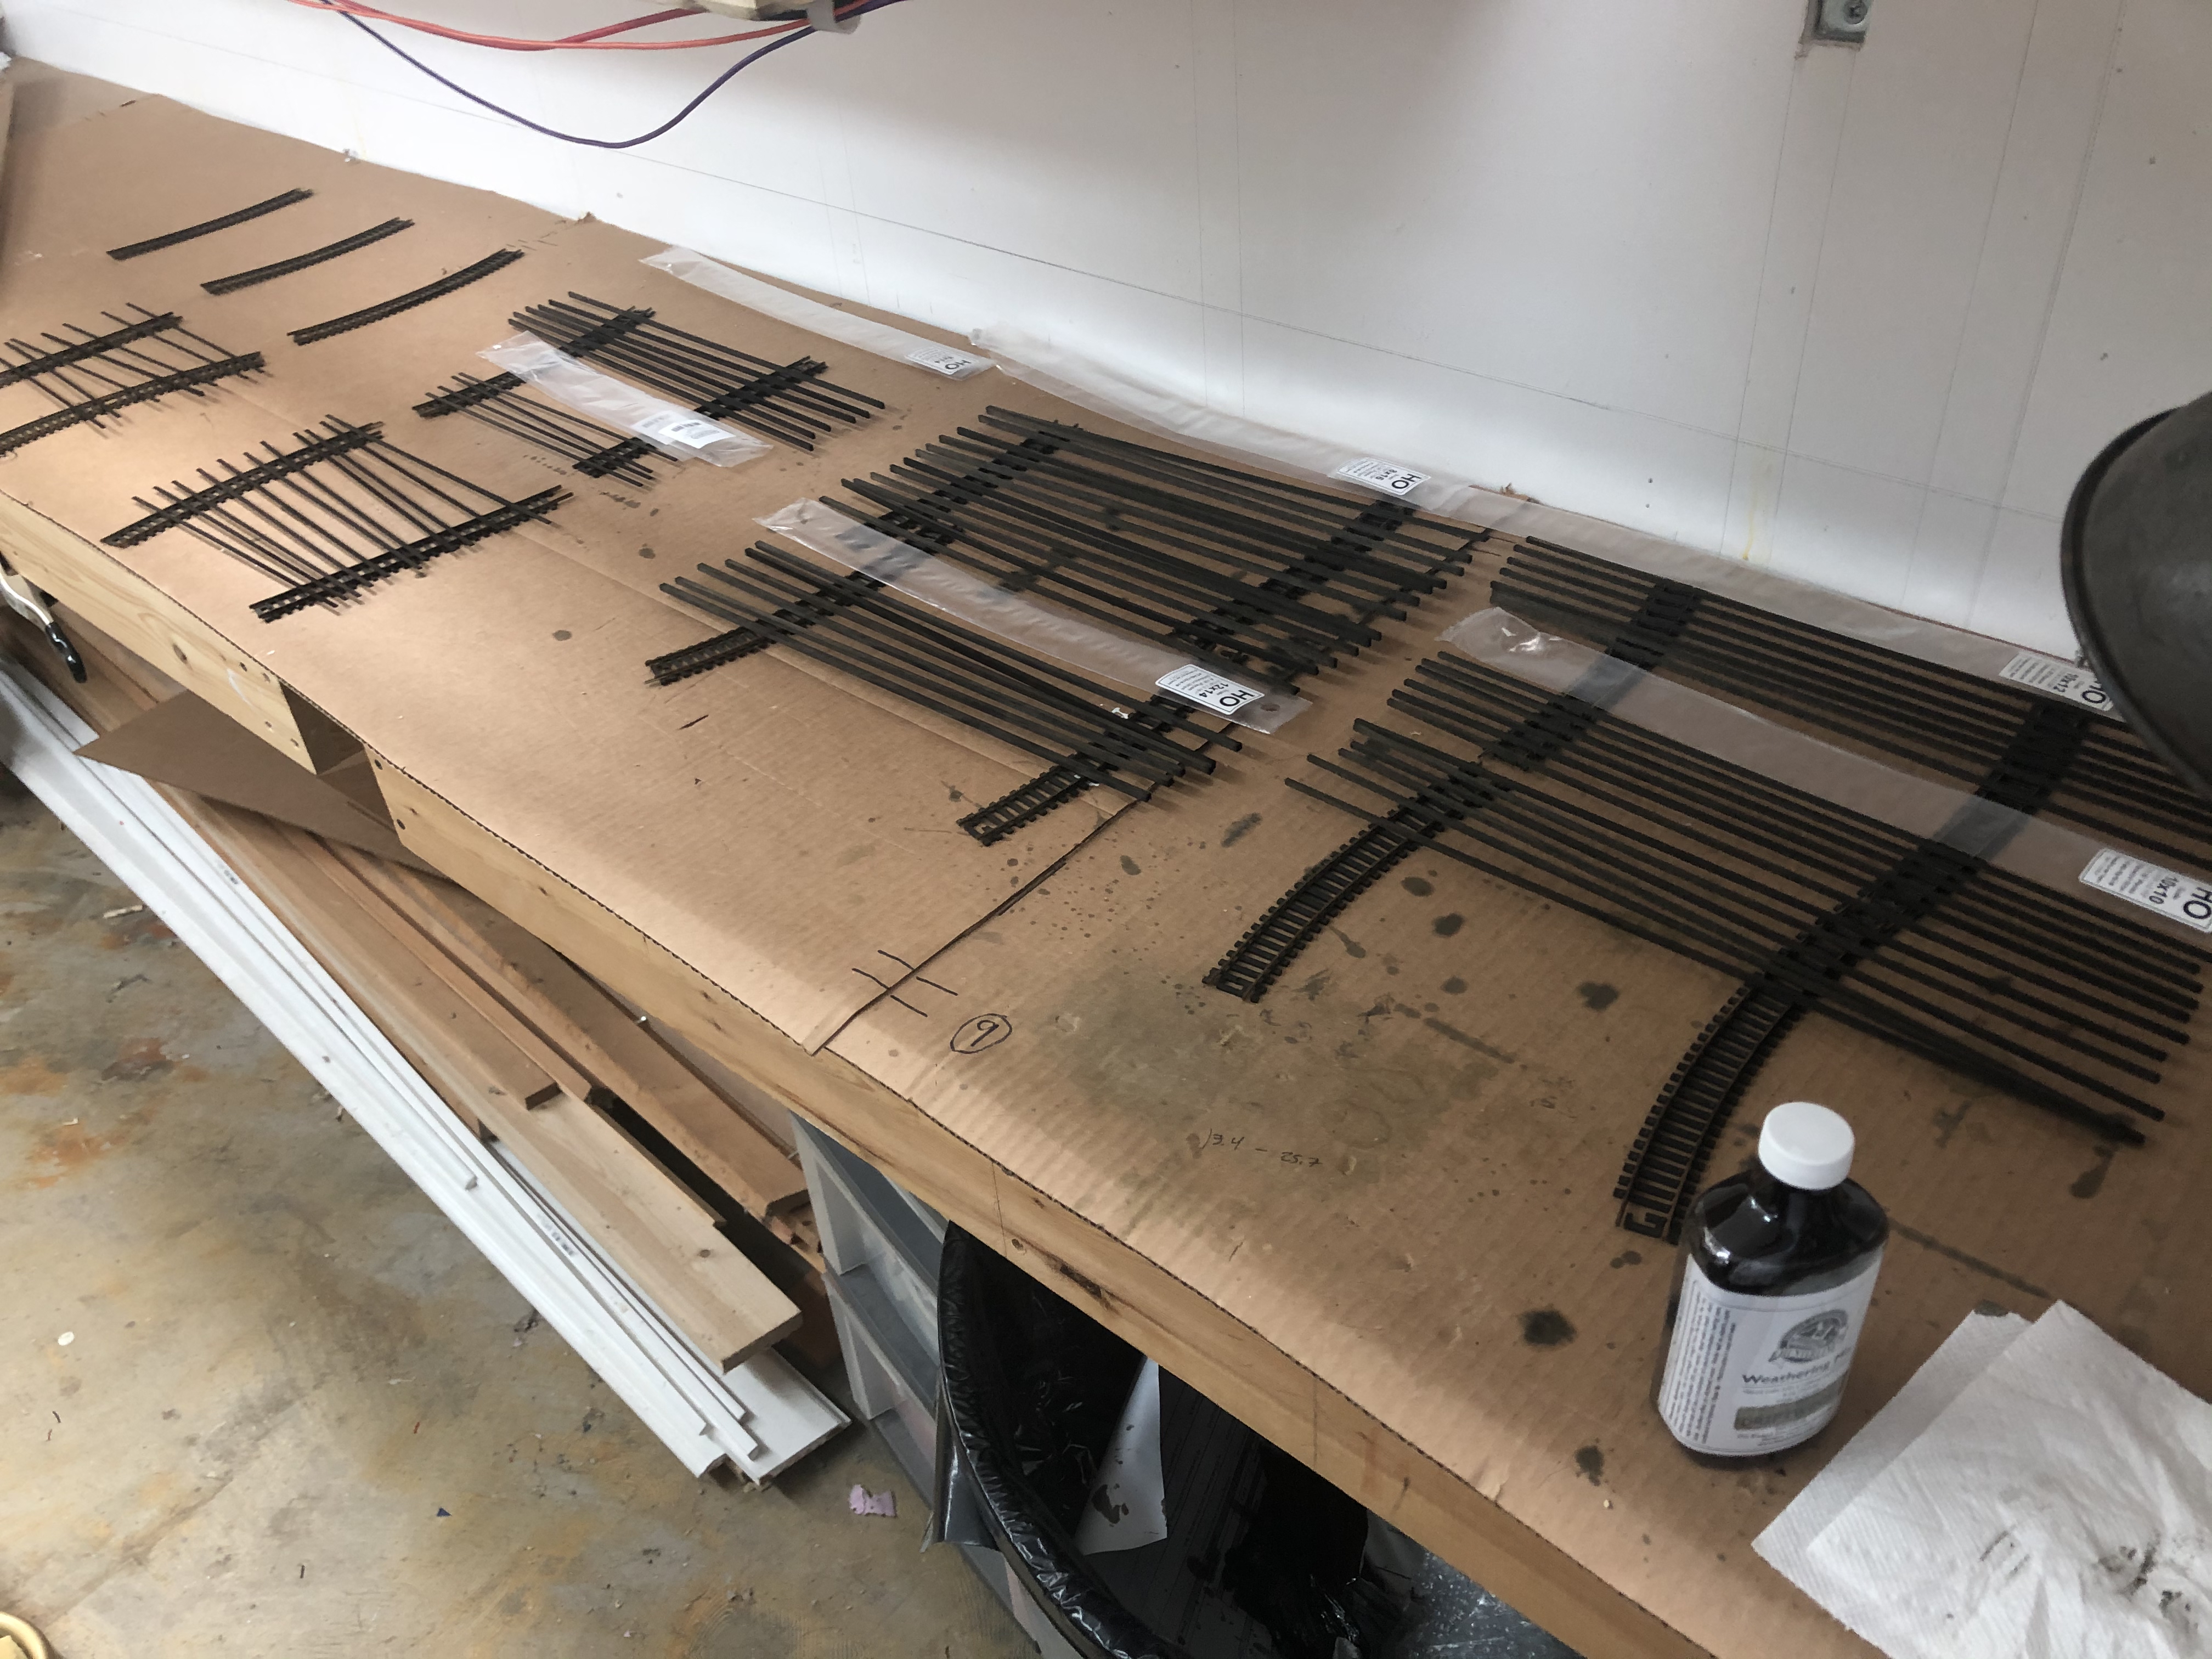
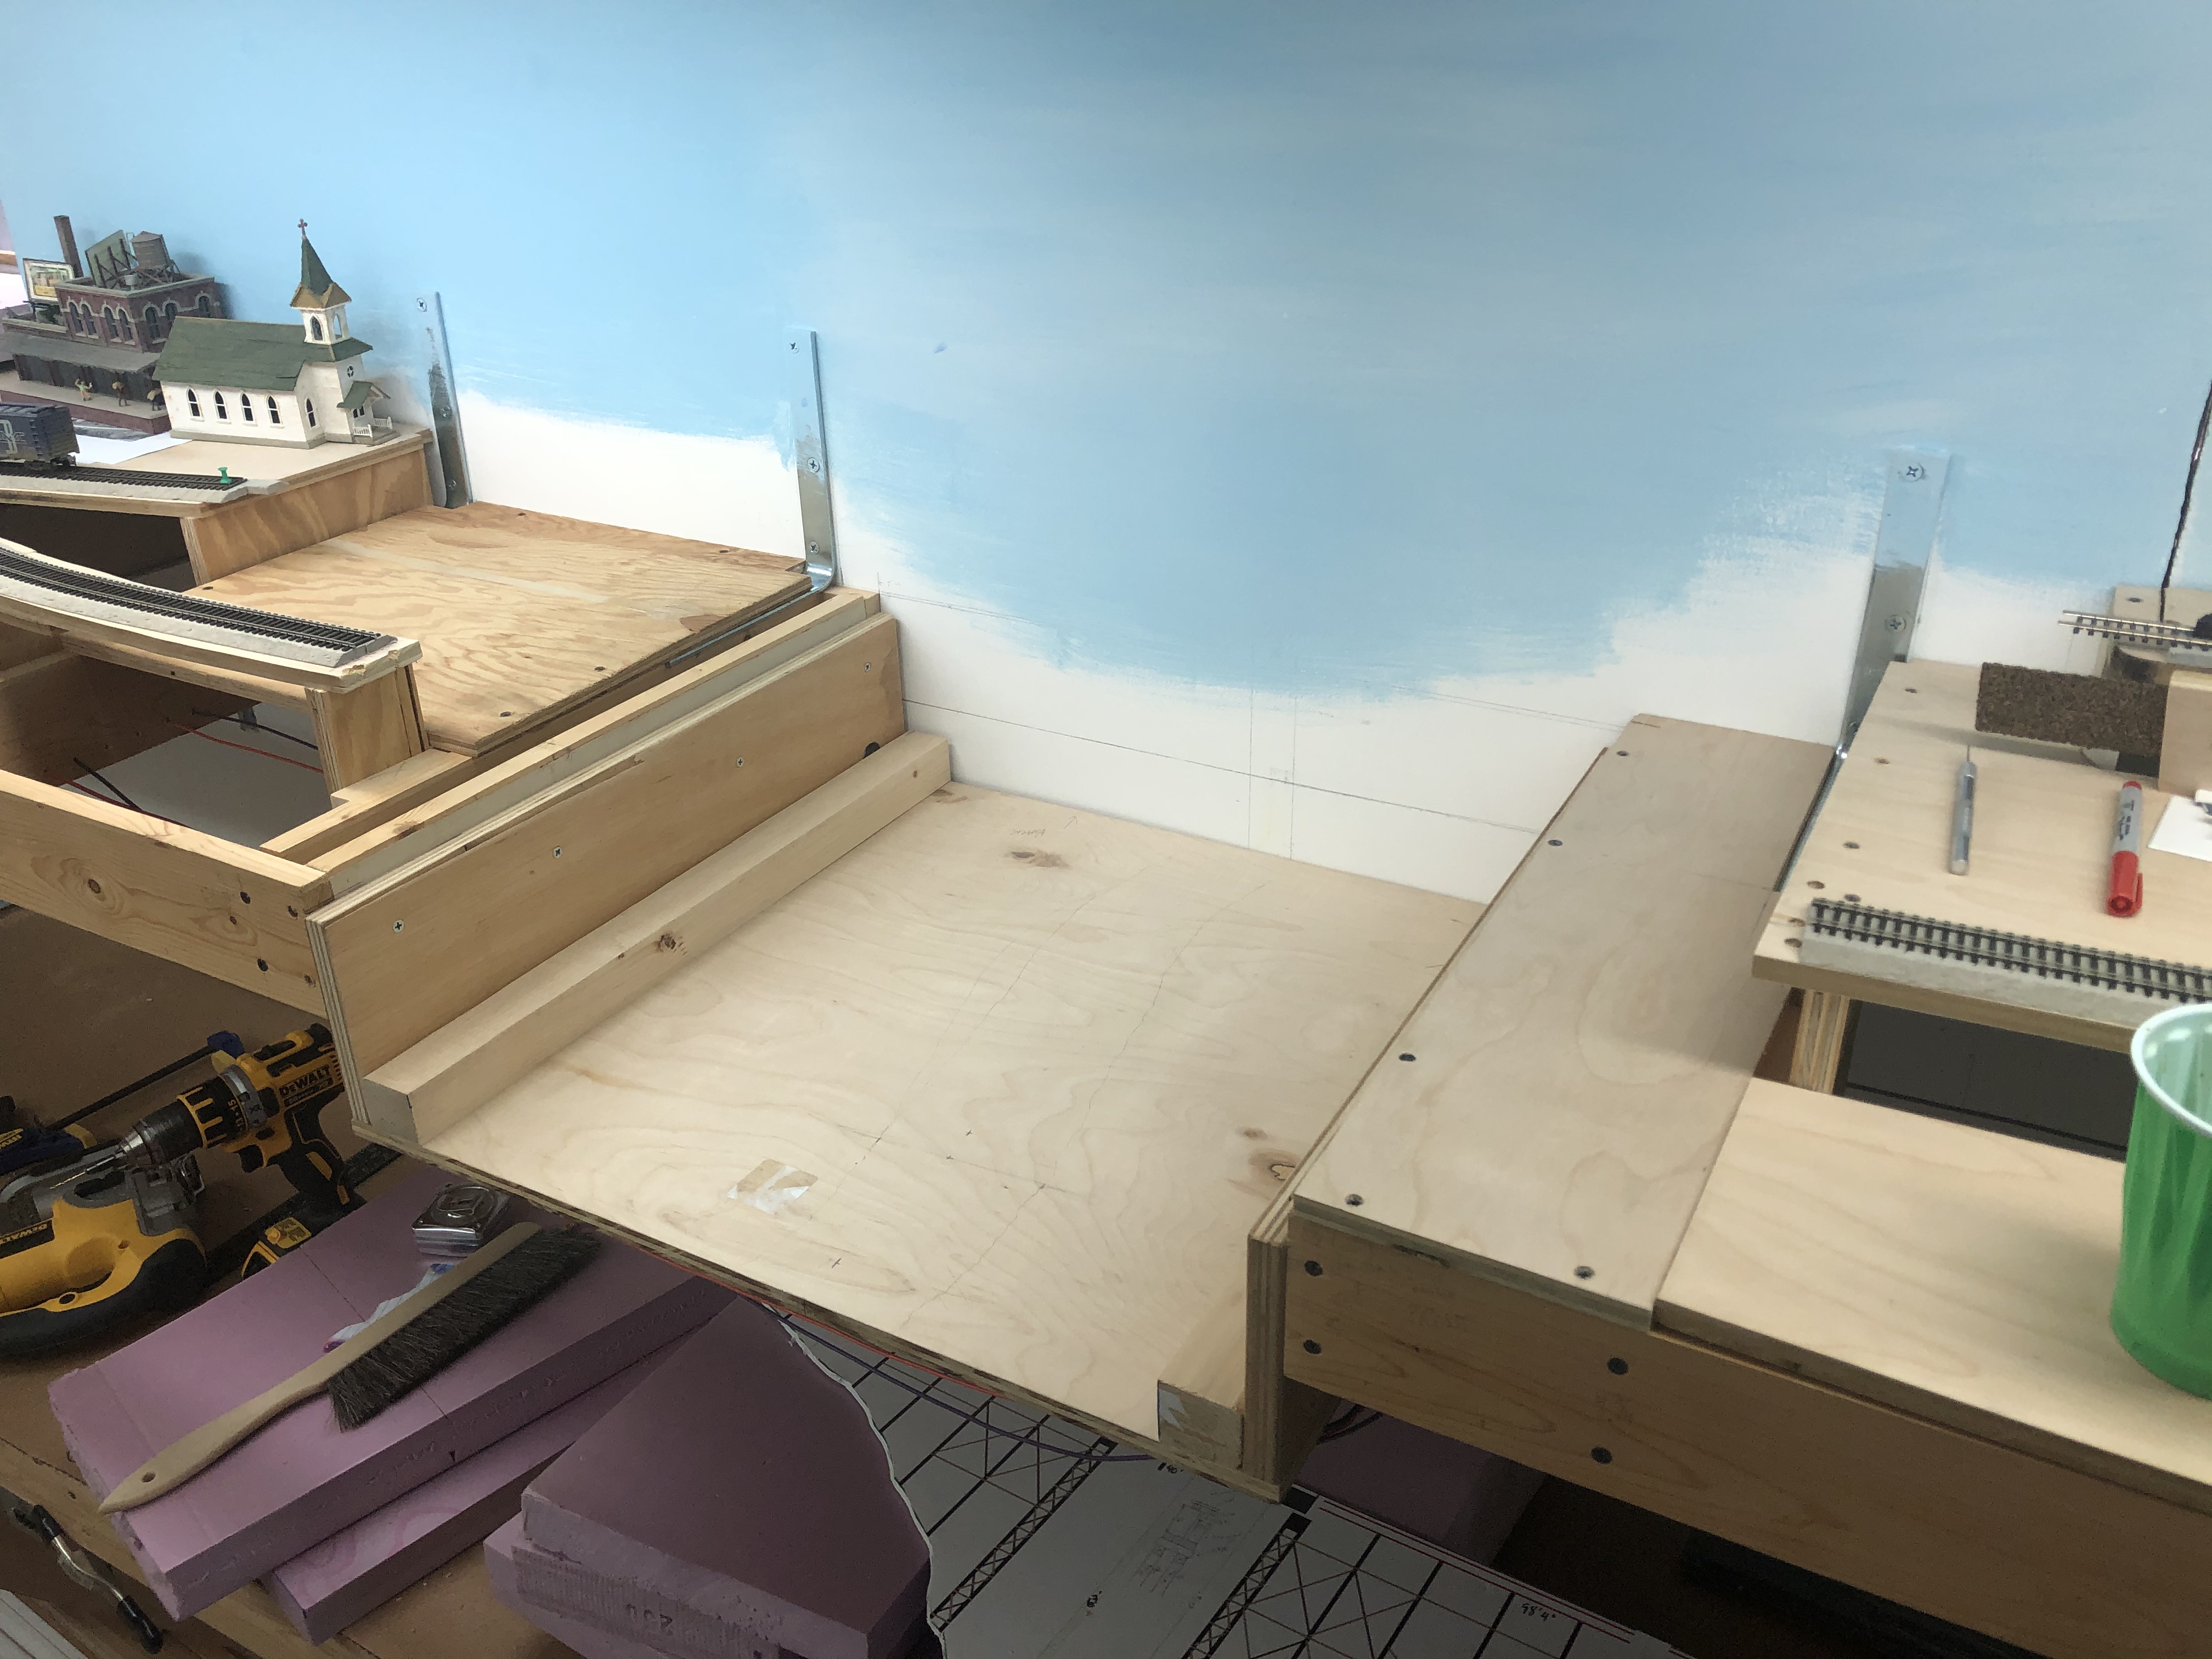
The biggest change to the layout is the removal of the temporary bridge across Rock Creek in preparation for scenery construction as I begin building the trestle. I also installed two plywood panels below what will be T.W. Perry (on the left) and some scenery support on the right.
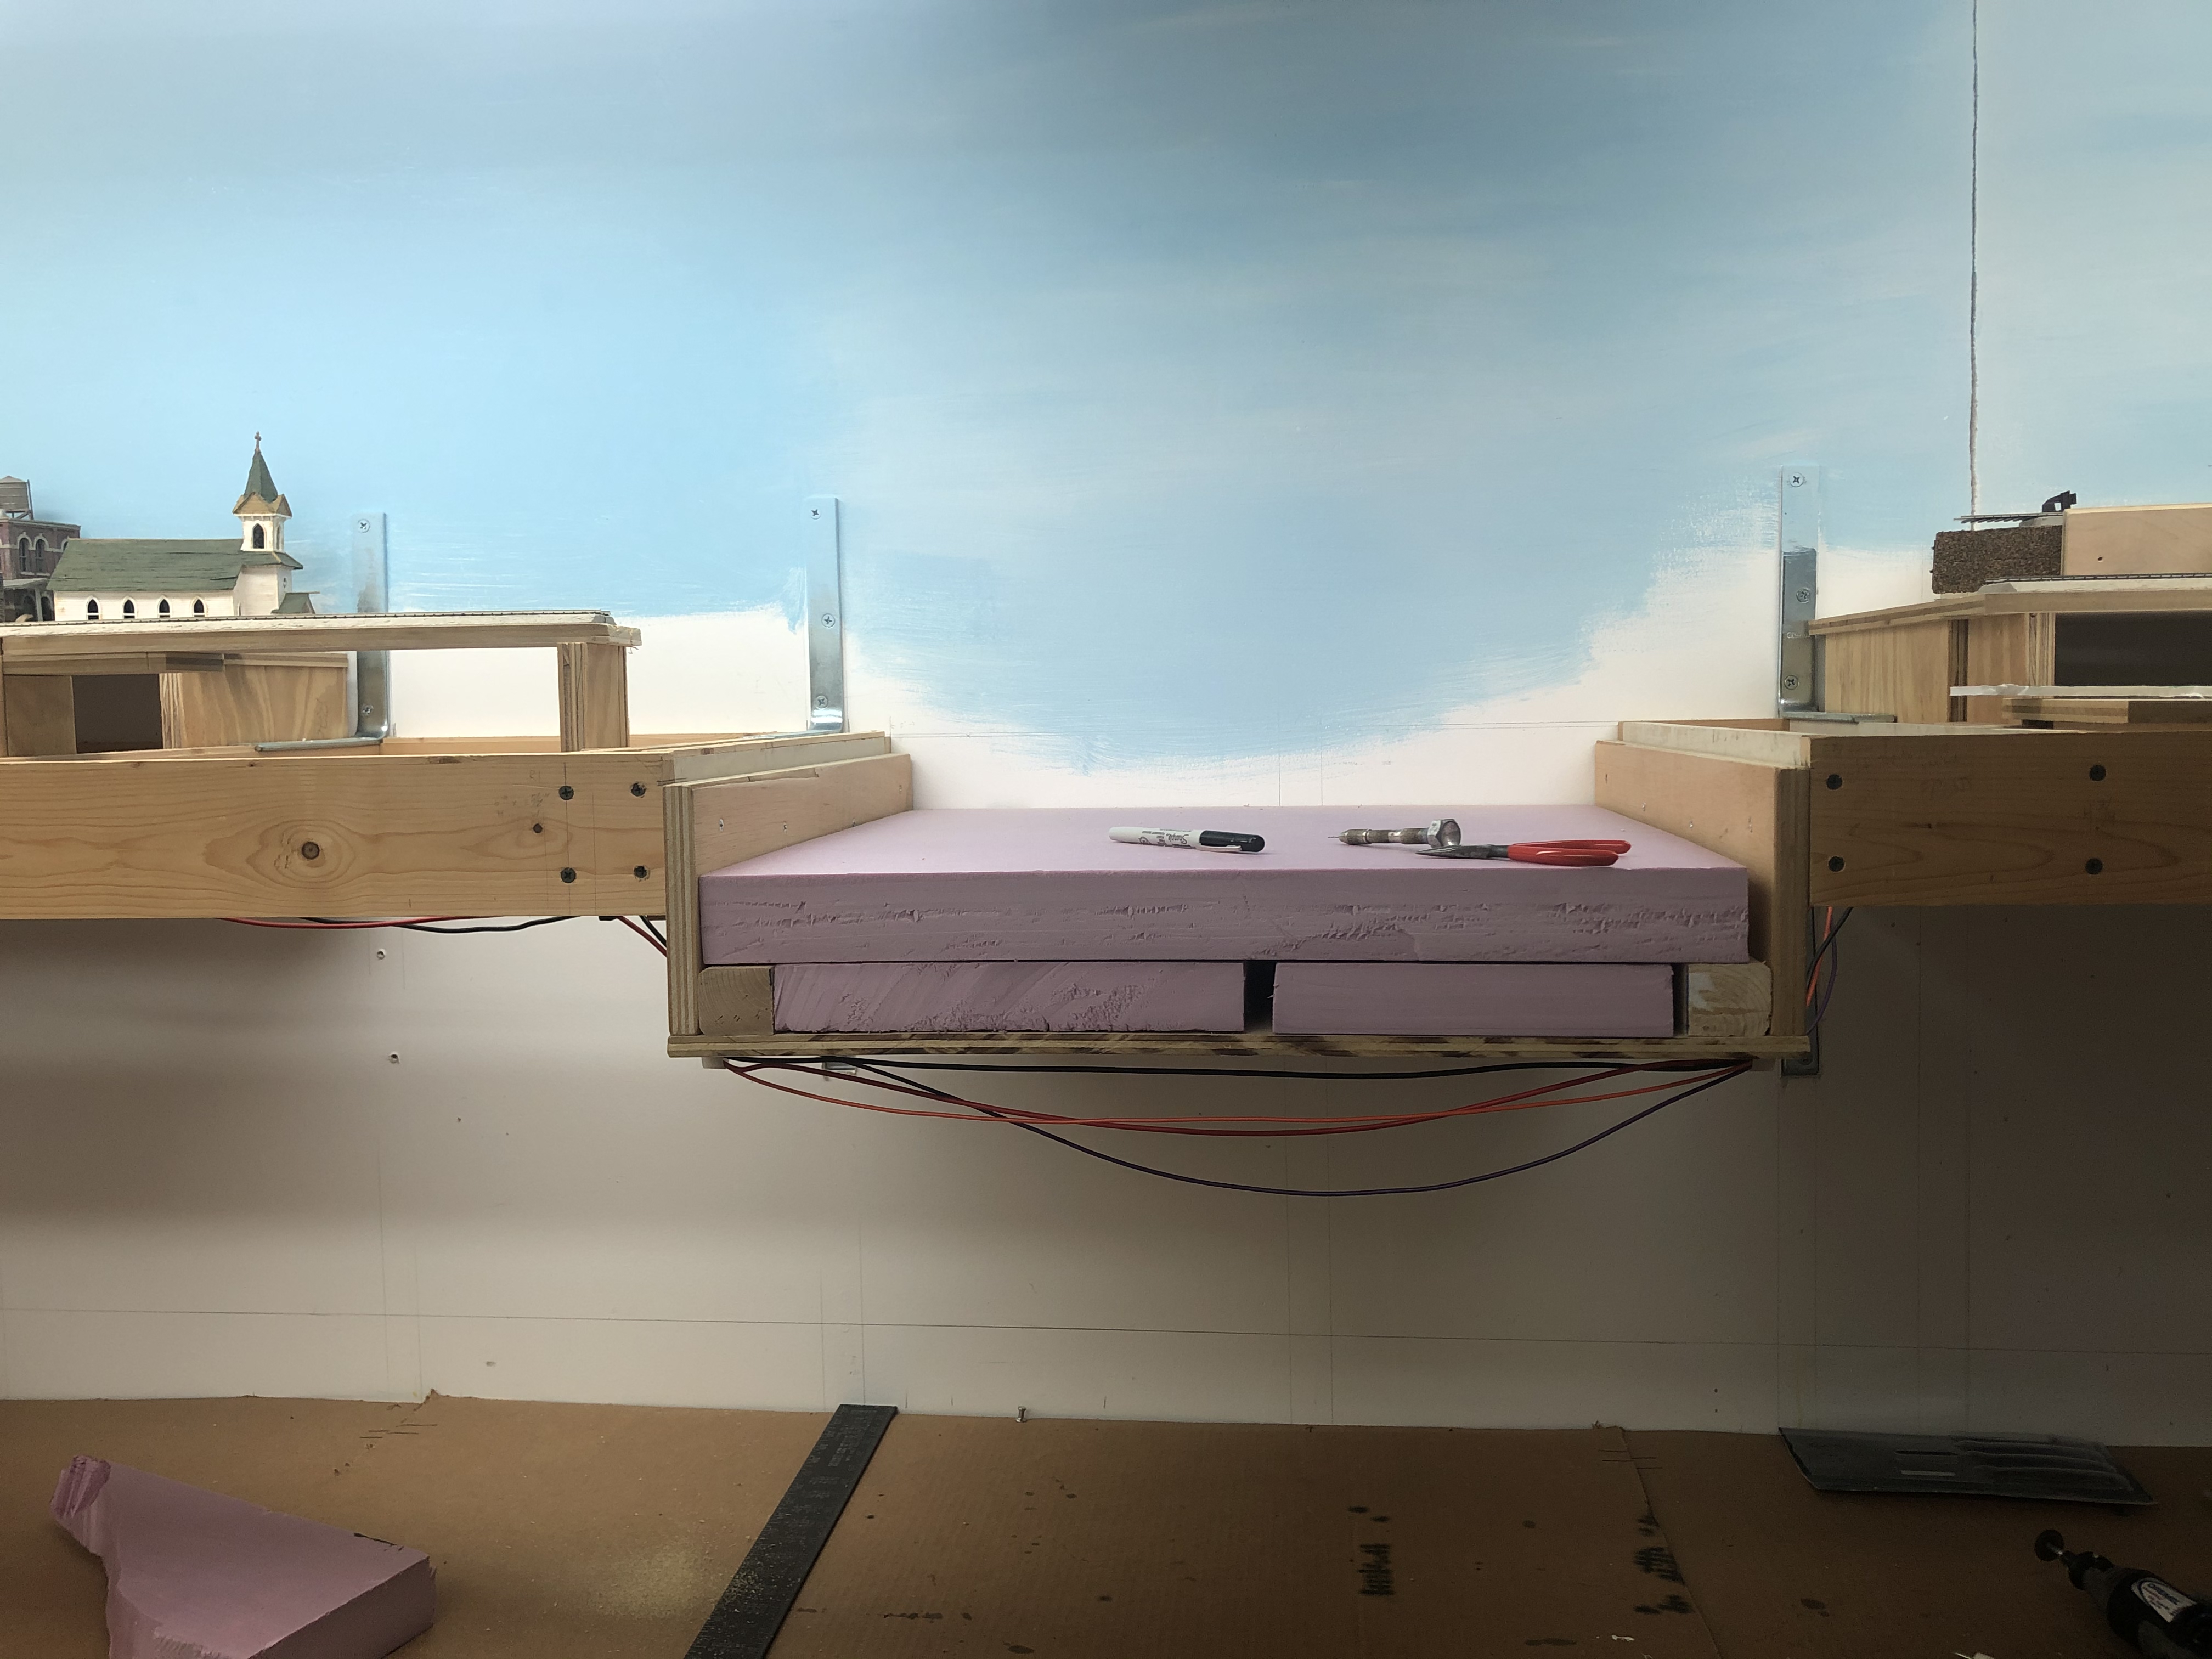
Installation of the trestle has been a real conundrum for me. If it was a frame structure, or made of iron, it would be a lot easier. I could build the scenery, carve away some plaster, install some “concrete” bases for the bents of the trestle and let it sit in place. Adjusting the height of the footers would be pretty straightforward. But this is a pile trestle, meaning that the round piles were driven into the ground. There is no “base.” The base is dirt. How do I install the trestle into the ground with the hope that some day I could remove it from the layout and preserve it? I have settled on building “steps” made of high density expanded foam board cut to specific thicknesses for the trestle bents to rest on. This will all be glued together and will be about as wide as the trestle and will span the gap of the layout. Once I build this base, I can carefully build up the scenery around it. I will use Howard Zane’s method of rosin paper and white glue with cardboard strip supports and then Sculptamold and plaster on top. If I need to remove the trestle, I can trim the hard shell and extract it. I experimented with foam for the base, but decided against it as I don’t have a good way to cut it and maintain a strict landscape profile that I want.

Remember those MRServo units I mentioned in the last update? Well I kinda went down the rabbit hole on those, too. I purchased eight of the now-discontinued MRServo-1 units. I believe they started using the board from the MR-Servo-2 and -3 units for the -1 toward the end, because that’s what I have. In reading documentation for these units, I learned that all they are missing are a couple of relays and terminals to convert them to MRServo-3 units. So after quite a bit of hunting and comparing specs and photos, I dug up the correct relays and terminals and ordered a handful from eBay. Will attempt to convert them later this Spring when the parts come in. The conversion will add power routing for turnouts and power routing for accessories.
I spent some time talking to Greg C. about structures in Bethesda. I want to model a few key structures and Greg is an expert in structure building. He has been helping me push through the mind block that is planning what to model and how to do it. Right now, I am studying photos and mocking things up to start to get proportions and ideas.
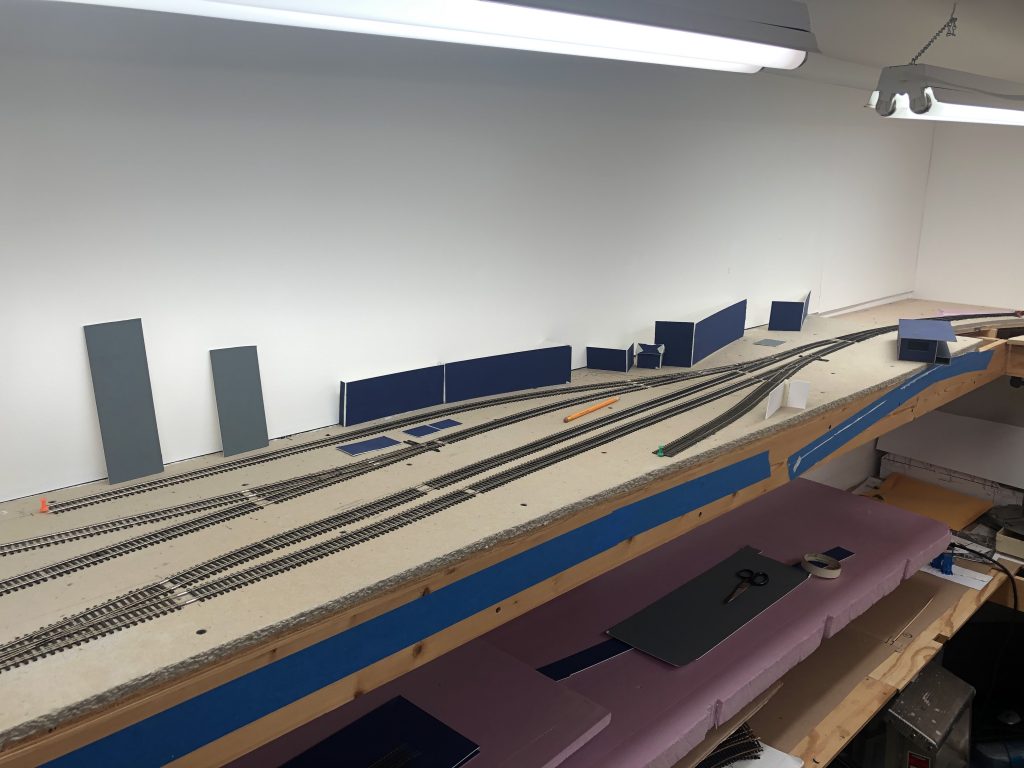
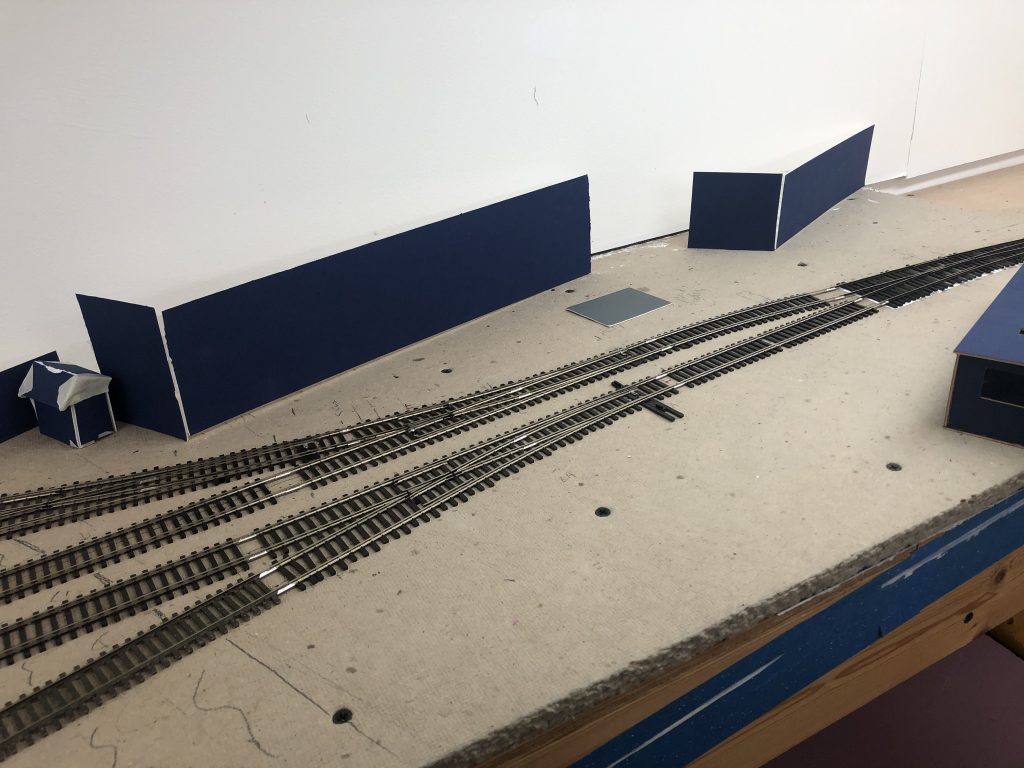
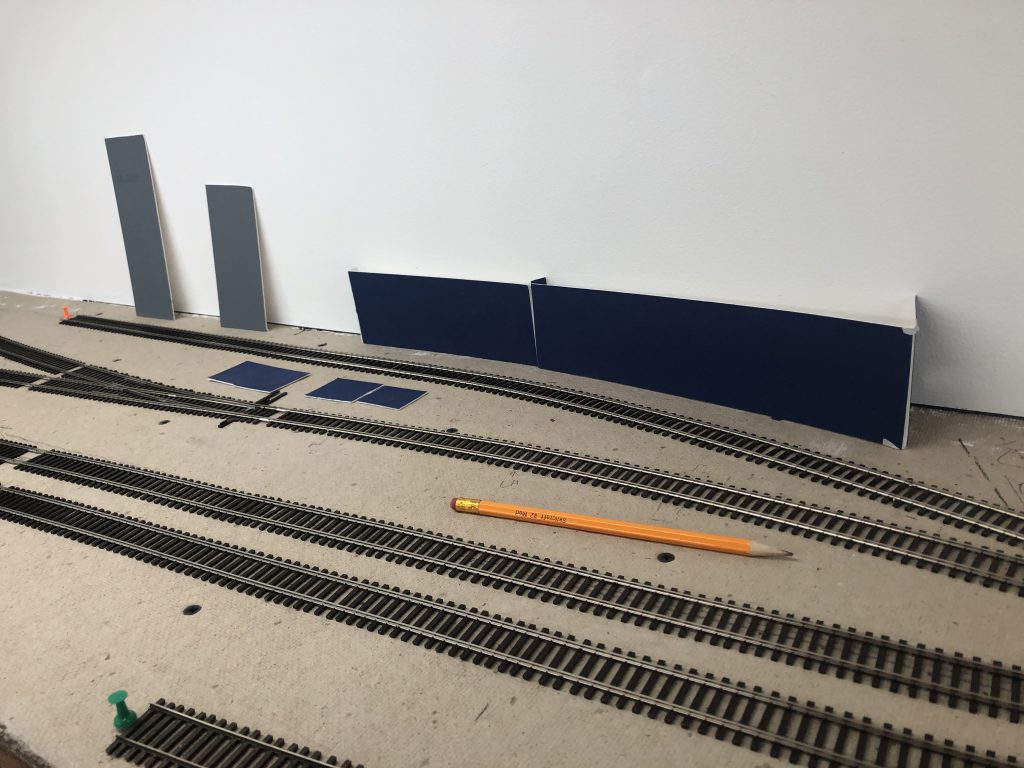
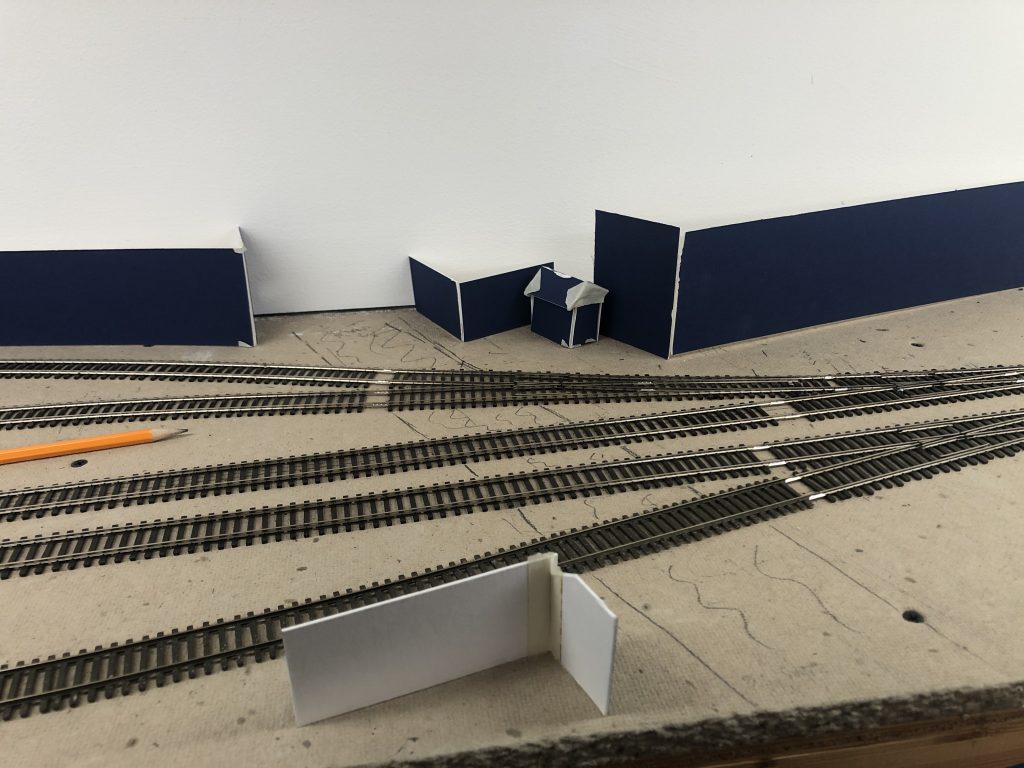
These are meant to be super rough ideas. I just cut apart some mat board scraps I had laying around and taped them up. It’s to get the brain going on where I will eventually place things. Also gives me an idea for any drawings I can start working on for structure walls. Some of them will likely be custom jobs. That’s all for now!

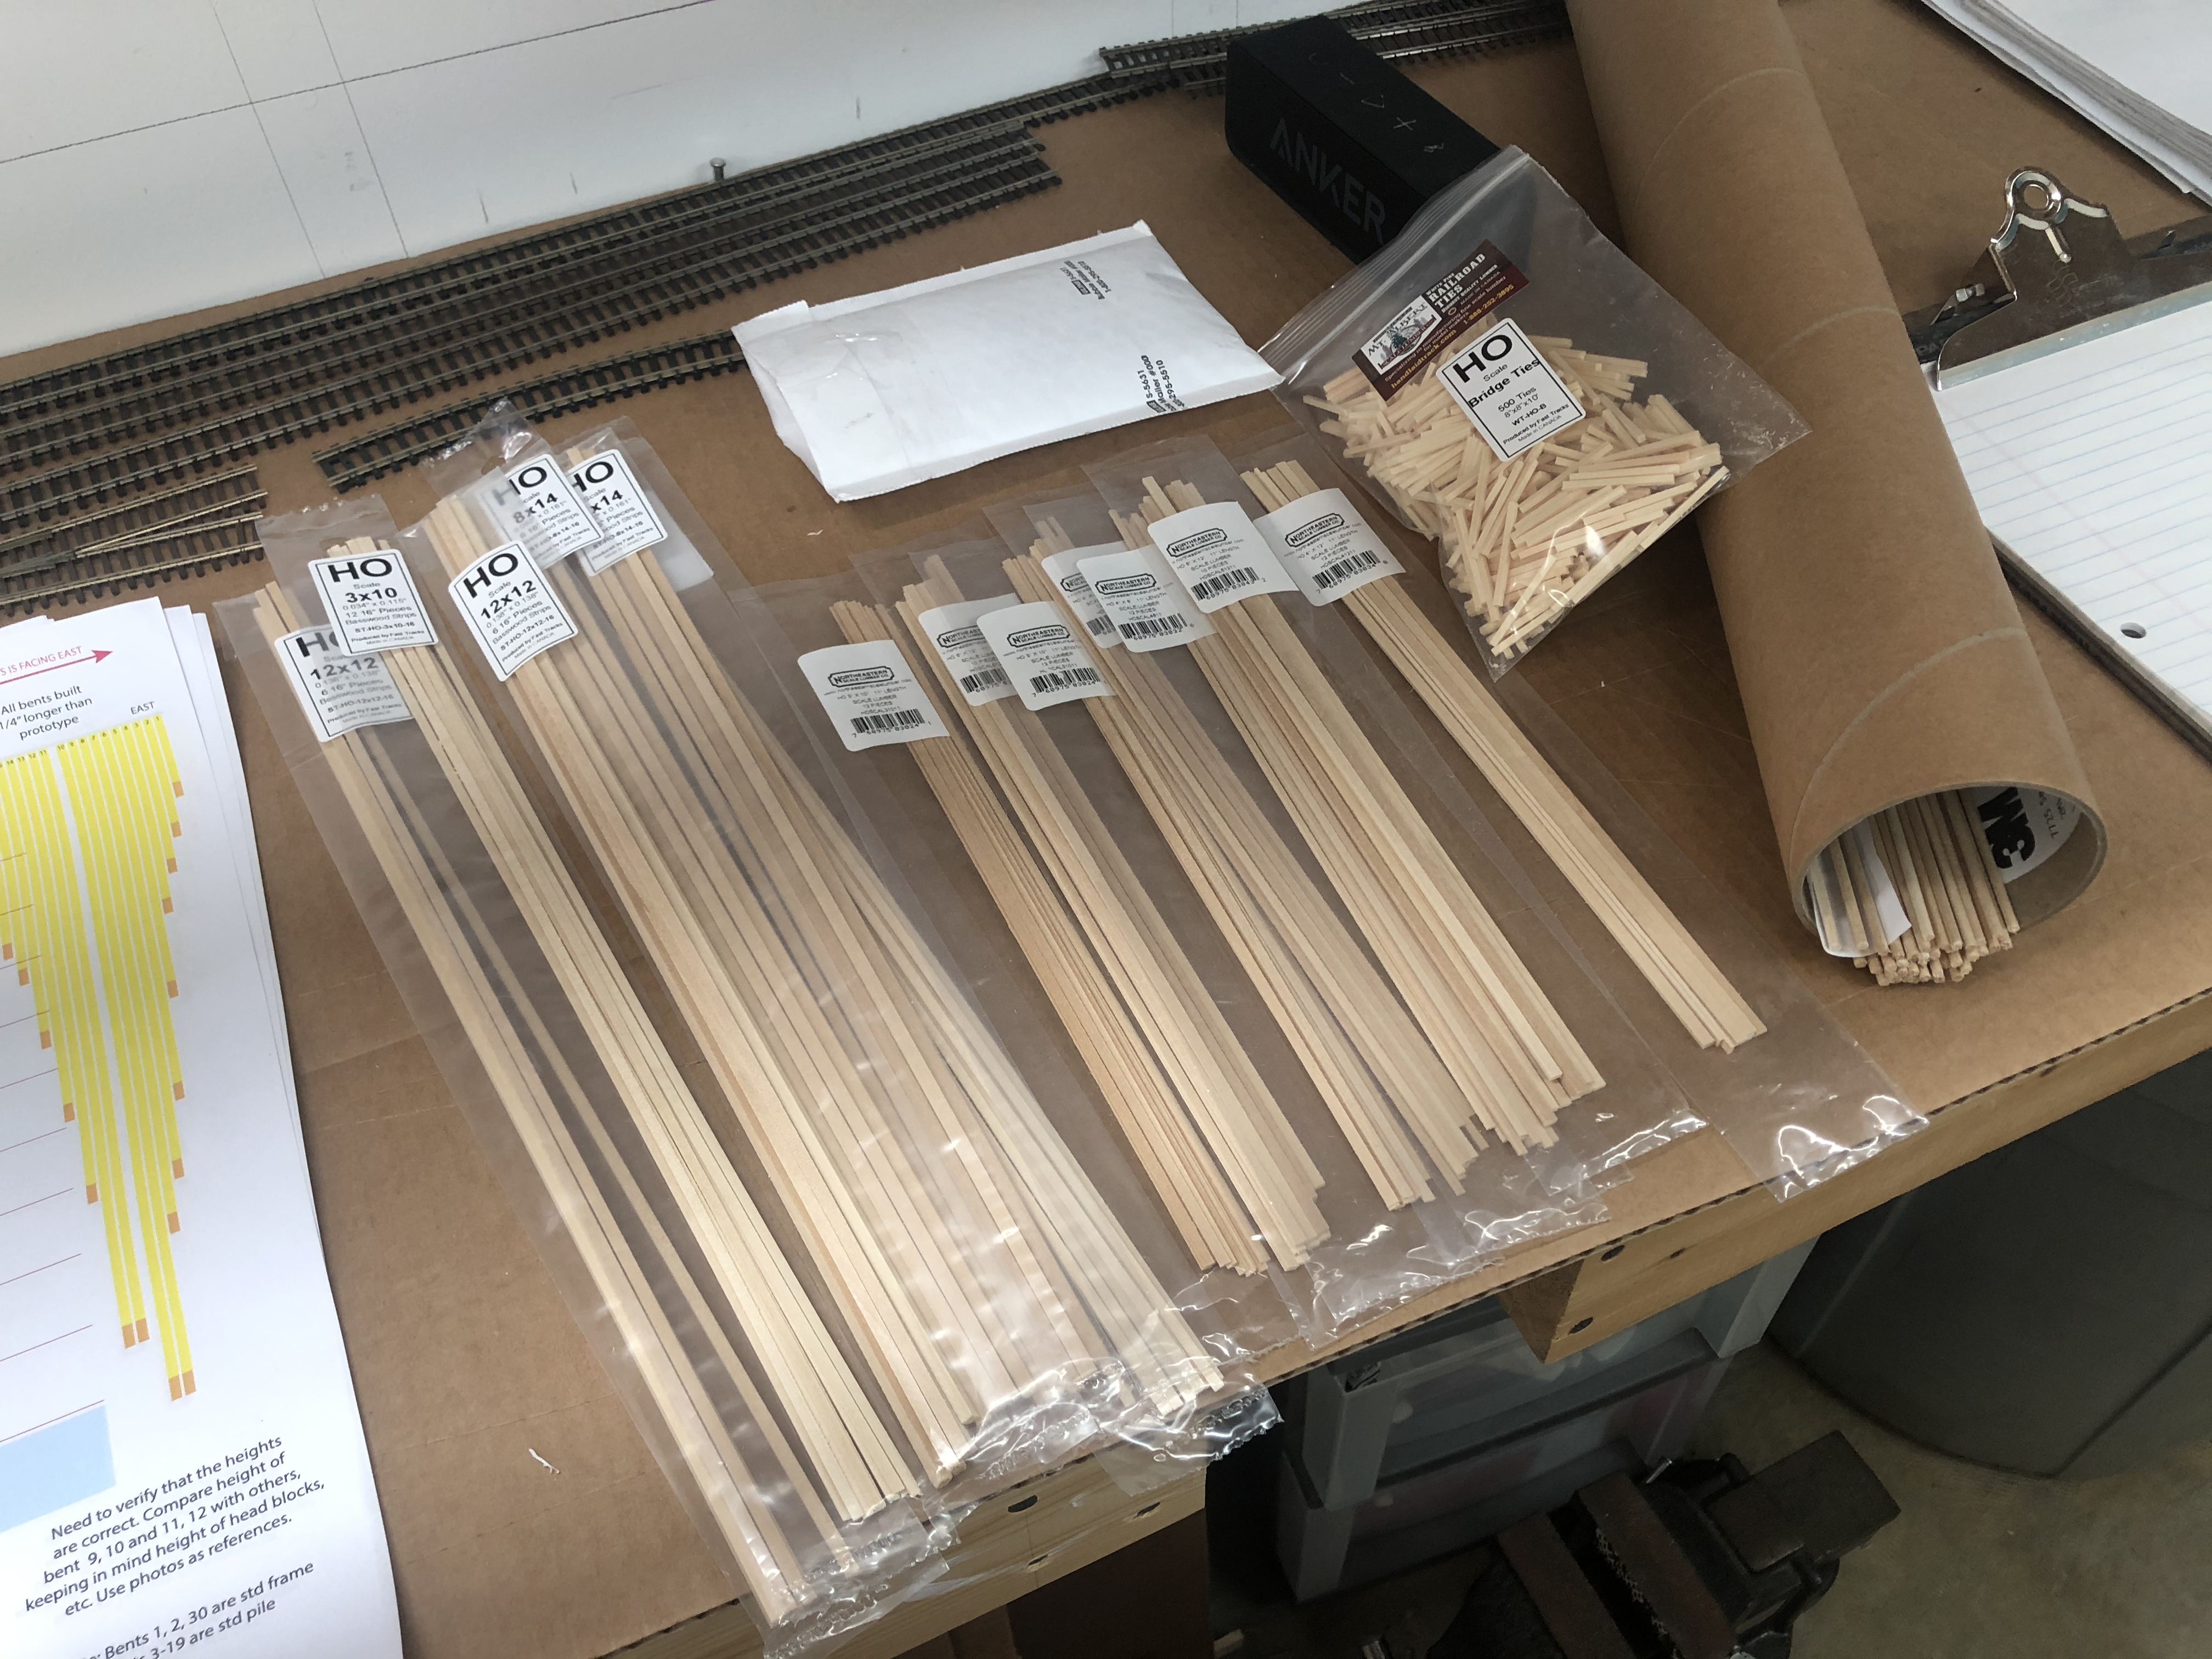
This is the final shipment of lumber (I hope) for the Rock Creek trestle. Next I need to stain it and get building! Onward!
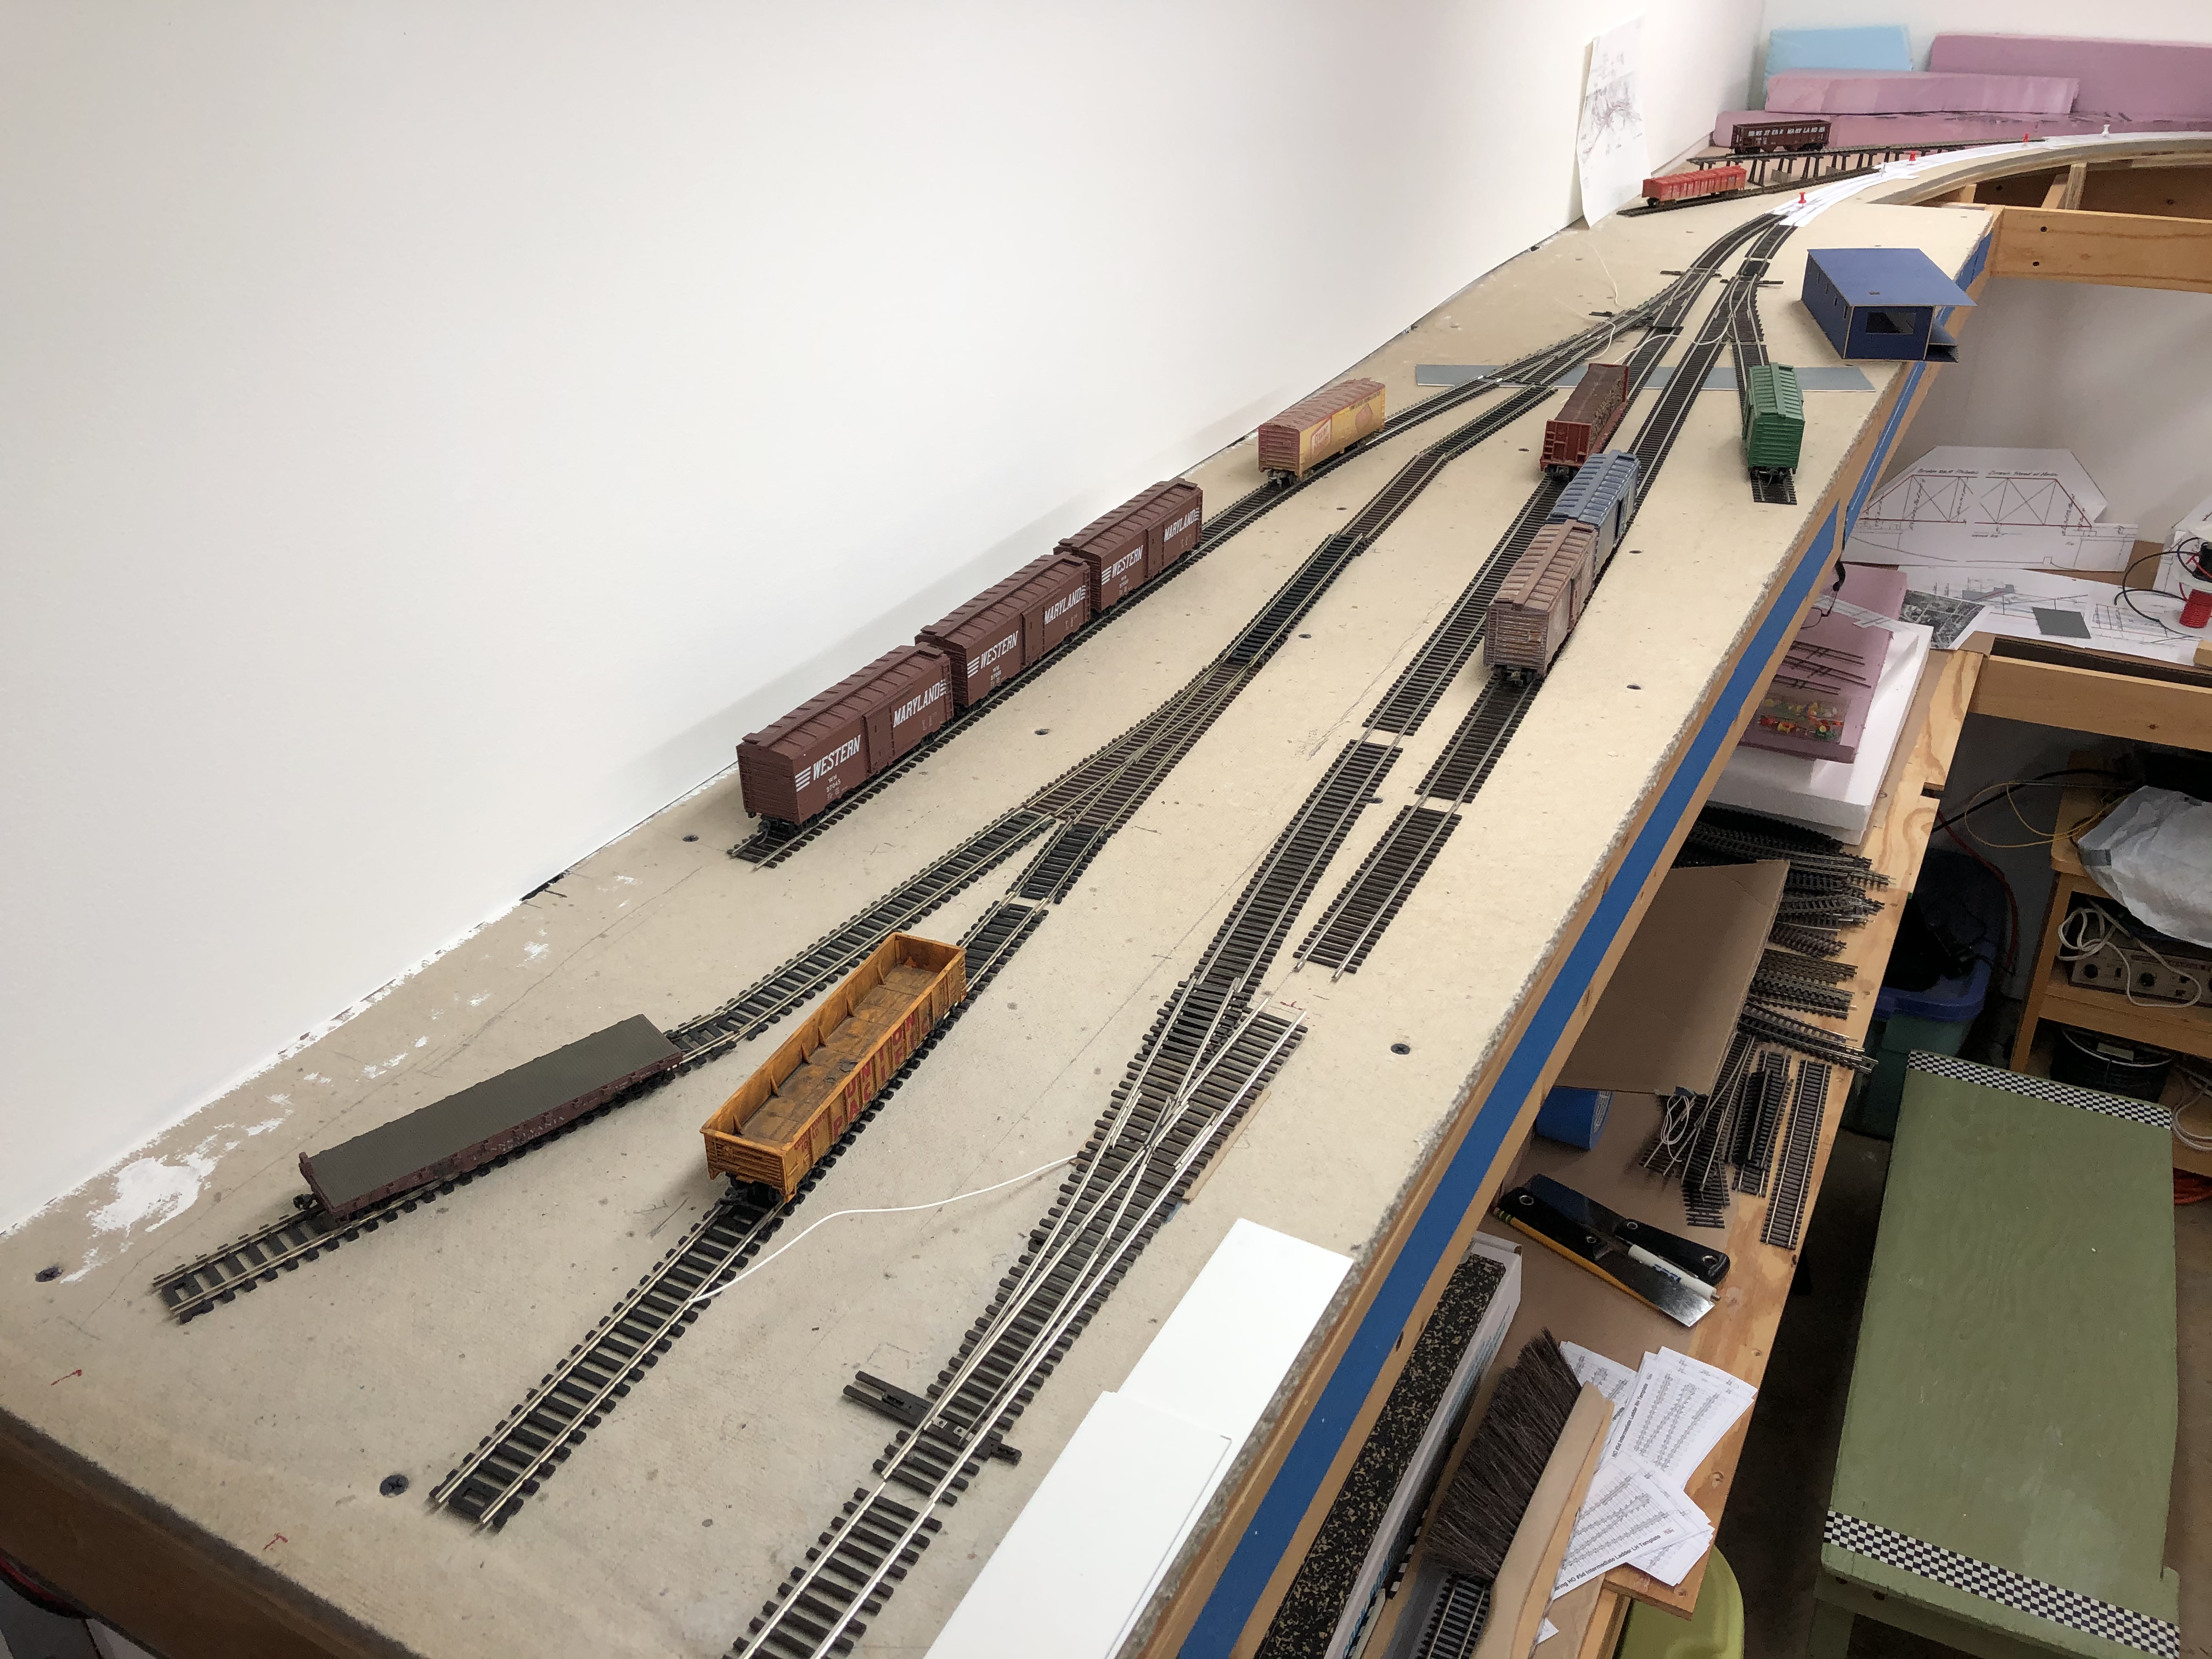
After another marathon weekend of working on the layout, I’ve made some great progress. Nearly all of the tracks in Bethesda are in. All of the drops are wired and nearly all of the turnouts have Blue Point manual switch machines installed. I cleaned off the table to get a look at the overall layout:


I couldn’t resist doing a bit of operating. Man, this felt good!
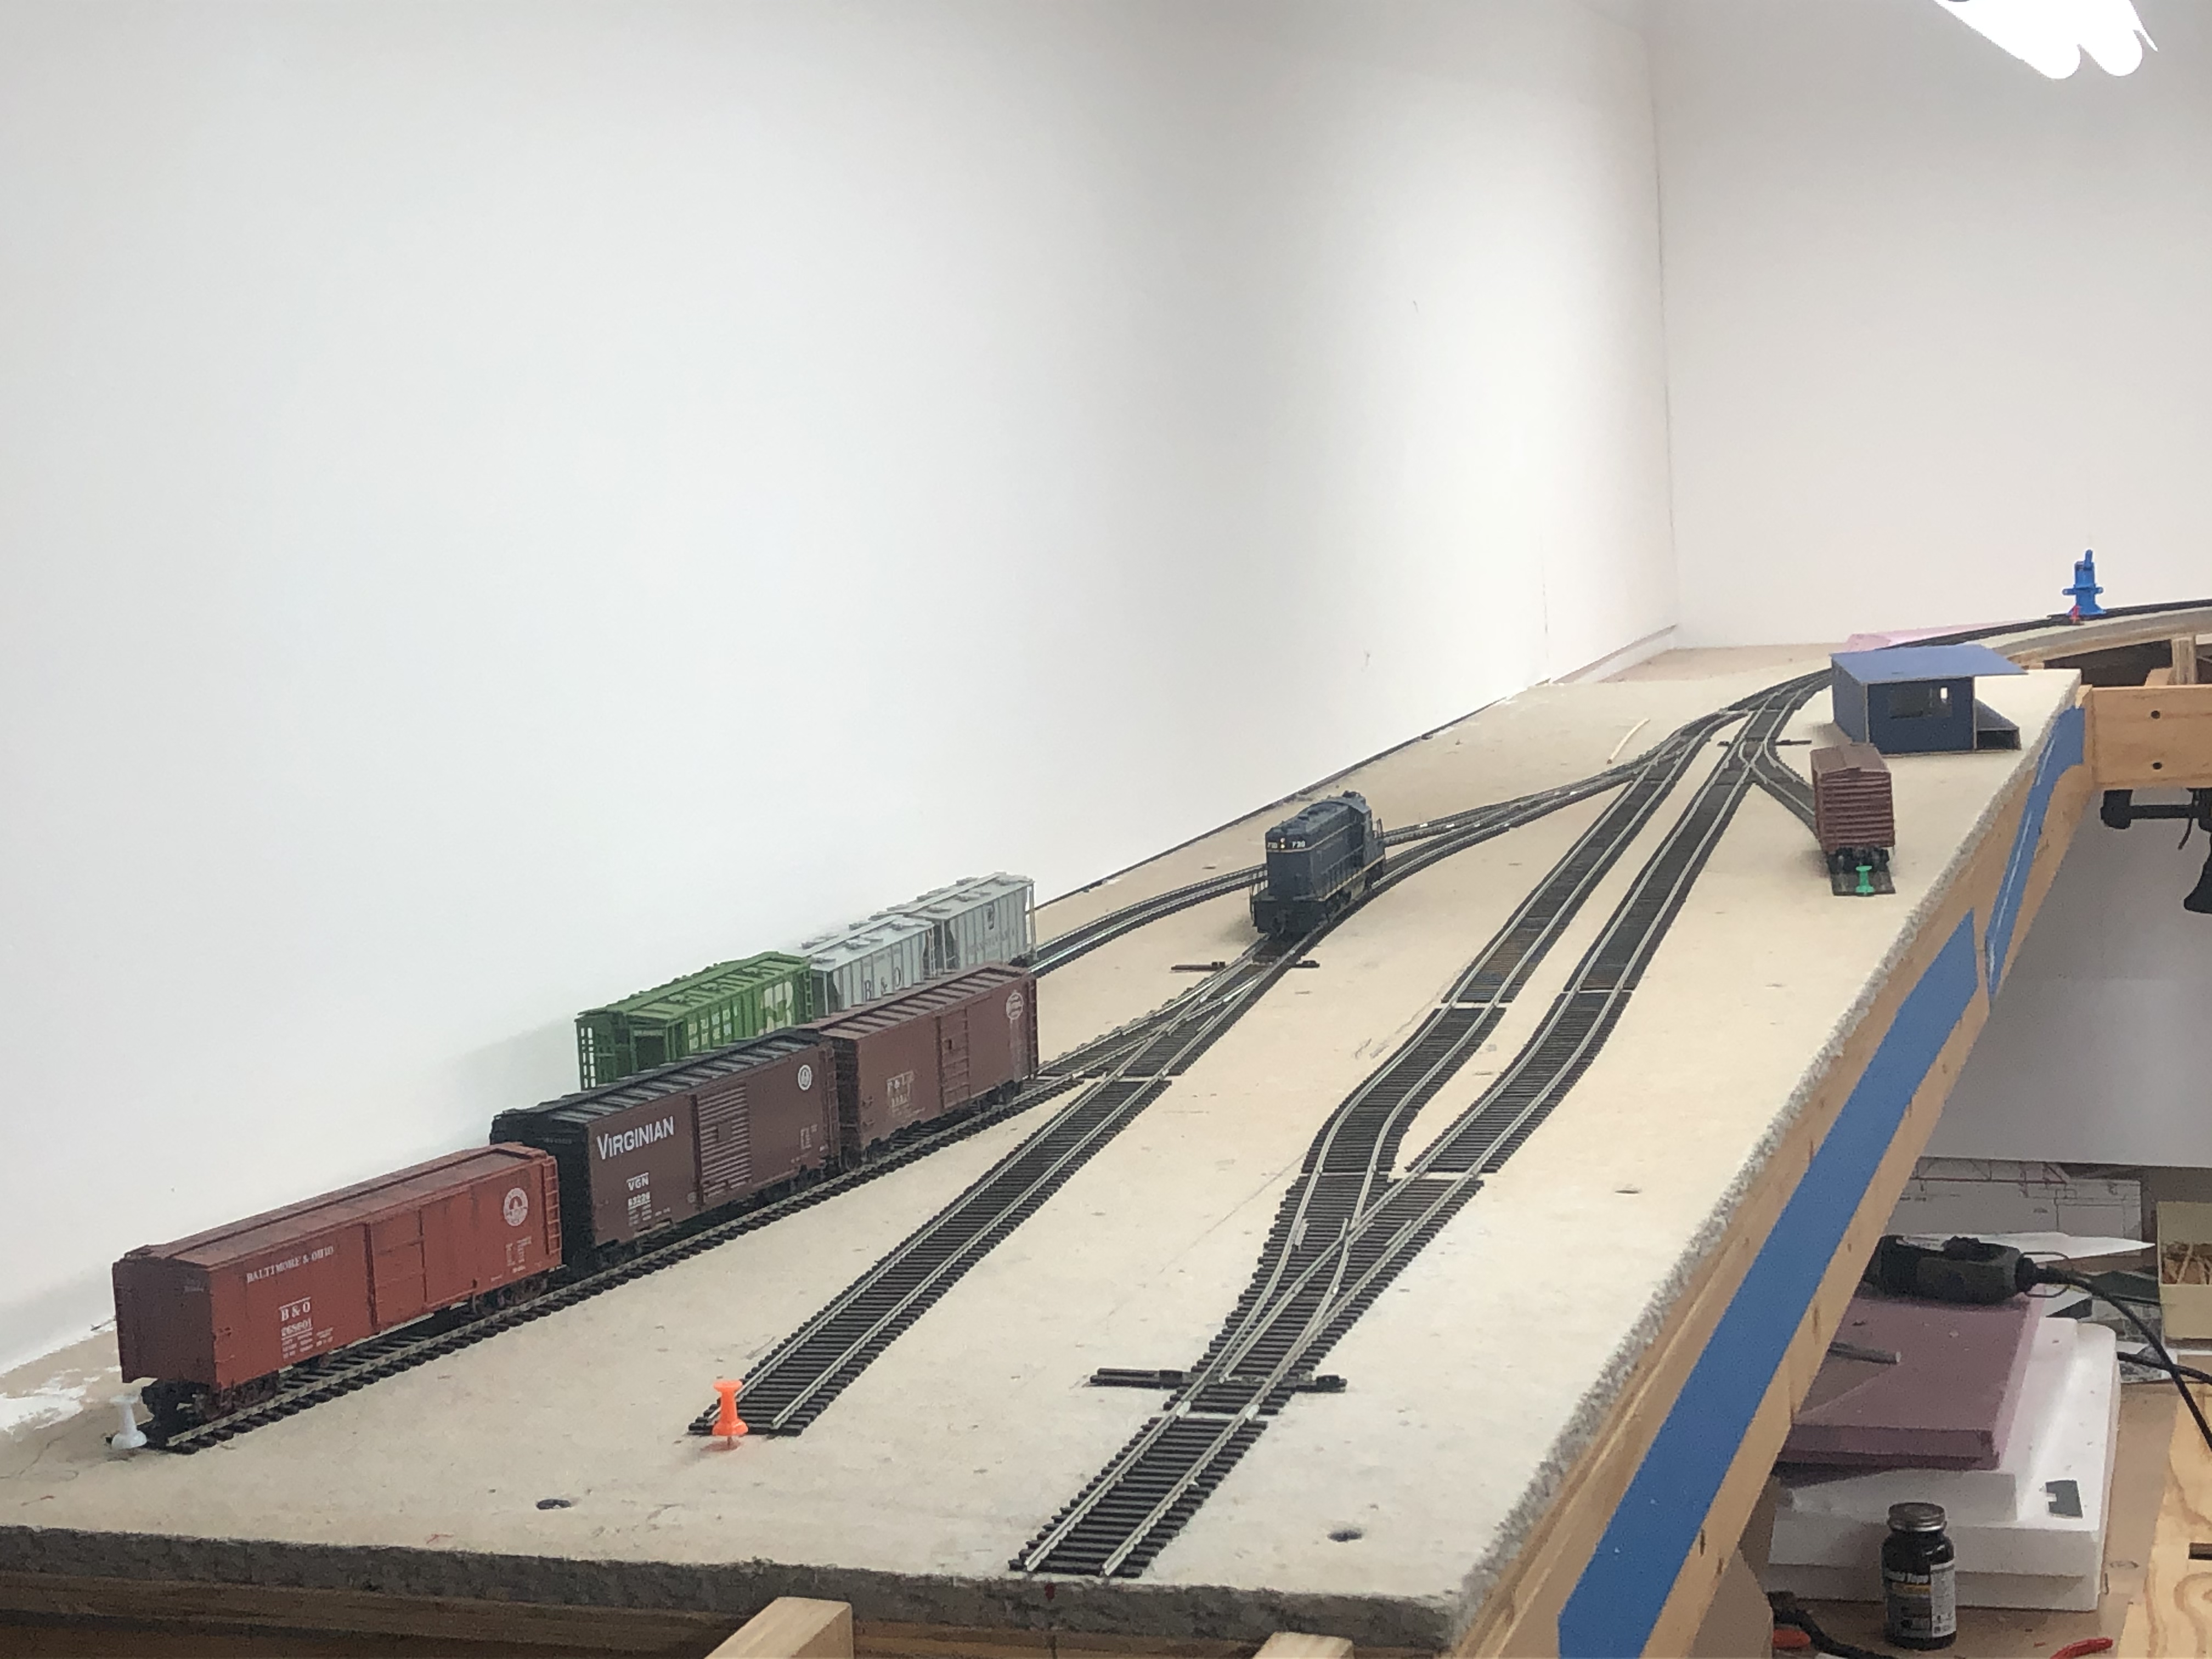
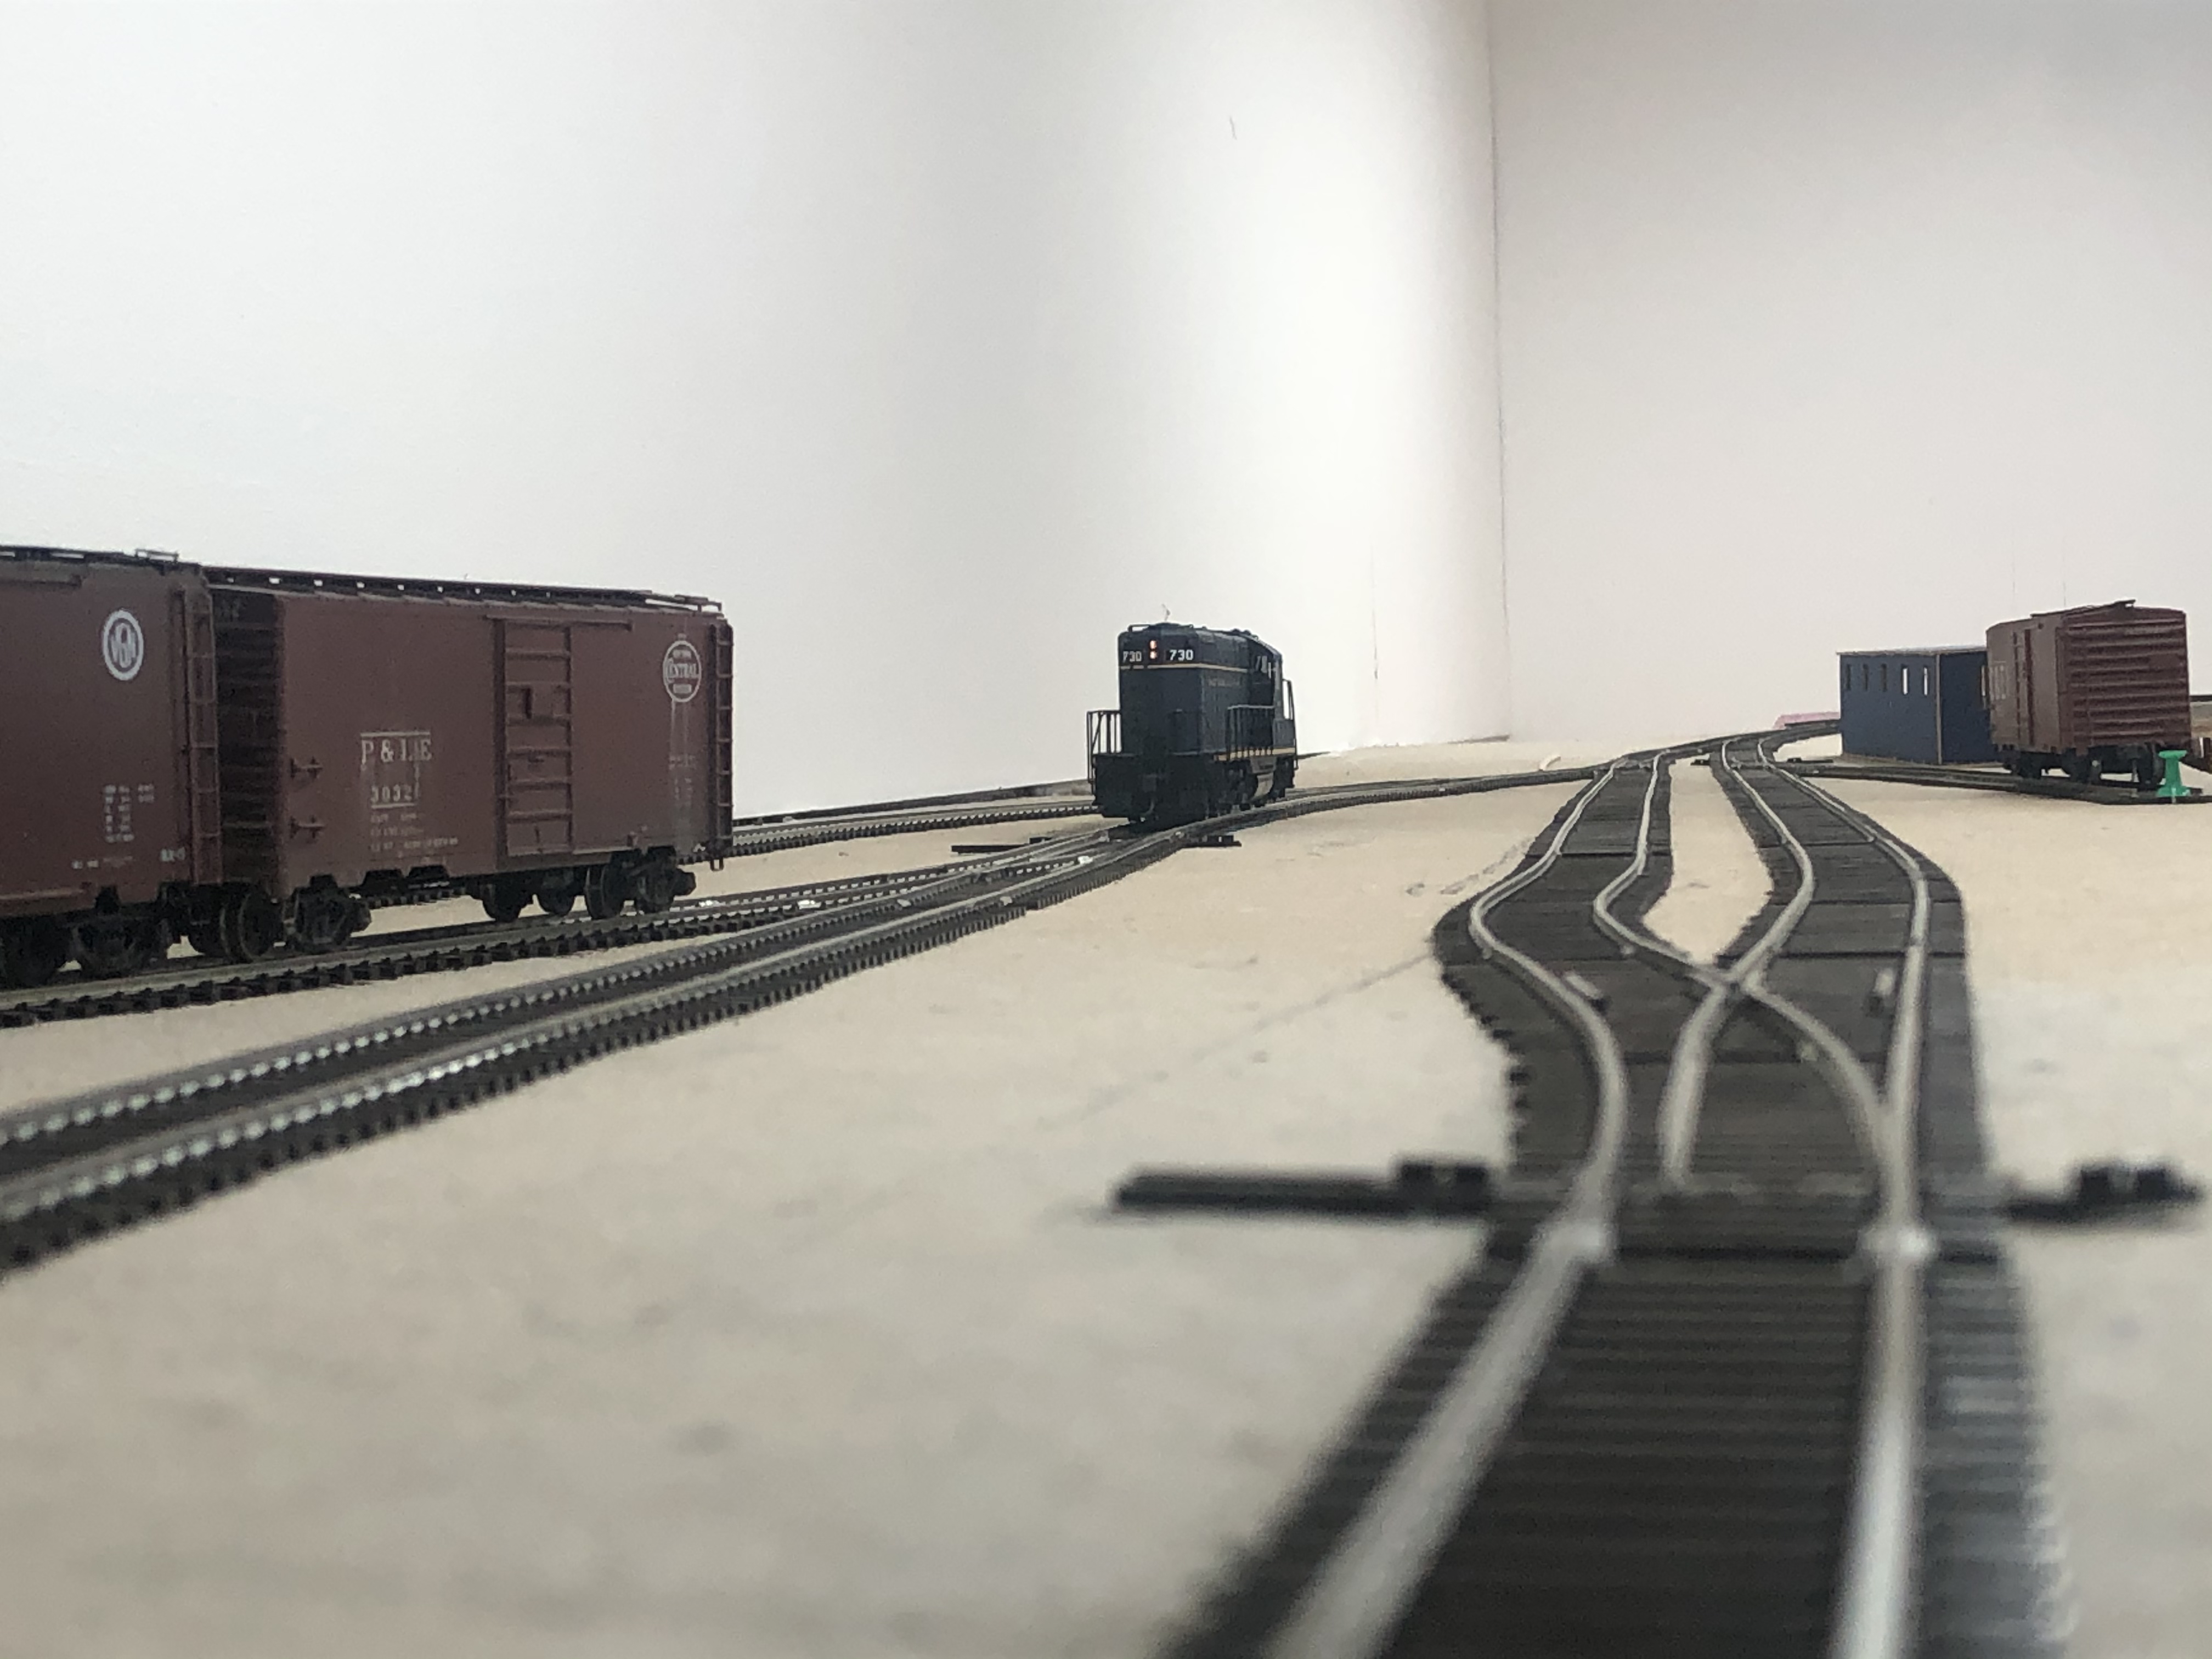
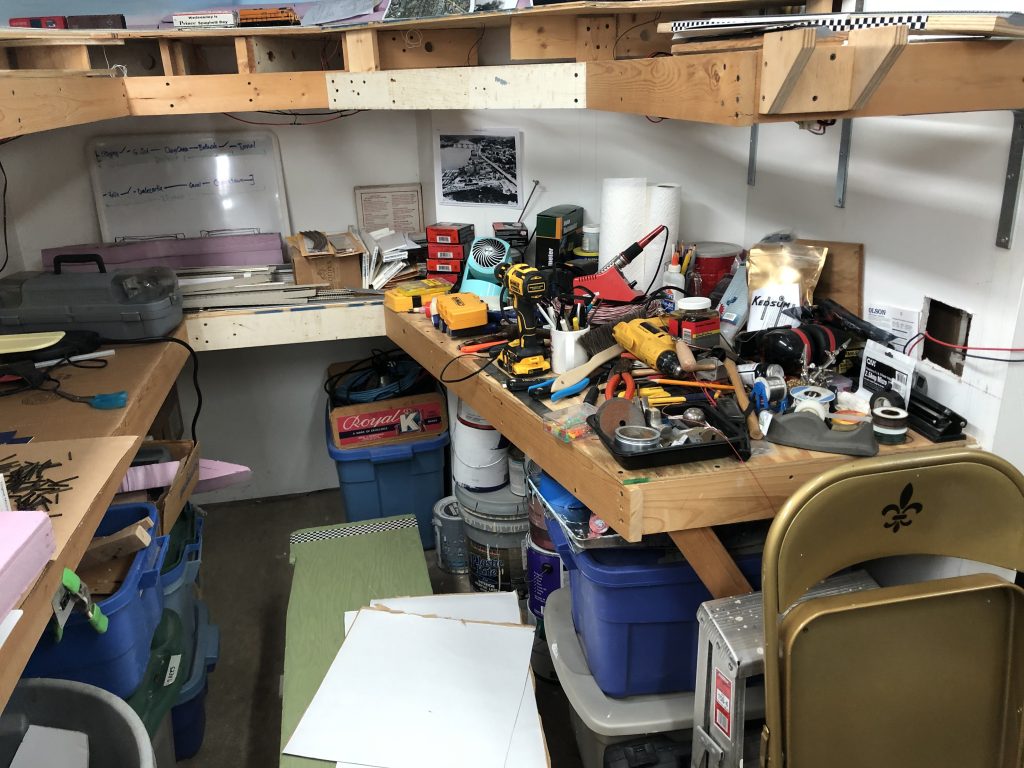
One thing that has really struck me is that over the span of eight years working on this project I have accumulated a lot of stuff to put this layout together. Much of it is piled beneath and around the layout itself. As I work, stuff gets shifted around. I’m at a point now where I have pushed myself out of my comfort zone to try new things. Some of these things include simple things like soldering feeders to the bottom of the rails instead of the sides up to more complex things like hand-building complex curved turnouts. I couldn’t do this without help and encouragement from friends and family who push me forward and answer all my stupid questions.
Lately I’ve been learning how to install turnout machines. I mentioned above that I used Blue Point switch machines in Bethesda. This decision was primarily based on the fact that I owned five already (that I had in a box of turnout stuff) and I realized a fascia would be nigh impossible with the way this section of the upper deck of my layout is built. There is no real room above or below it for toggle switches, I don’t want to cut big holes in the benchwork, and I don’t want to protrude out. Solution? Blue Point turnout machines. They use a push-pull rod/handle and can sit right on the fascia with minimal intrusion. Perfect. I’m quite happy with how they have been working for me. Bonus, I can wire the turnout frogs right to the machine.
Another project that has been in the hopper for a while are eight Iowa Scaled Engineering MRServo-1 units I purchased a couple years ago. (unfortunately, this product has been discontinued!) These nifty little things use a board that controls a micro servo mounted to a 3D printed chassis. Wiring up a DPDT switch and attaching to a power bus gives you a nifty little slow-mo turnout controller. They have a few different bases including a slim profile one to allow for remote installation in tight spaces. The MRServo units came in three types with additional features. This is the most basic of the three, featuring only turnout motor control. For now, it’s all I need. I plan on adding a Frog Juicer eventually to handle the frogs. These MRServo-1 units will be used on the upper deck from Chevy Chase all the way up to Georgetown Junction, as there is ample space below the track to install a fascia with toggle switches.

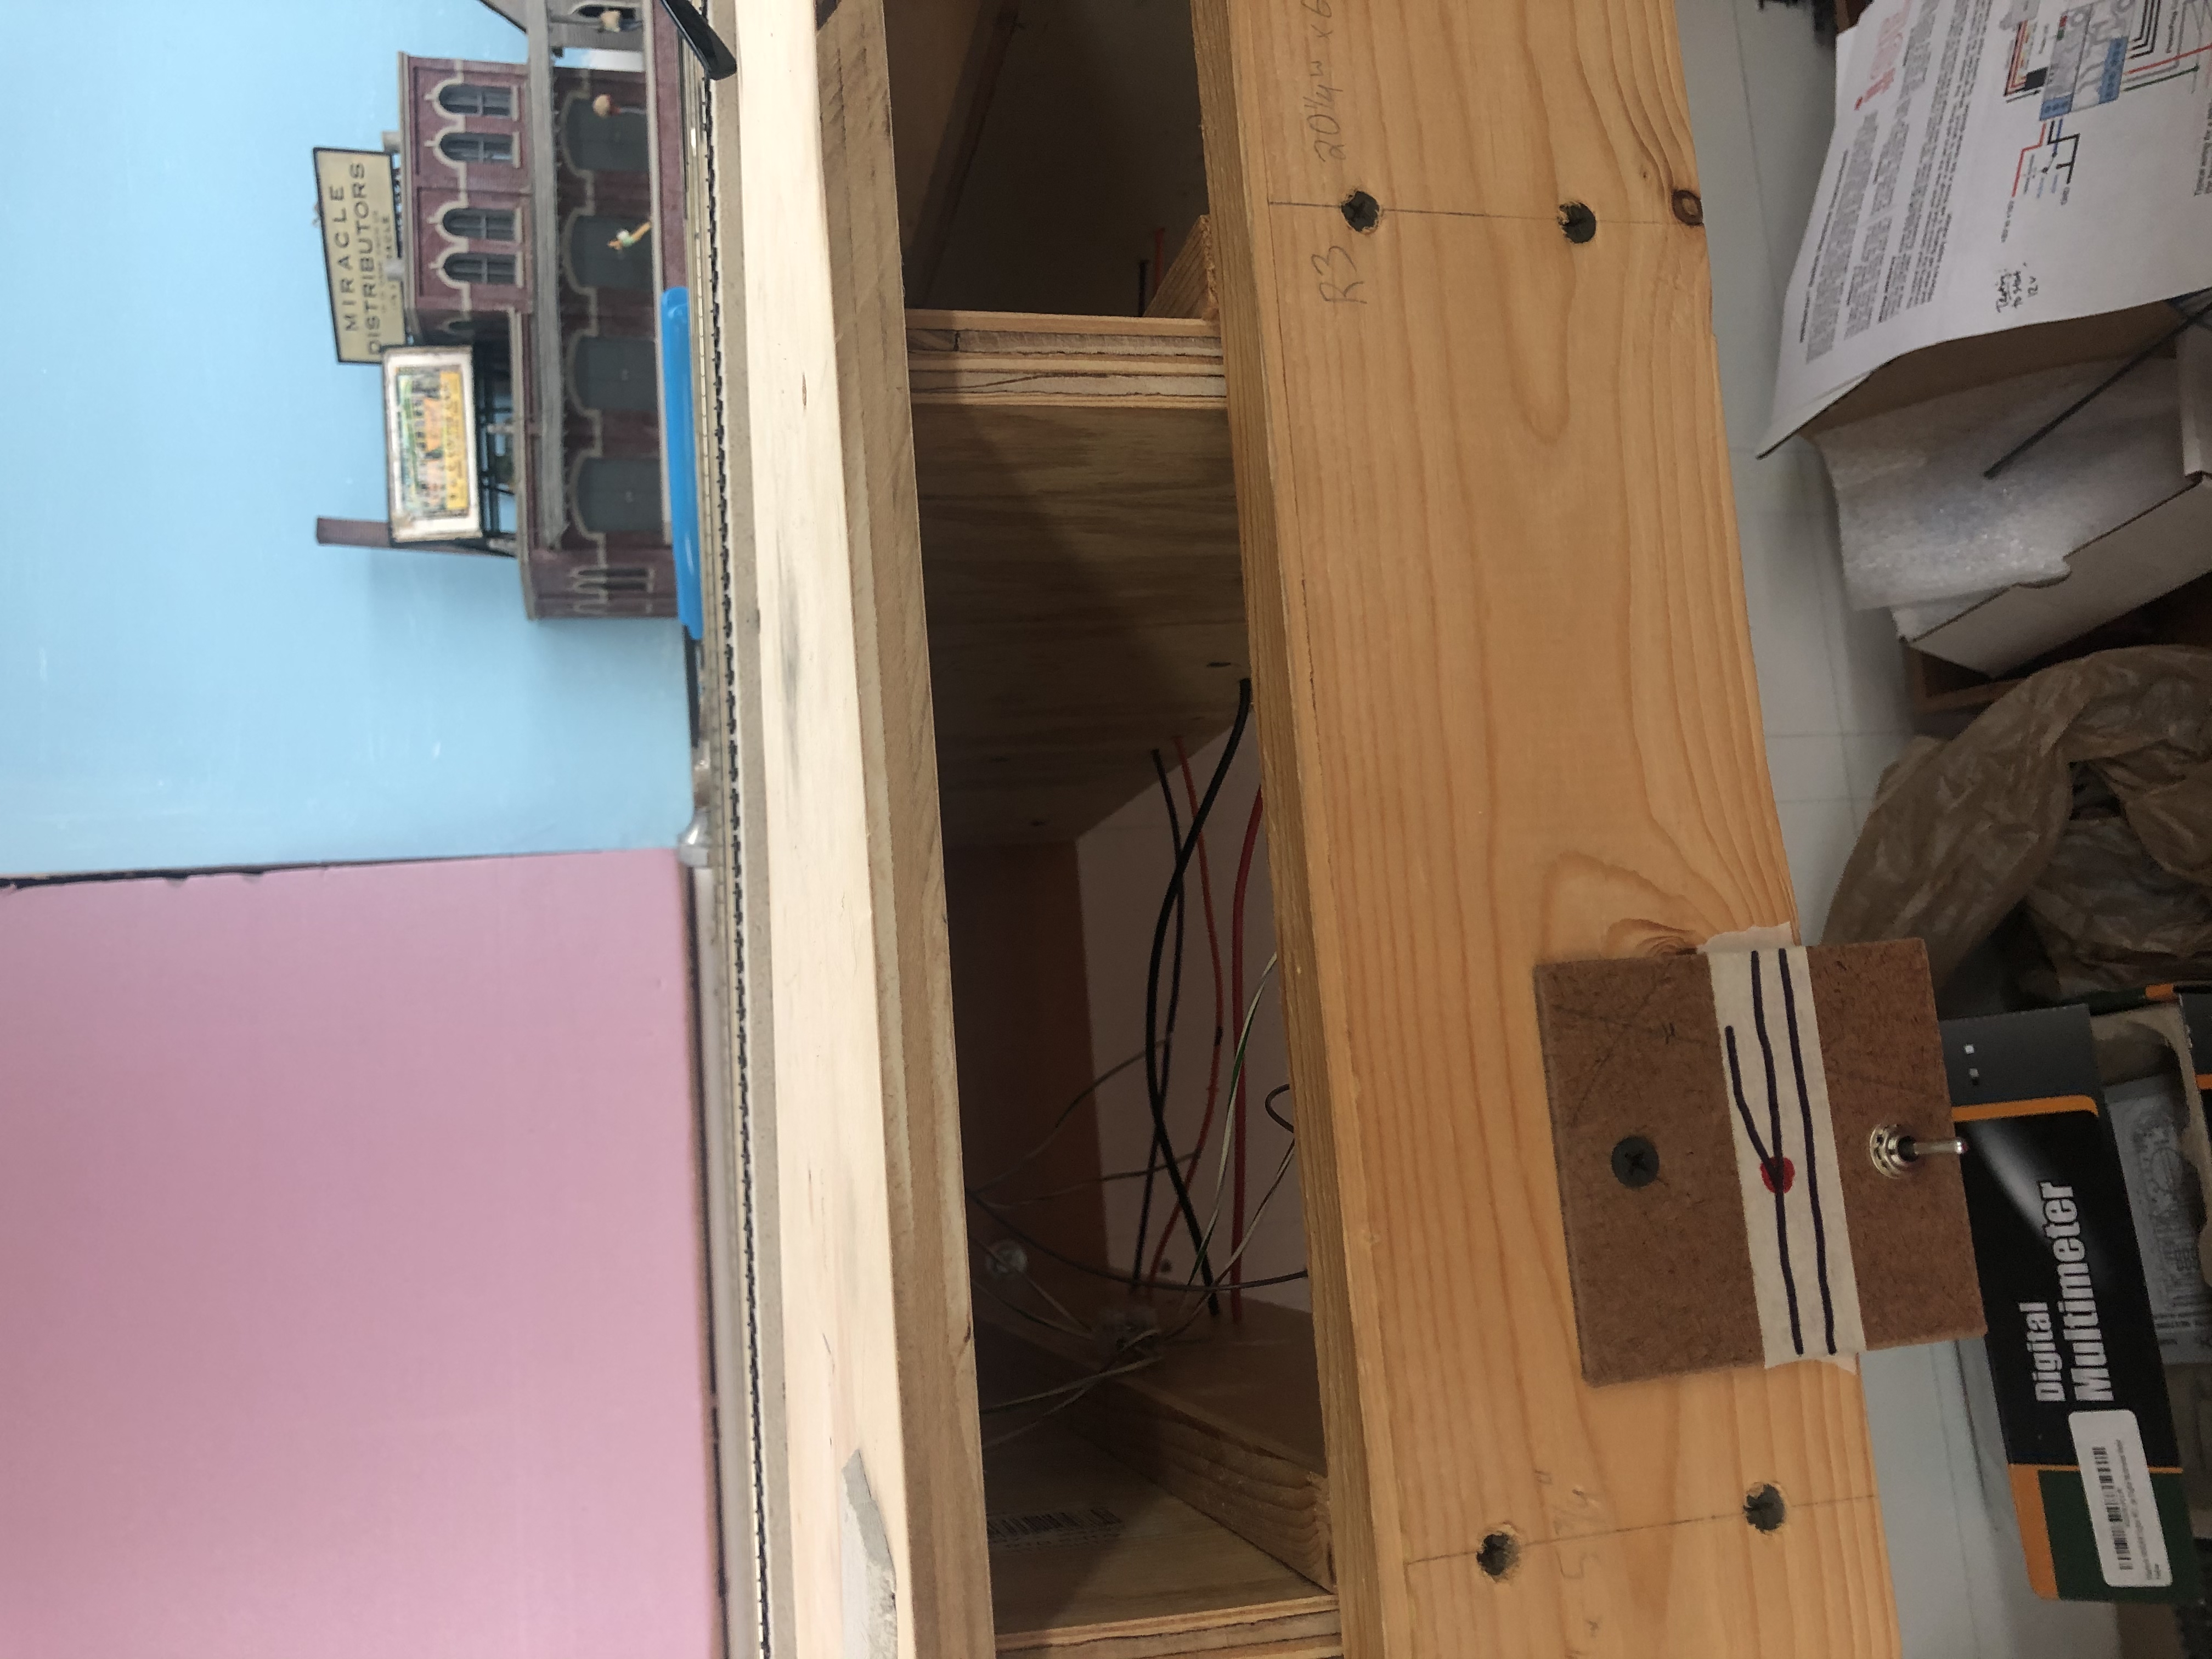
I am progressing my way through projects that have loomed over me for years. It feels great to burst through and make real progress on this layout and I’m learning so much along the way. I ran a train all the way from one end to the other with no issues whatsoever. Like so many things, when you break a project into smaller pieces it takes away some of the mystical difficulty, making it a bit more manageable. I have been crushing these small hurdles left and right. I am hoping to have a video in the next few weeks showing off the progress.
And then, once the upper deck is done… it’s on to the lower deck! Woah!! But first, I gotta do something about all that JUNK! (ha)
Here is a link to the latest version of the plans I created for my model of the Rock Creek Trestle. I spent tens of hours over a few days refining the last version. This new version was carefully corrected (there were many small errors) and updated to include a new girder height and lots more hardware and correct lumber sizes. I also developed a side view, which took tremendous effort, as the photos just do not exist.
Remember that these are not perfect; since there is so little information available about the trestle in the era I am interested in (early 1940s) I had to use educated guesses and the few reference photos and drawings I have to make the best attempt. The plans were drawn in Adobe Illustrator. Each of the first 20 pages is a separate bent. The last few pages show a side view. I am gearing up to begin building the model and will share my progress as it is made. Comments and questions are welcome!
EDIT May 22, 2020: I have updated the plans once more: File is now available on Dropbox.
OK FOLKS, here is Part deux of my update on what’s new in with my model RR progress, and more! Who else is finding lots of spare time to work on your layout and hobbies?
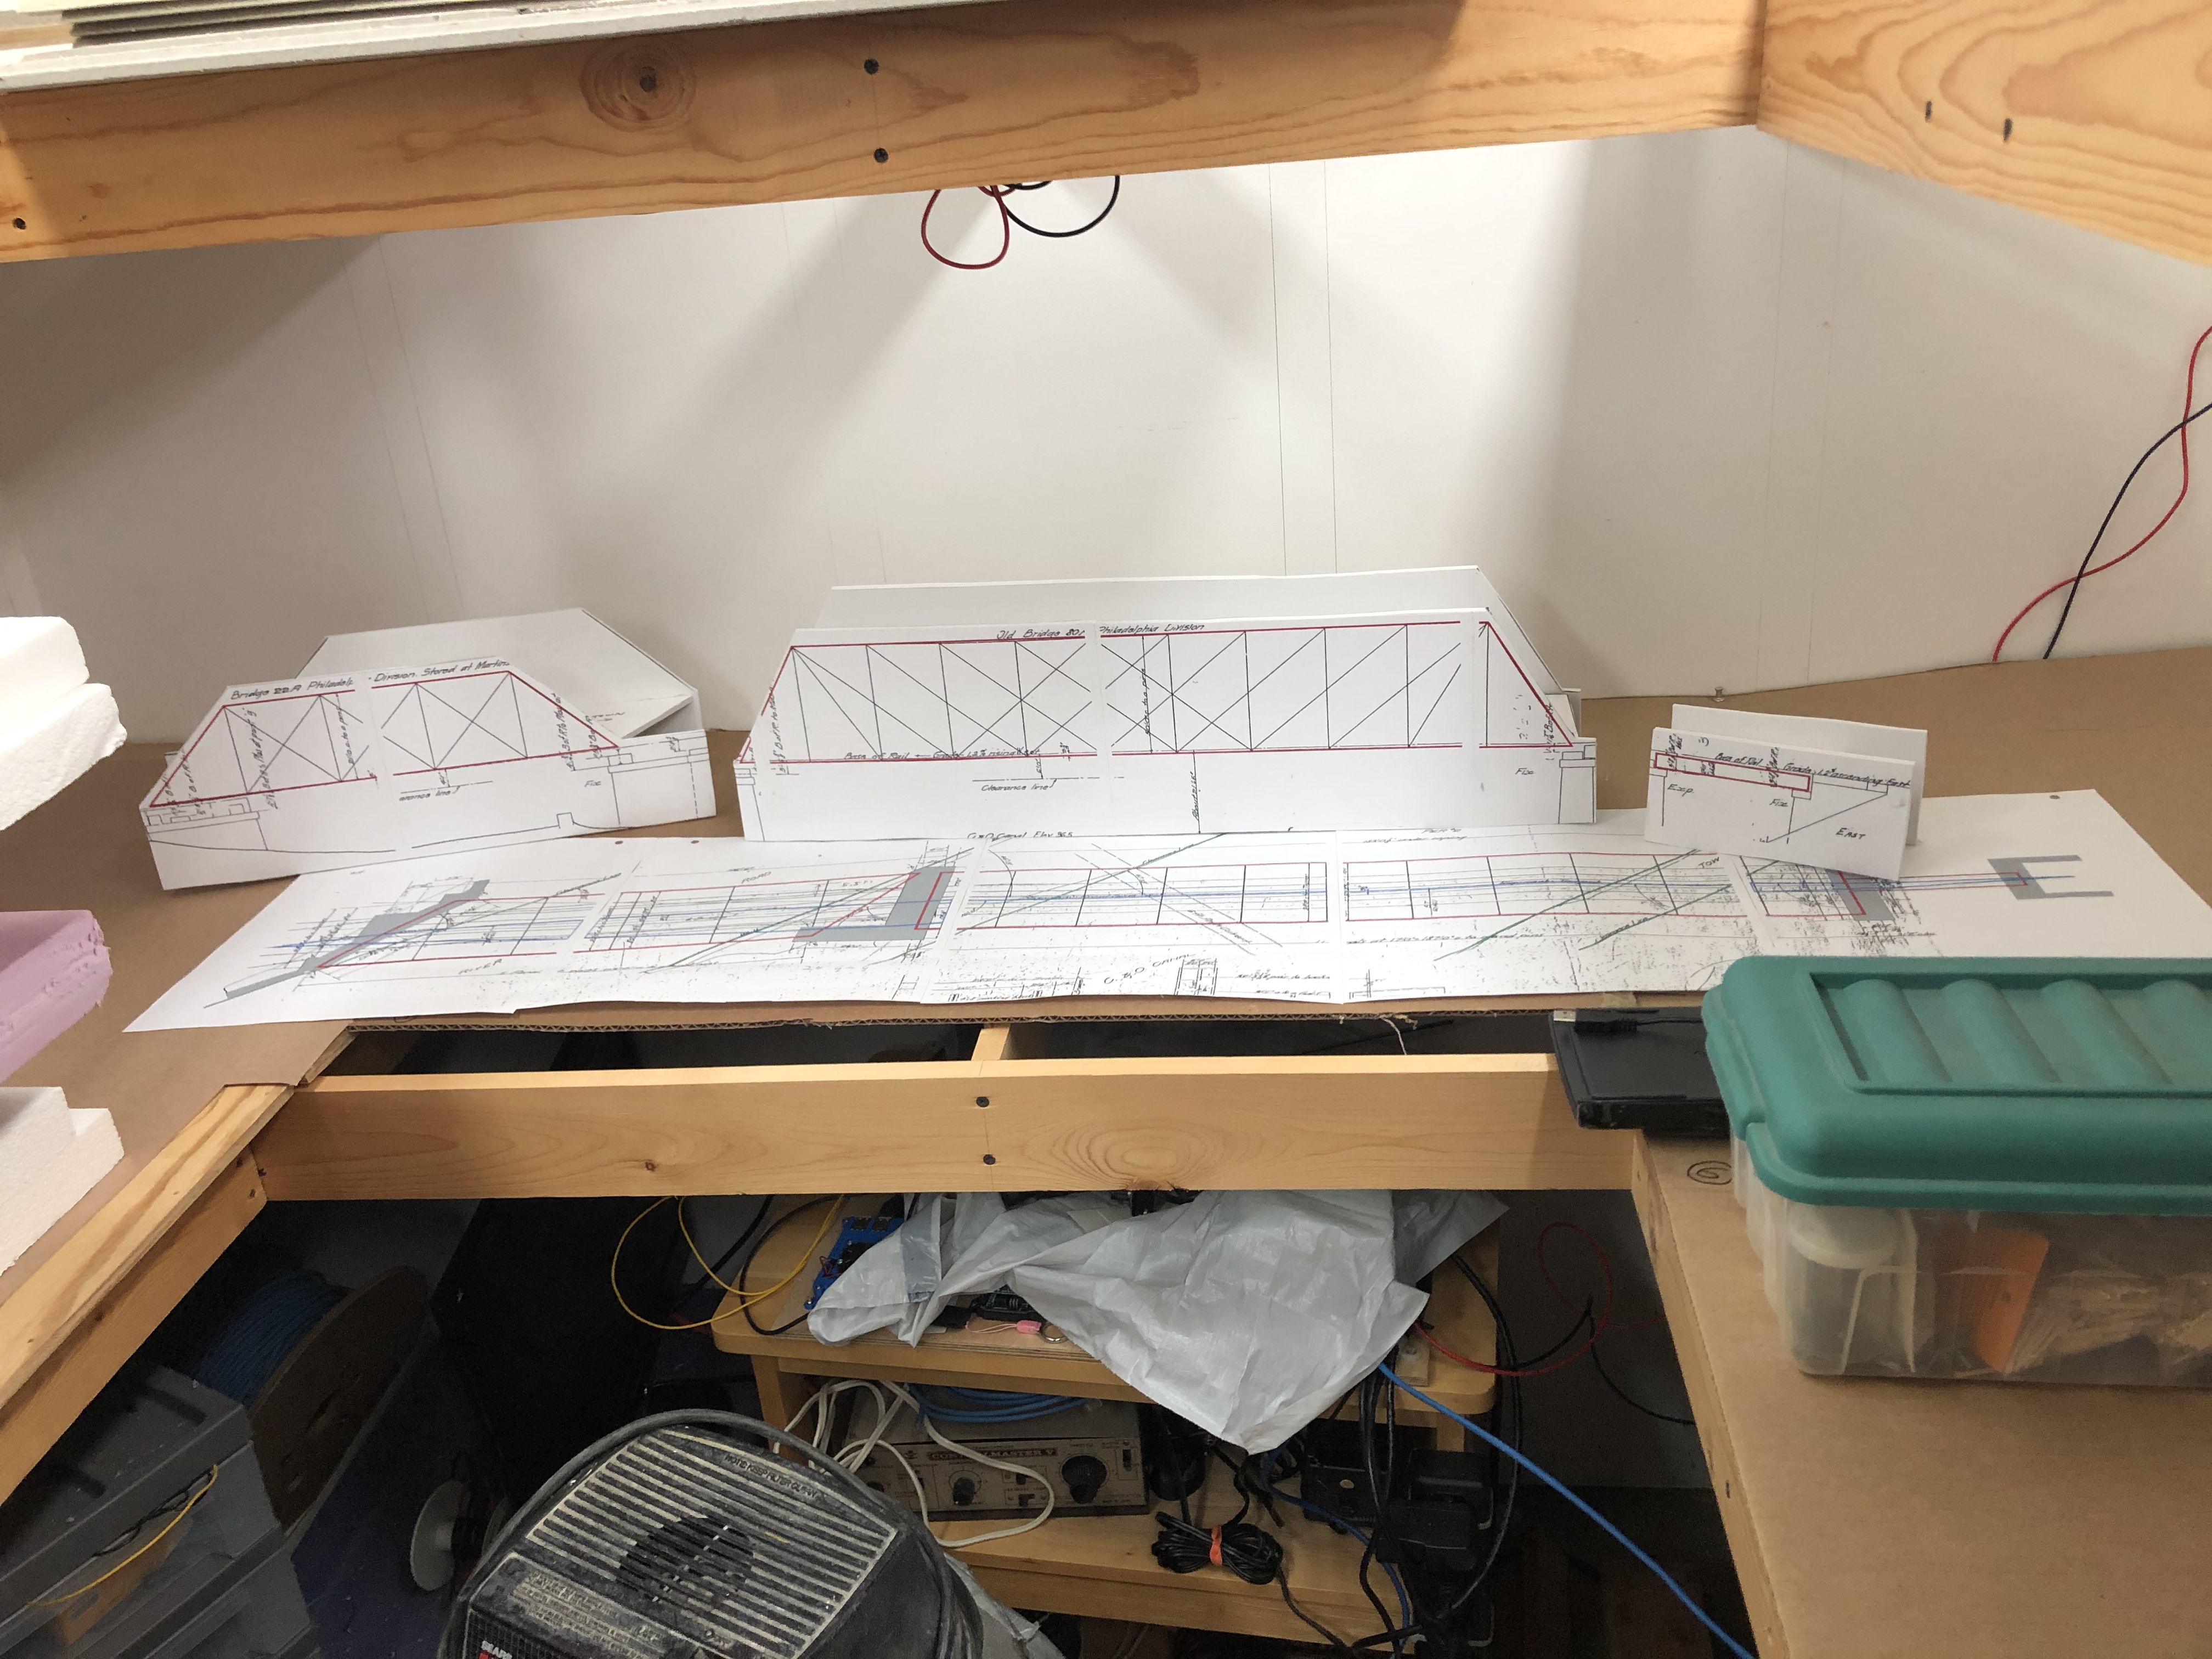
I scaled and printed some blueprints of the three bridges across the C&O Canal on the Georgetown Branch. These were printed and had been laying around for the last couple years. I finally got some time and made mock ups using foam core and 3M spray adhesive. The goal is to get as prototypically accurate as possible when recreating the bridges, but I know some selective compression will be necessary, as I simply do not have the space. I have already done a virtual mock-up, and in the near future I hope to do a physical one.
Bethesda Update
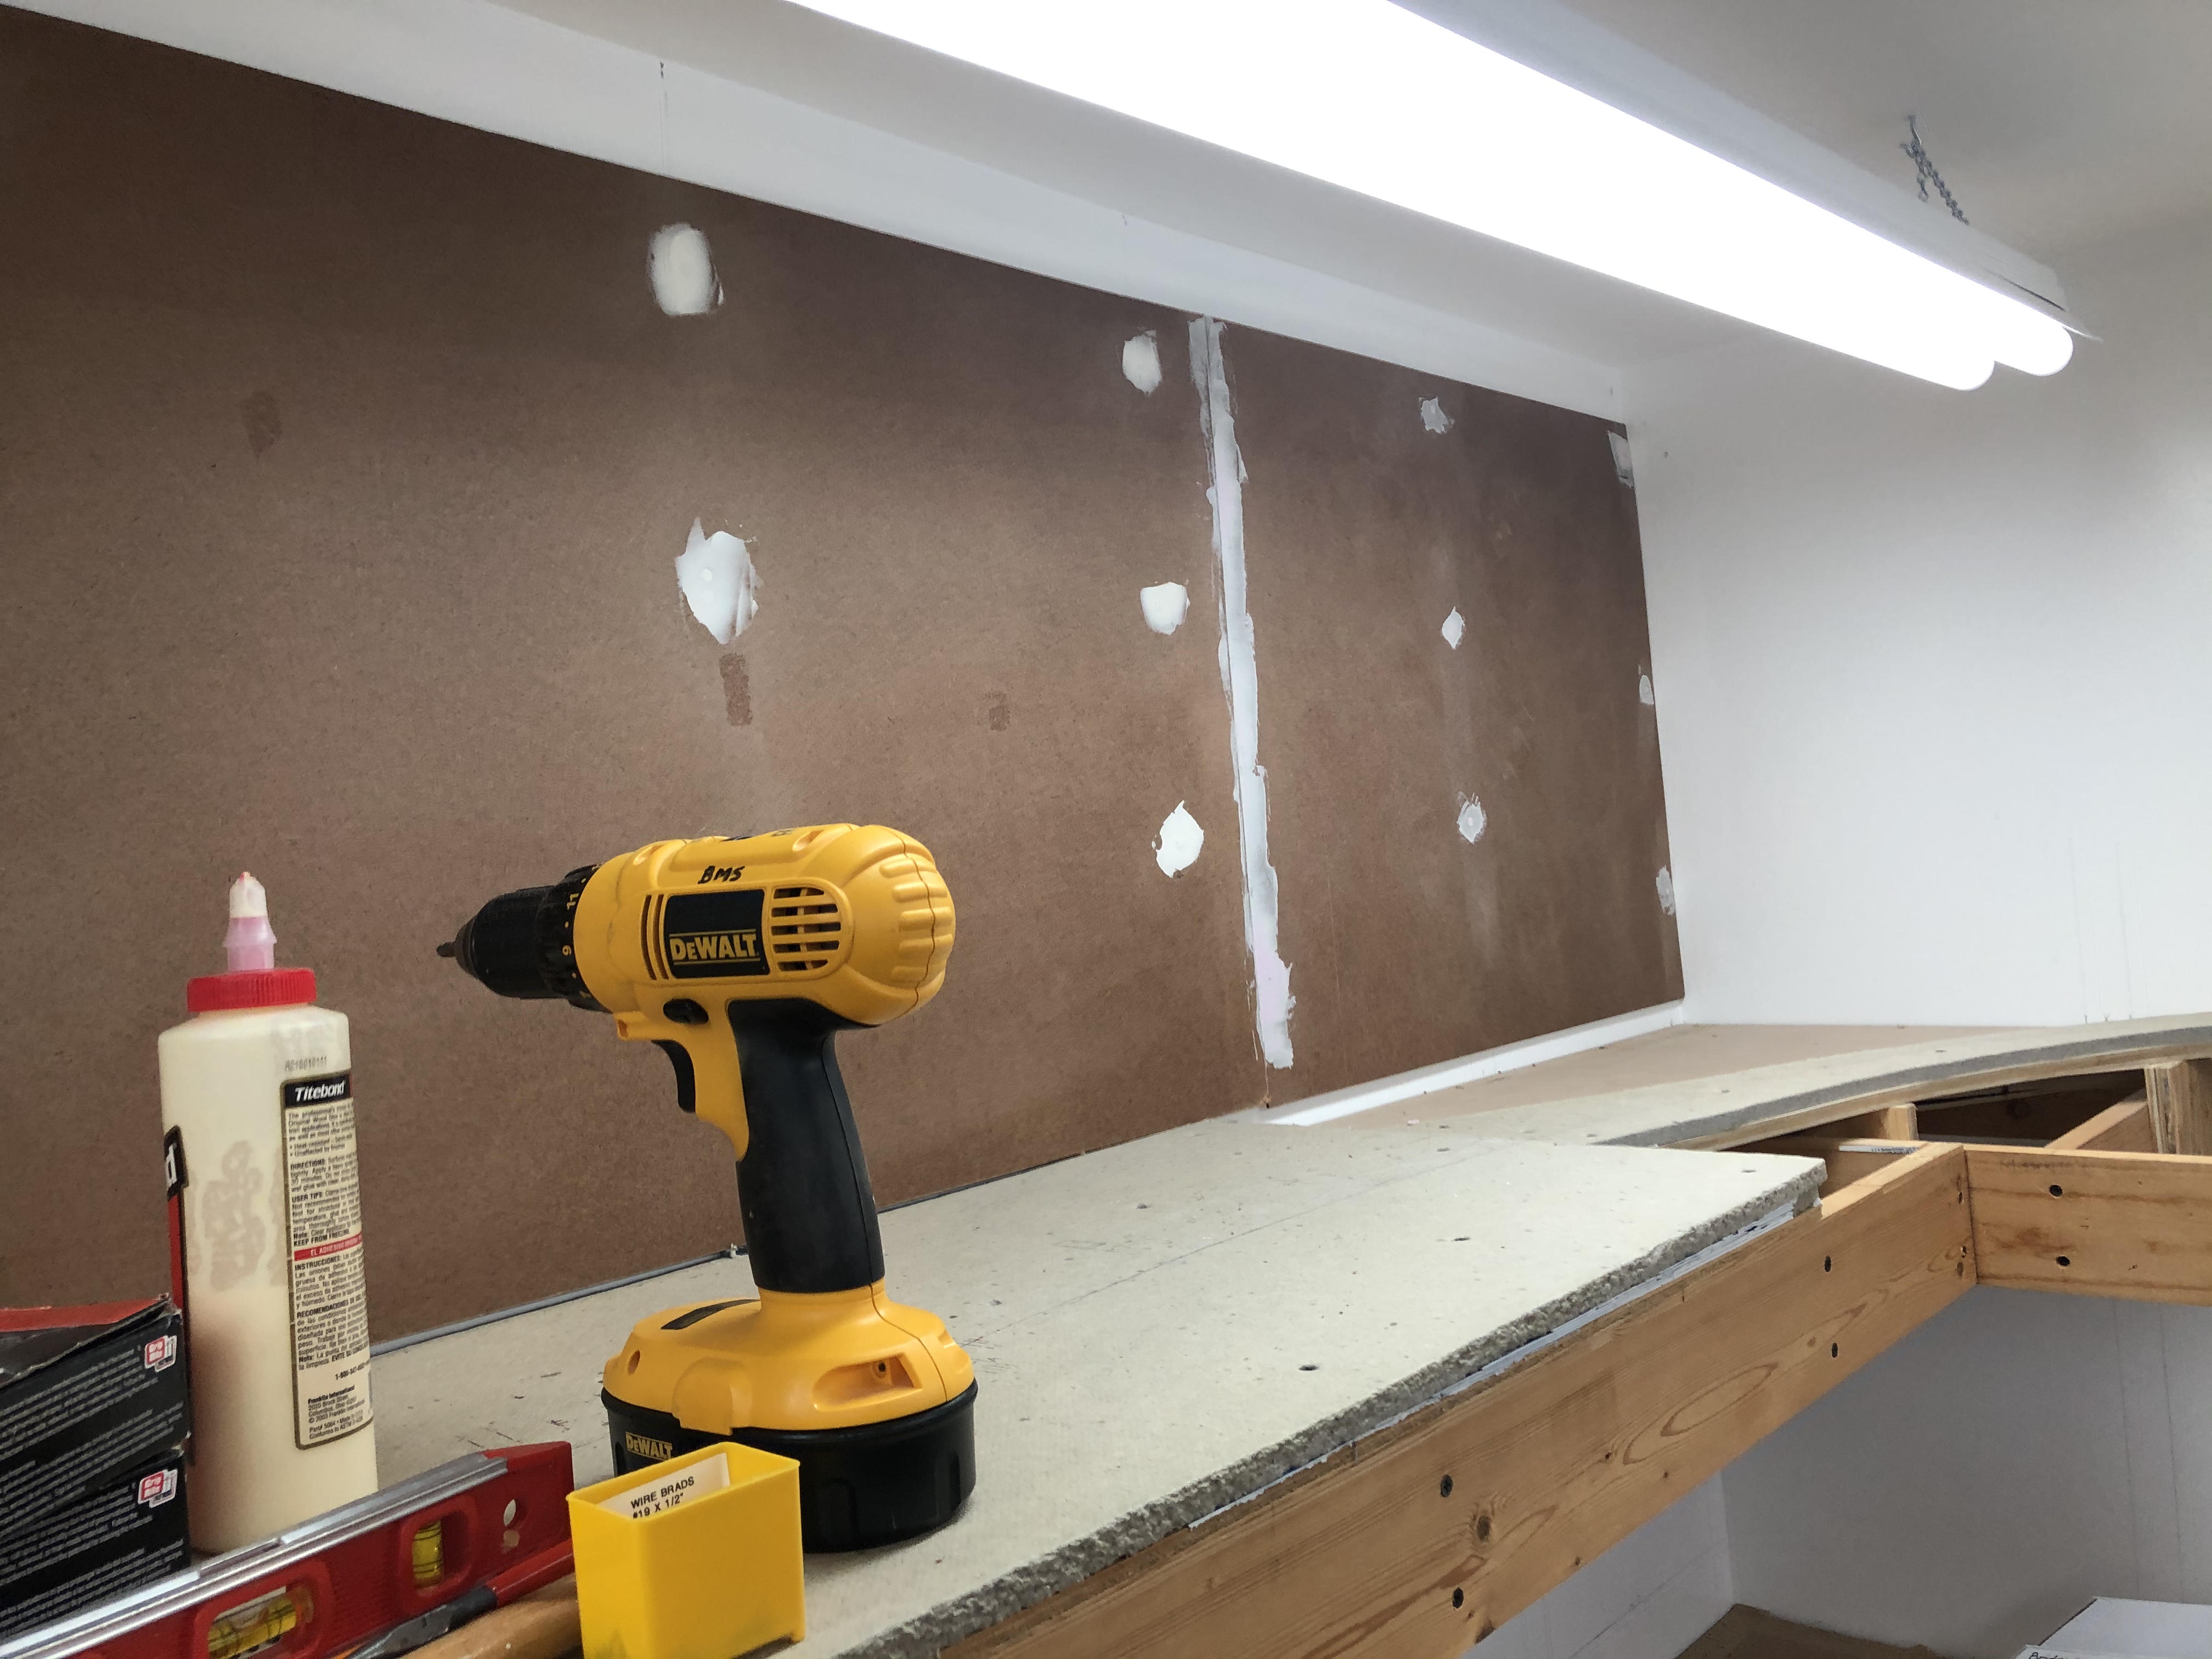
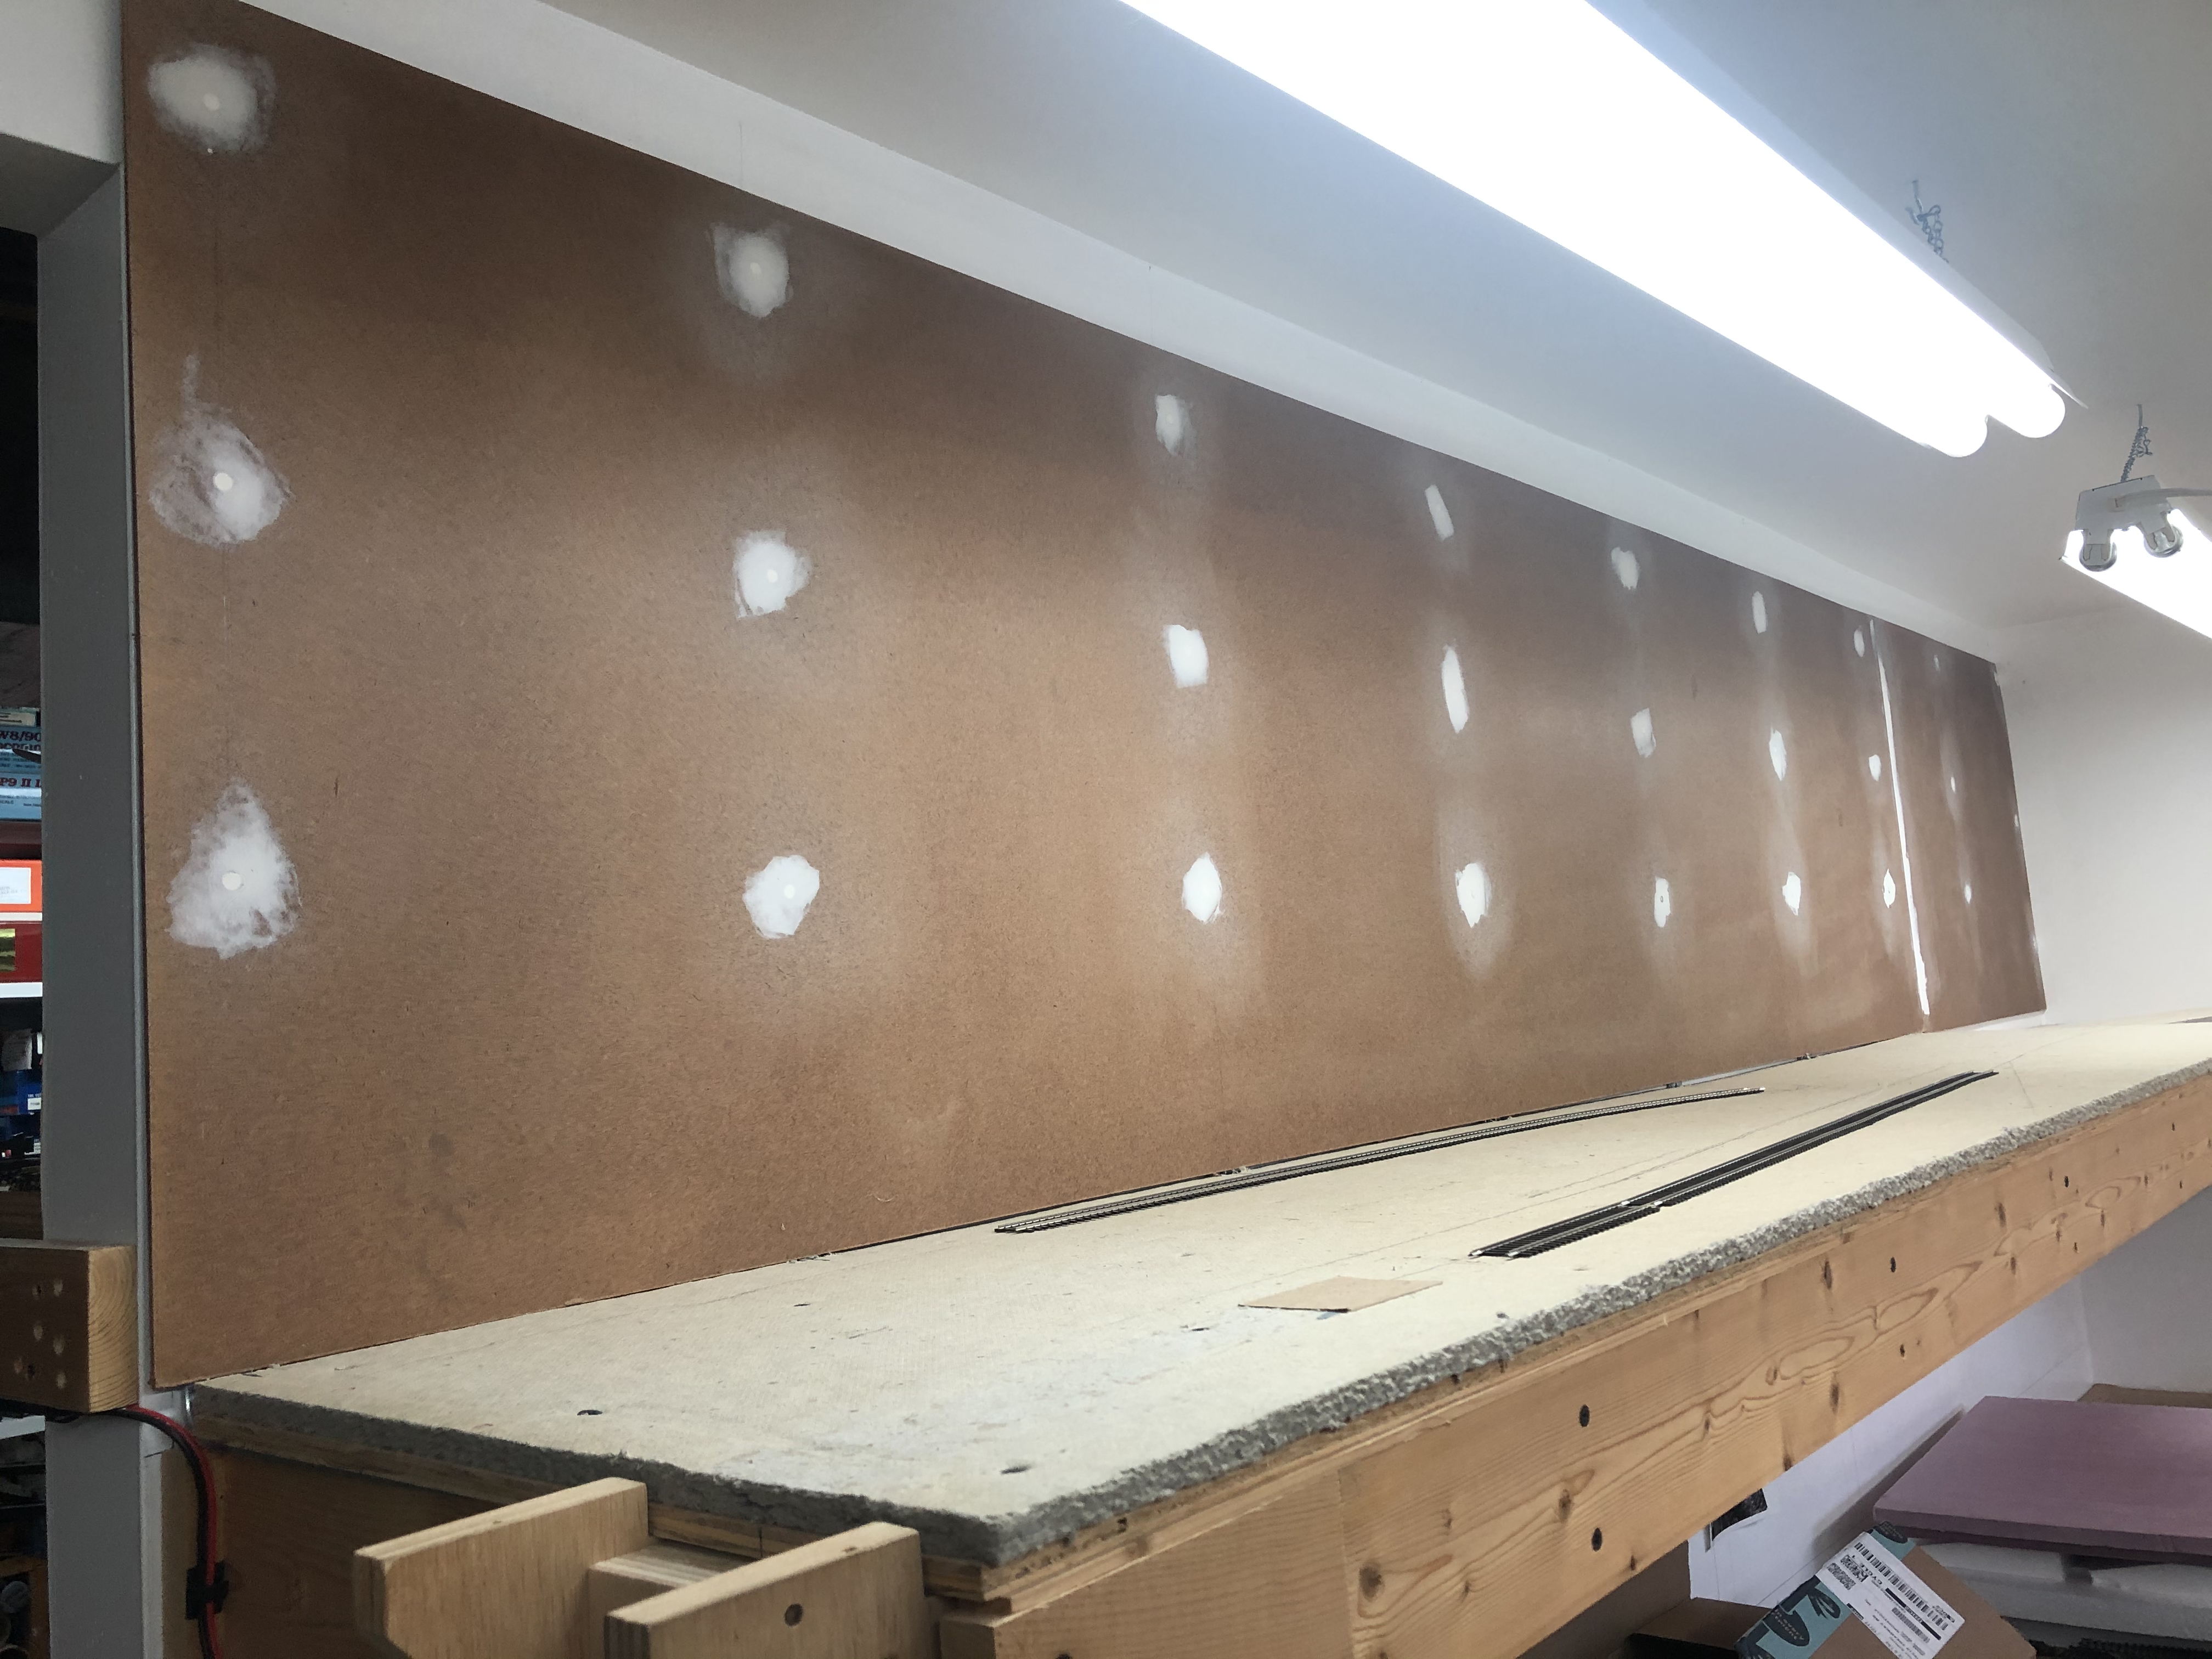
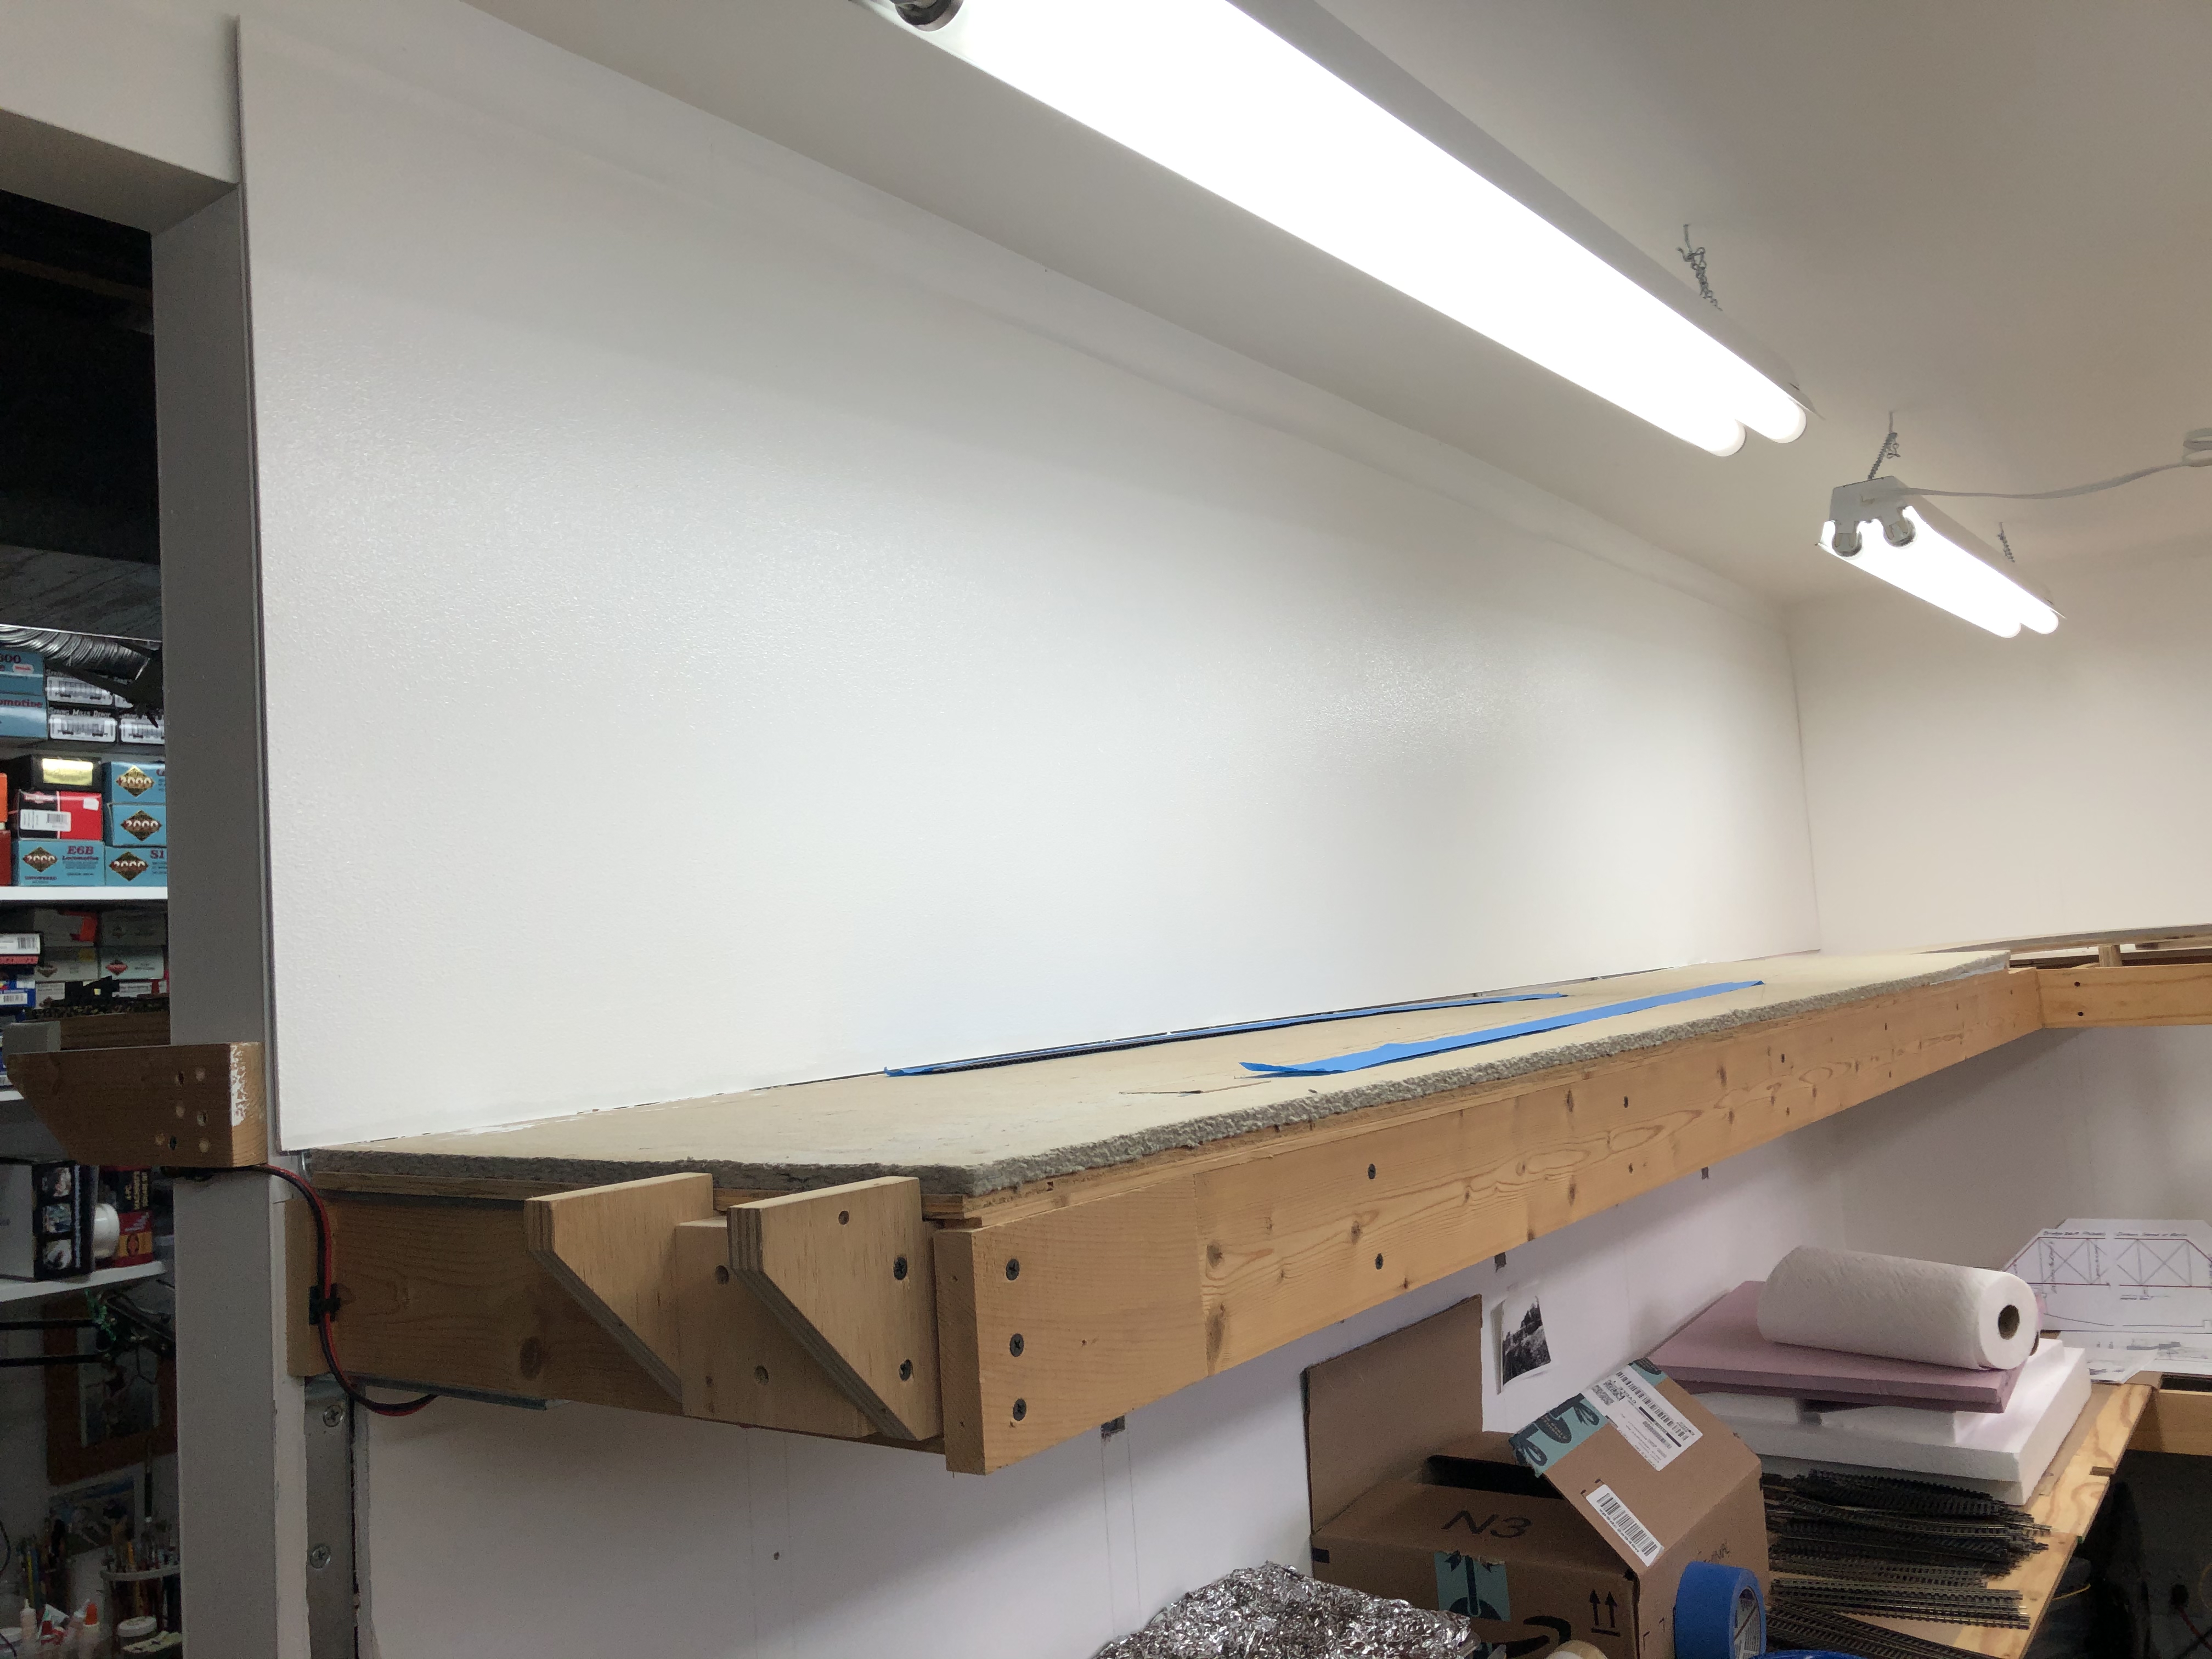
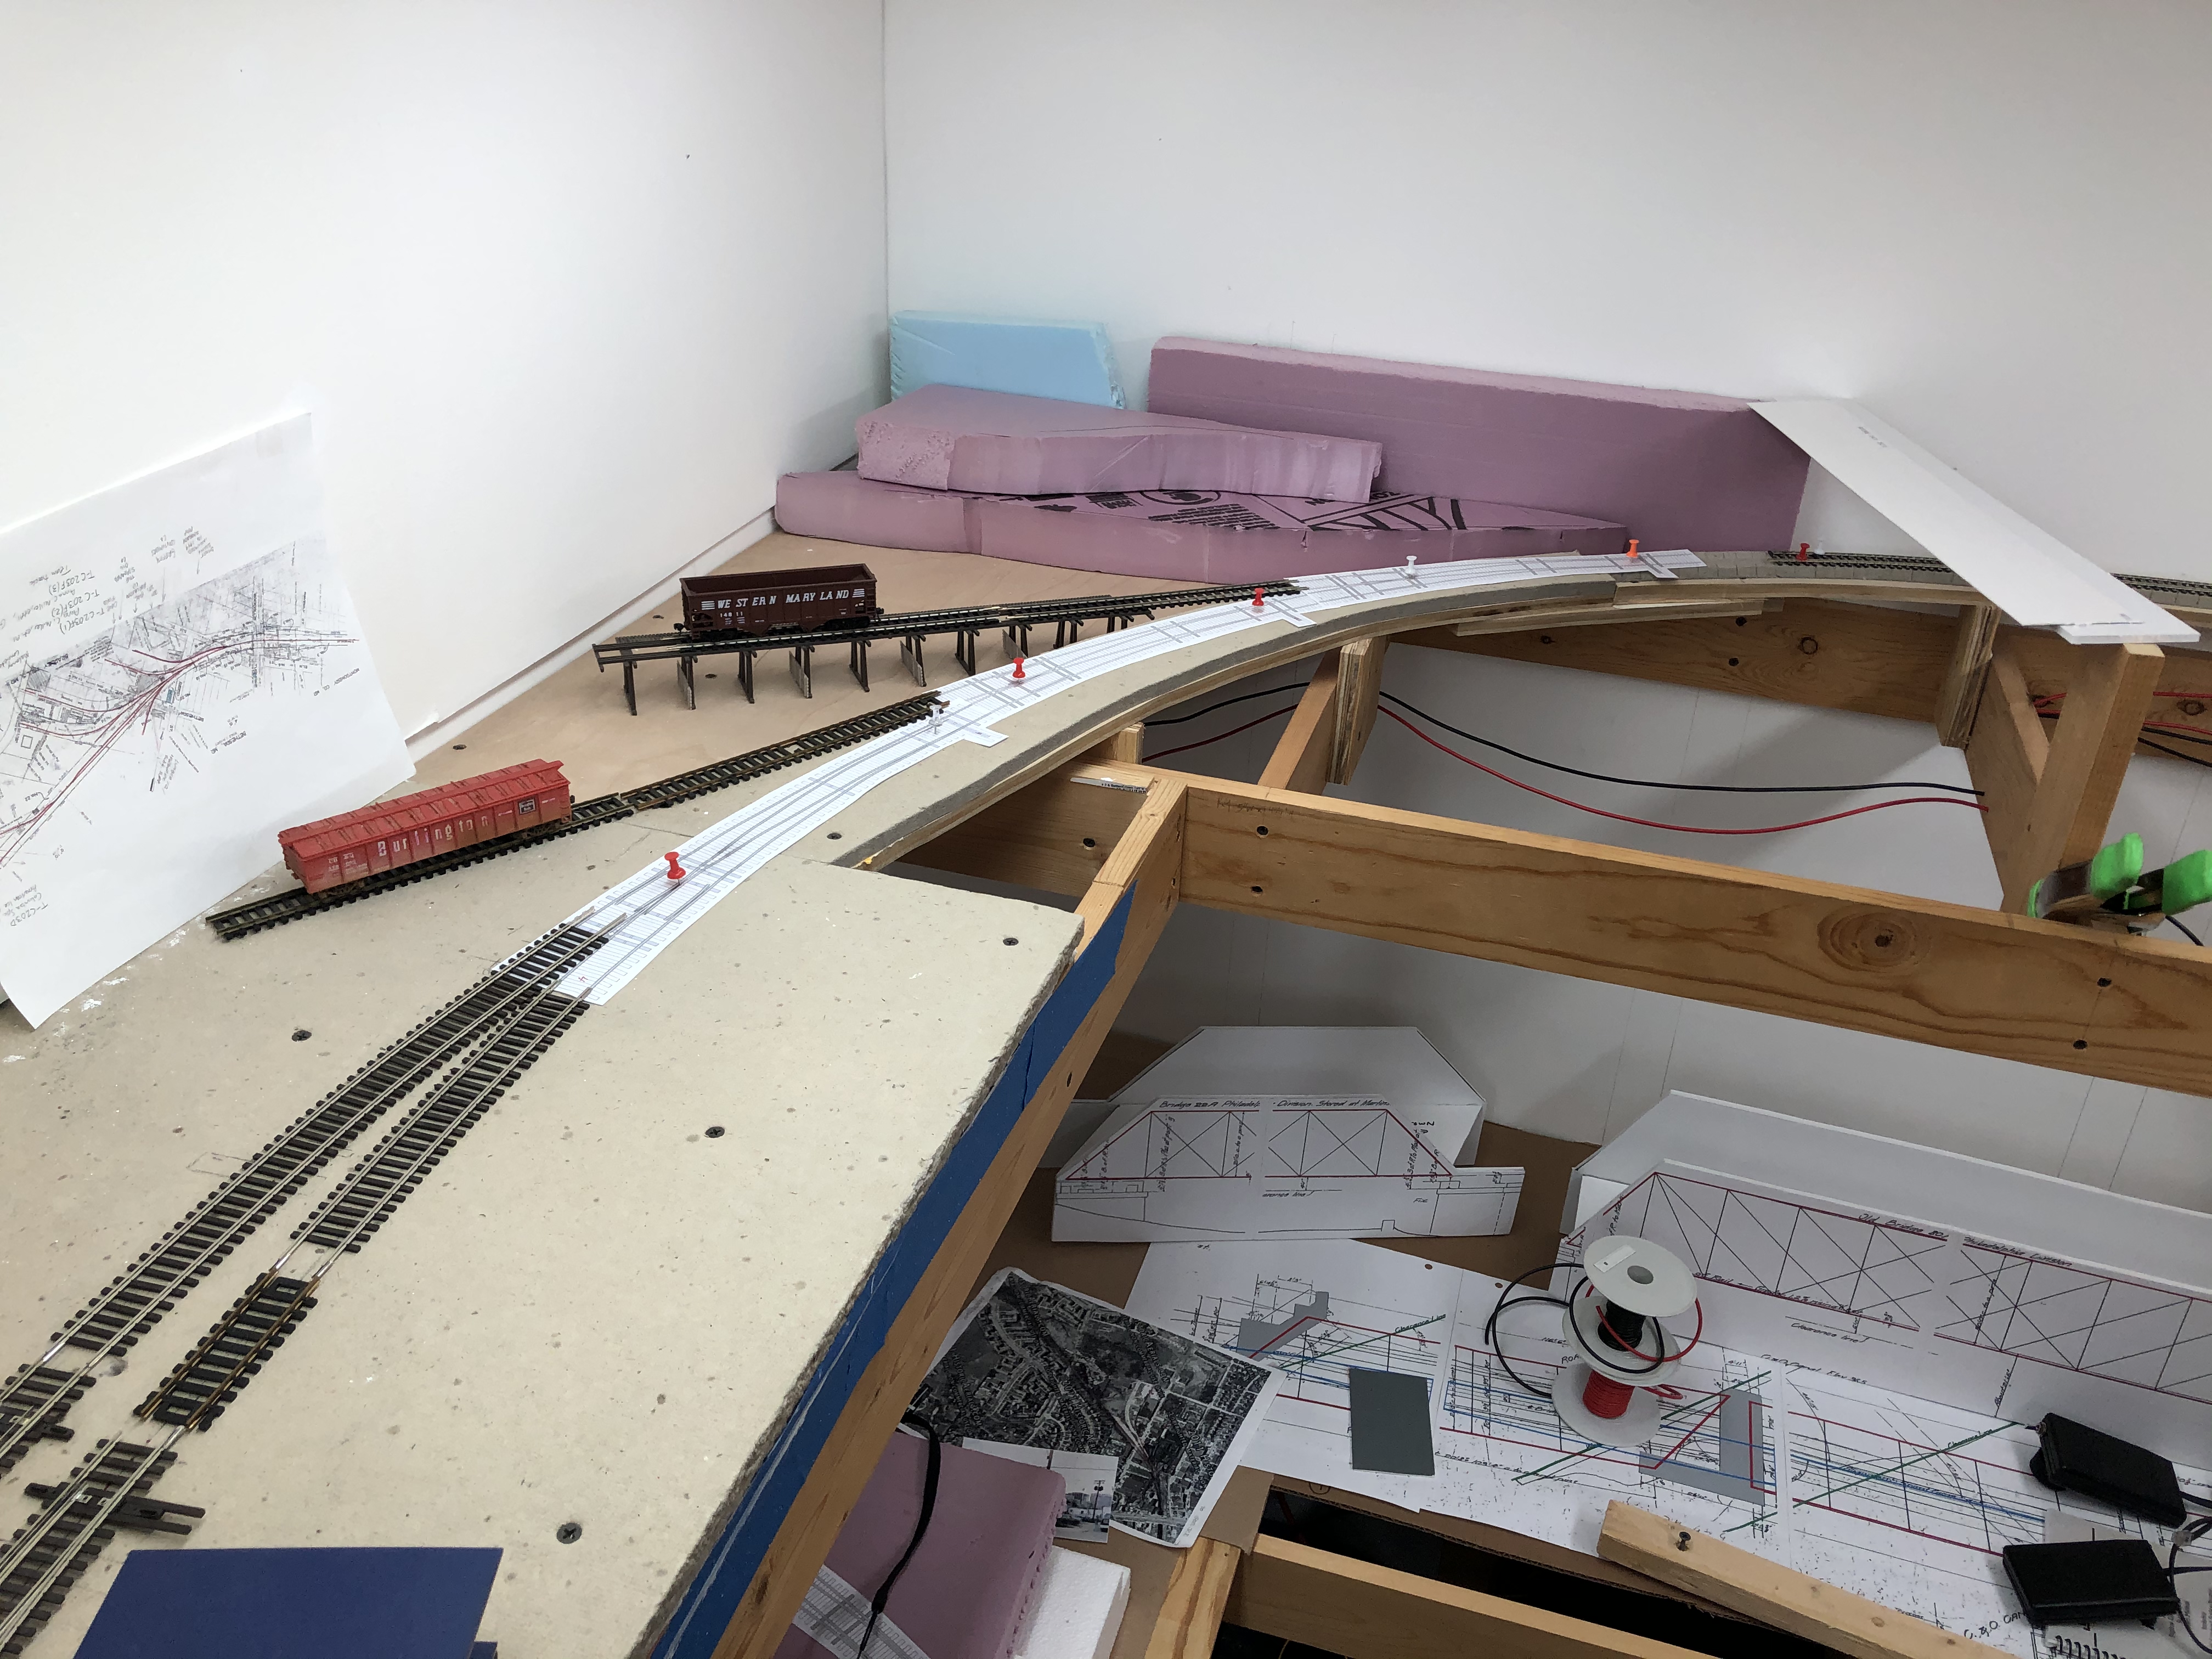
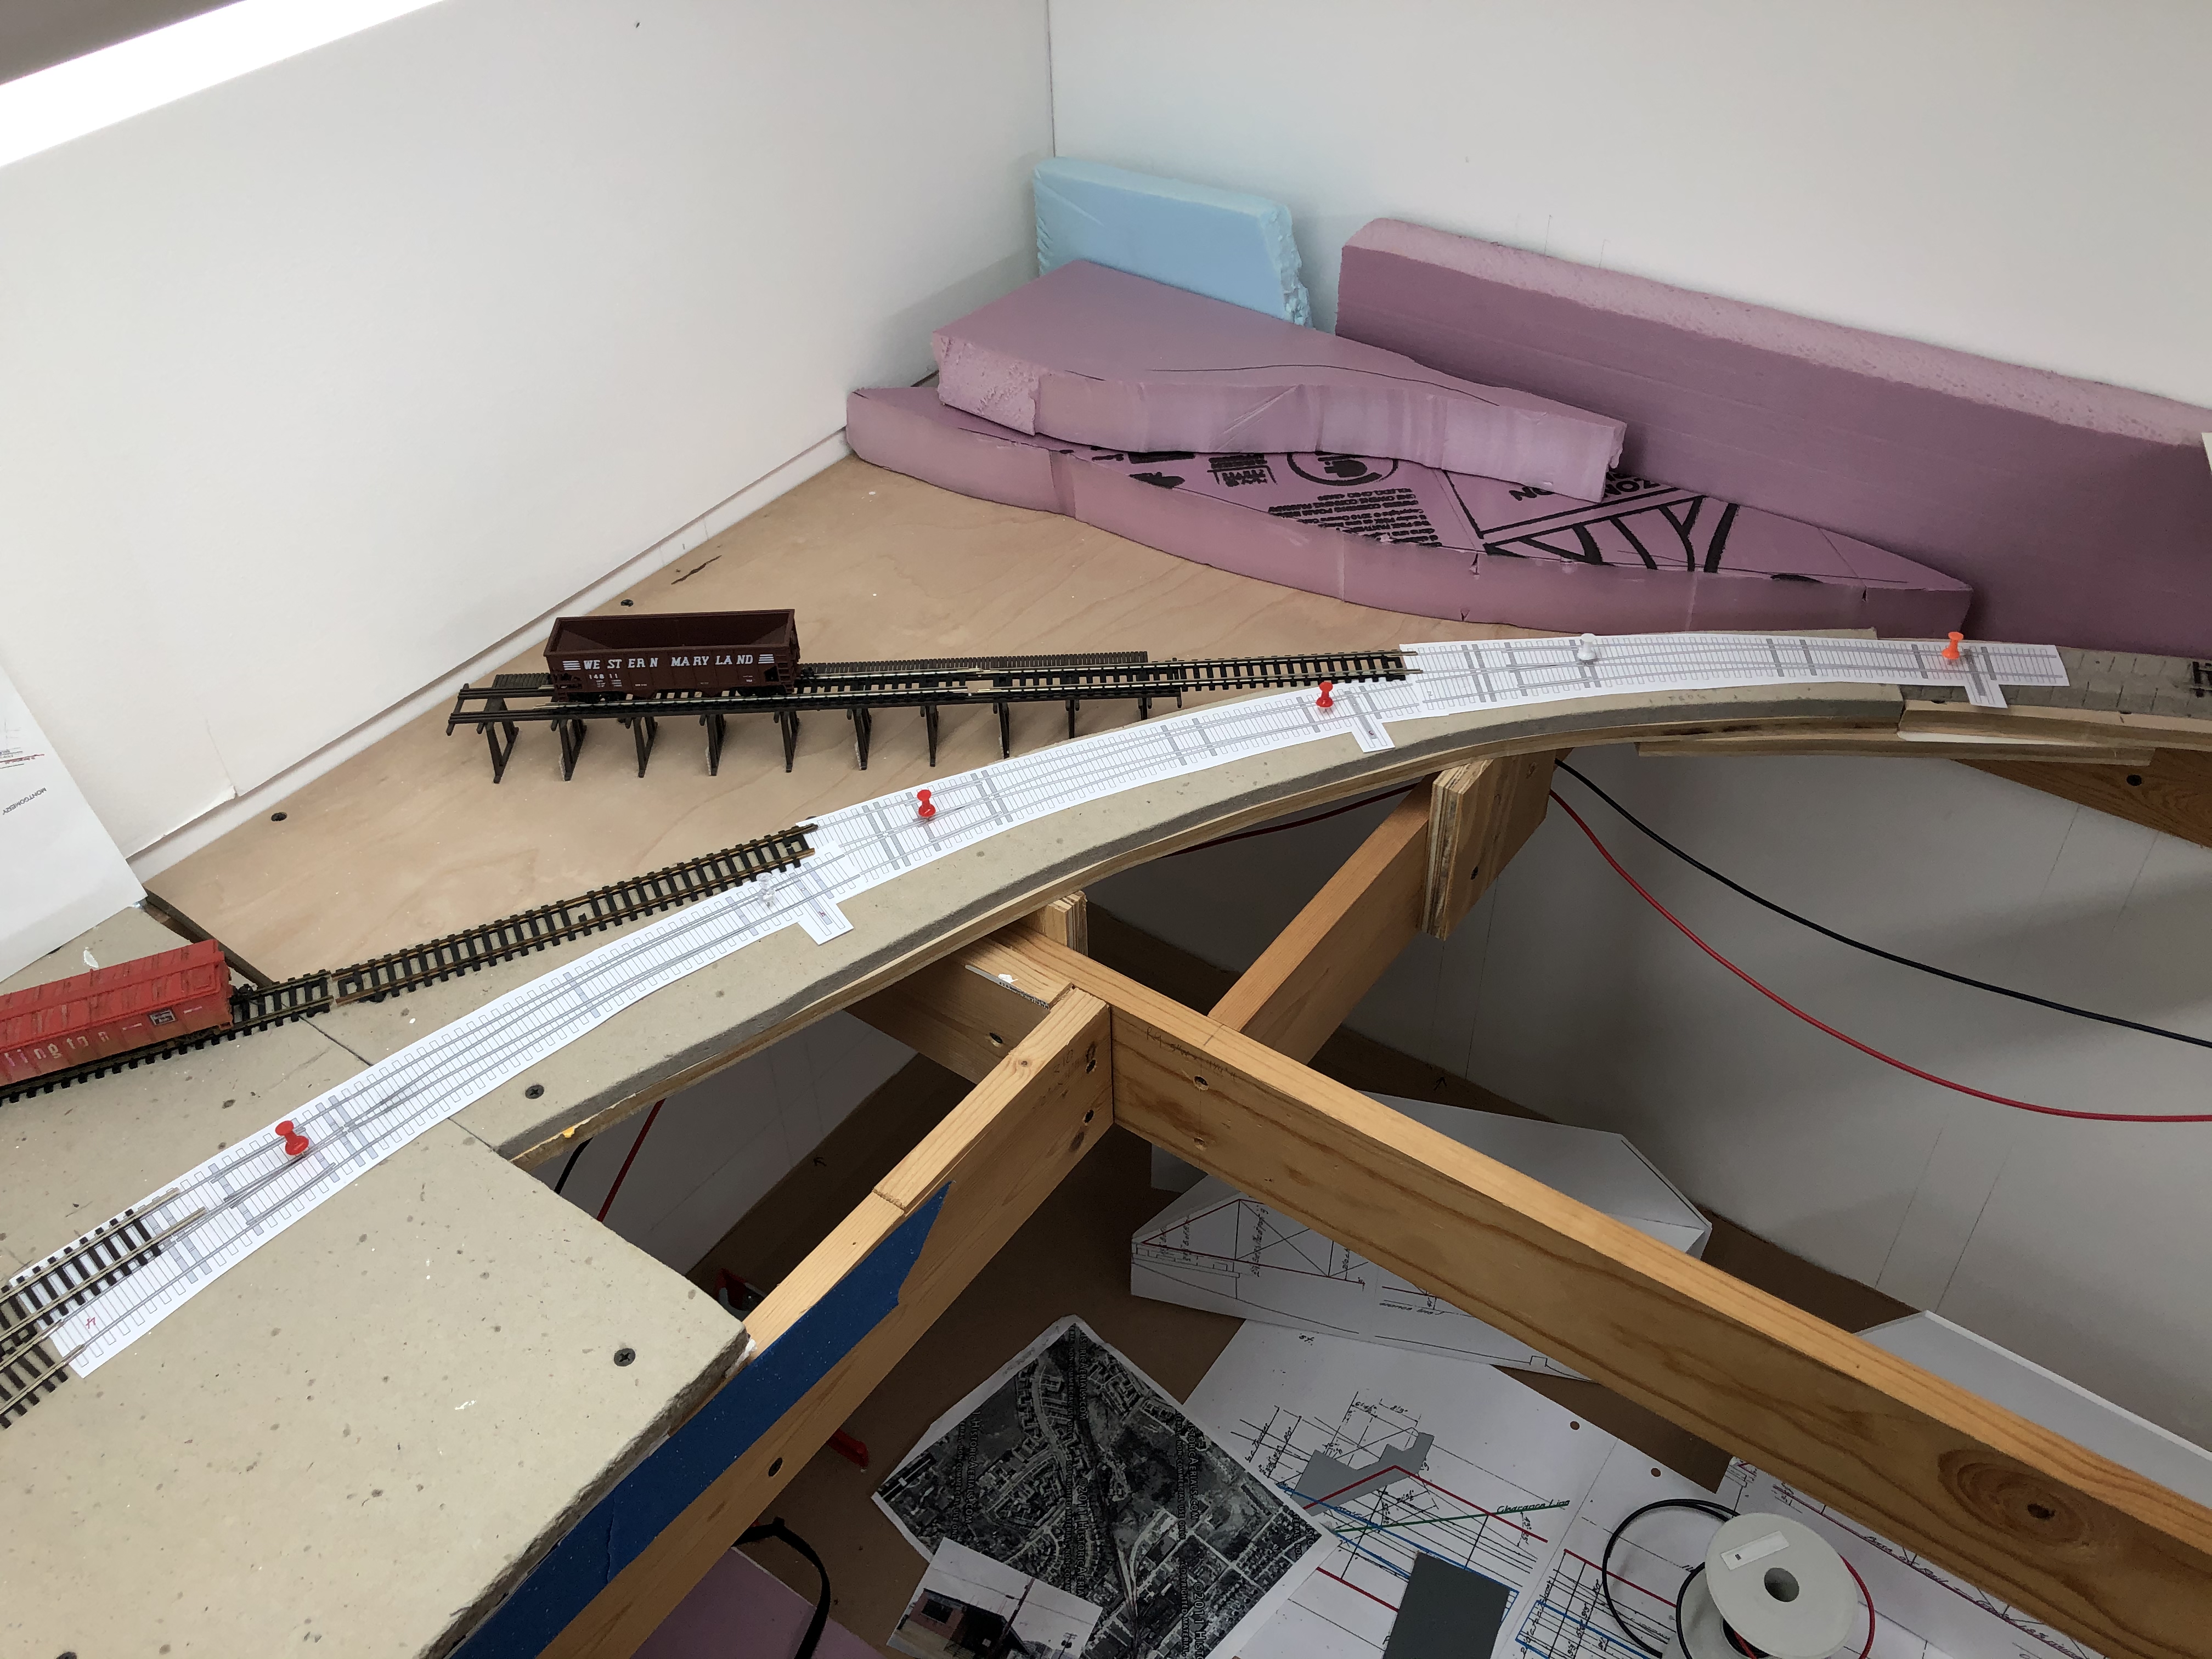
A lot going on in this area of the layout as I completed the backdrop, painted it and removed tracks to do mock-ups.
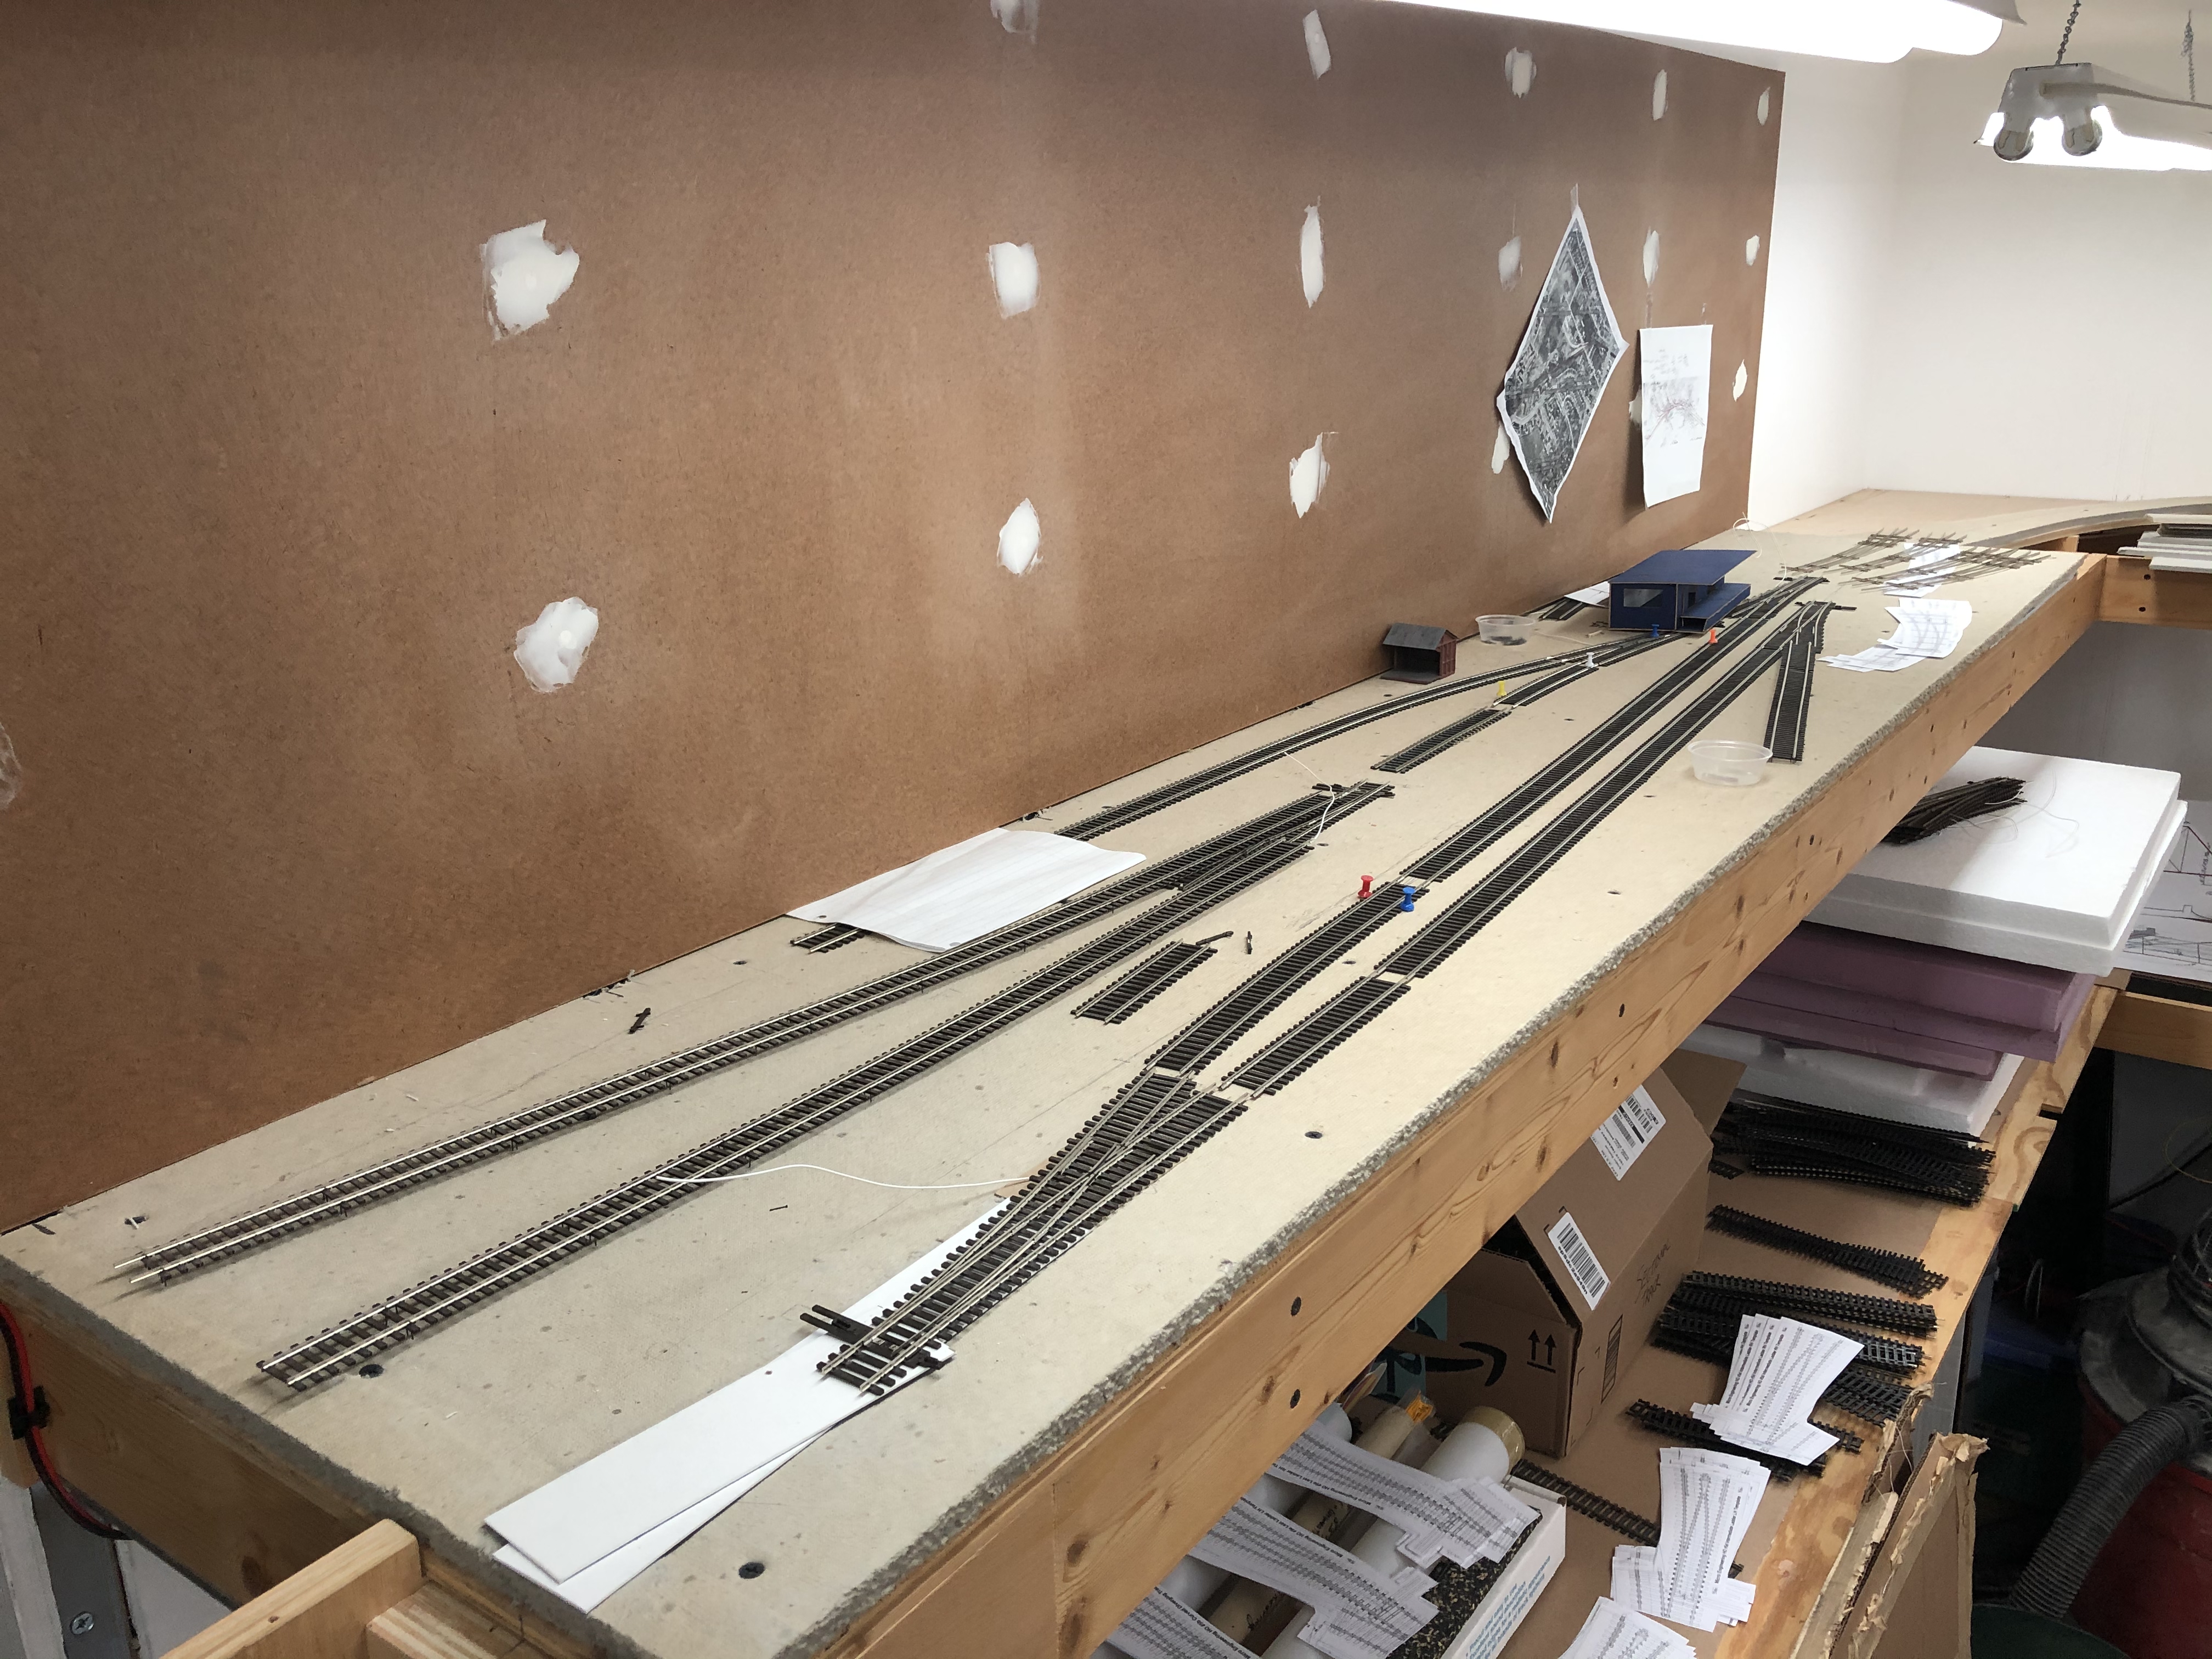

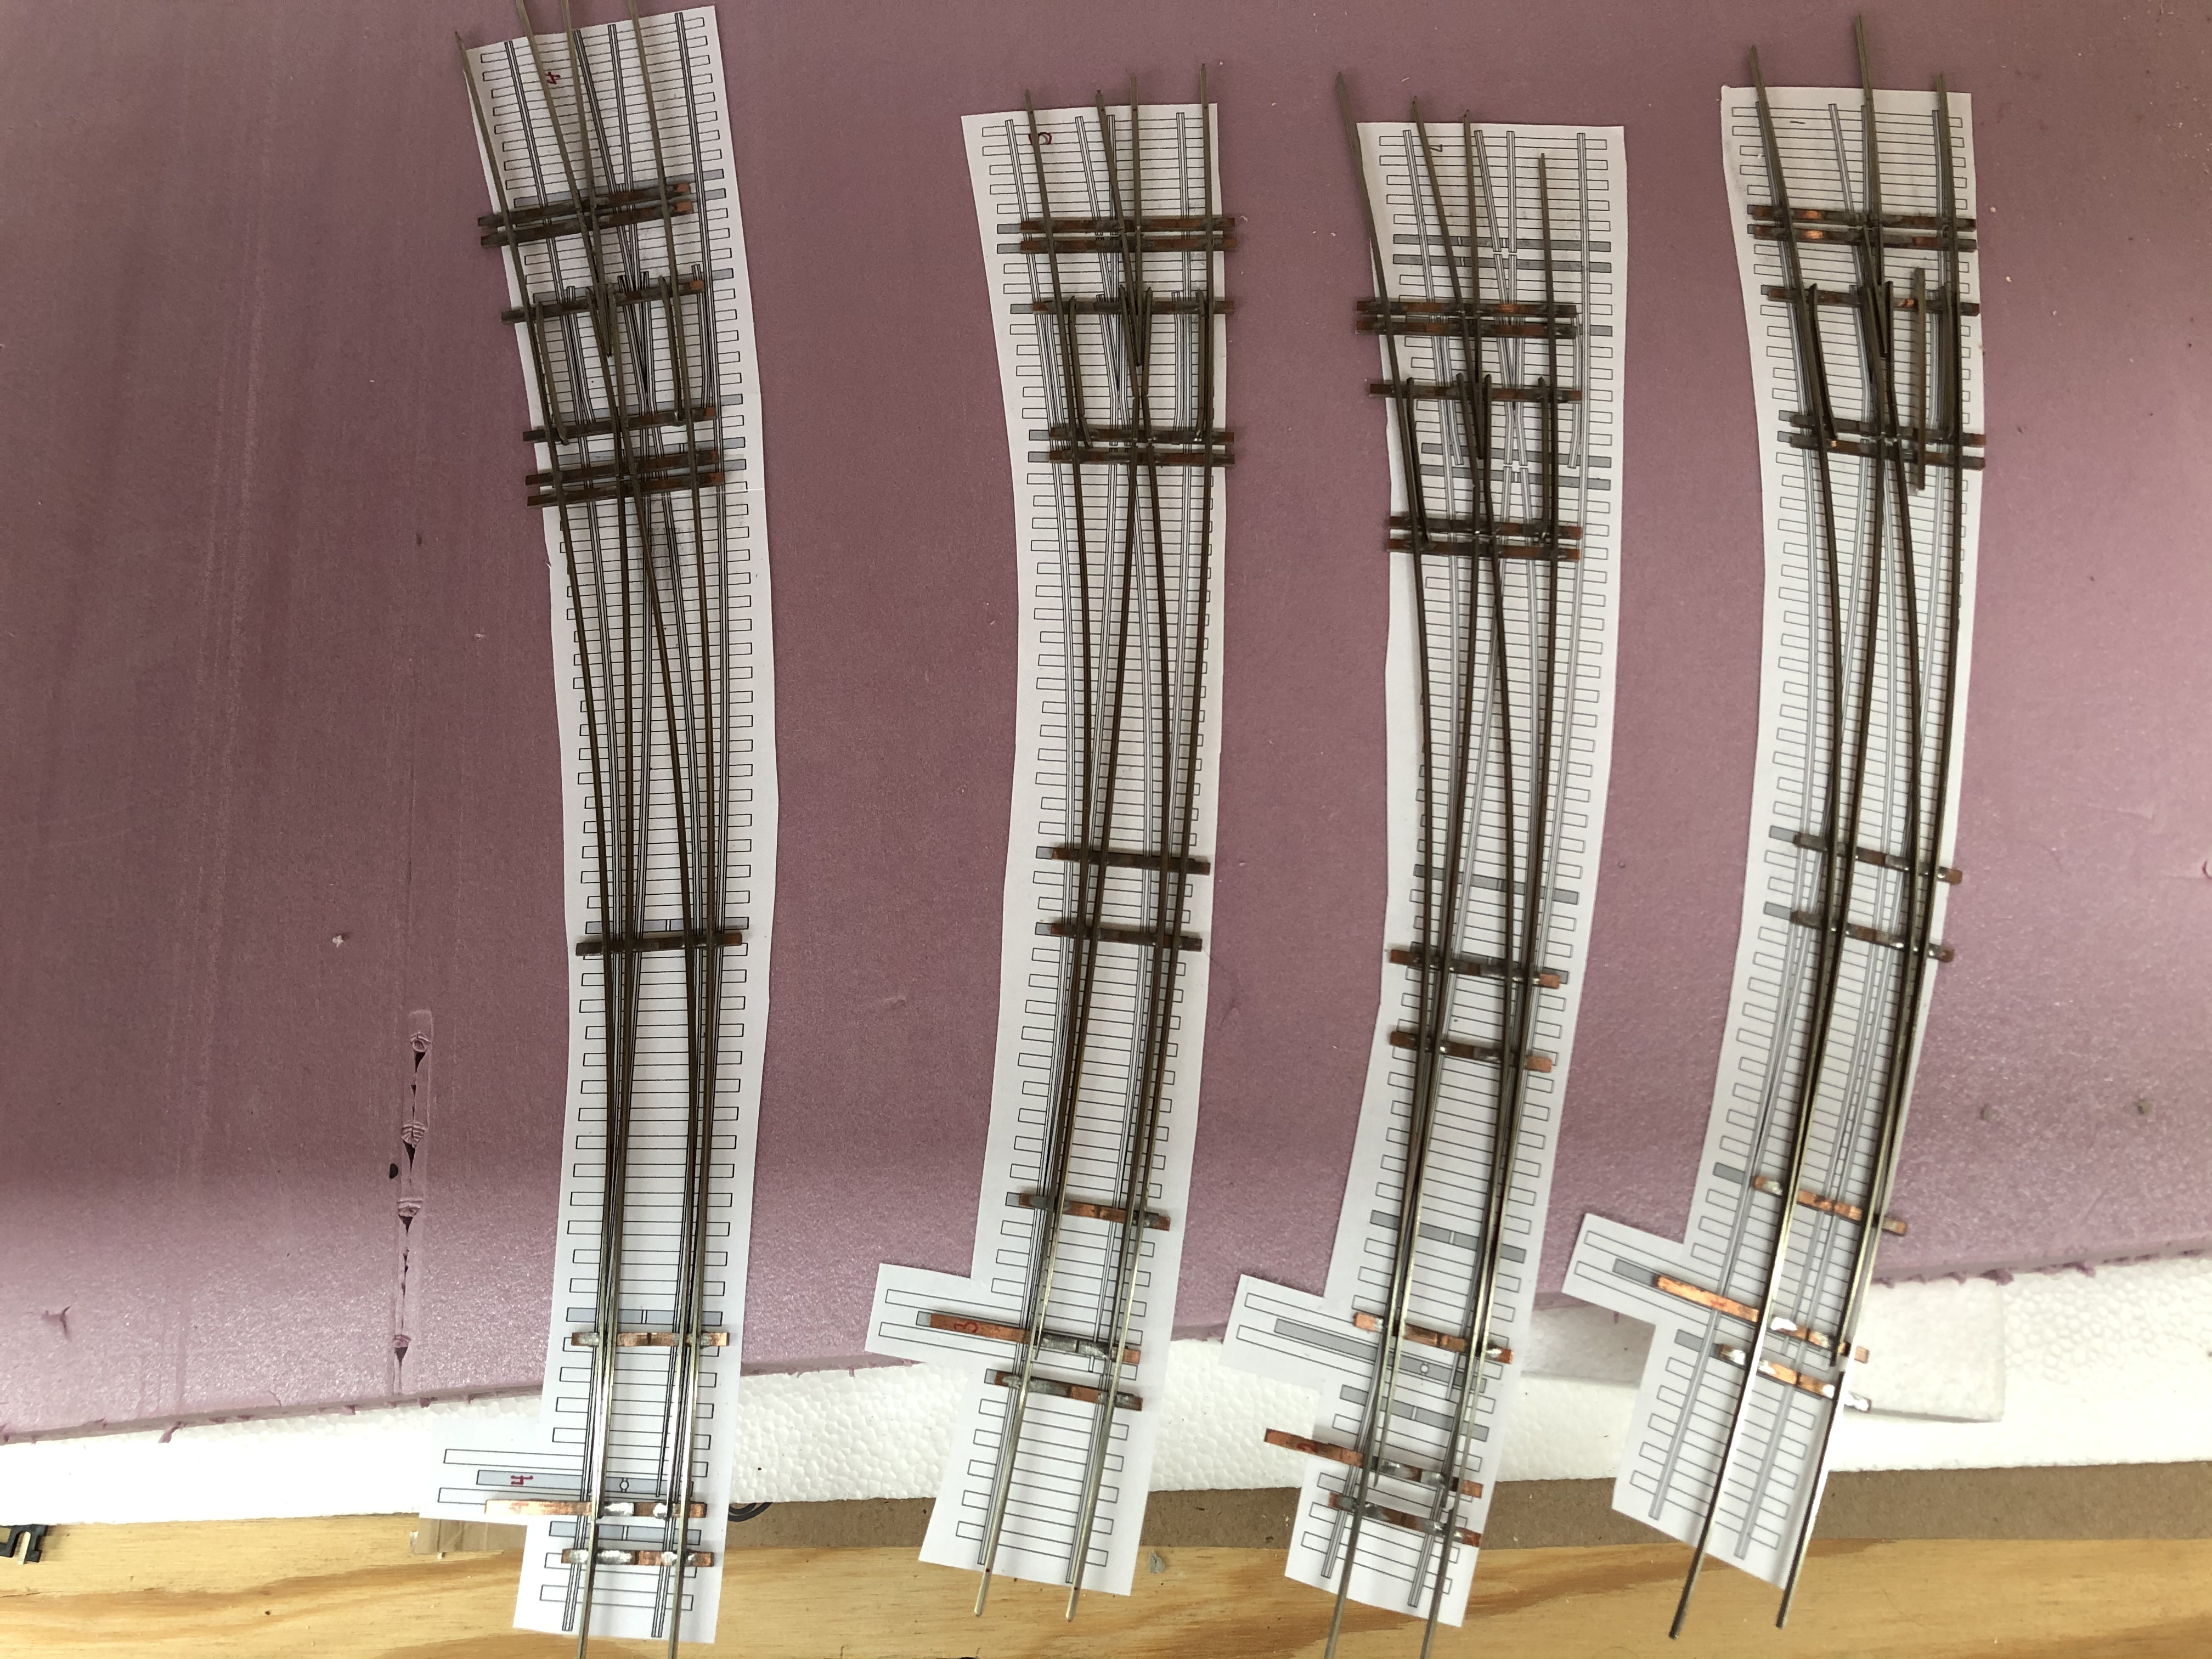
The three turnouts are sized as follows from right to left: #8 40″ outside radius, 30″ inside radius, #8 50″/35″, #8 60″/40″, and #10 60″/46″.

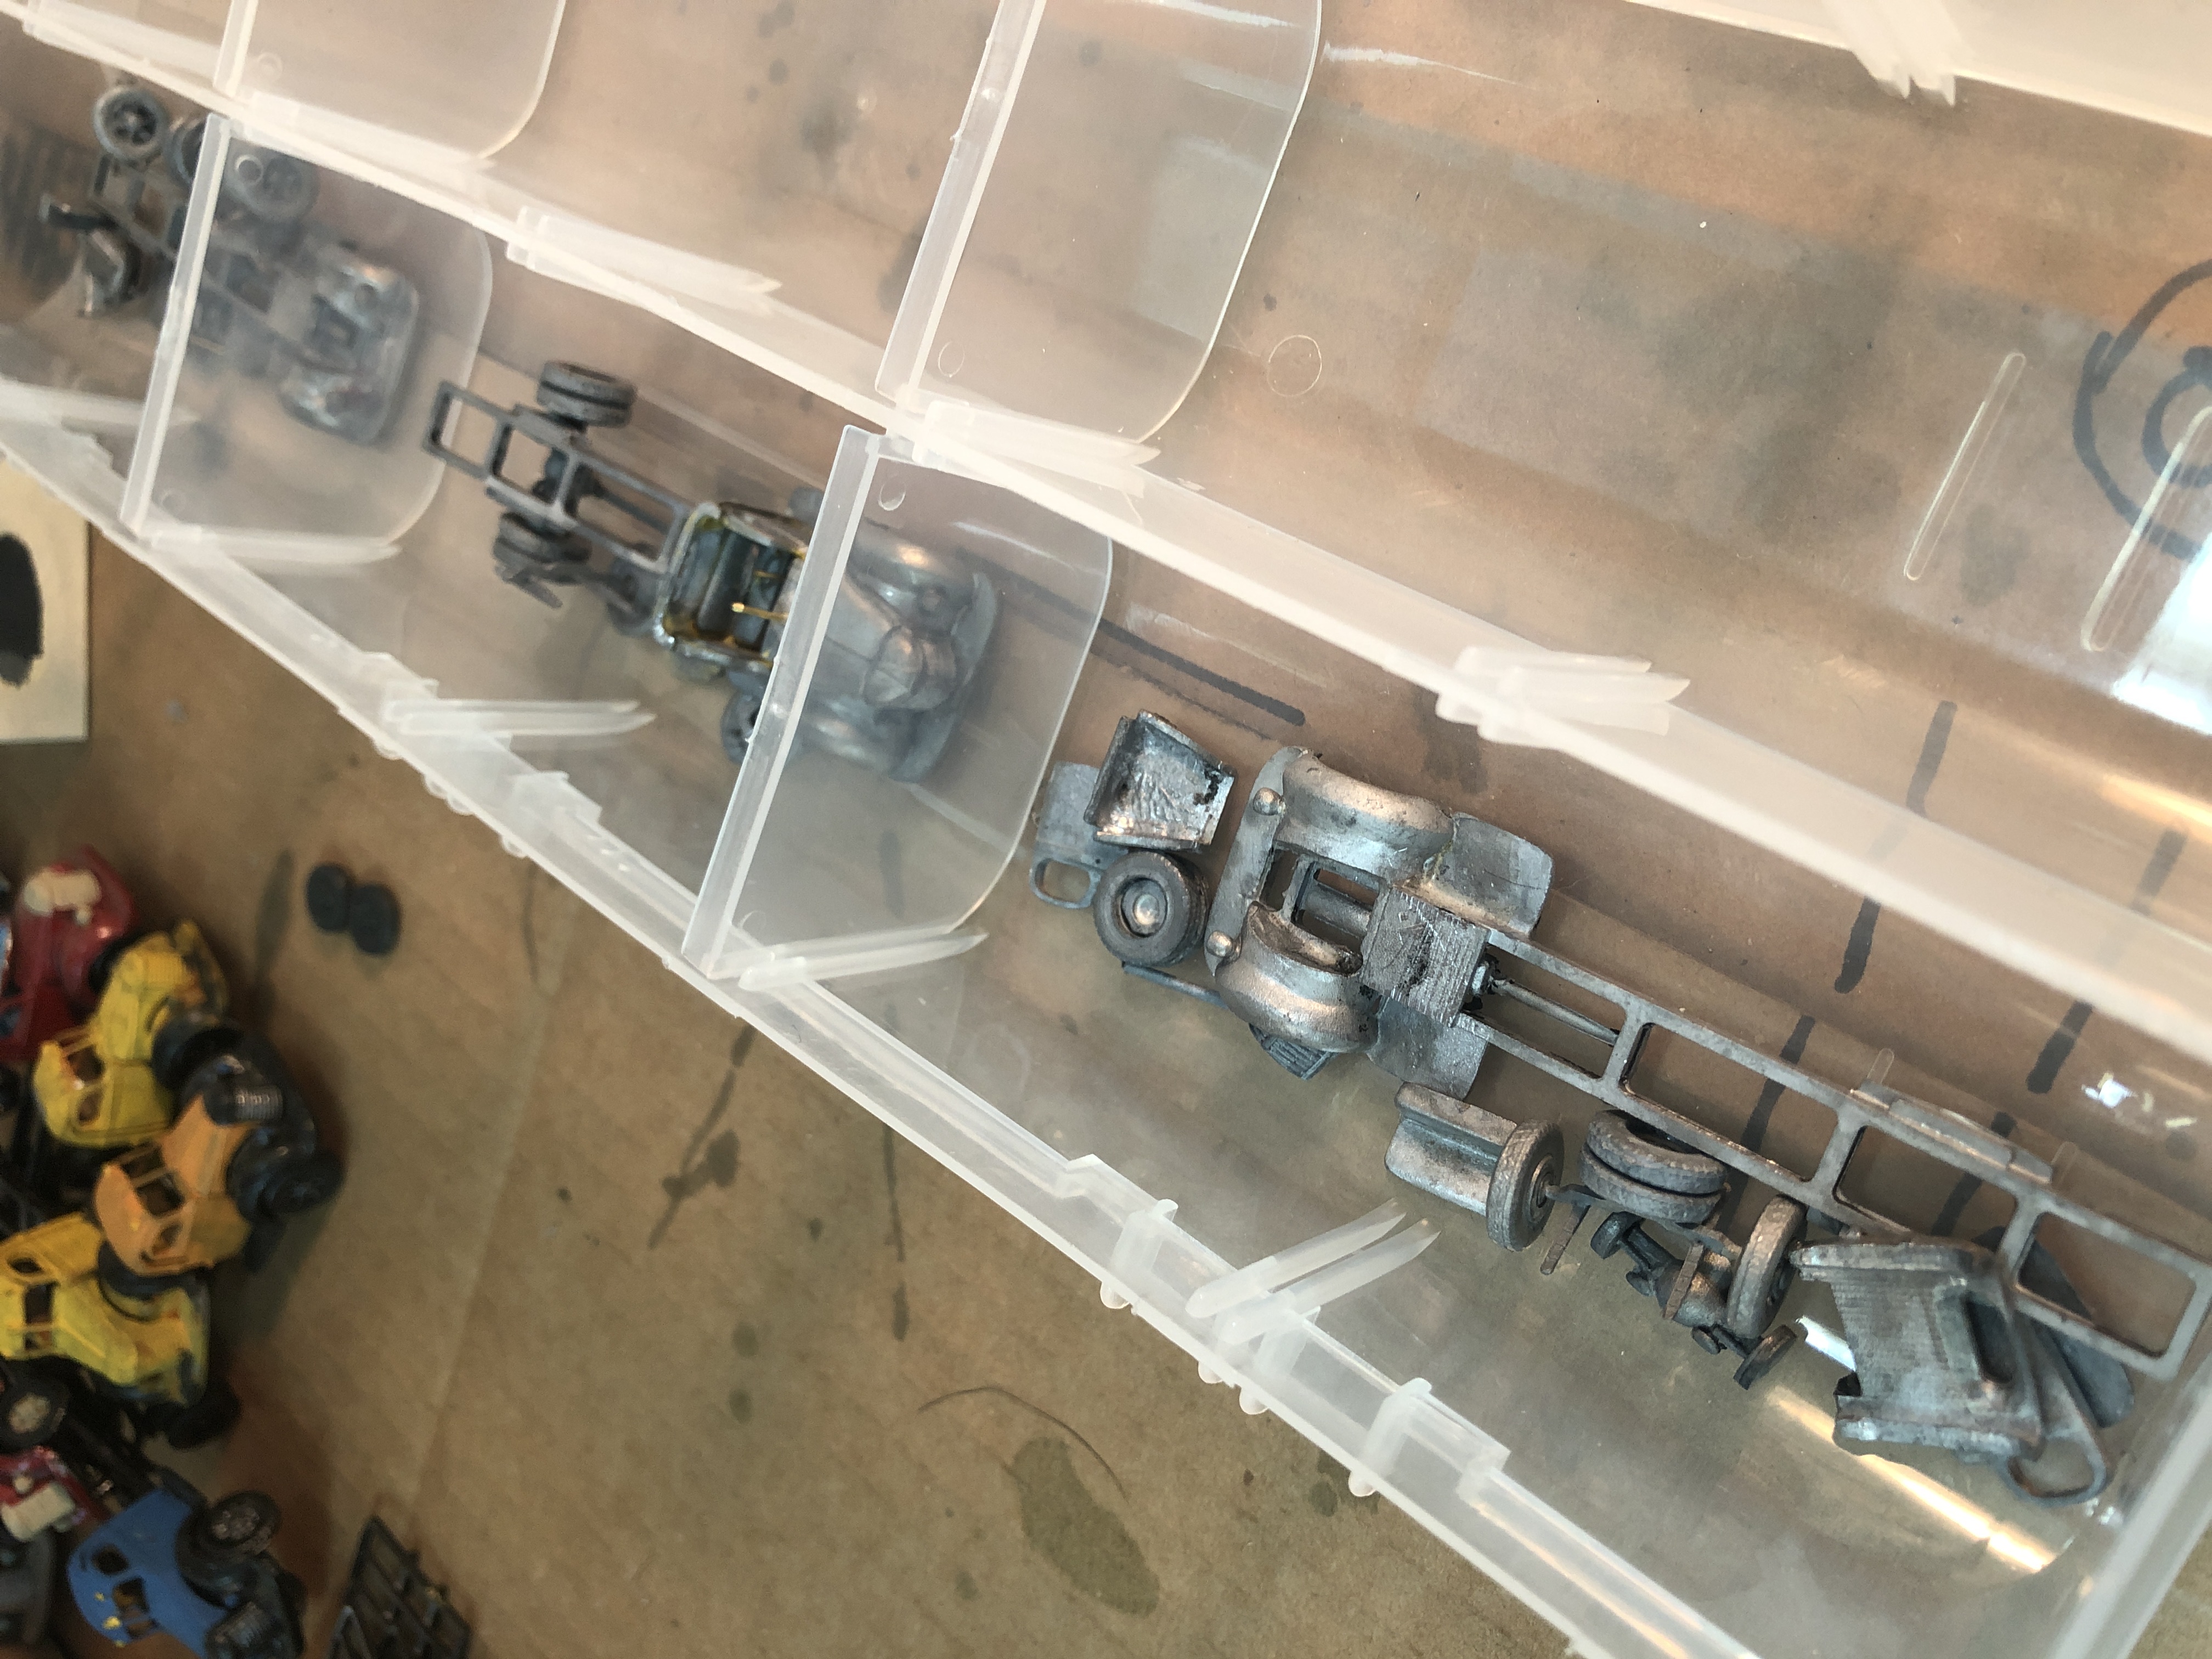
I have also been busy with various modeling tasks. A couple years ago I bought a large lot of HO scale vehicles, mostly die cast, some resin. In retrospect, I think I bit off more than I can chew and what I purchased are models that are going to take a lot of work to get where I want them for the layout. I’ve been prototype research on the vehicles in the hopes I can do some better paint jobs than the previous owner did. Here is one example:
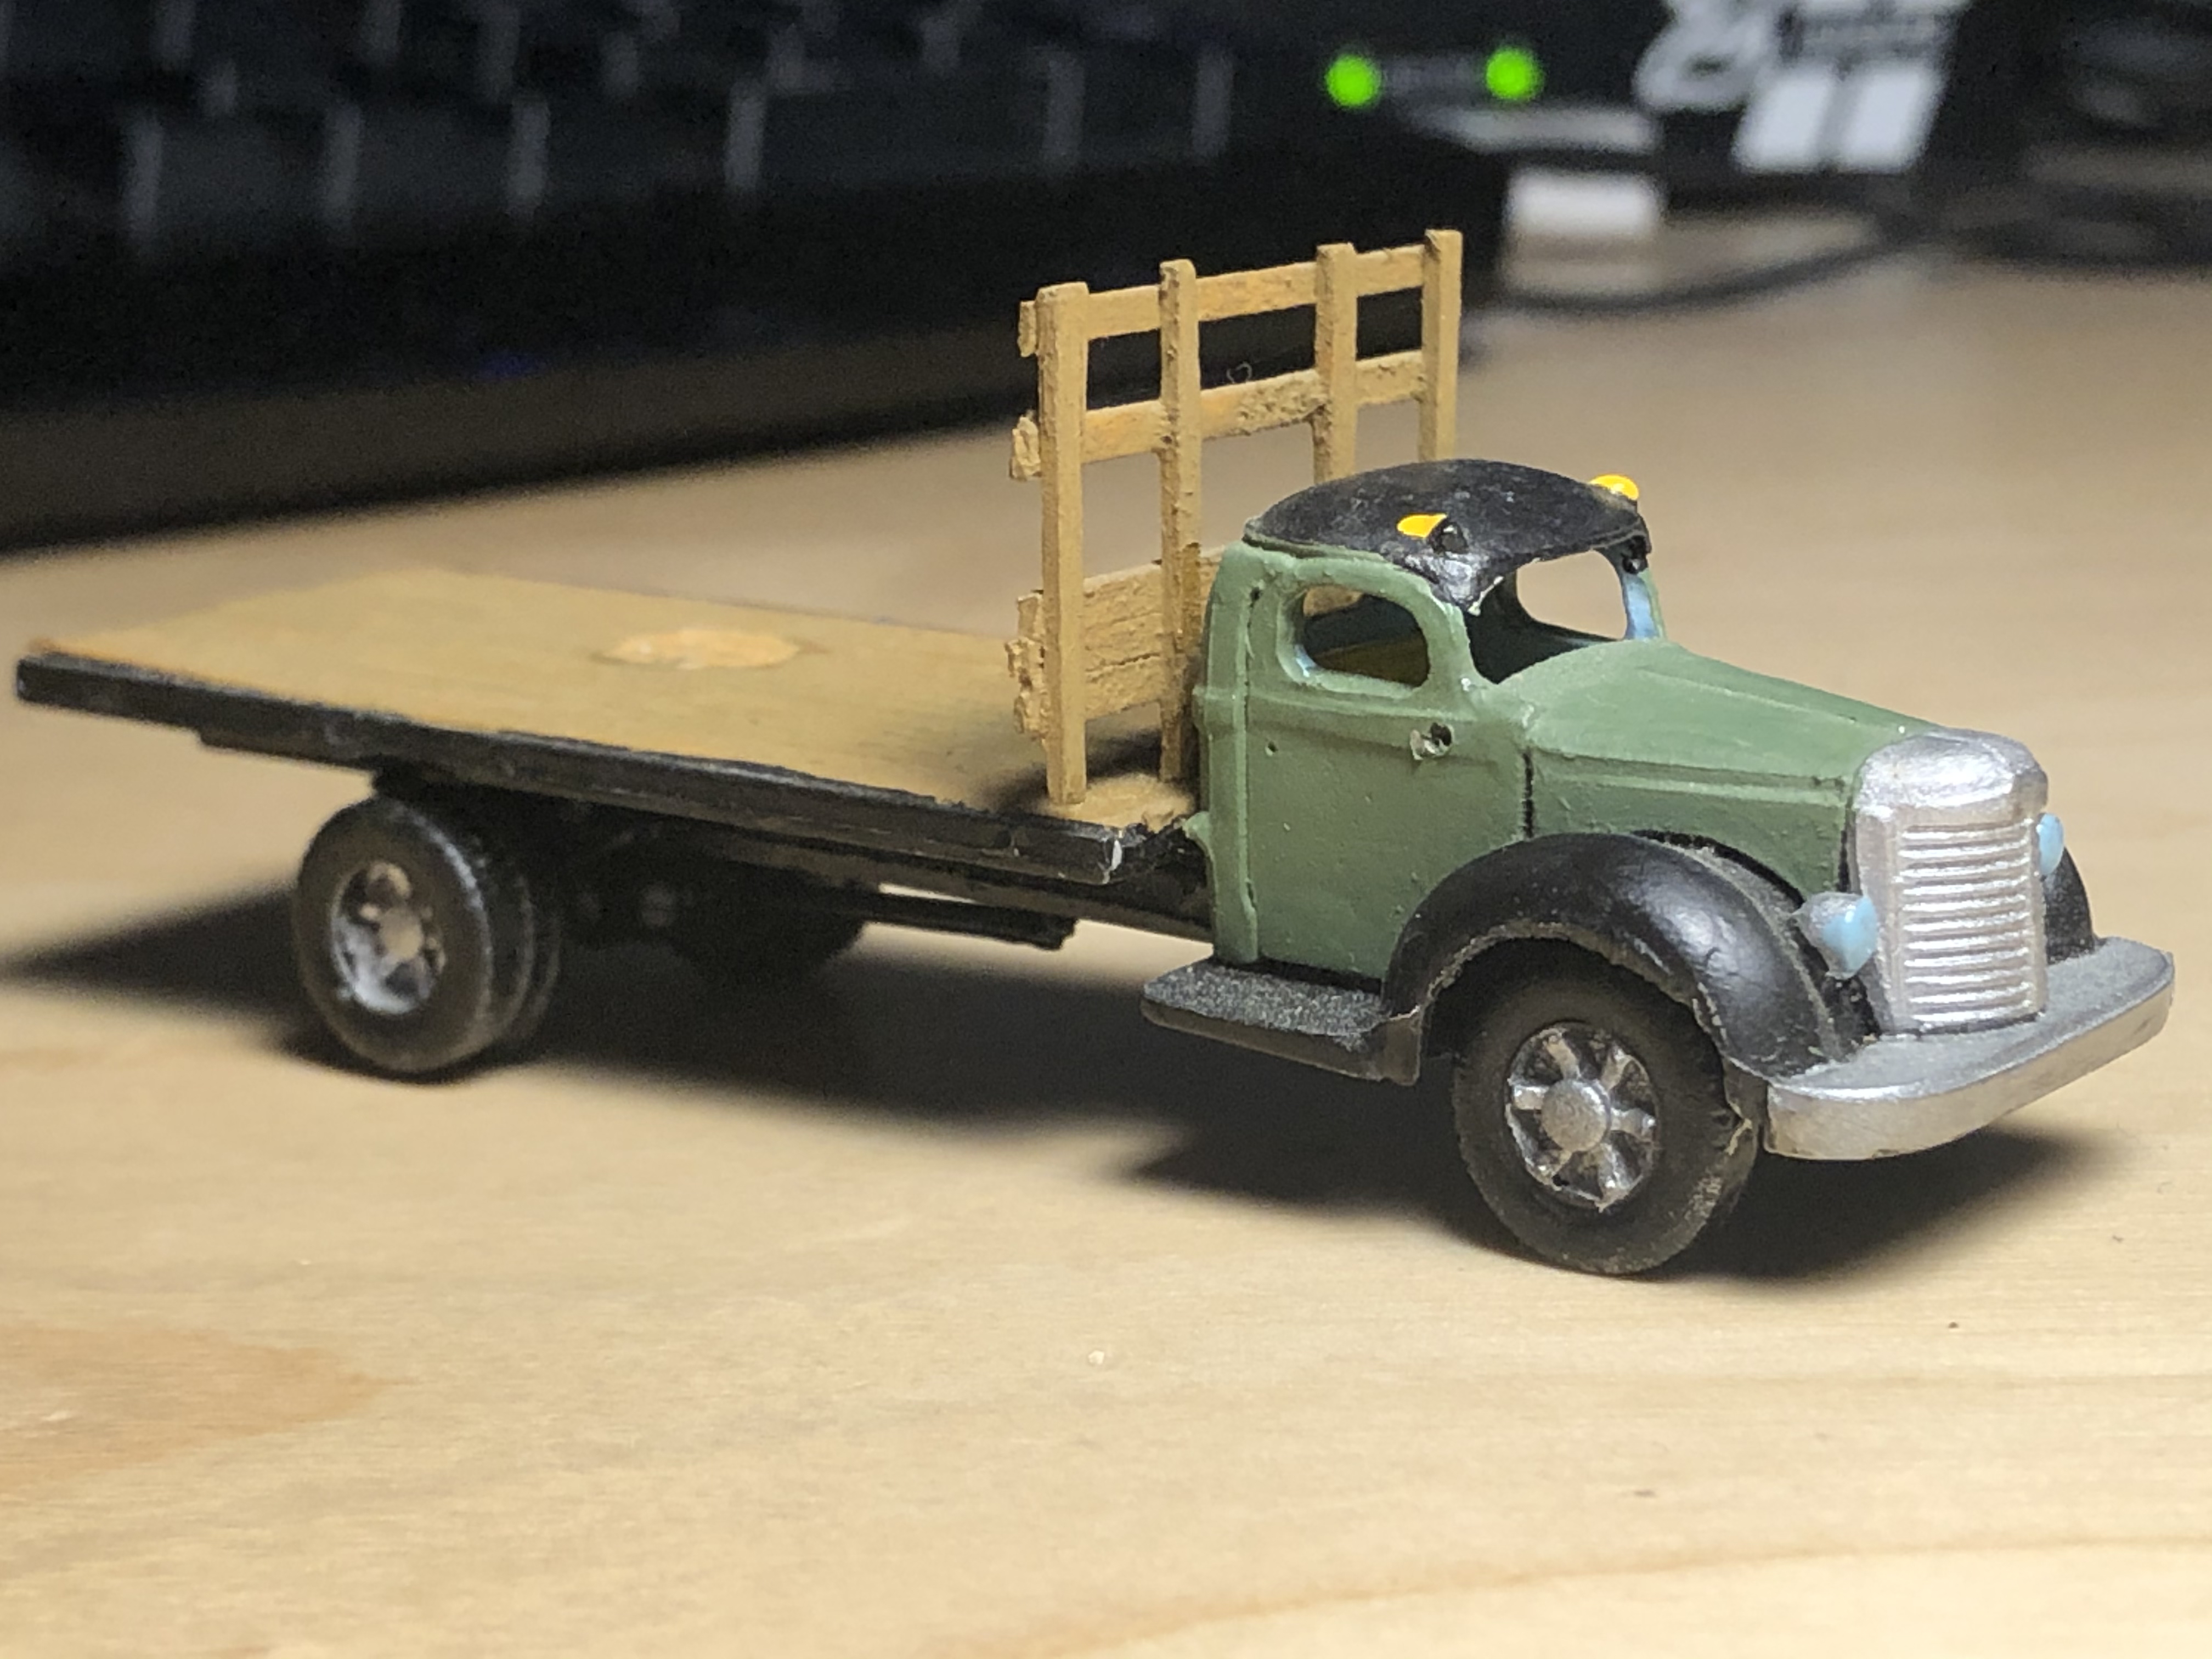
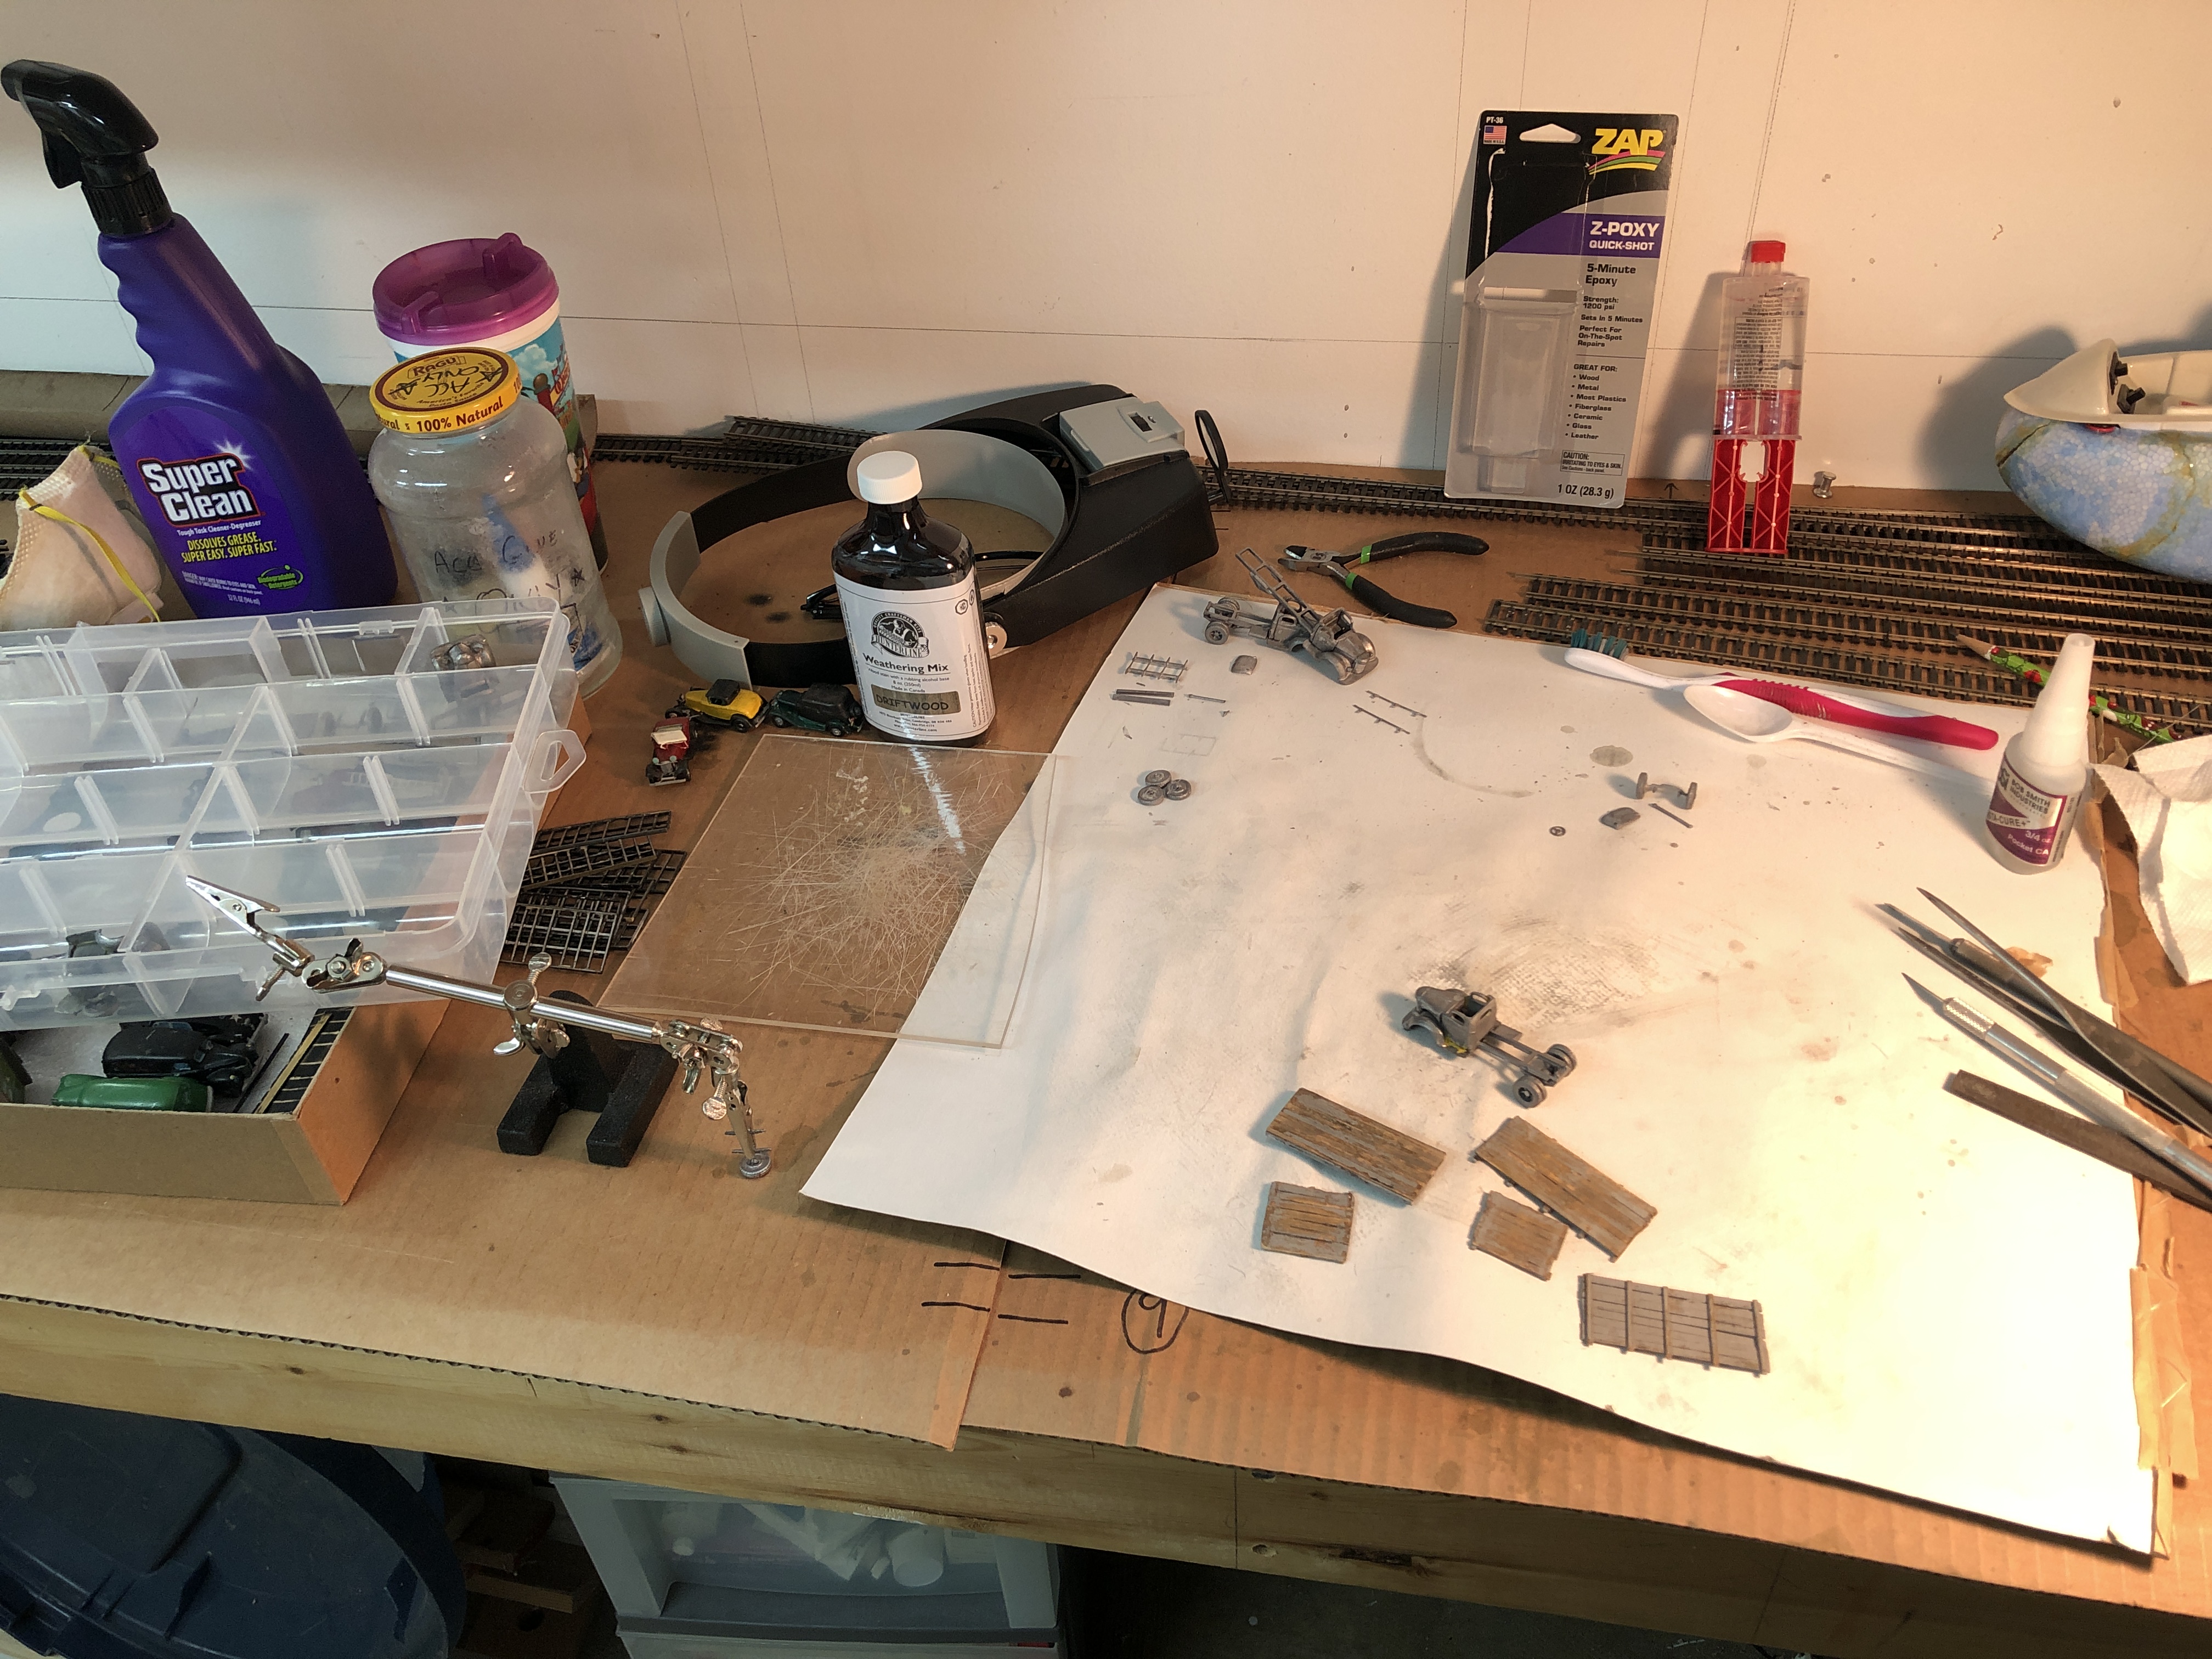
After consulting with my model RR Club, the consensus is they are Wiseman Model Services (ex Walker Motor Works) International KB-11 trucks. These models were made back in the 70s, I believe, and have gone through various iterations over the years. They are made up of several parts, are really fragile and don’t have a ton of detail. I did some research and decided to try some Super Clean for stripping these metal frames. The results were fantastic. Not only did the cleaner strip the paint, it also dissolves the glue after a few days, which allows me to get the models back into their parts form for reassembly and detailing.
For reassembly, I’ve been using the ZAP PT-36 Z-Poxy Quick-Shot 5-Minute Epoxy. This stuff is fantastic, old-school epoxy. Squirt out a bit from both tubes, mix and apply. The VERY nice thing, for this application, is that being 5-min epoxy means that it’s just enough and it gets just tacky enough to allow for me to put the truck cab parts together and rearrange them carefully as I go, until I’m satisfied, at which point it hardens. Once set, it’s rock-hard. I find that with CA, you kind of set it and forget it, with little room for adjustment as you fit things together. I ordered some BSI Insta-Set to help with getting the CA to cure quicker where I need it to.

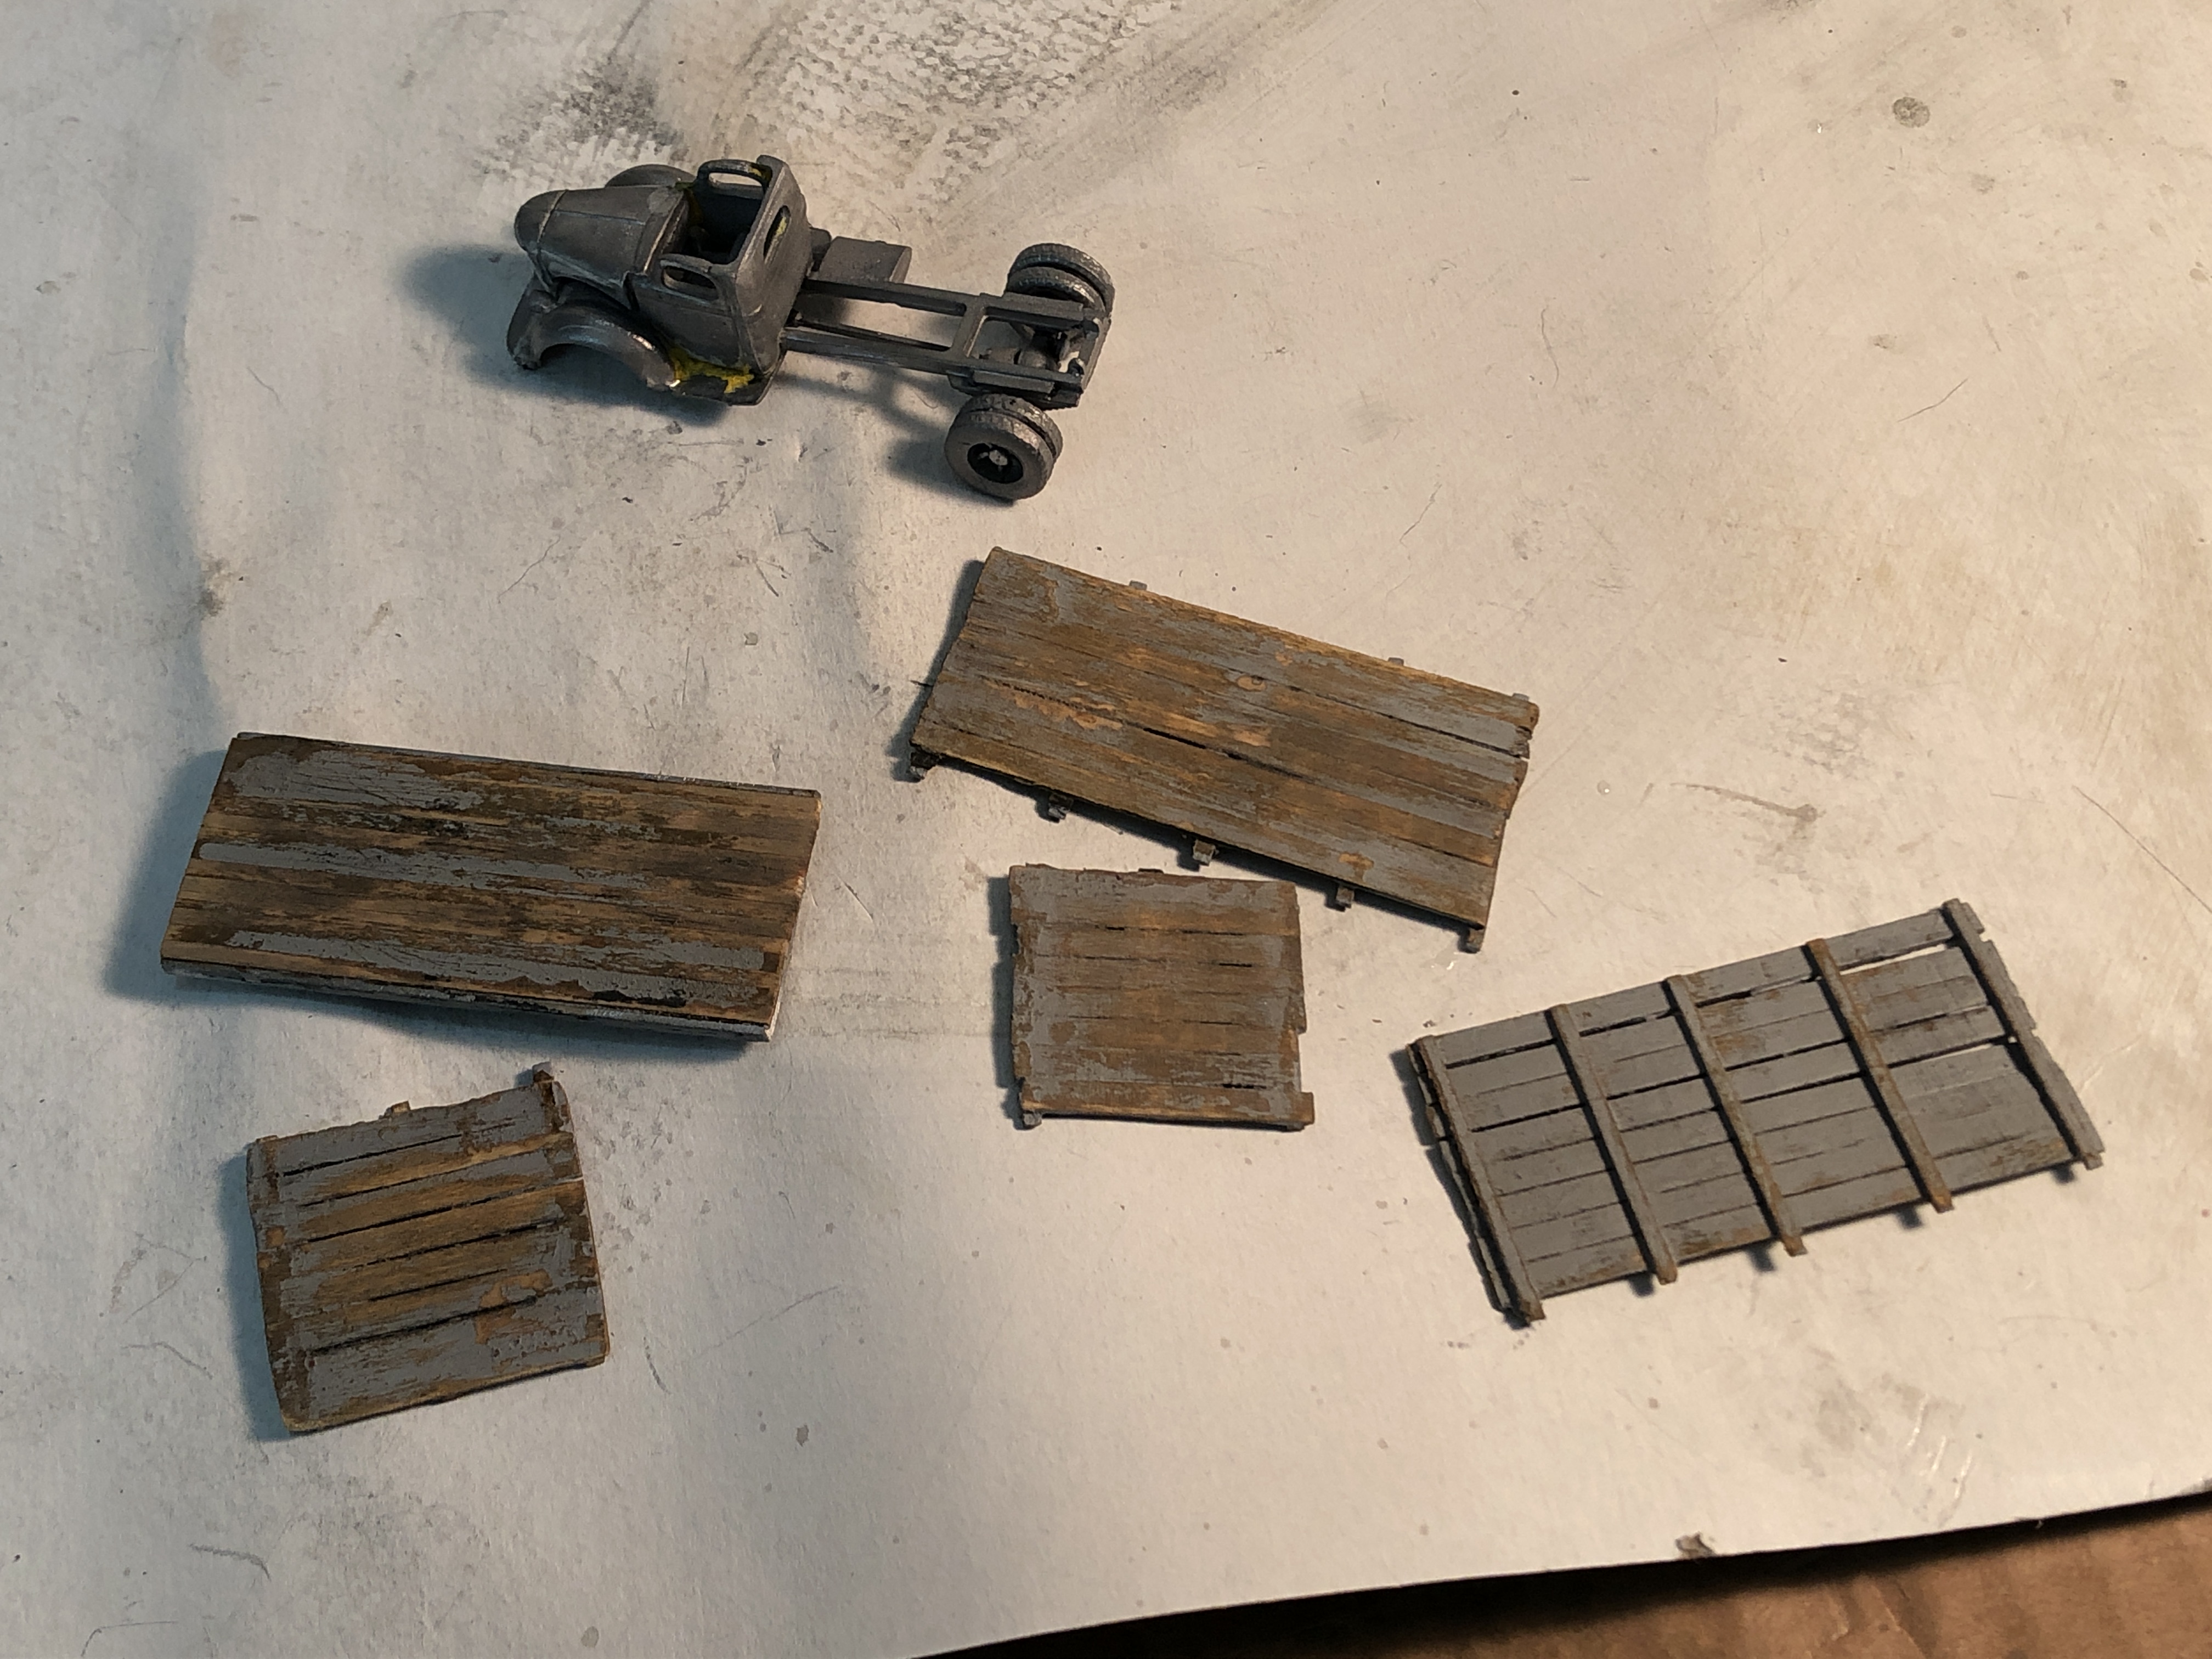
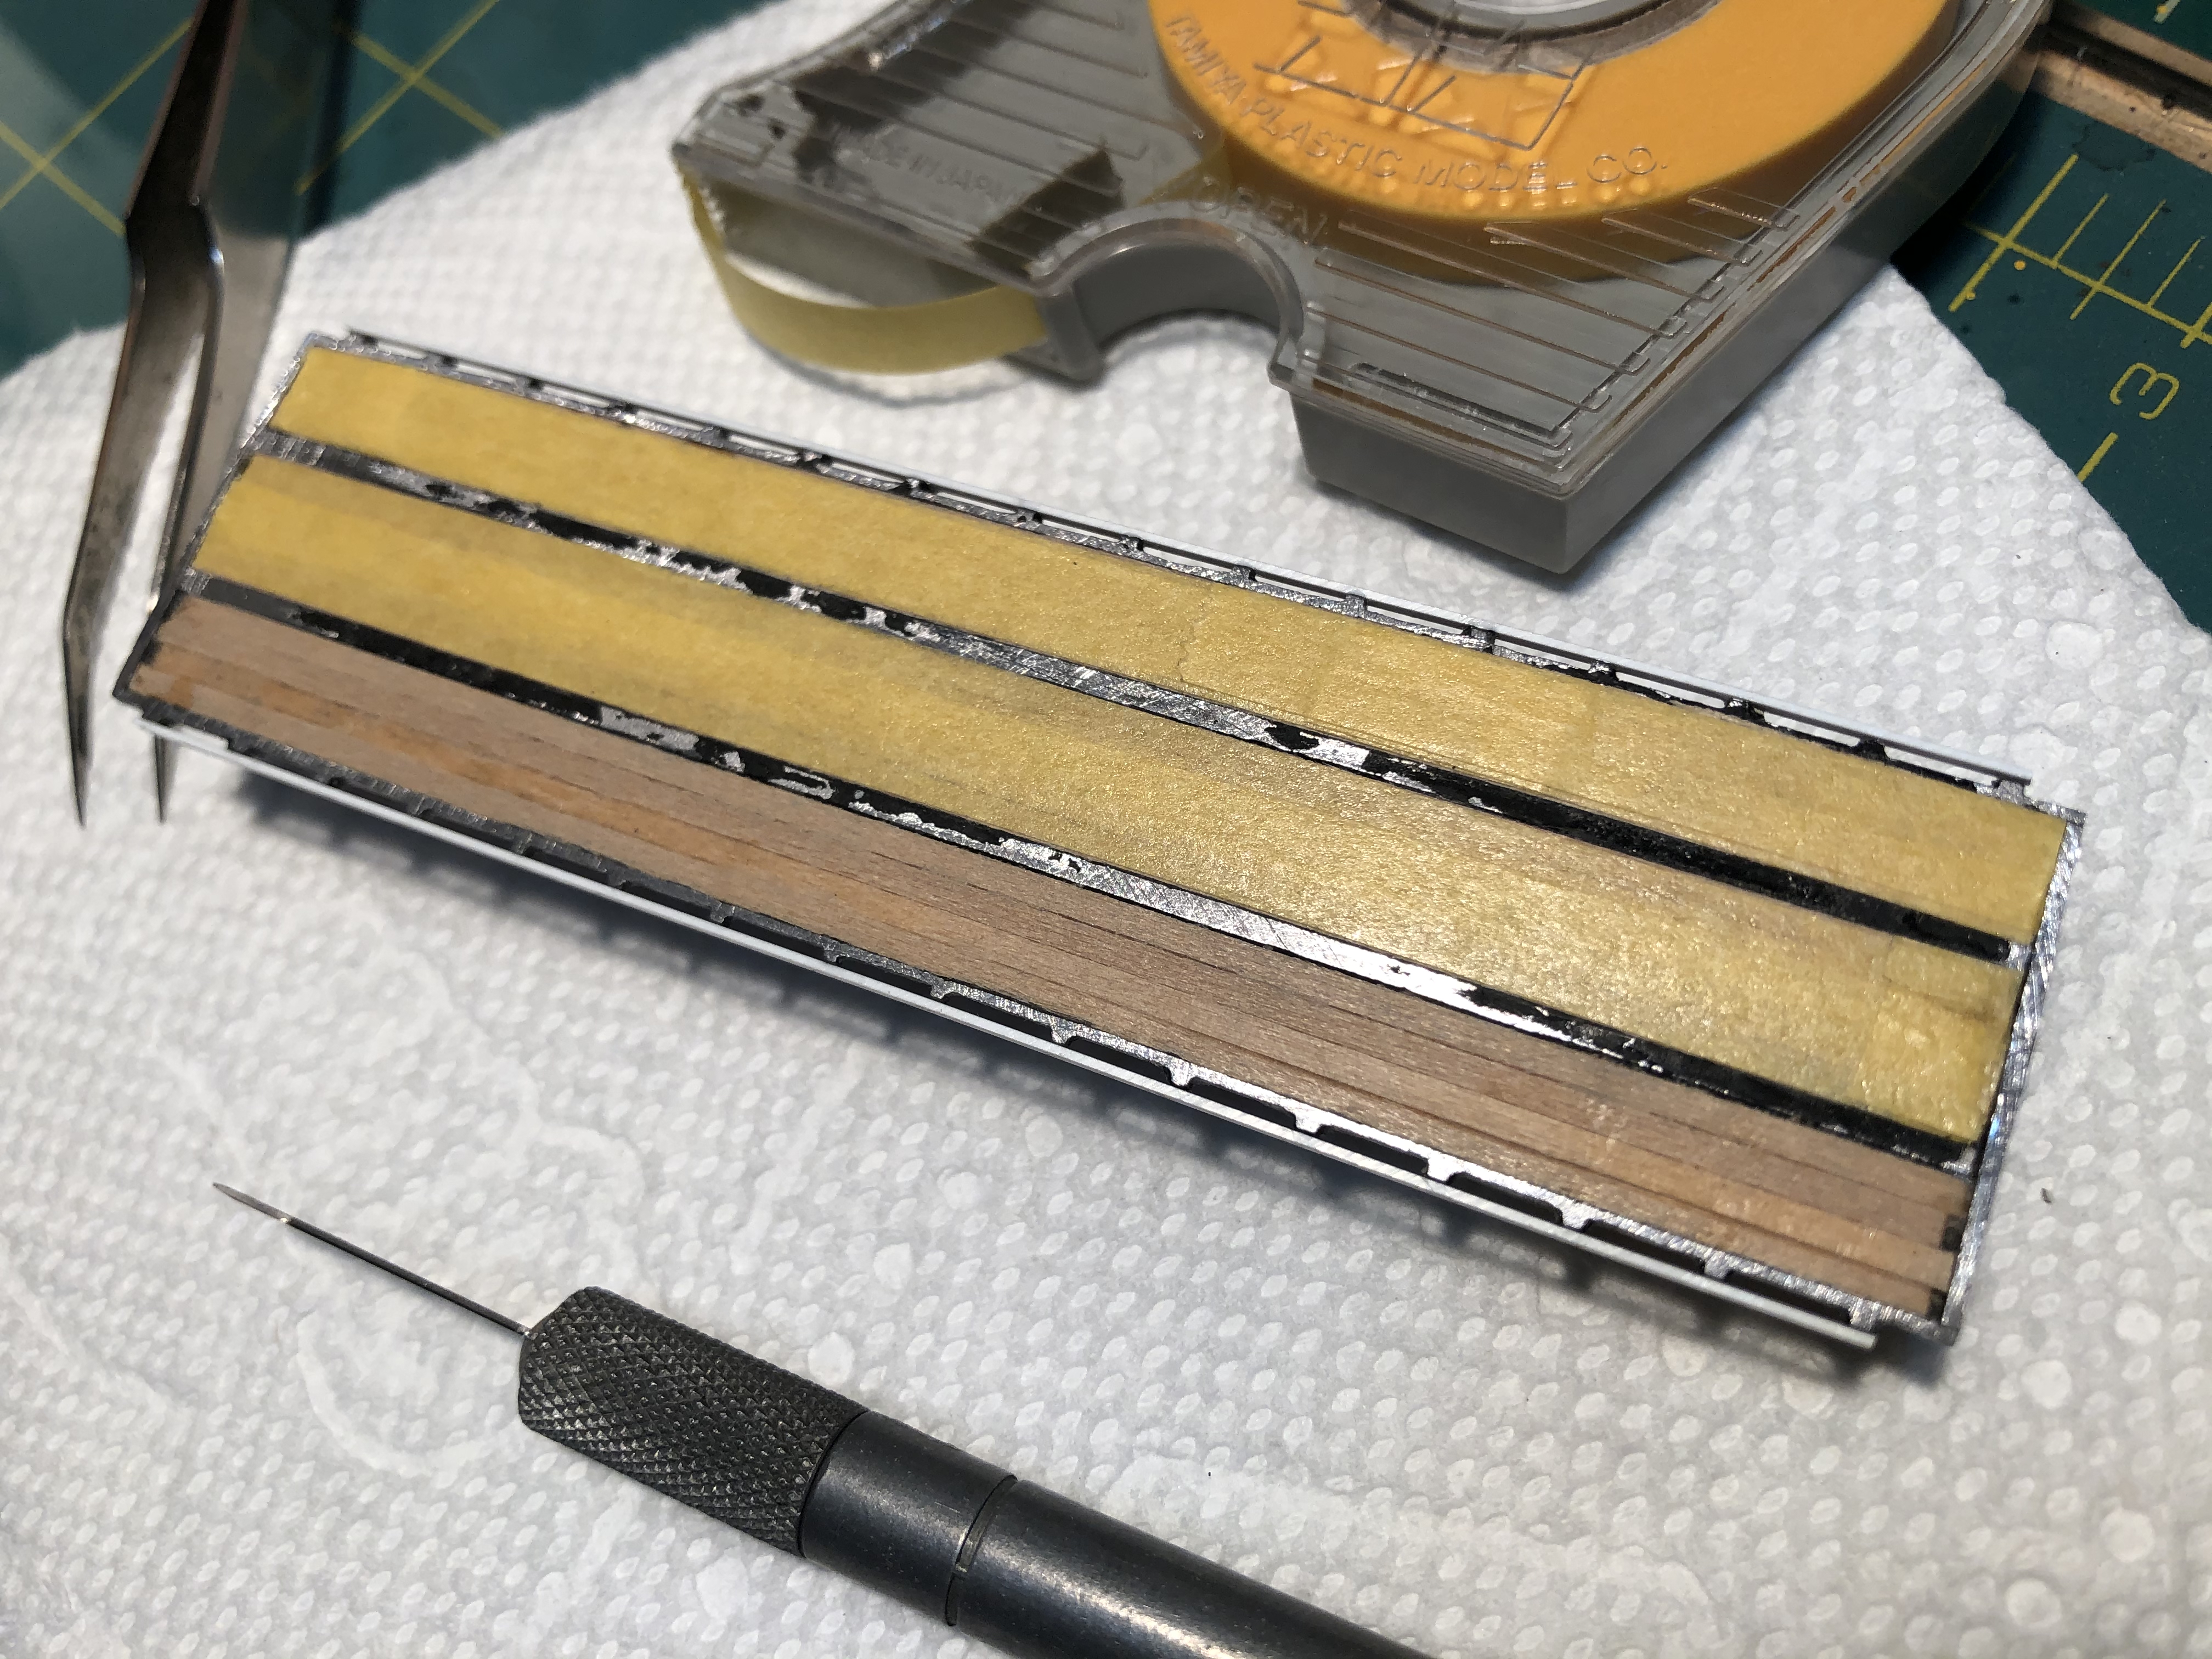
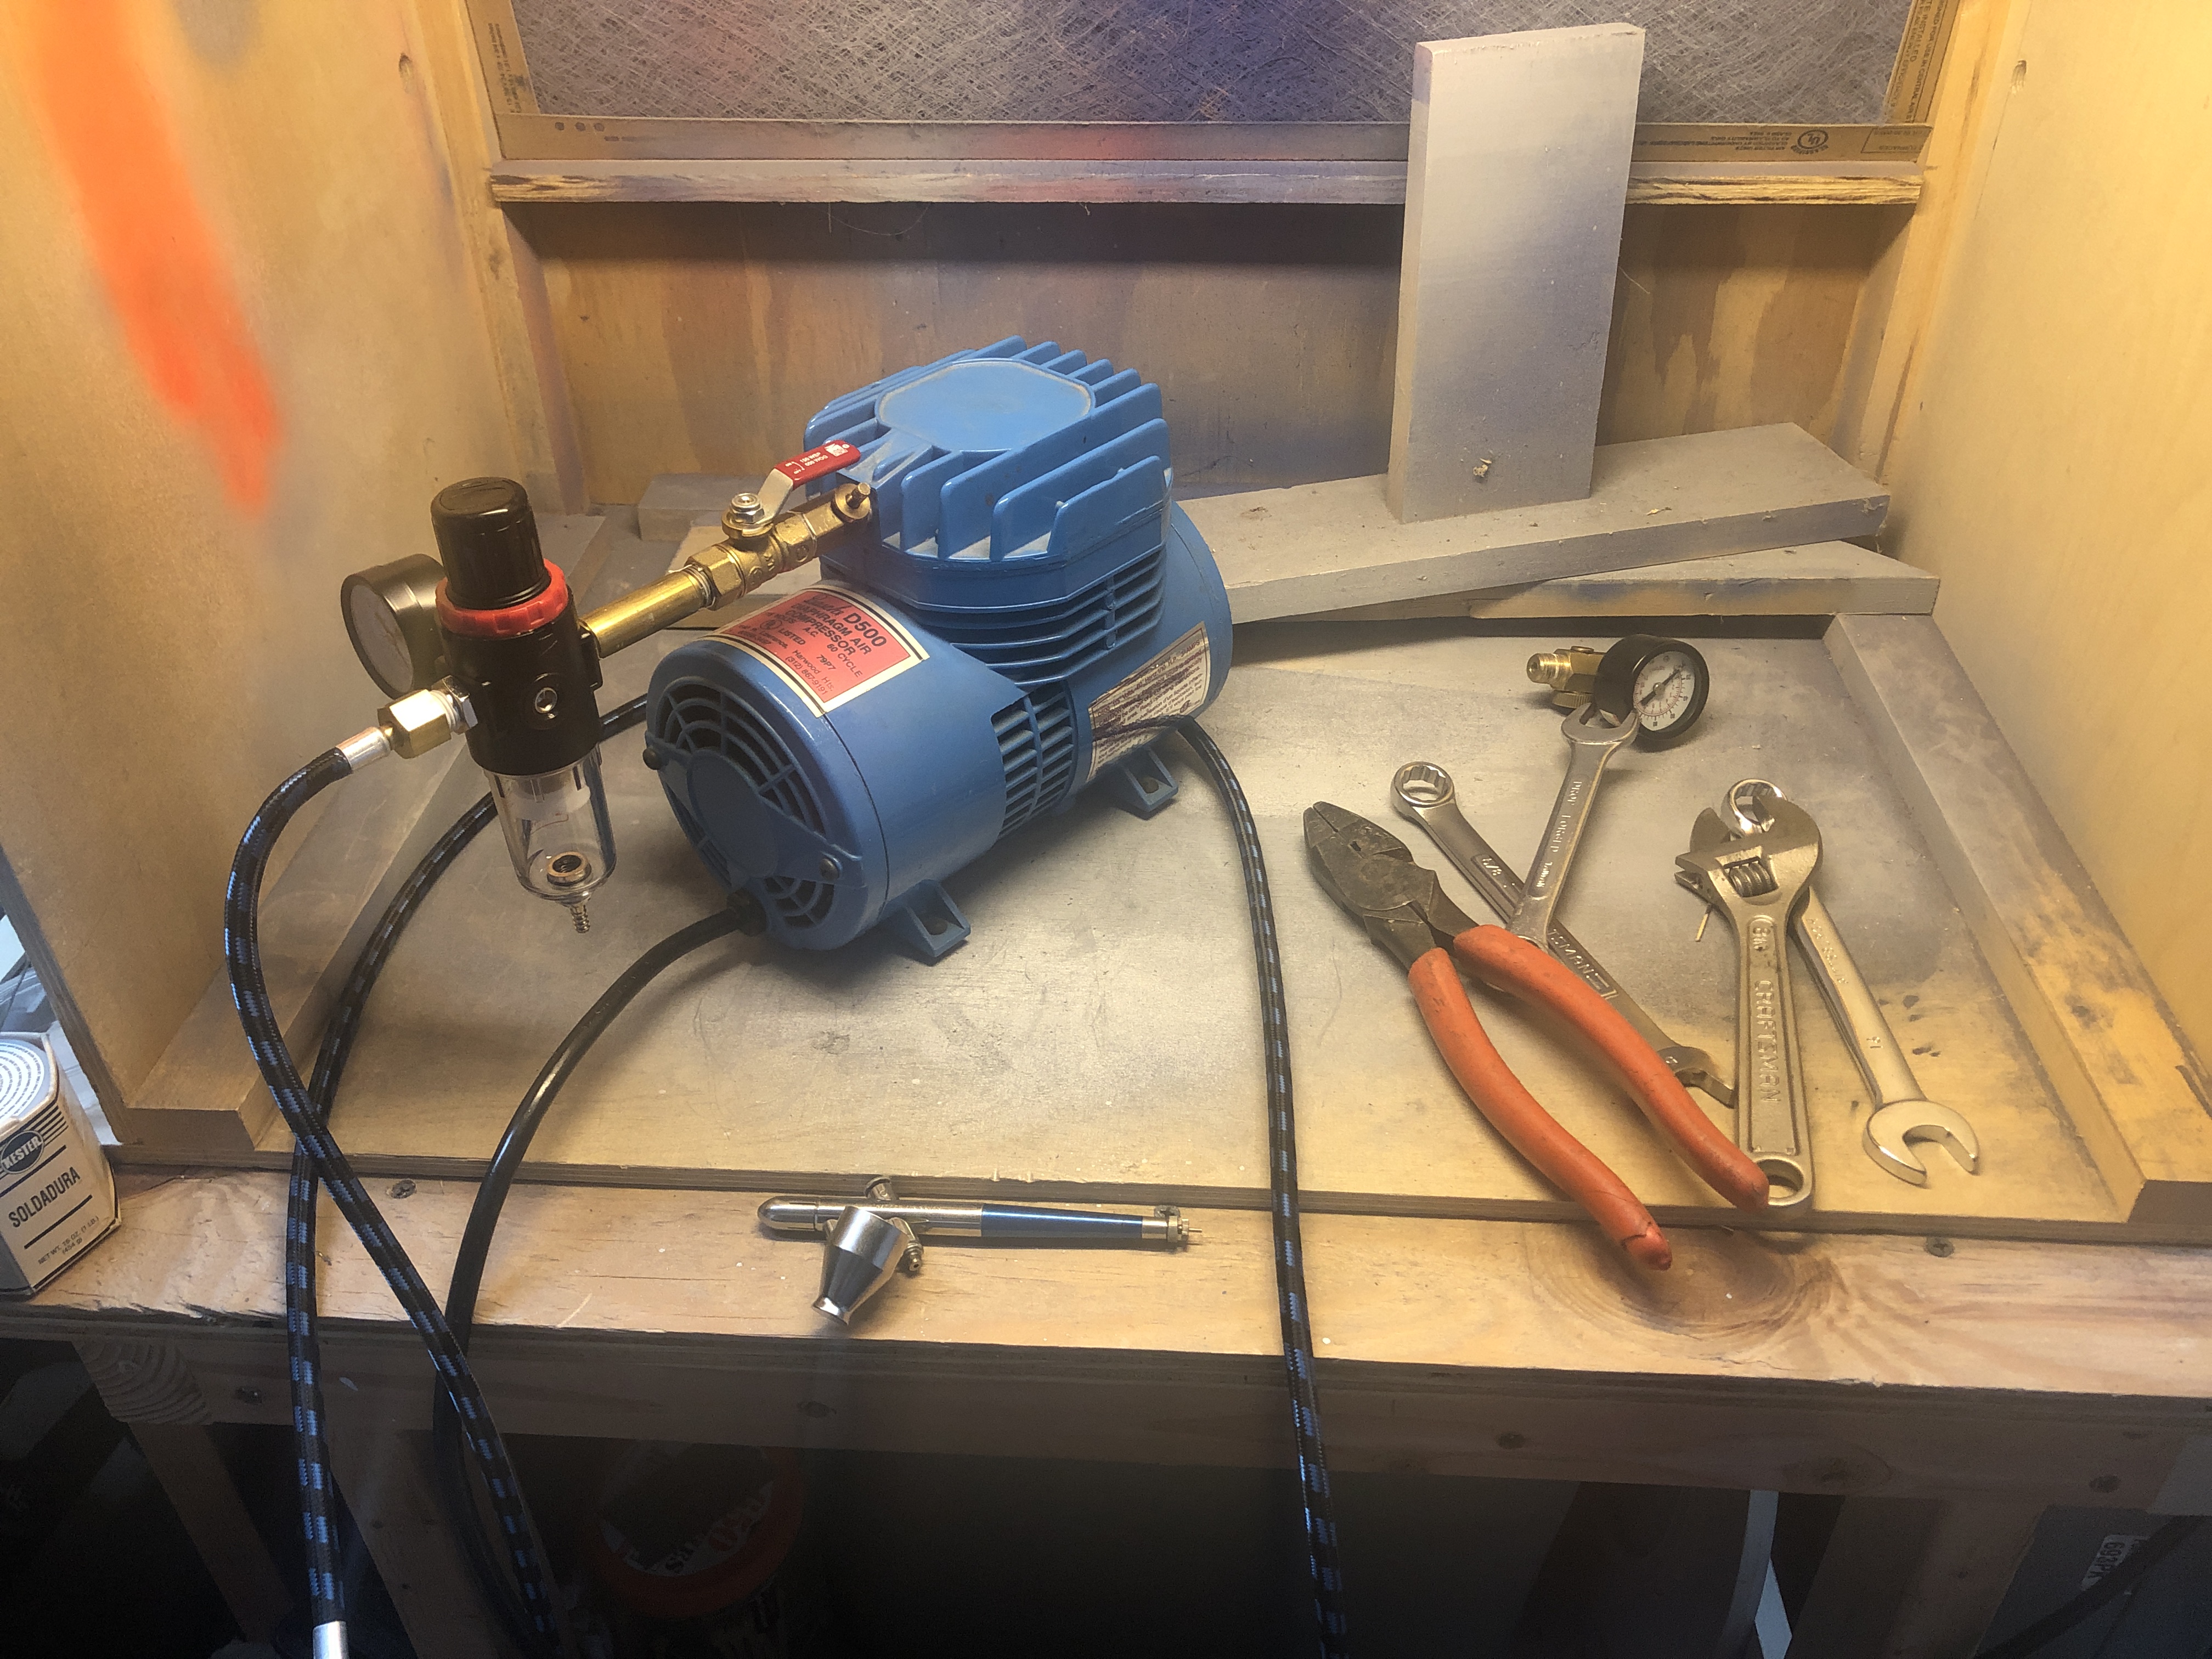
Airbrush Tune-Up – About a year ago I did an overhaul on my old Badger airbrush. I took it apart and checked all of the parts. Cleaned everything carefully and reassembled it. I decided to add a regulator to the compressor. I noticed a bit of a clunk when operating the compressor under load, so I took it apart. Inspected all of the gaskets and parts and found no issues. I reassembled it and adjusted the bleed valve. A friend from my model RR club, Greg (who you have seen here before) gave me his old air tank which I will press into service soon. I need to figure out what piping/tubing I will need. I have also been upgrading my paint supply with some proper thinners, new paint and other goodies.
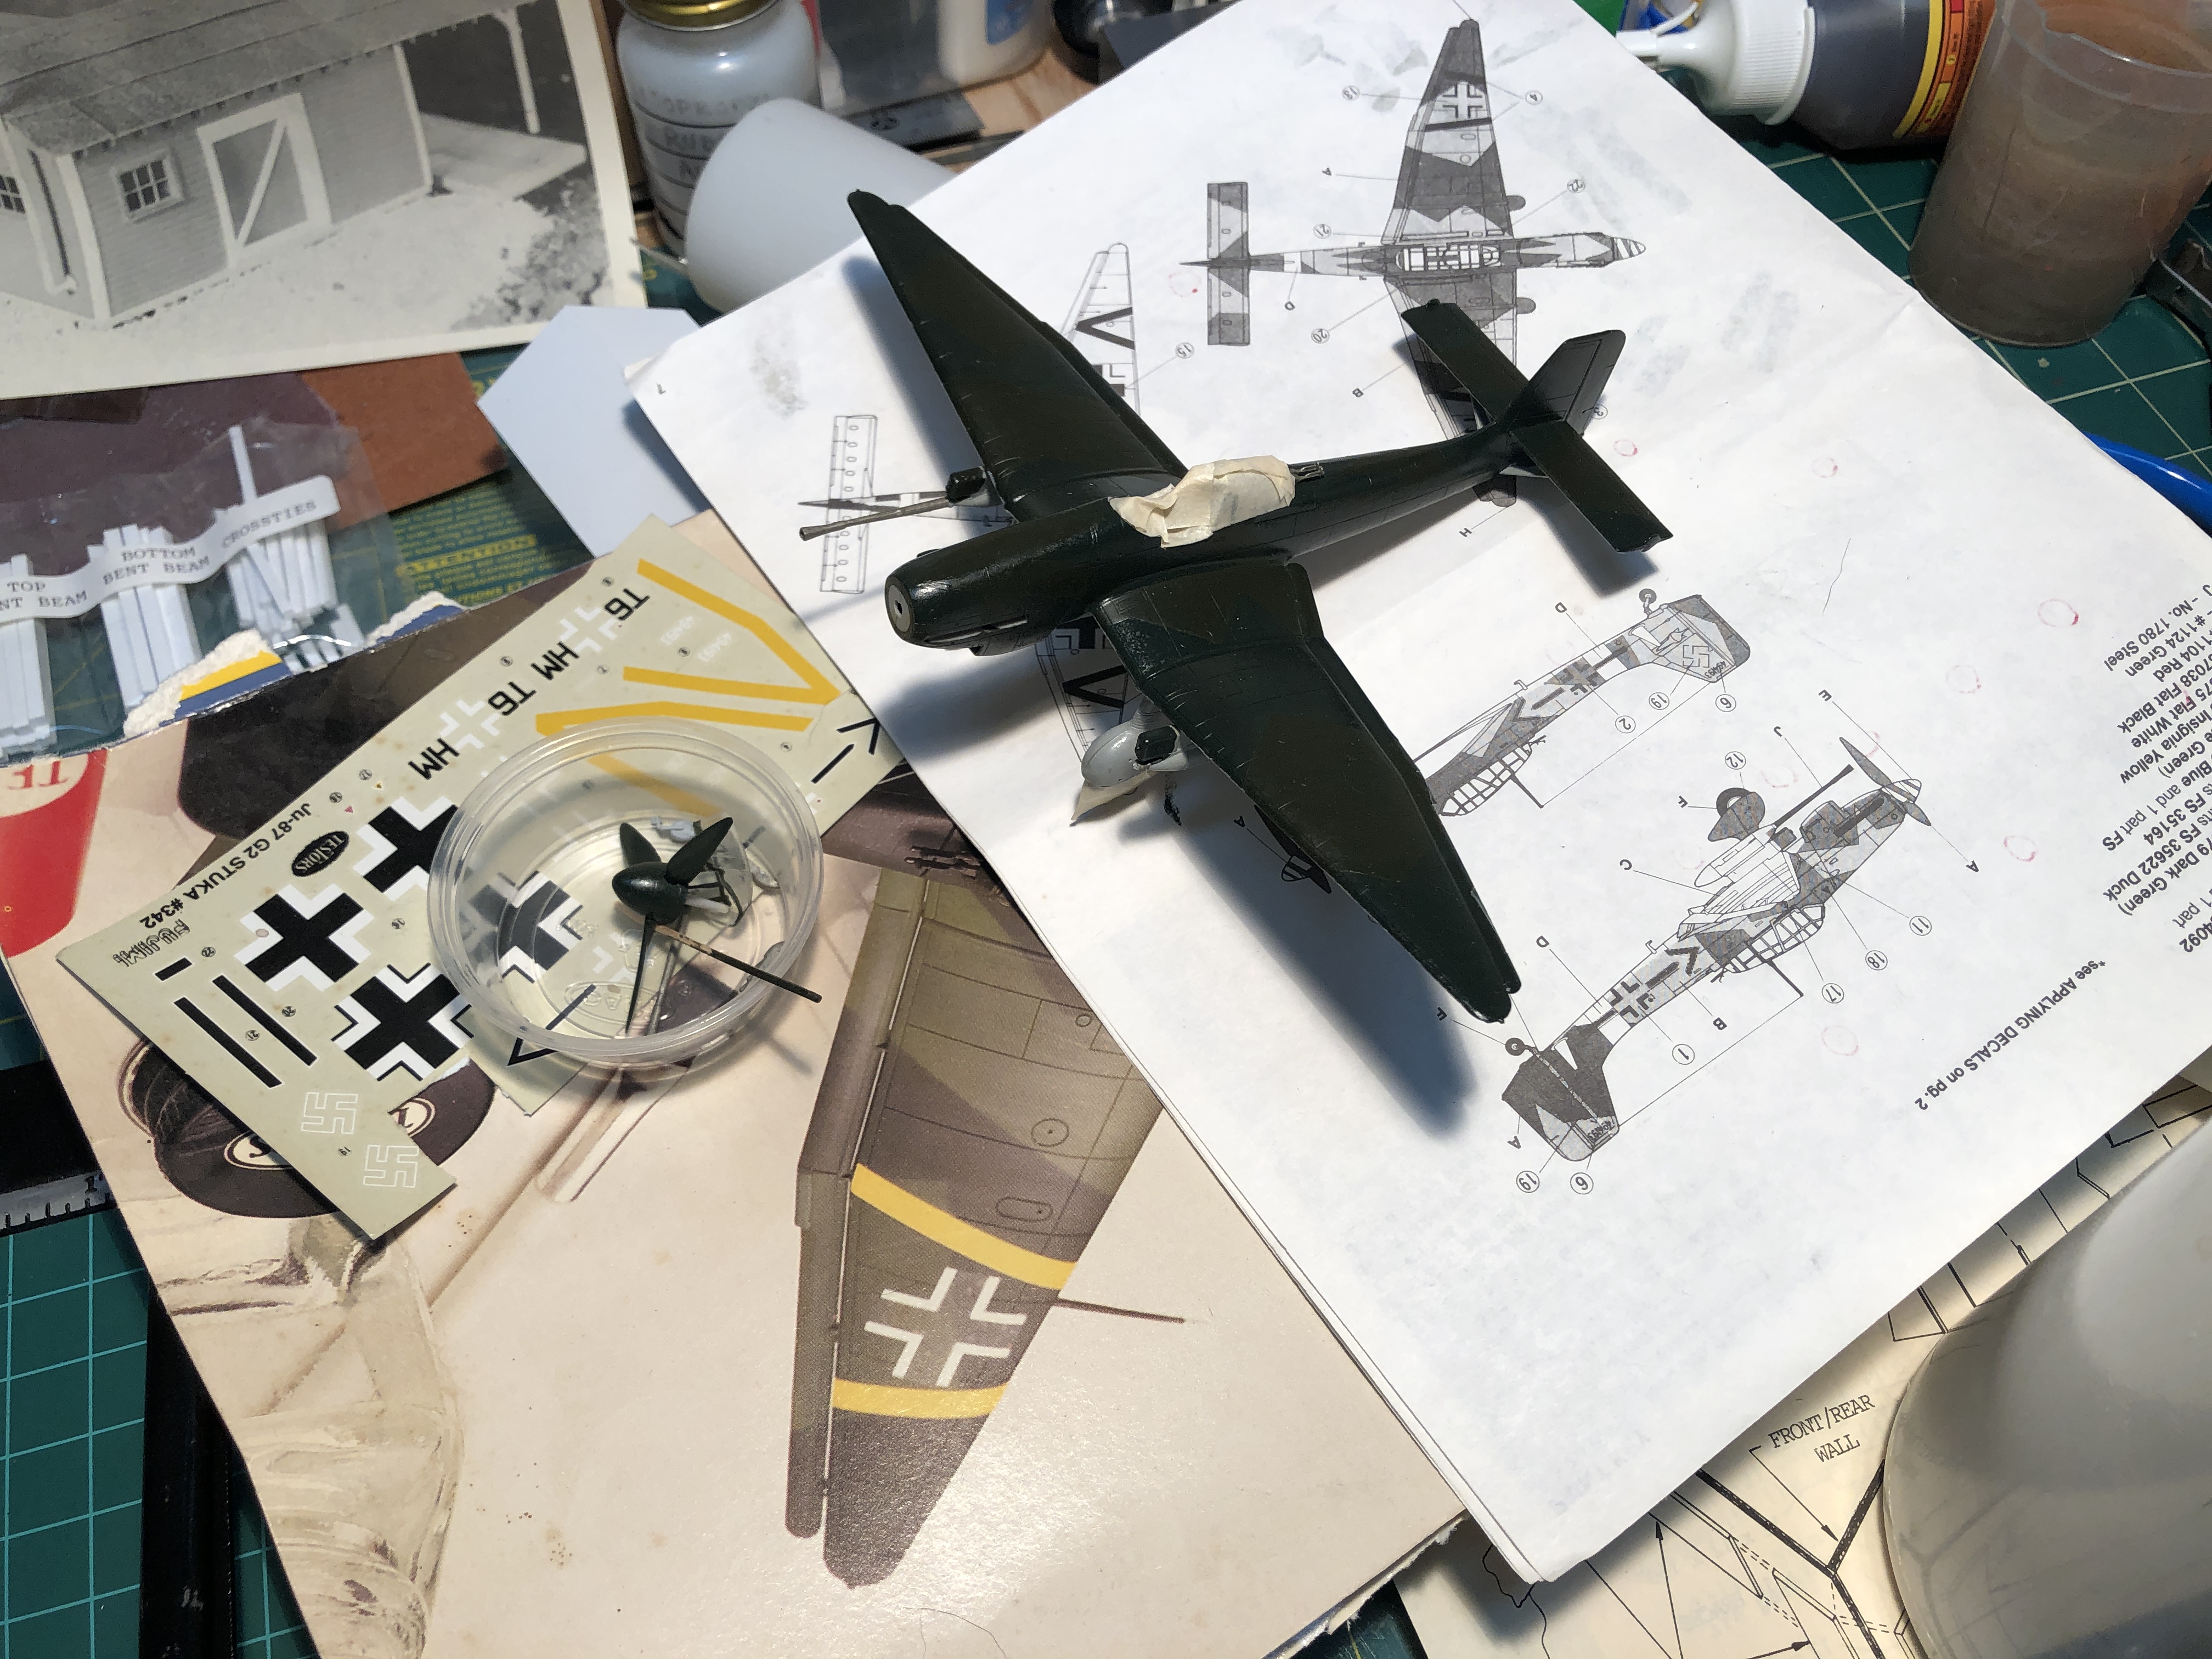
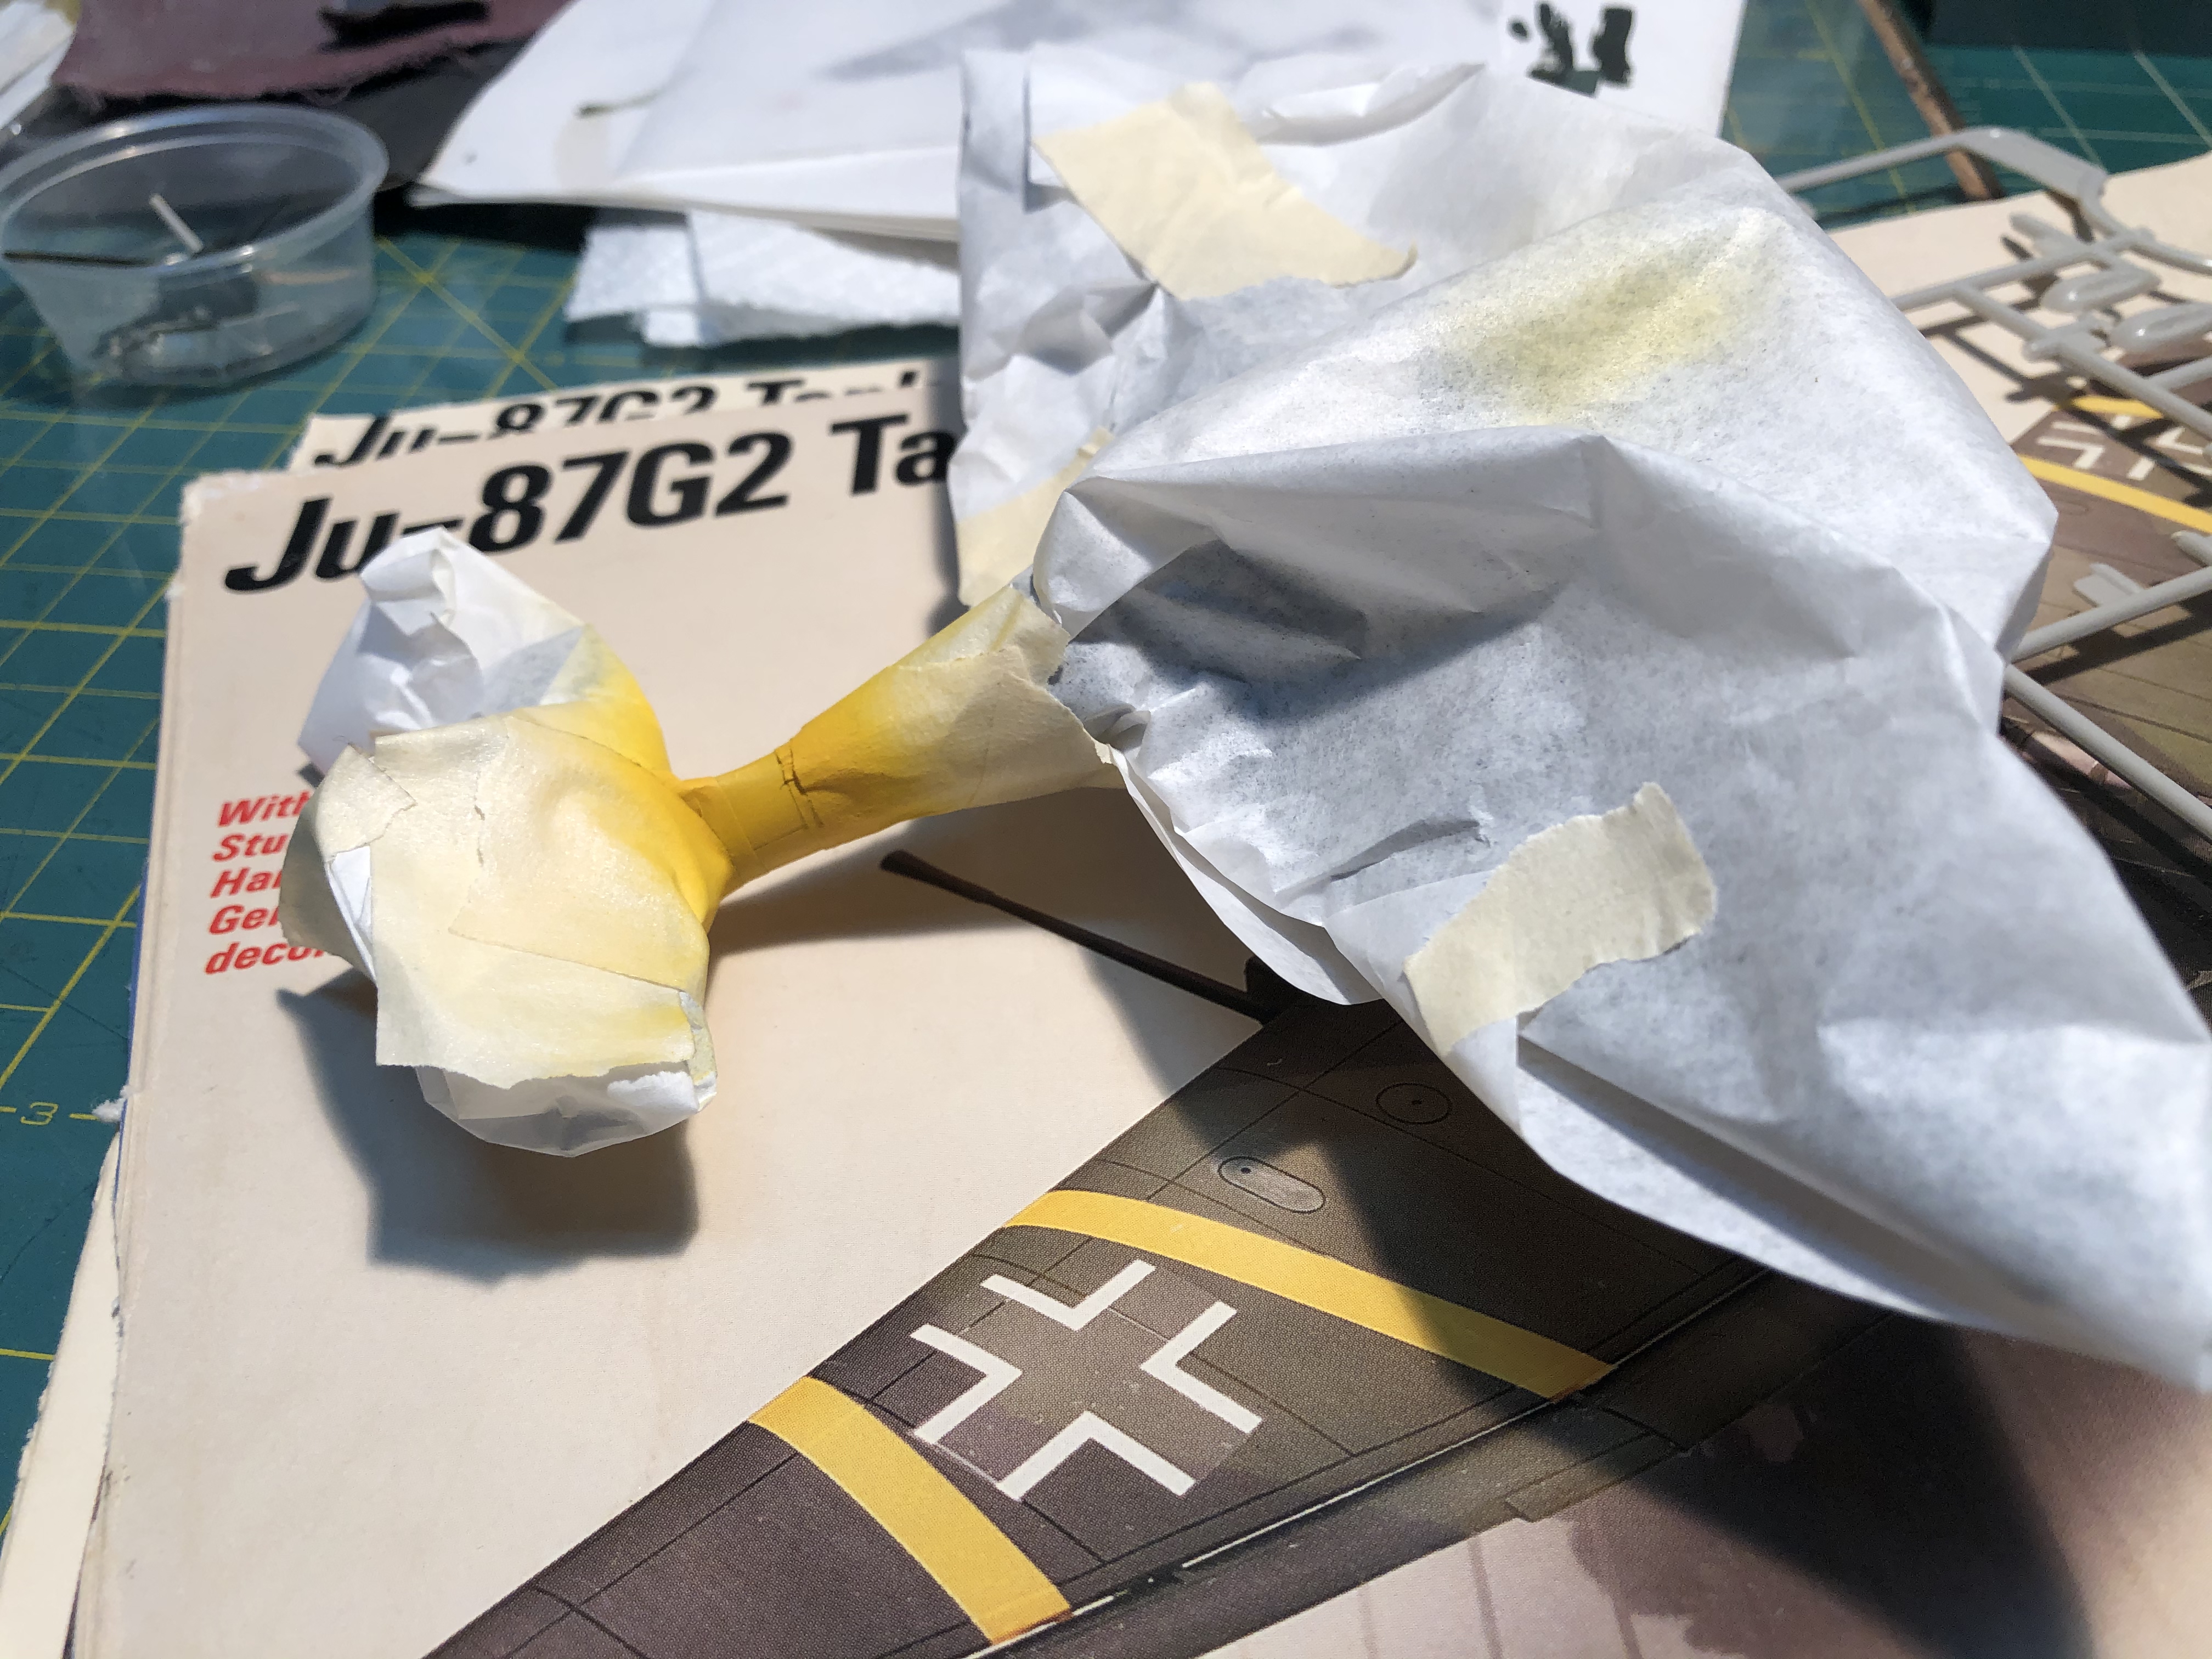
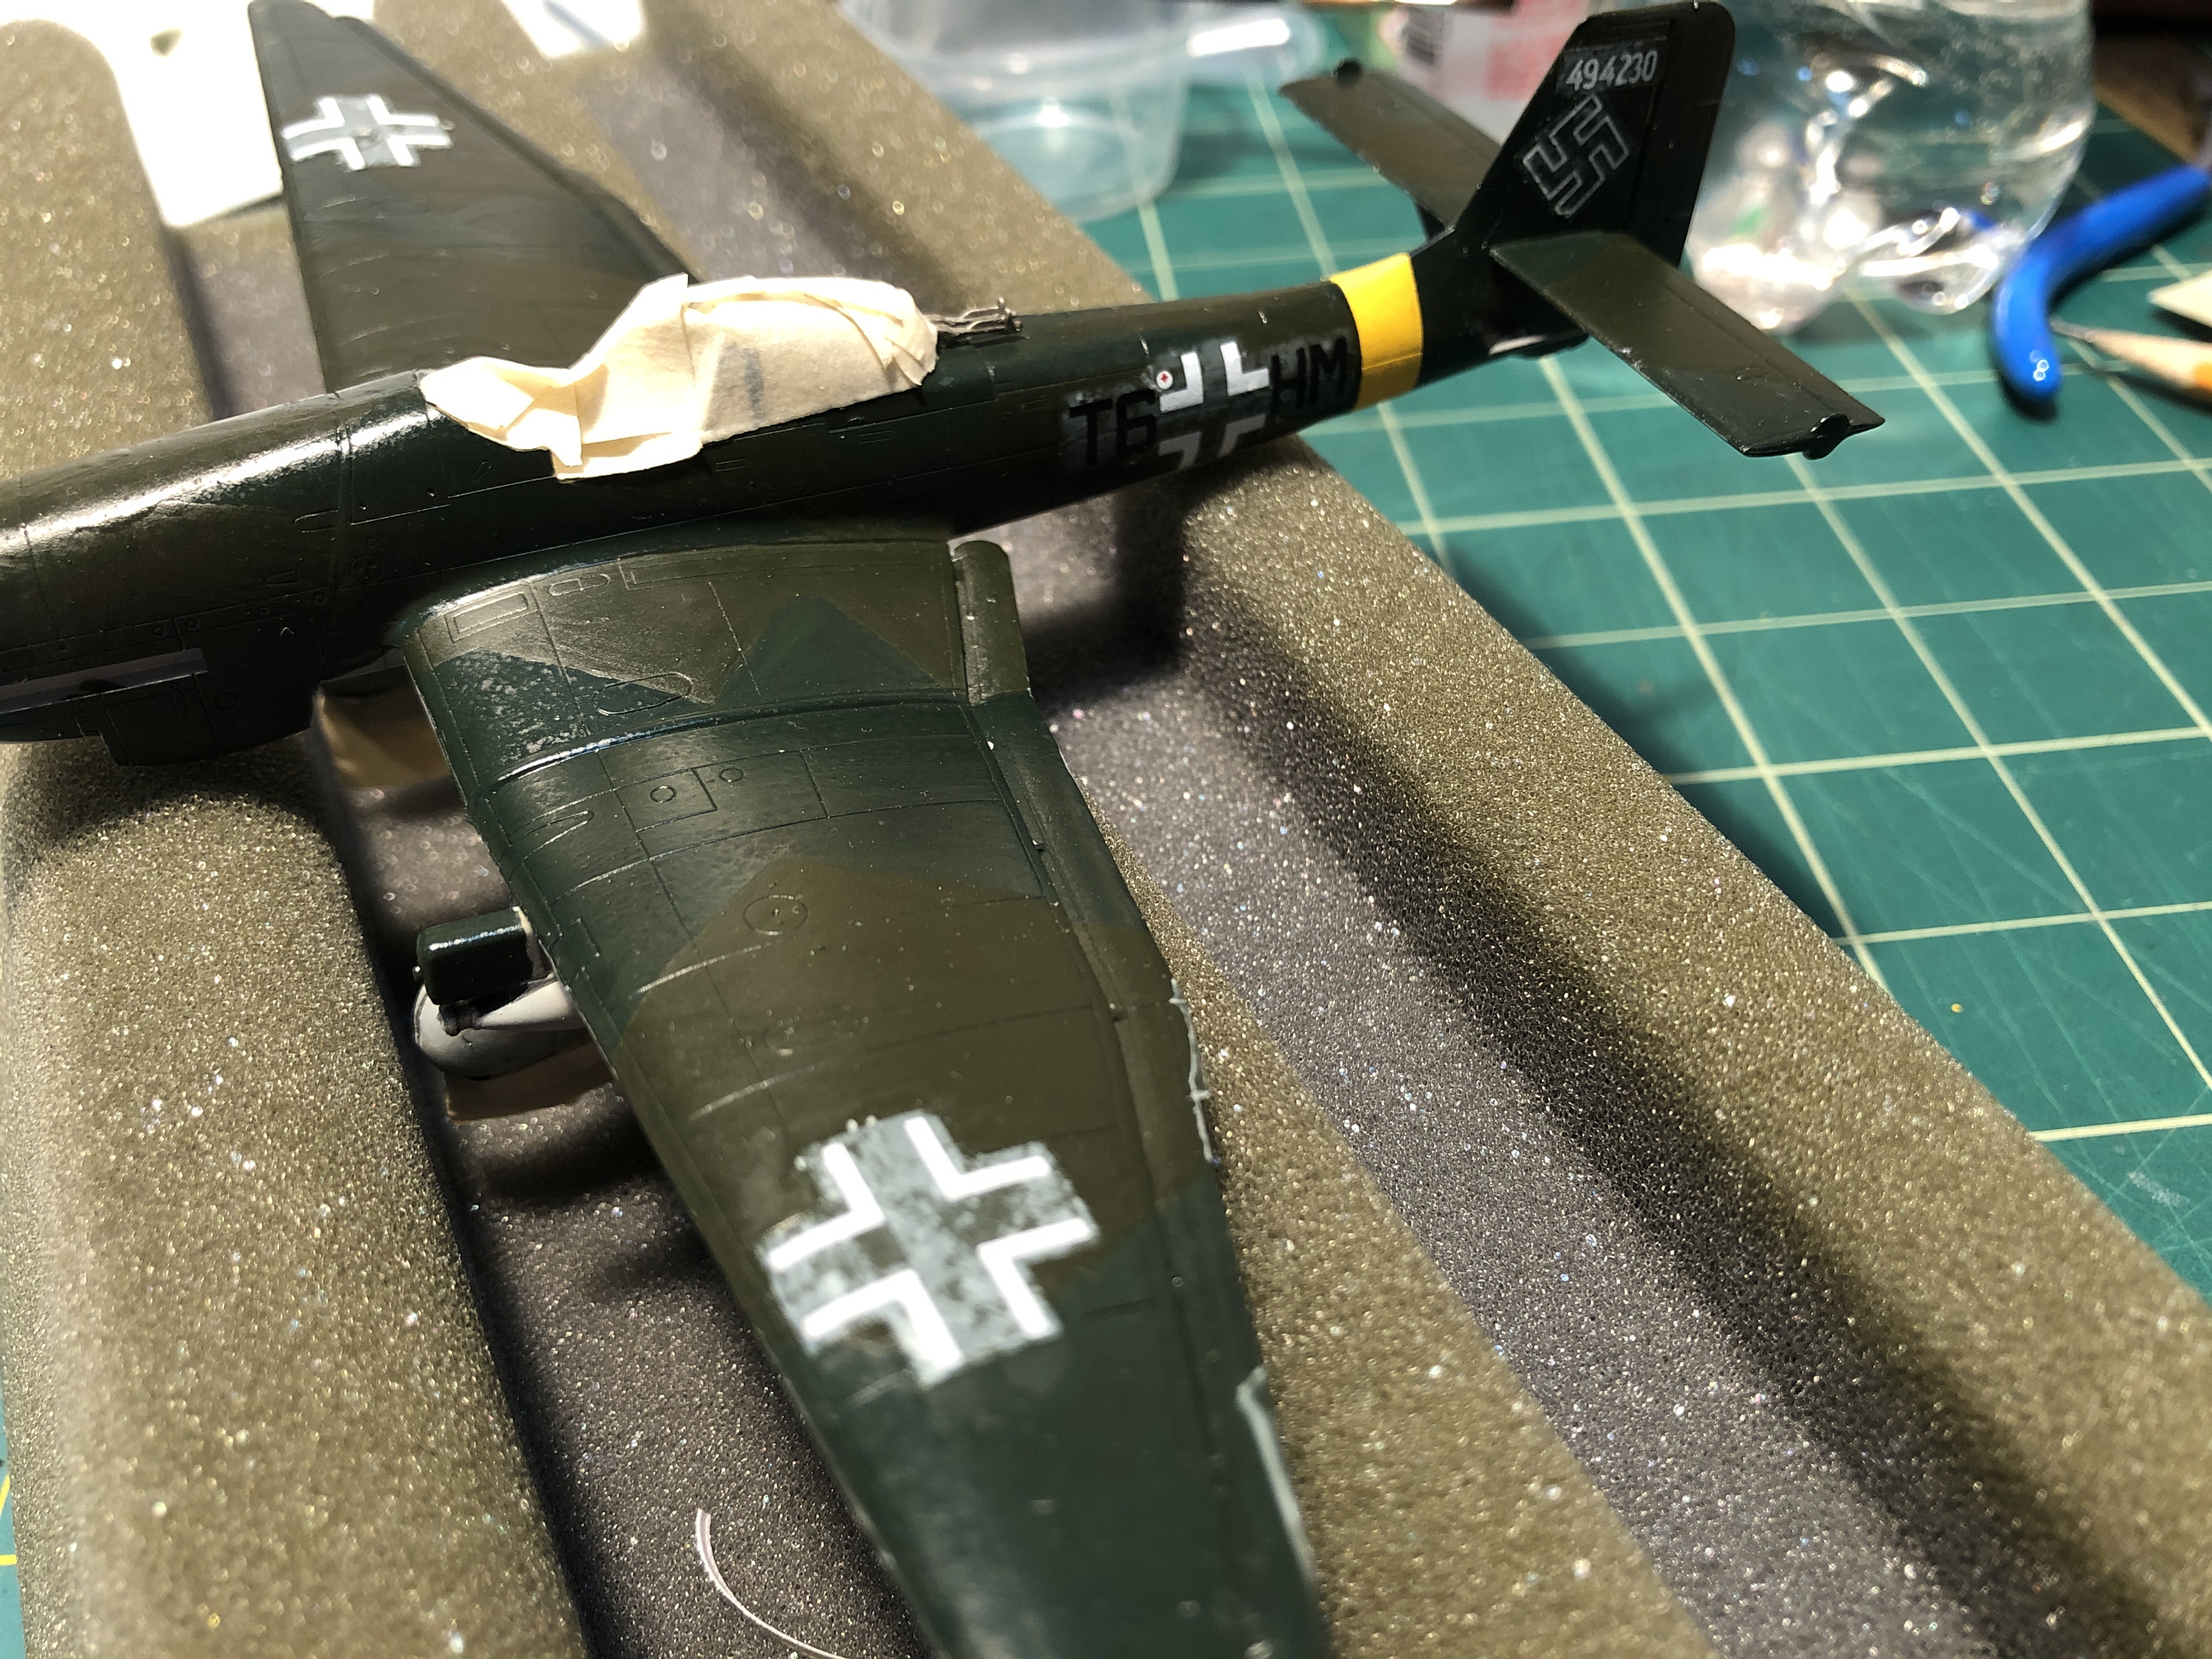
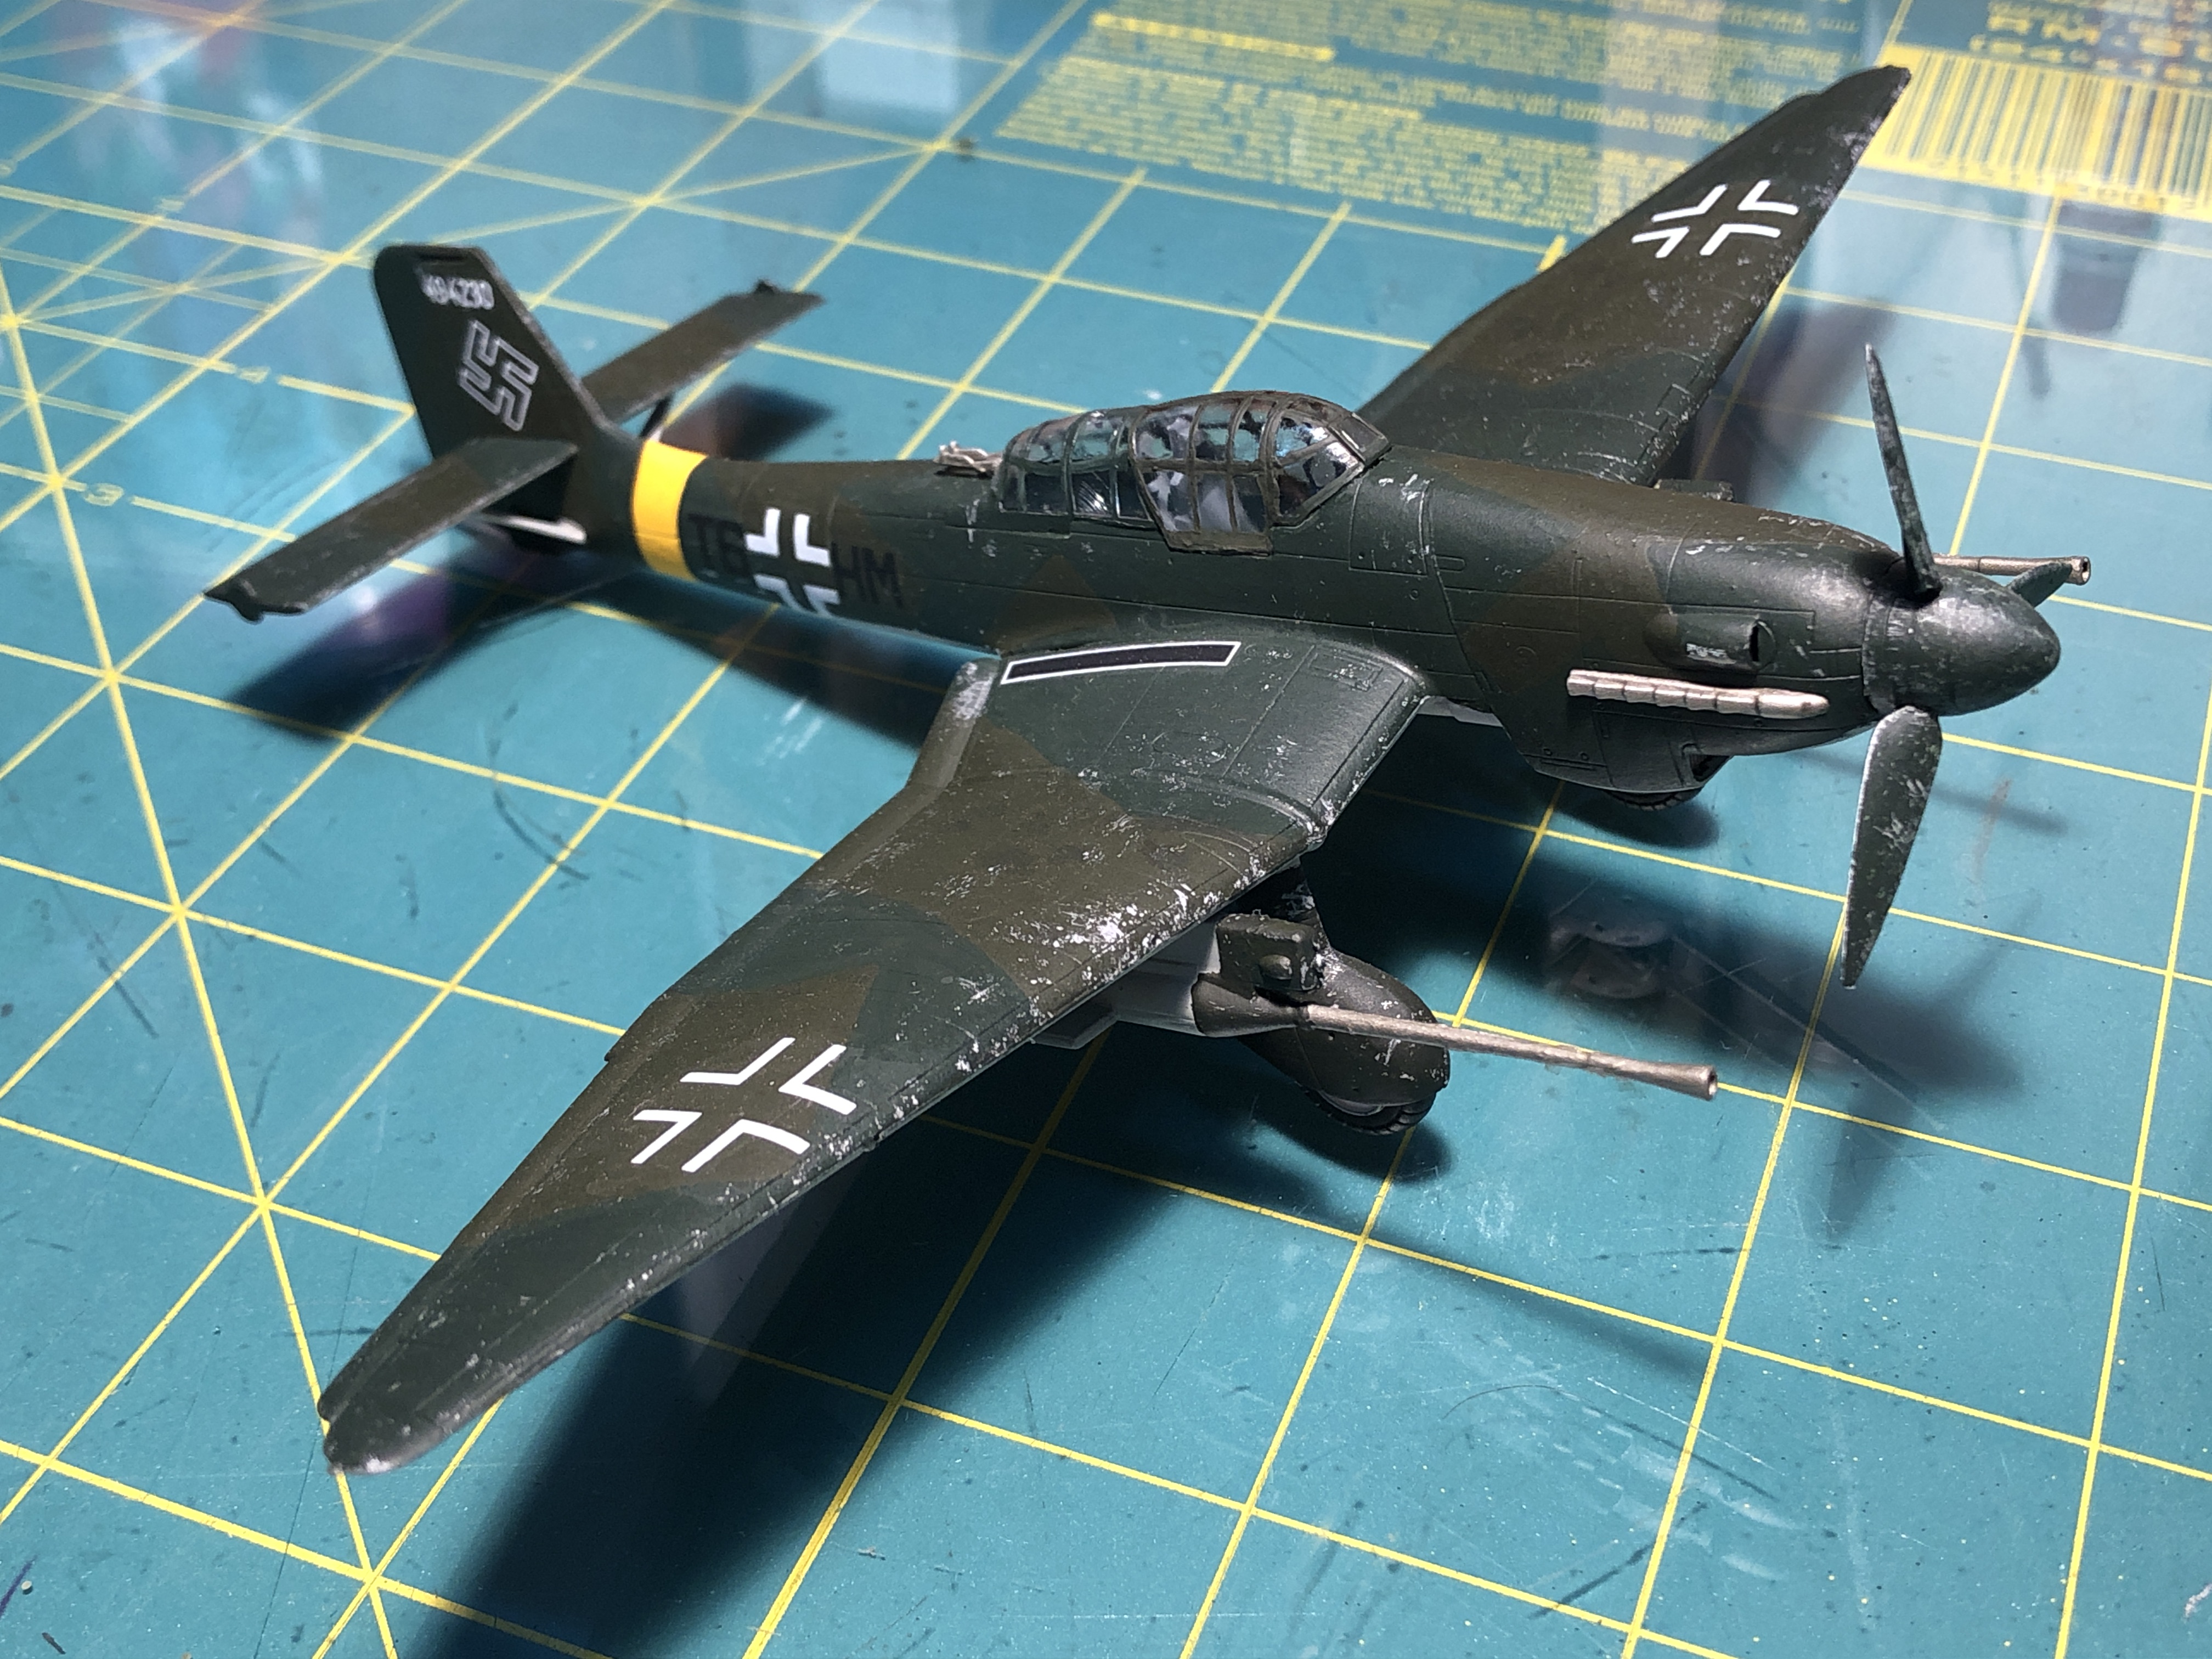
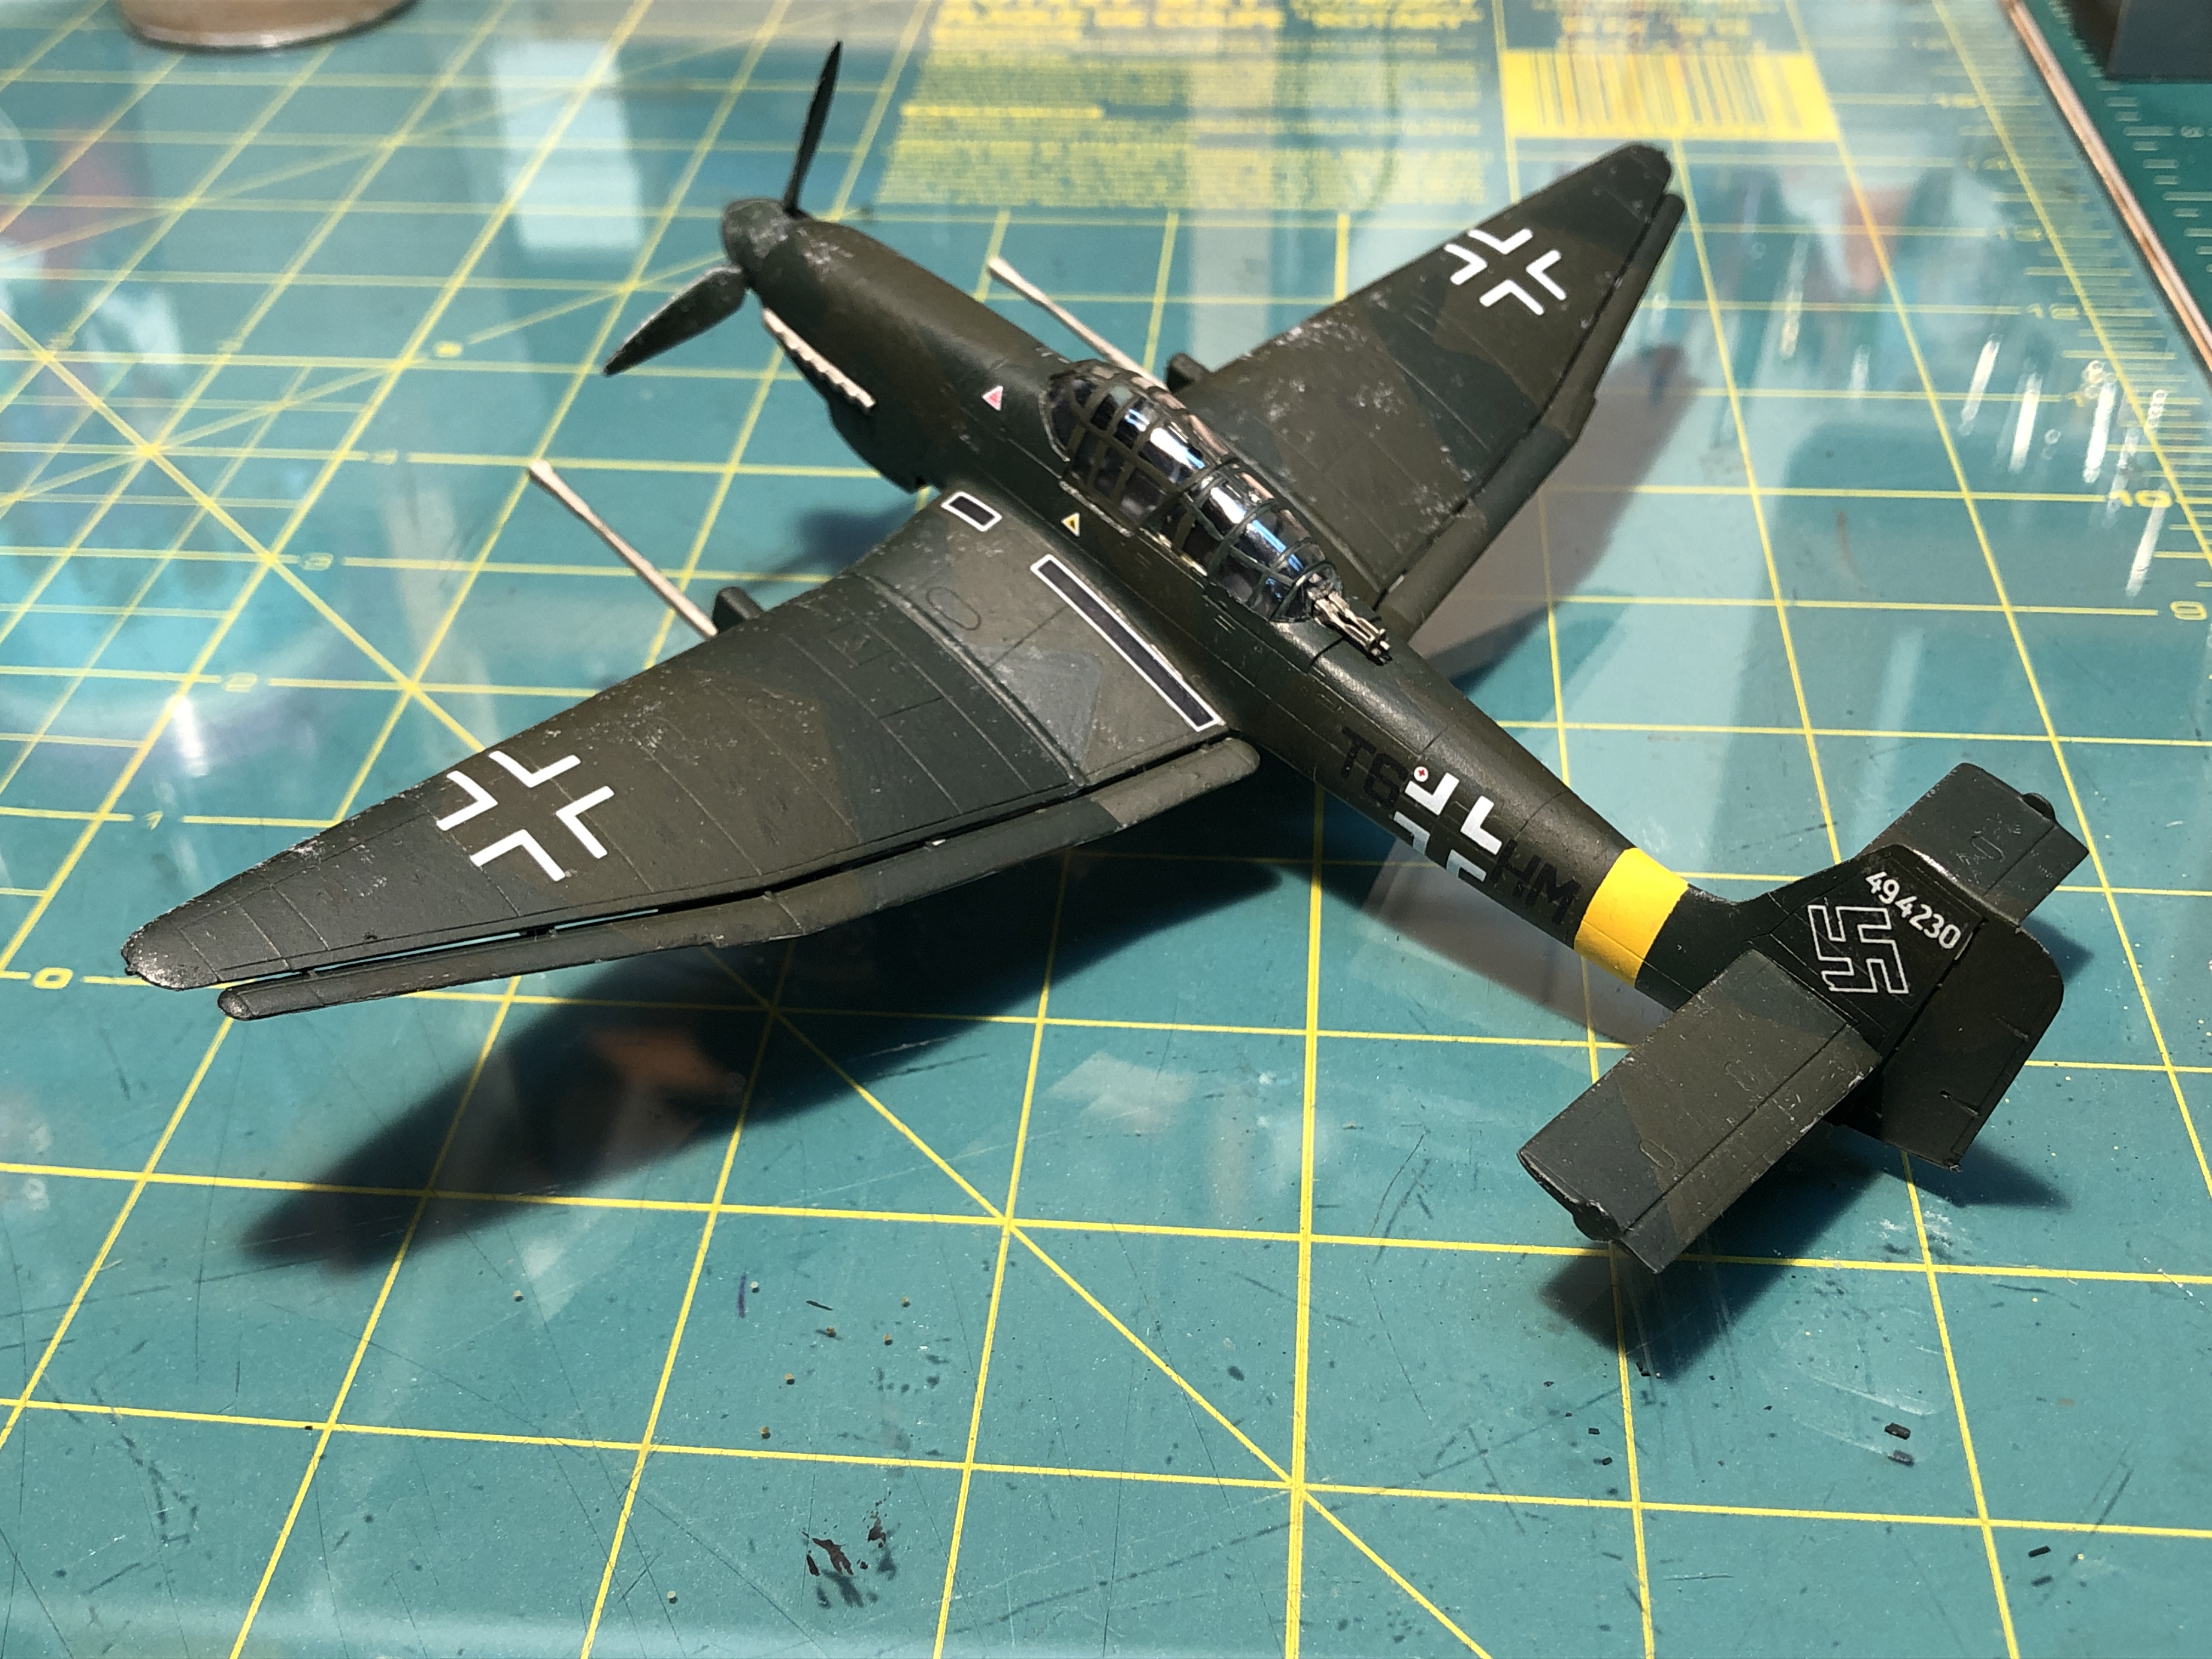
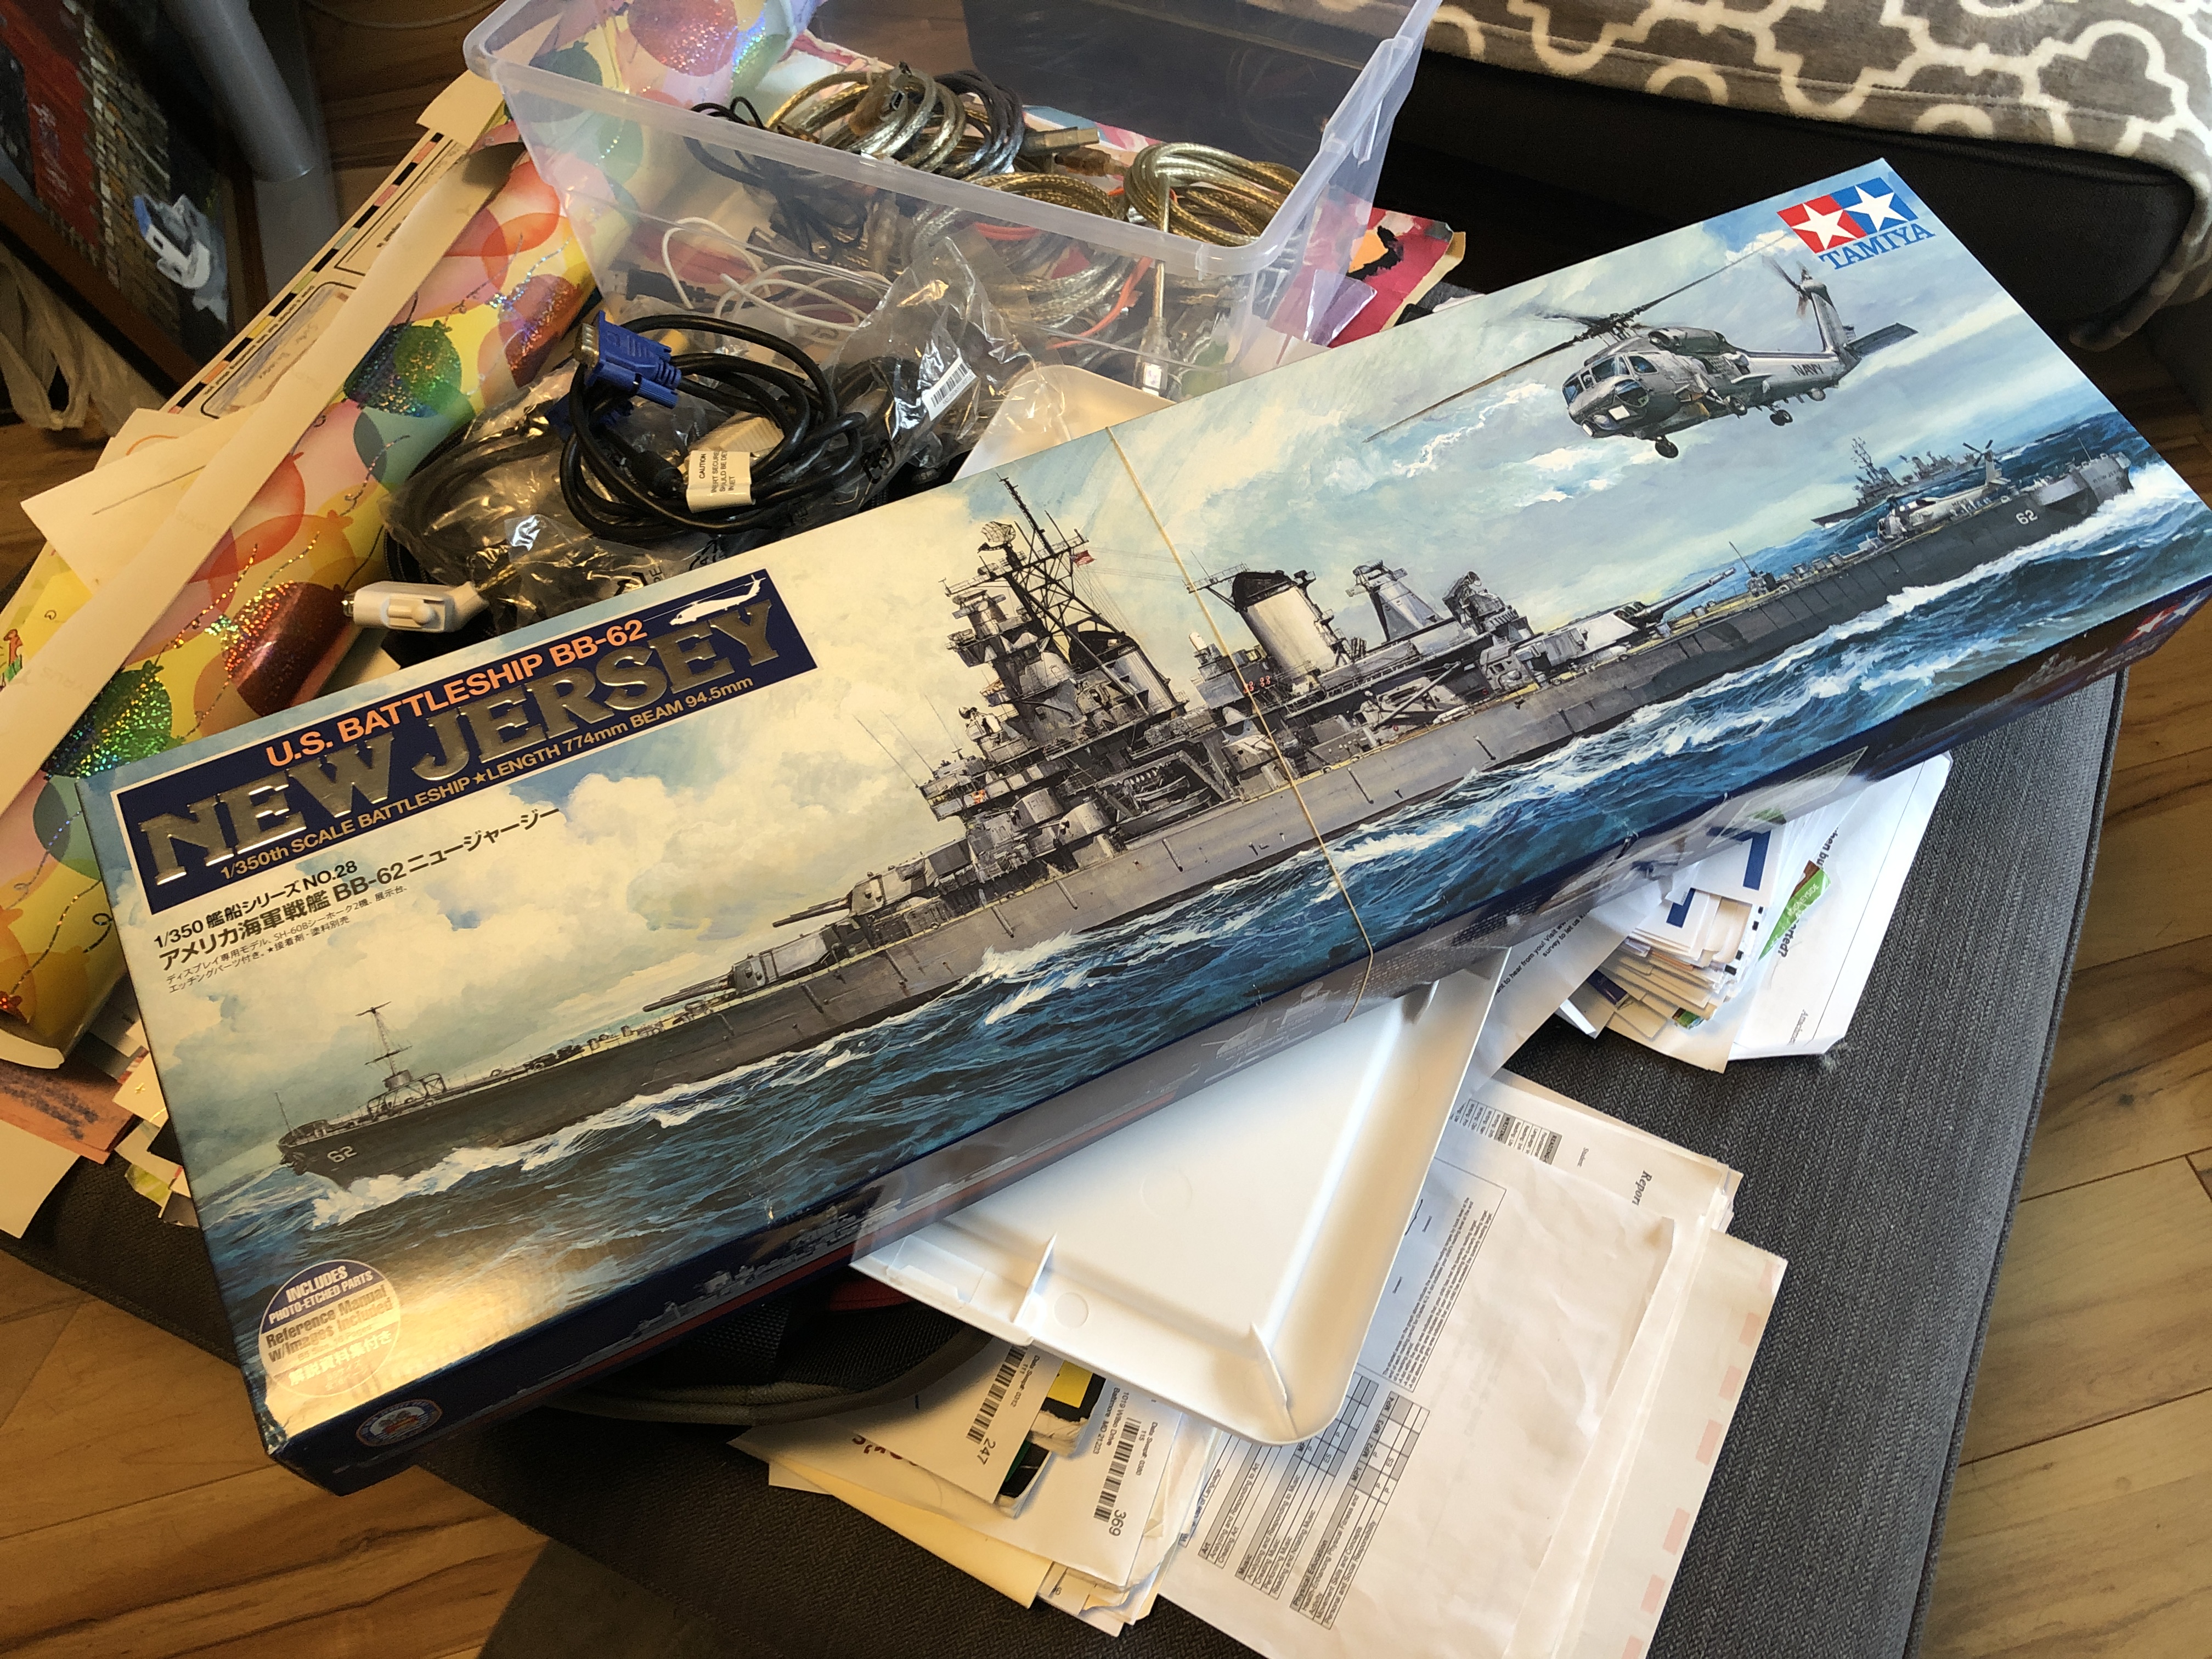
Testors 1:72 Stuka Model Wrap-Up – Another interest I have is military aircraft and armor modeling. I have many unfinished projects, but this one has been floating around my workbench for about 12 years. I decided it was time to wrap it up.
Hope you enjoyed these updates. I know it’s just a lot of rambling, but it feels great to make some progress on all these things. There are so many other items I’ve checked off lately, and really the layout room is coming back alive after being dormant for about a year. I am reinvigorated to get moving and hope to have more updates later this month. Anyone else out there getting stuff done these days? Sound off in the comments.
I figured it’s been a long time since an update on my layout & modeling progress, so here goes, in two parts. Like so many right now, I have been productive with my hobbies. I’ve chosen to spend time in the basement getting back into the layout construction and finishing up some old projects. It’s been a lot of fun, and hard work. Here’s a [long] report of what I’ve been up to:
I got the plans to place I was satisfied with and decided to start doing some work. *A quick note about this – I ended up spending another few days modifying the plans because I wasn’t pleased with them. More on this later!
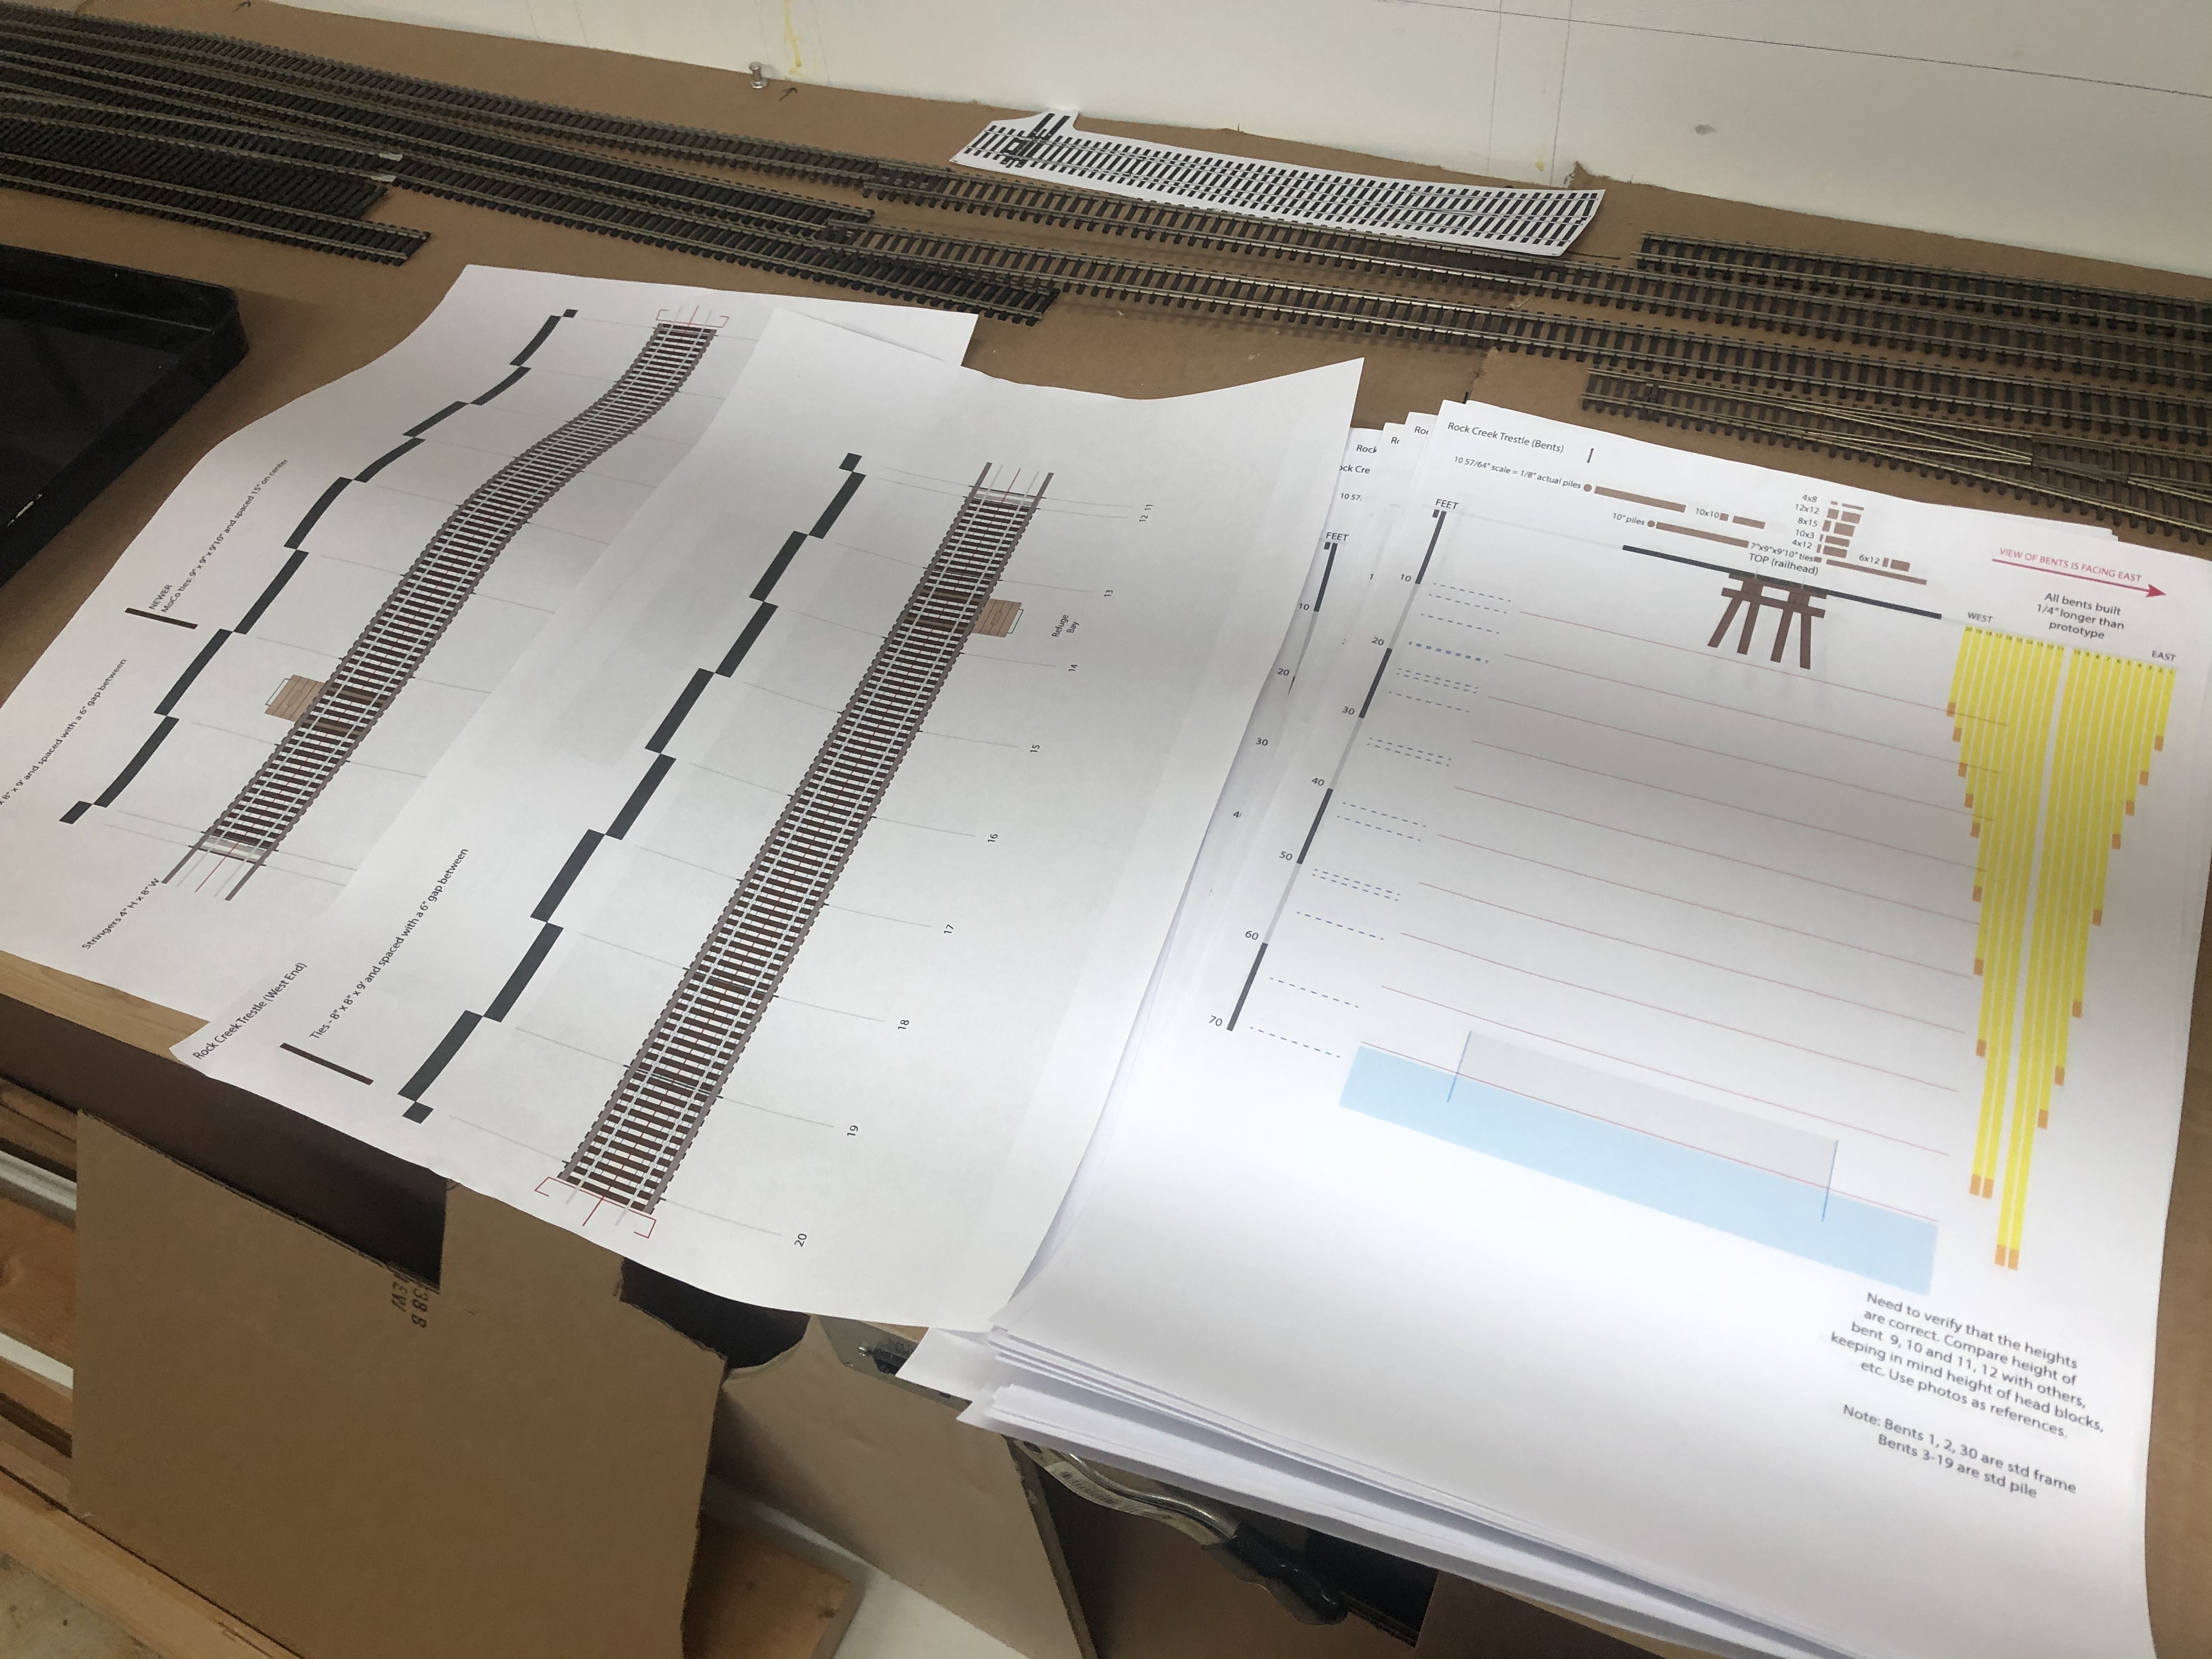
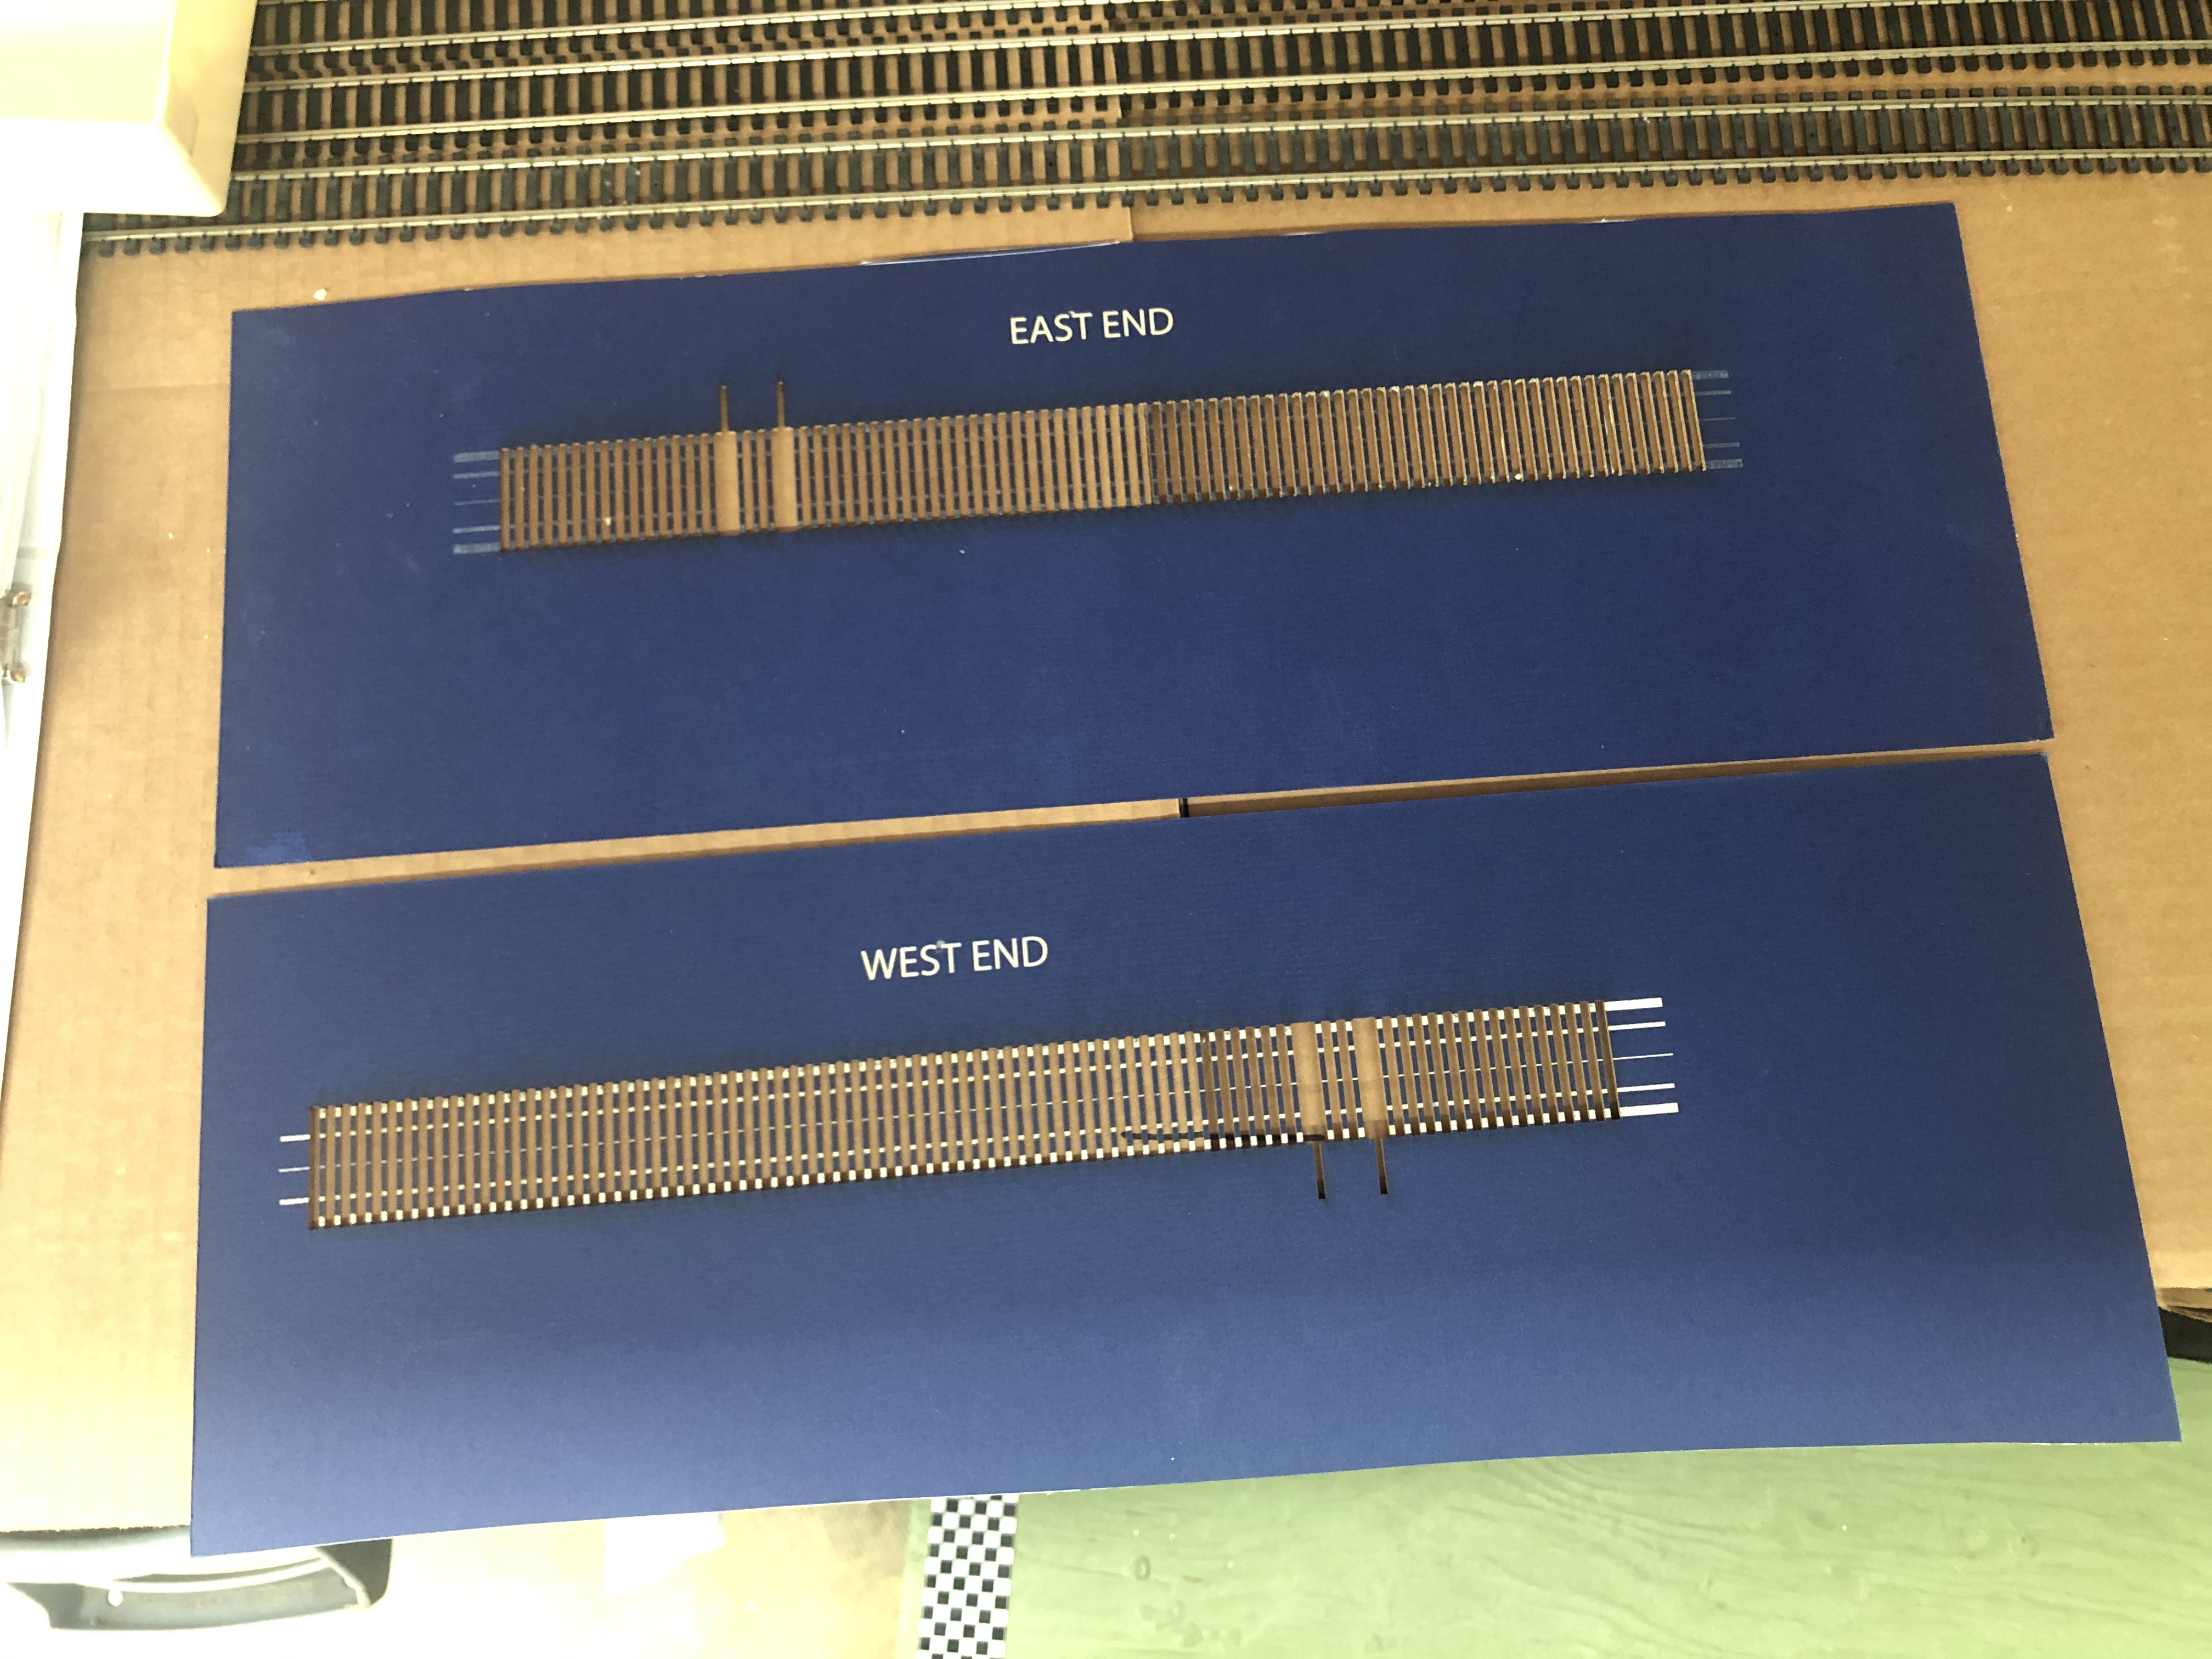
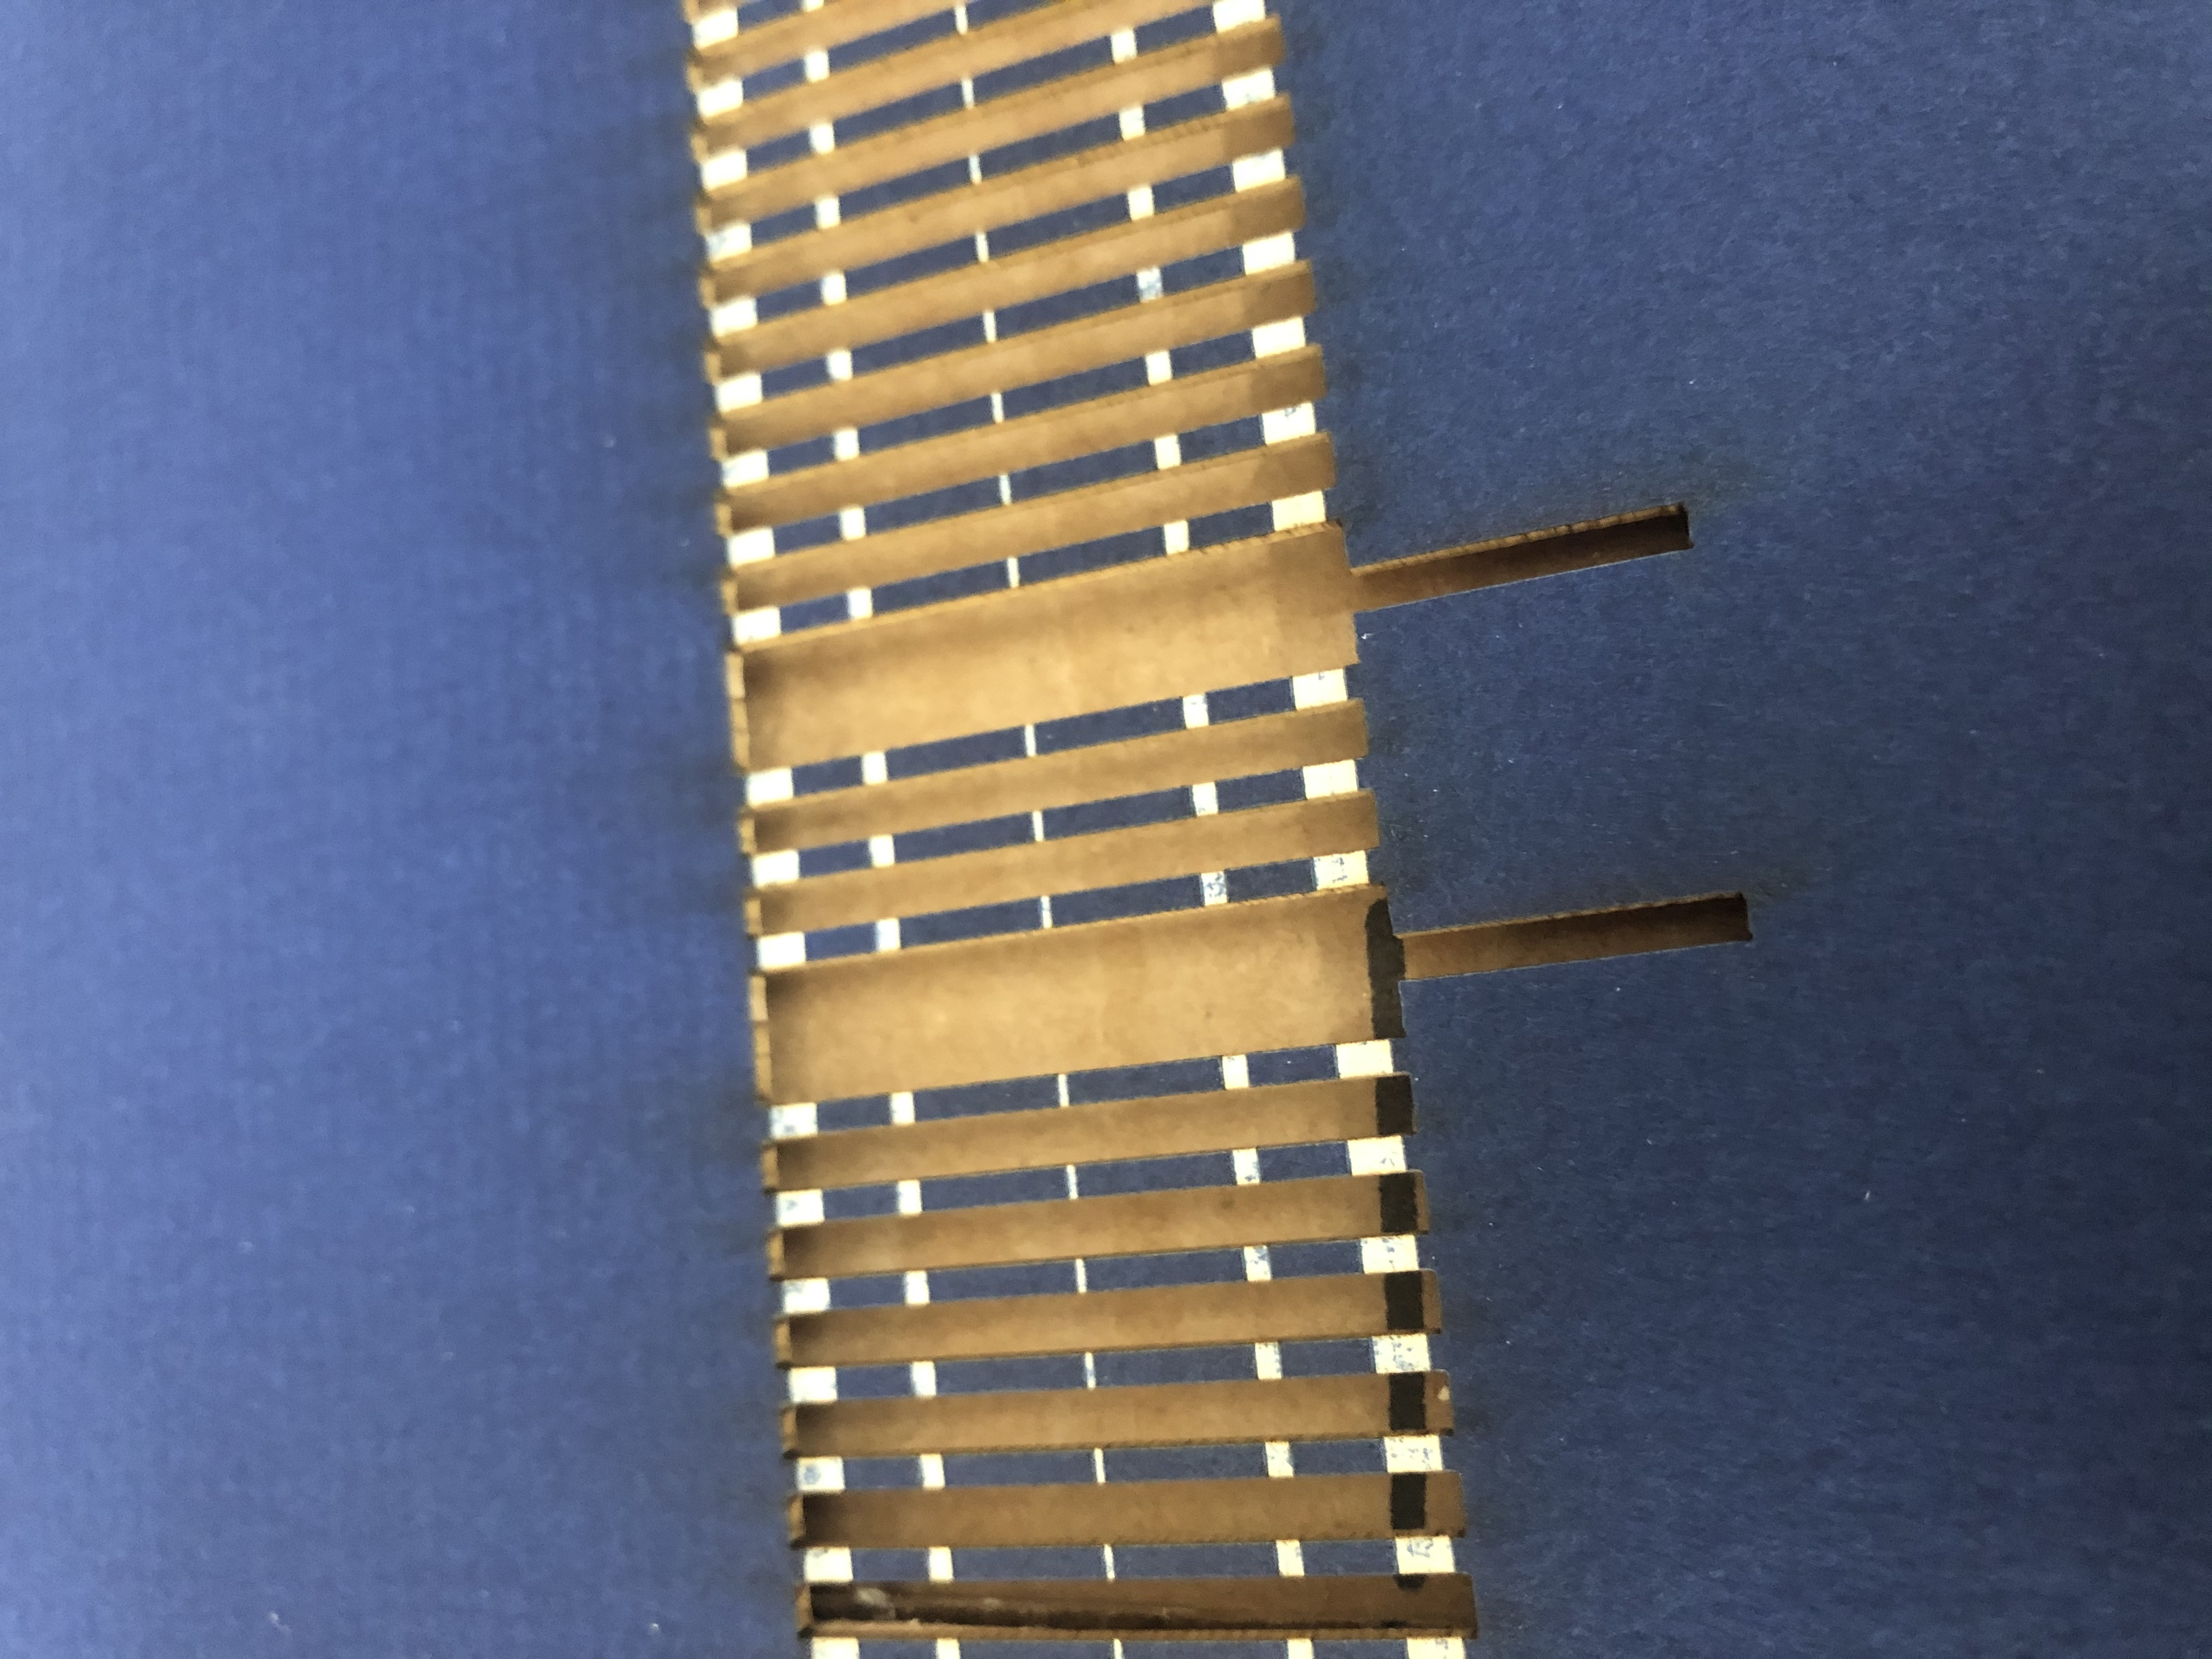
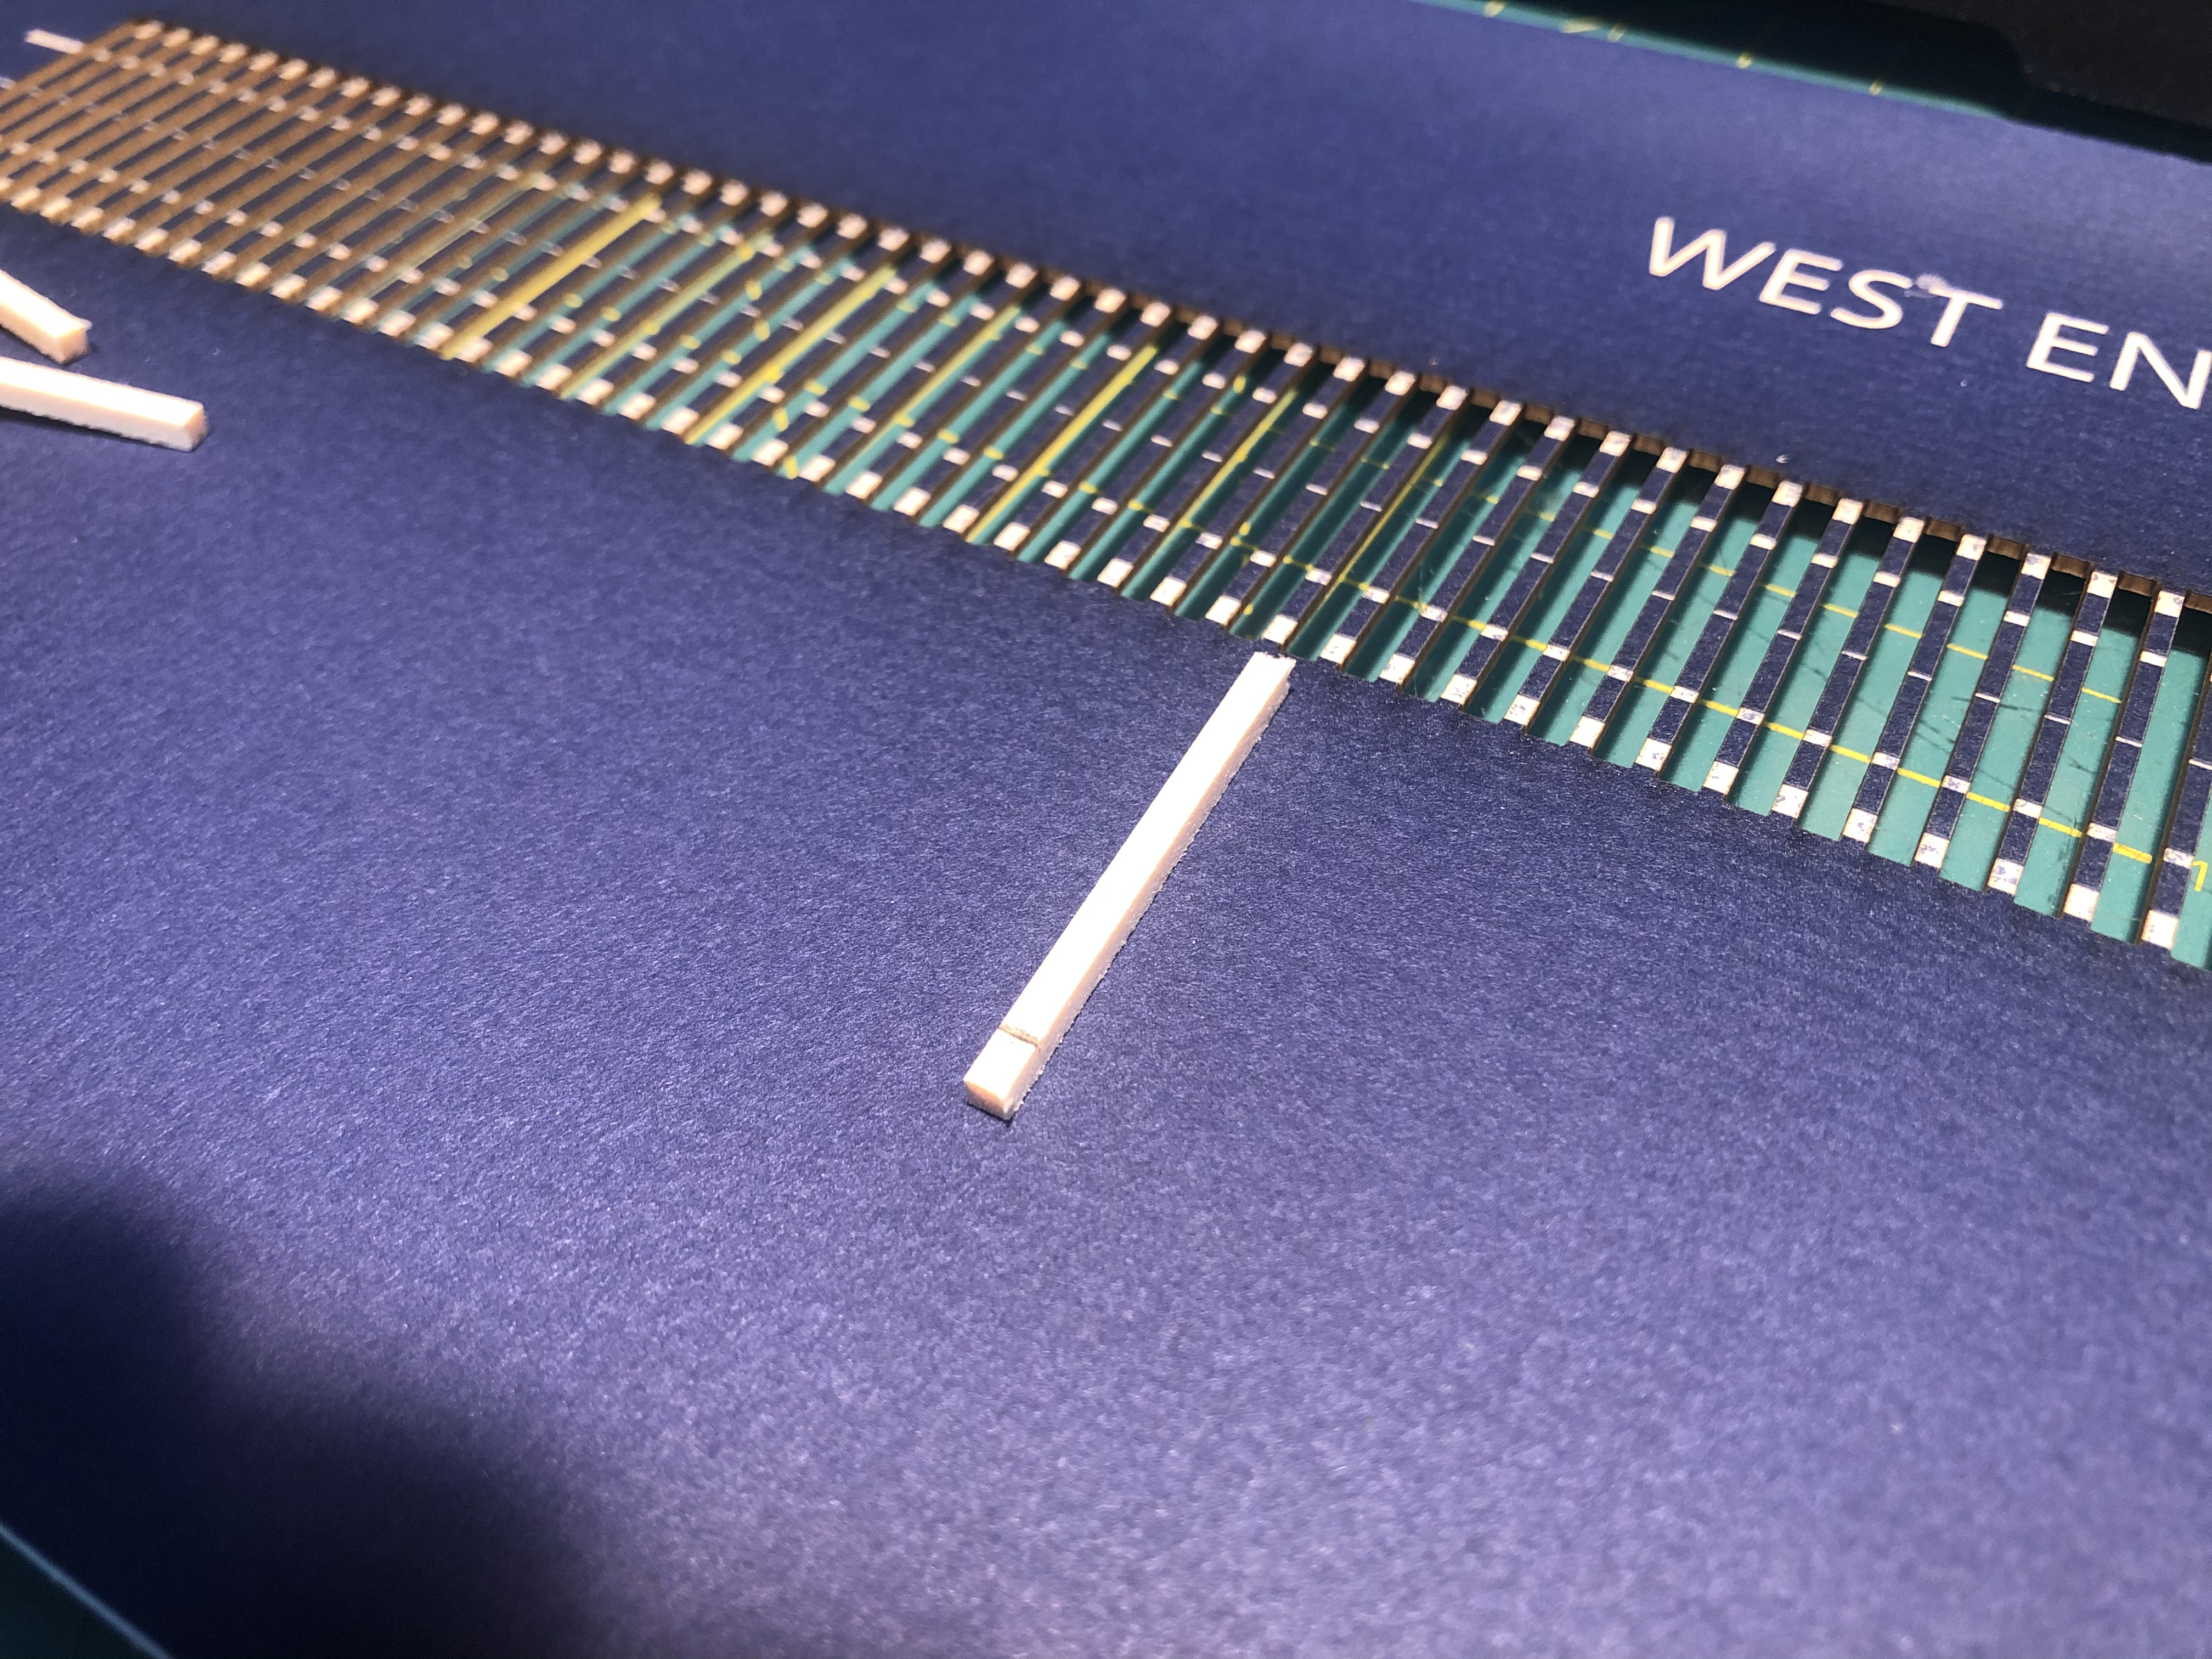
I ordered the lumber a few months back from Mt. Albert Scale Lumber (FastTracks) and Northeastern Scale Lumber and decided to laser cut some jigs for the bridge ties. I even picked up some tie plates, spikes and joint bars from the folks at Proto:87, which I will use to detail the bridge track.



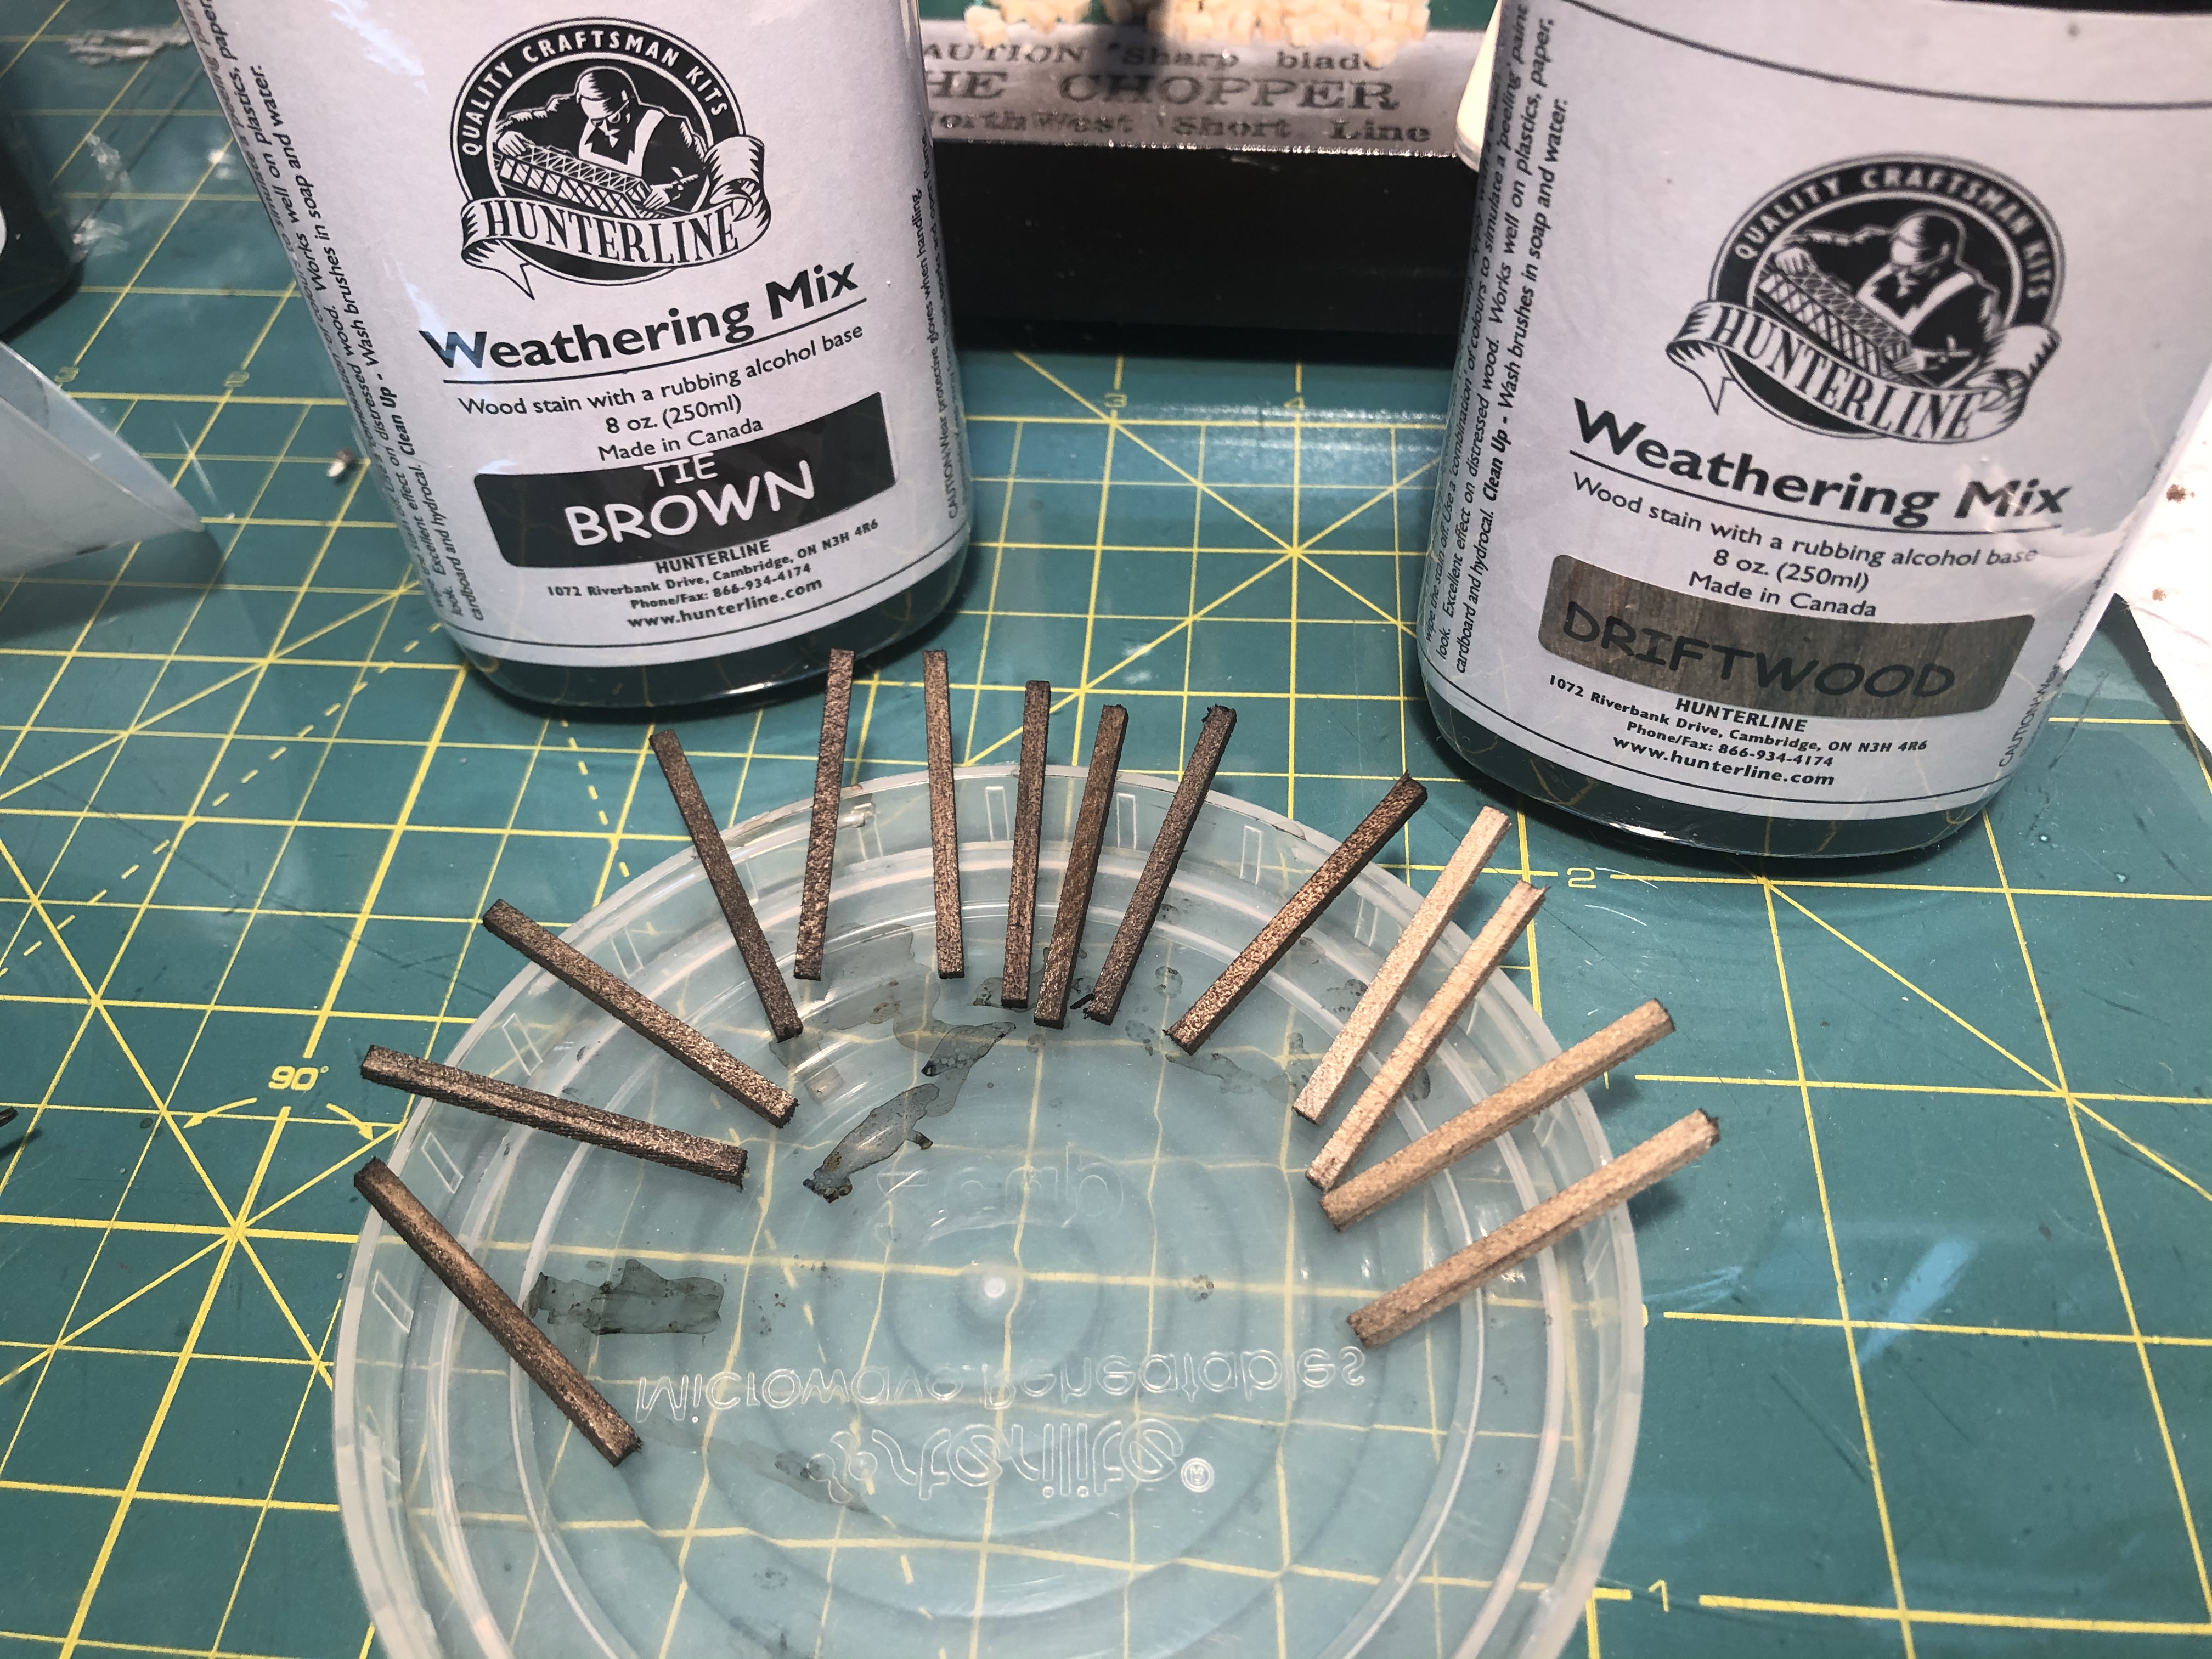
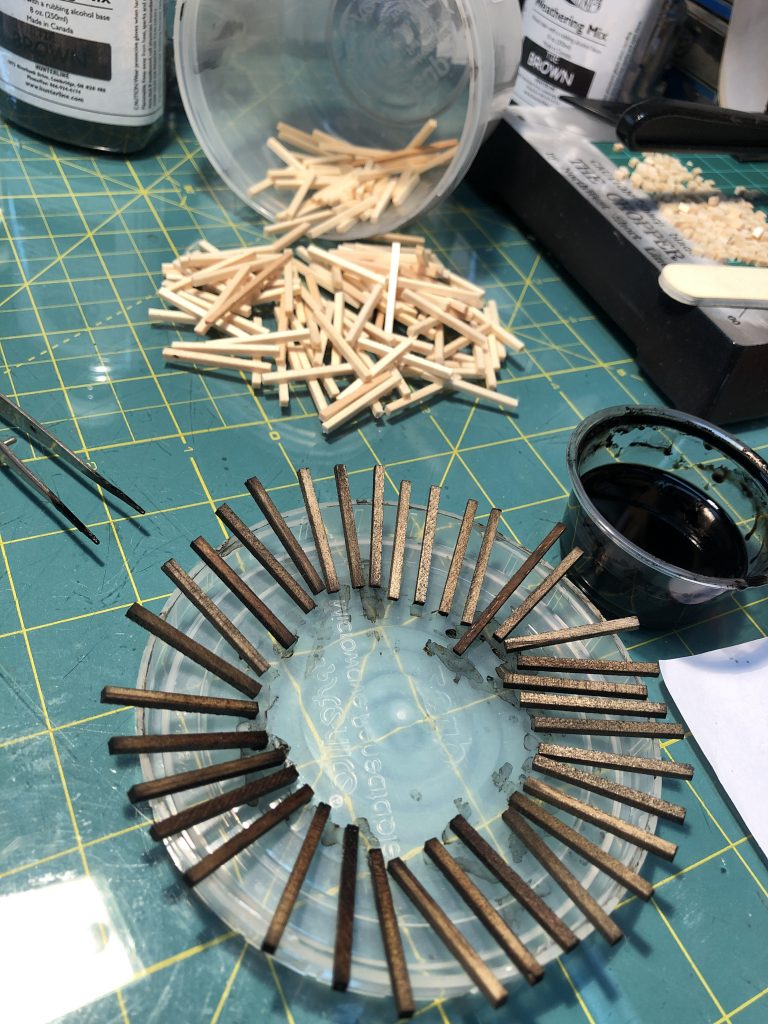
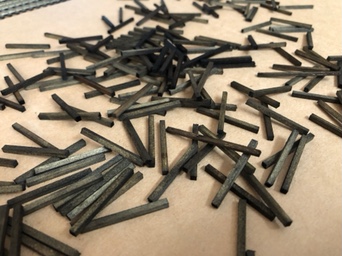
Next up was the stain. I did some testing with about 5-6 different Hunterline Weathering Mix stains and eventually settled on Tie Brown with a bit of Driftwood mixed in.
Fast forward a couple months and I’m picking back up where I left off with this project. I was doing a mental and physical inventory of the trestle project to get back on track. As I started to go through my notes and compare them with what lumber I purchased last Winter, I realized I screwed up. I missed a few things in my order. Oops! A quick trip to FastTracks’ website and the order was in.
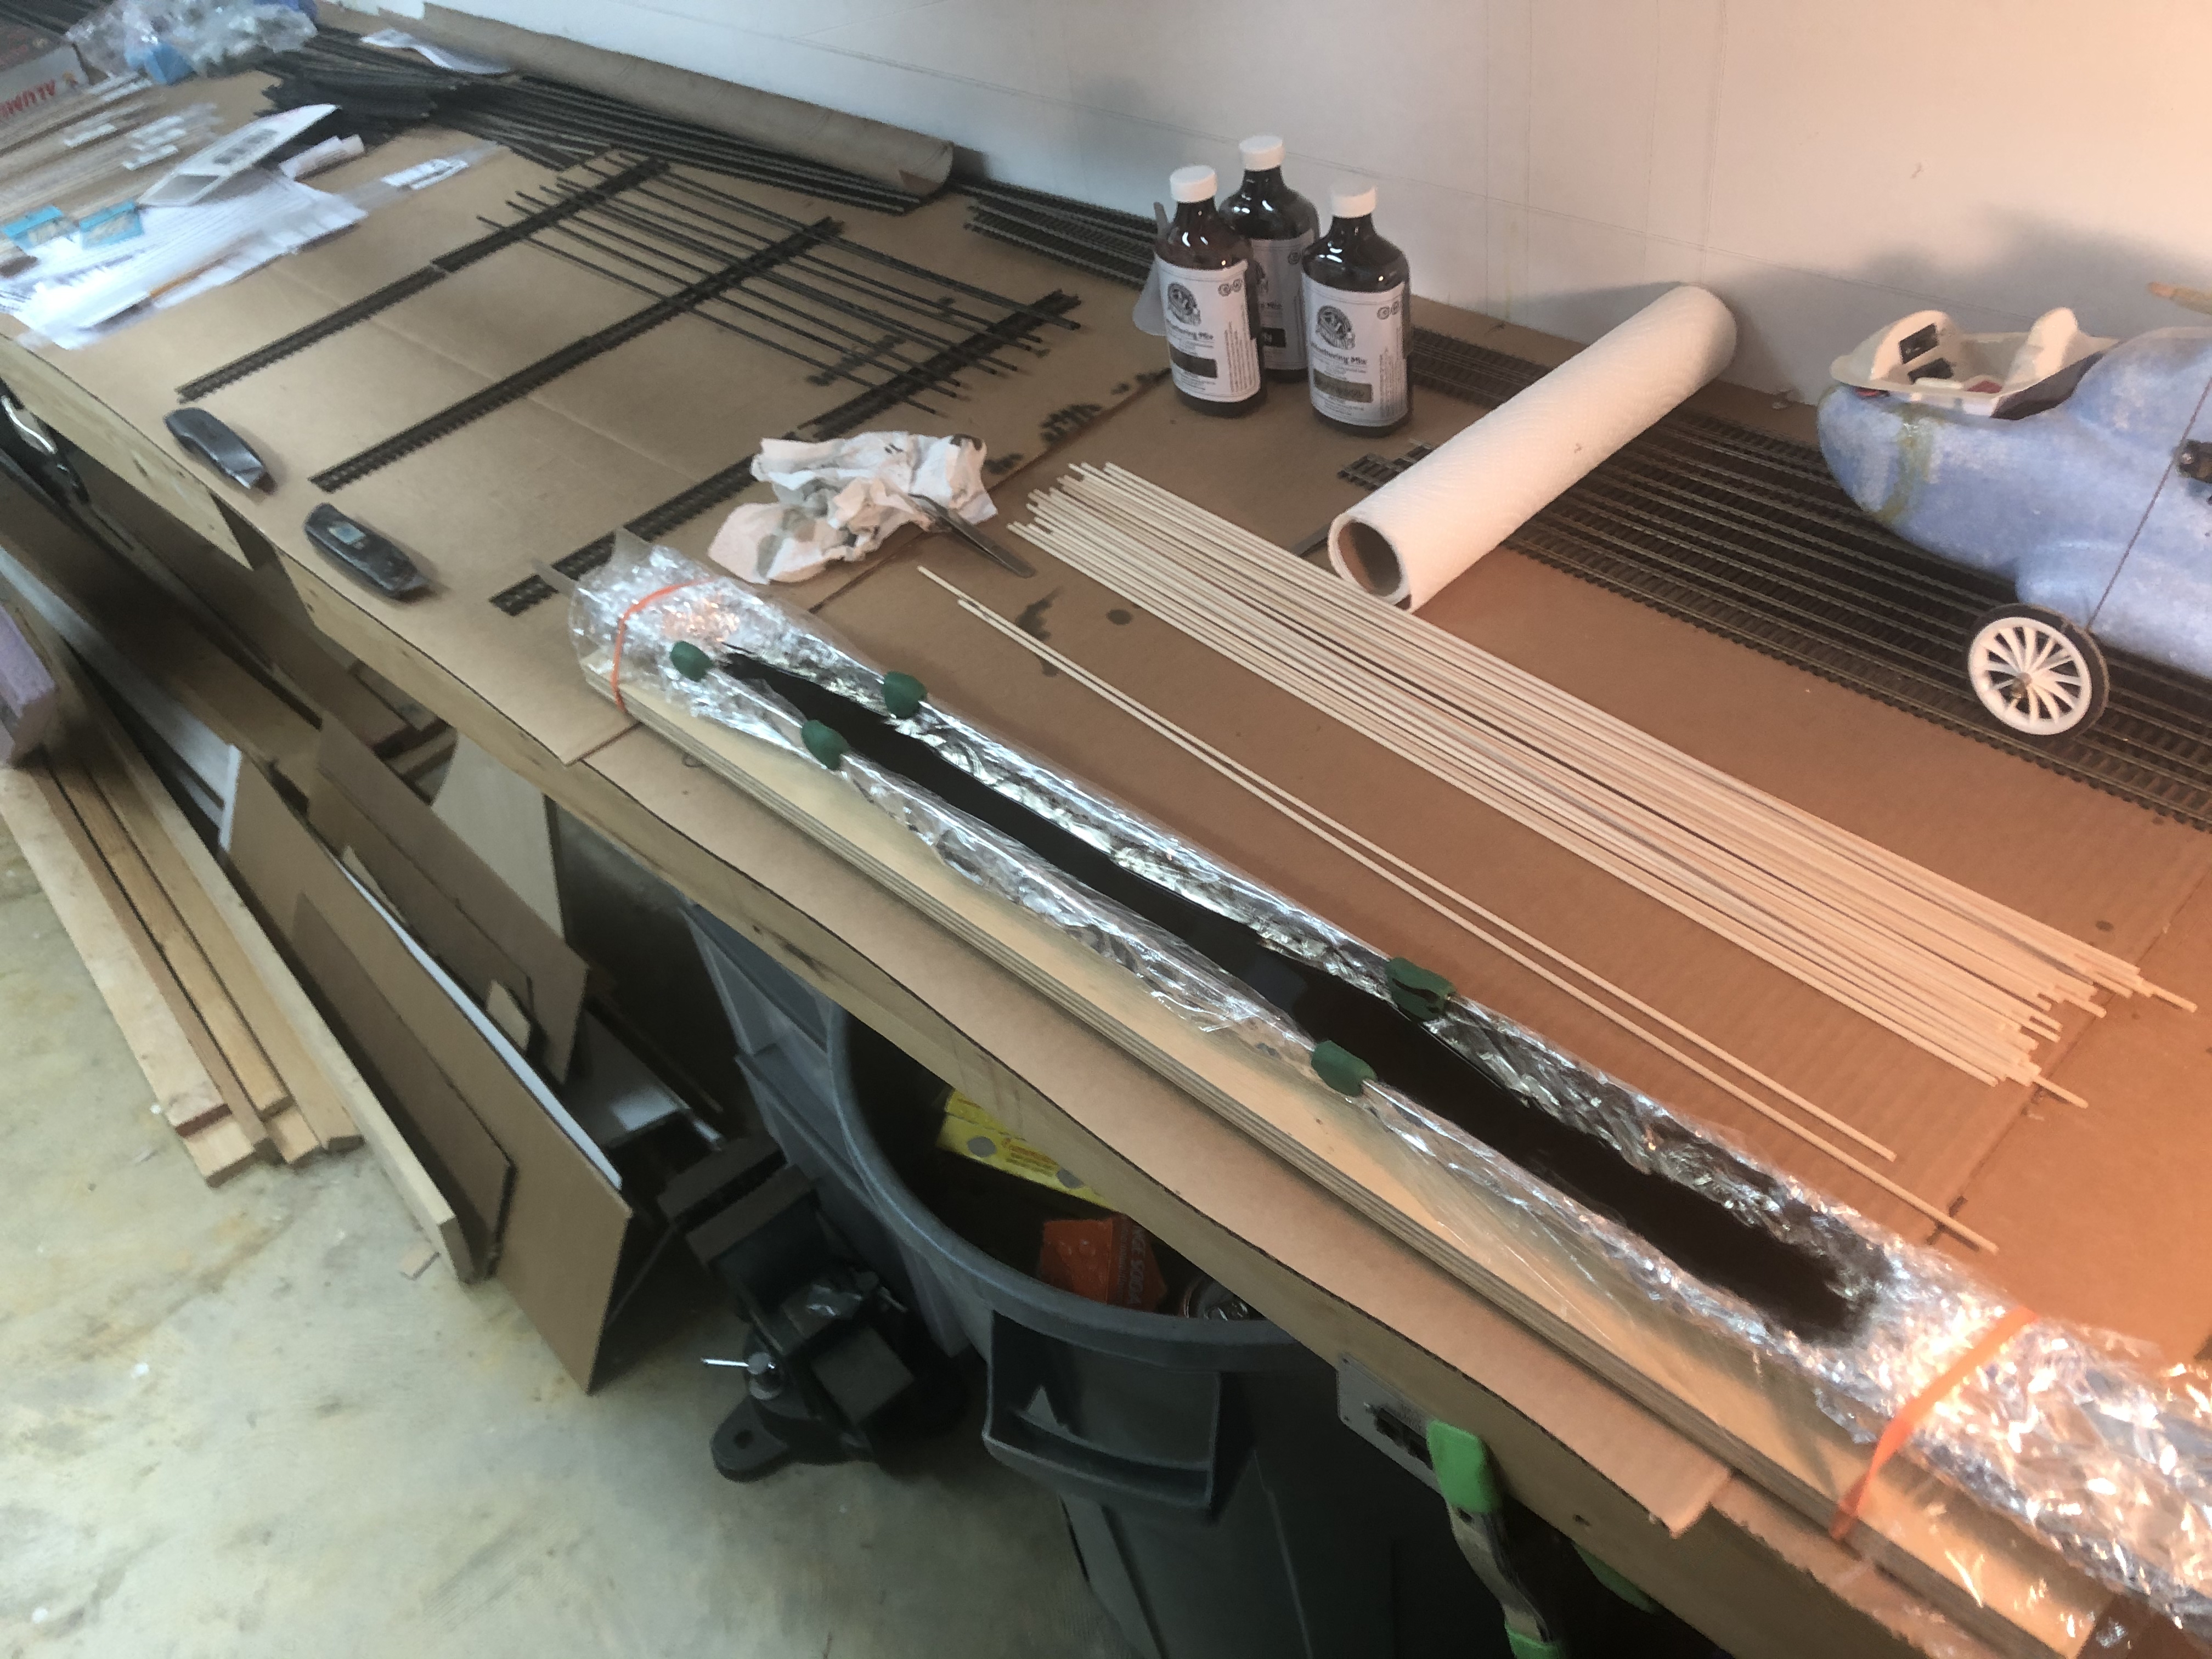
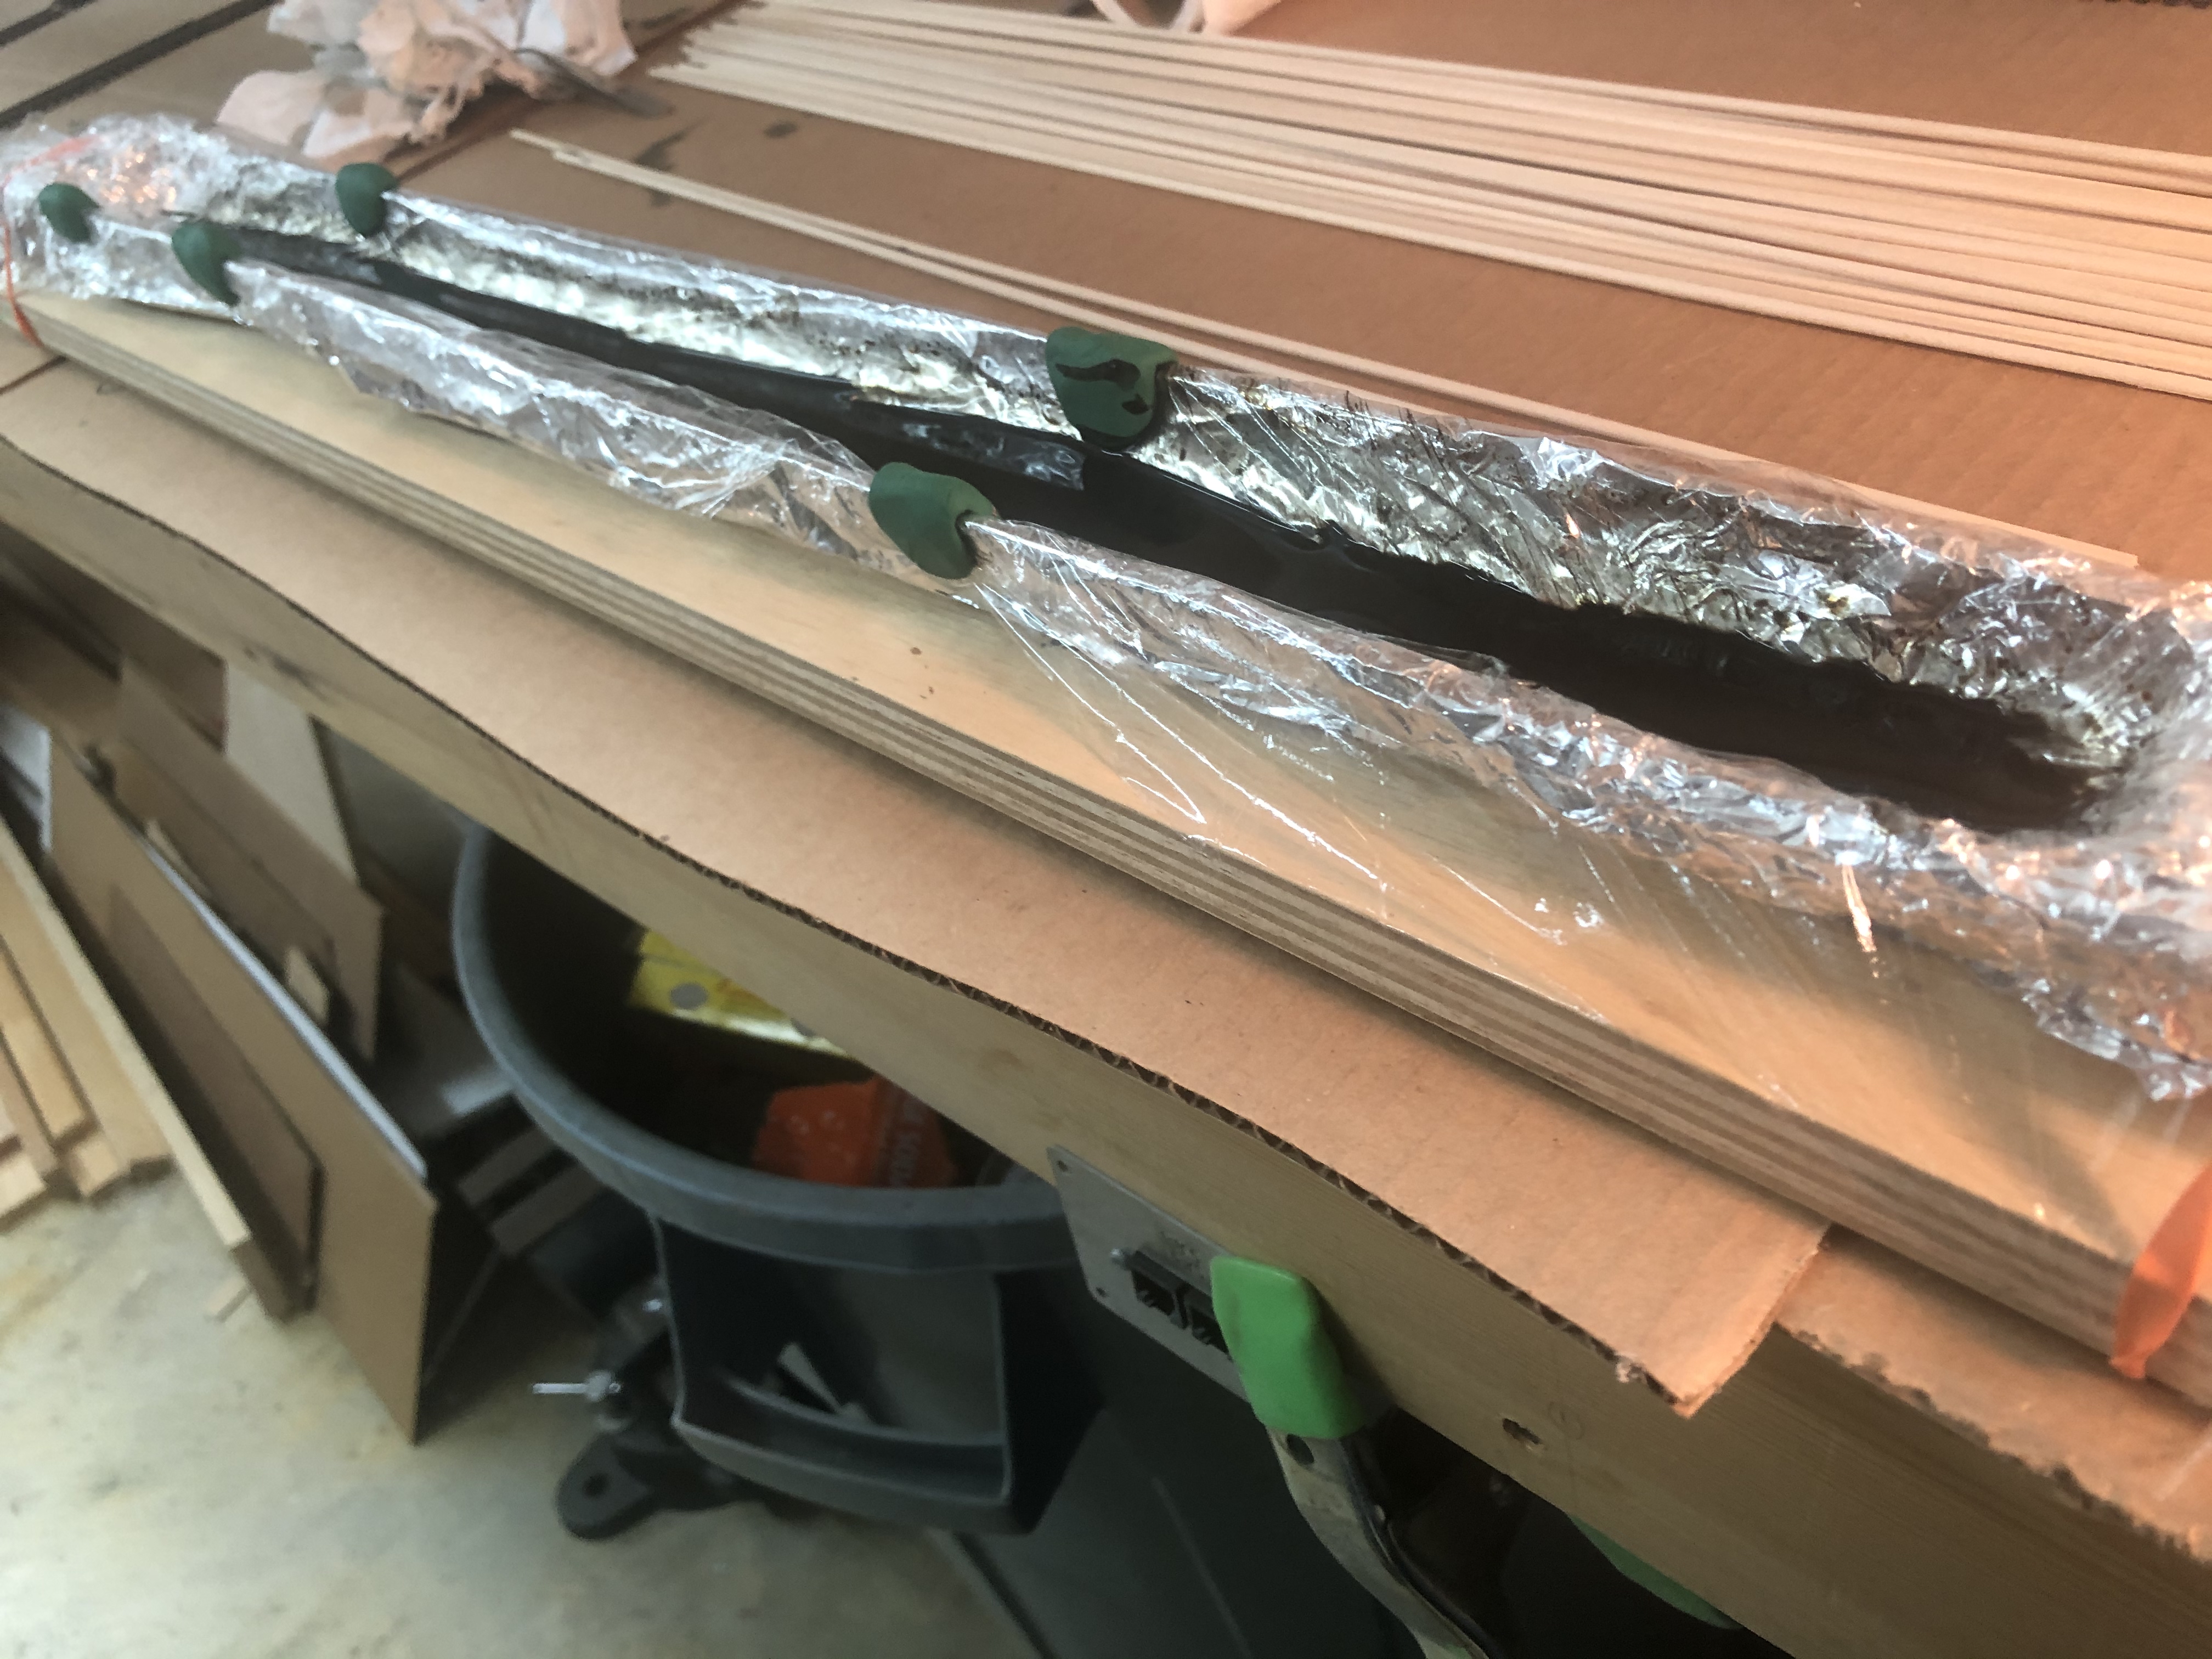
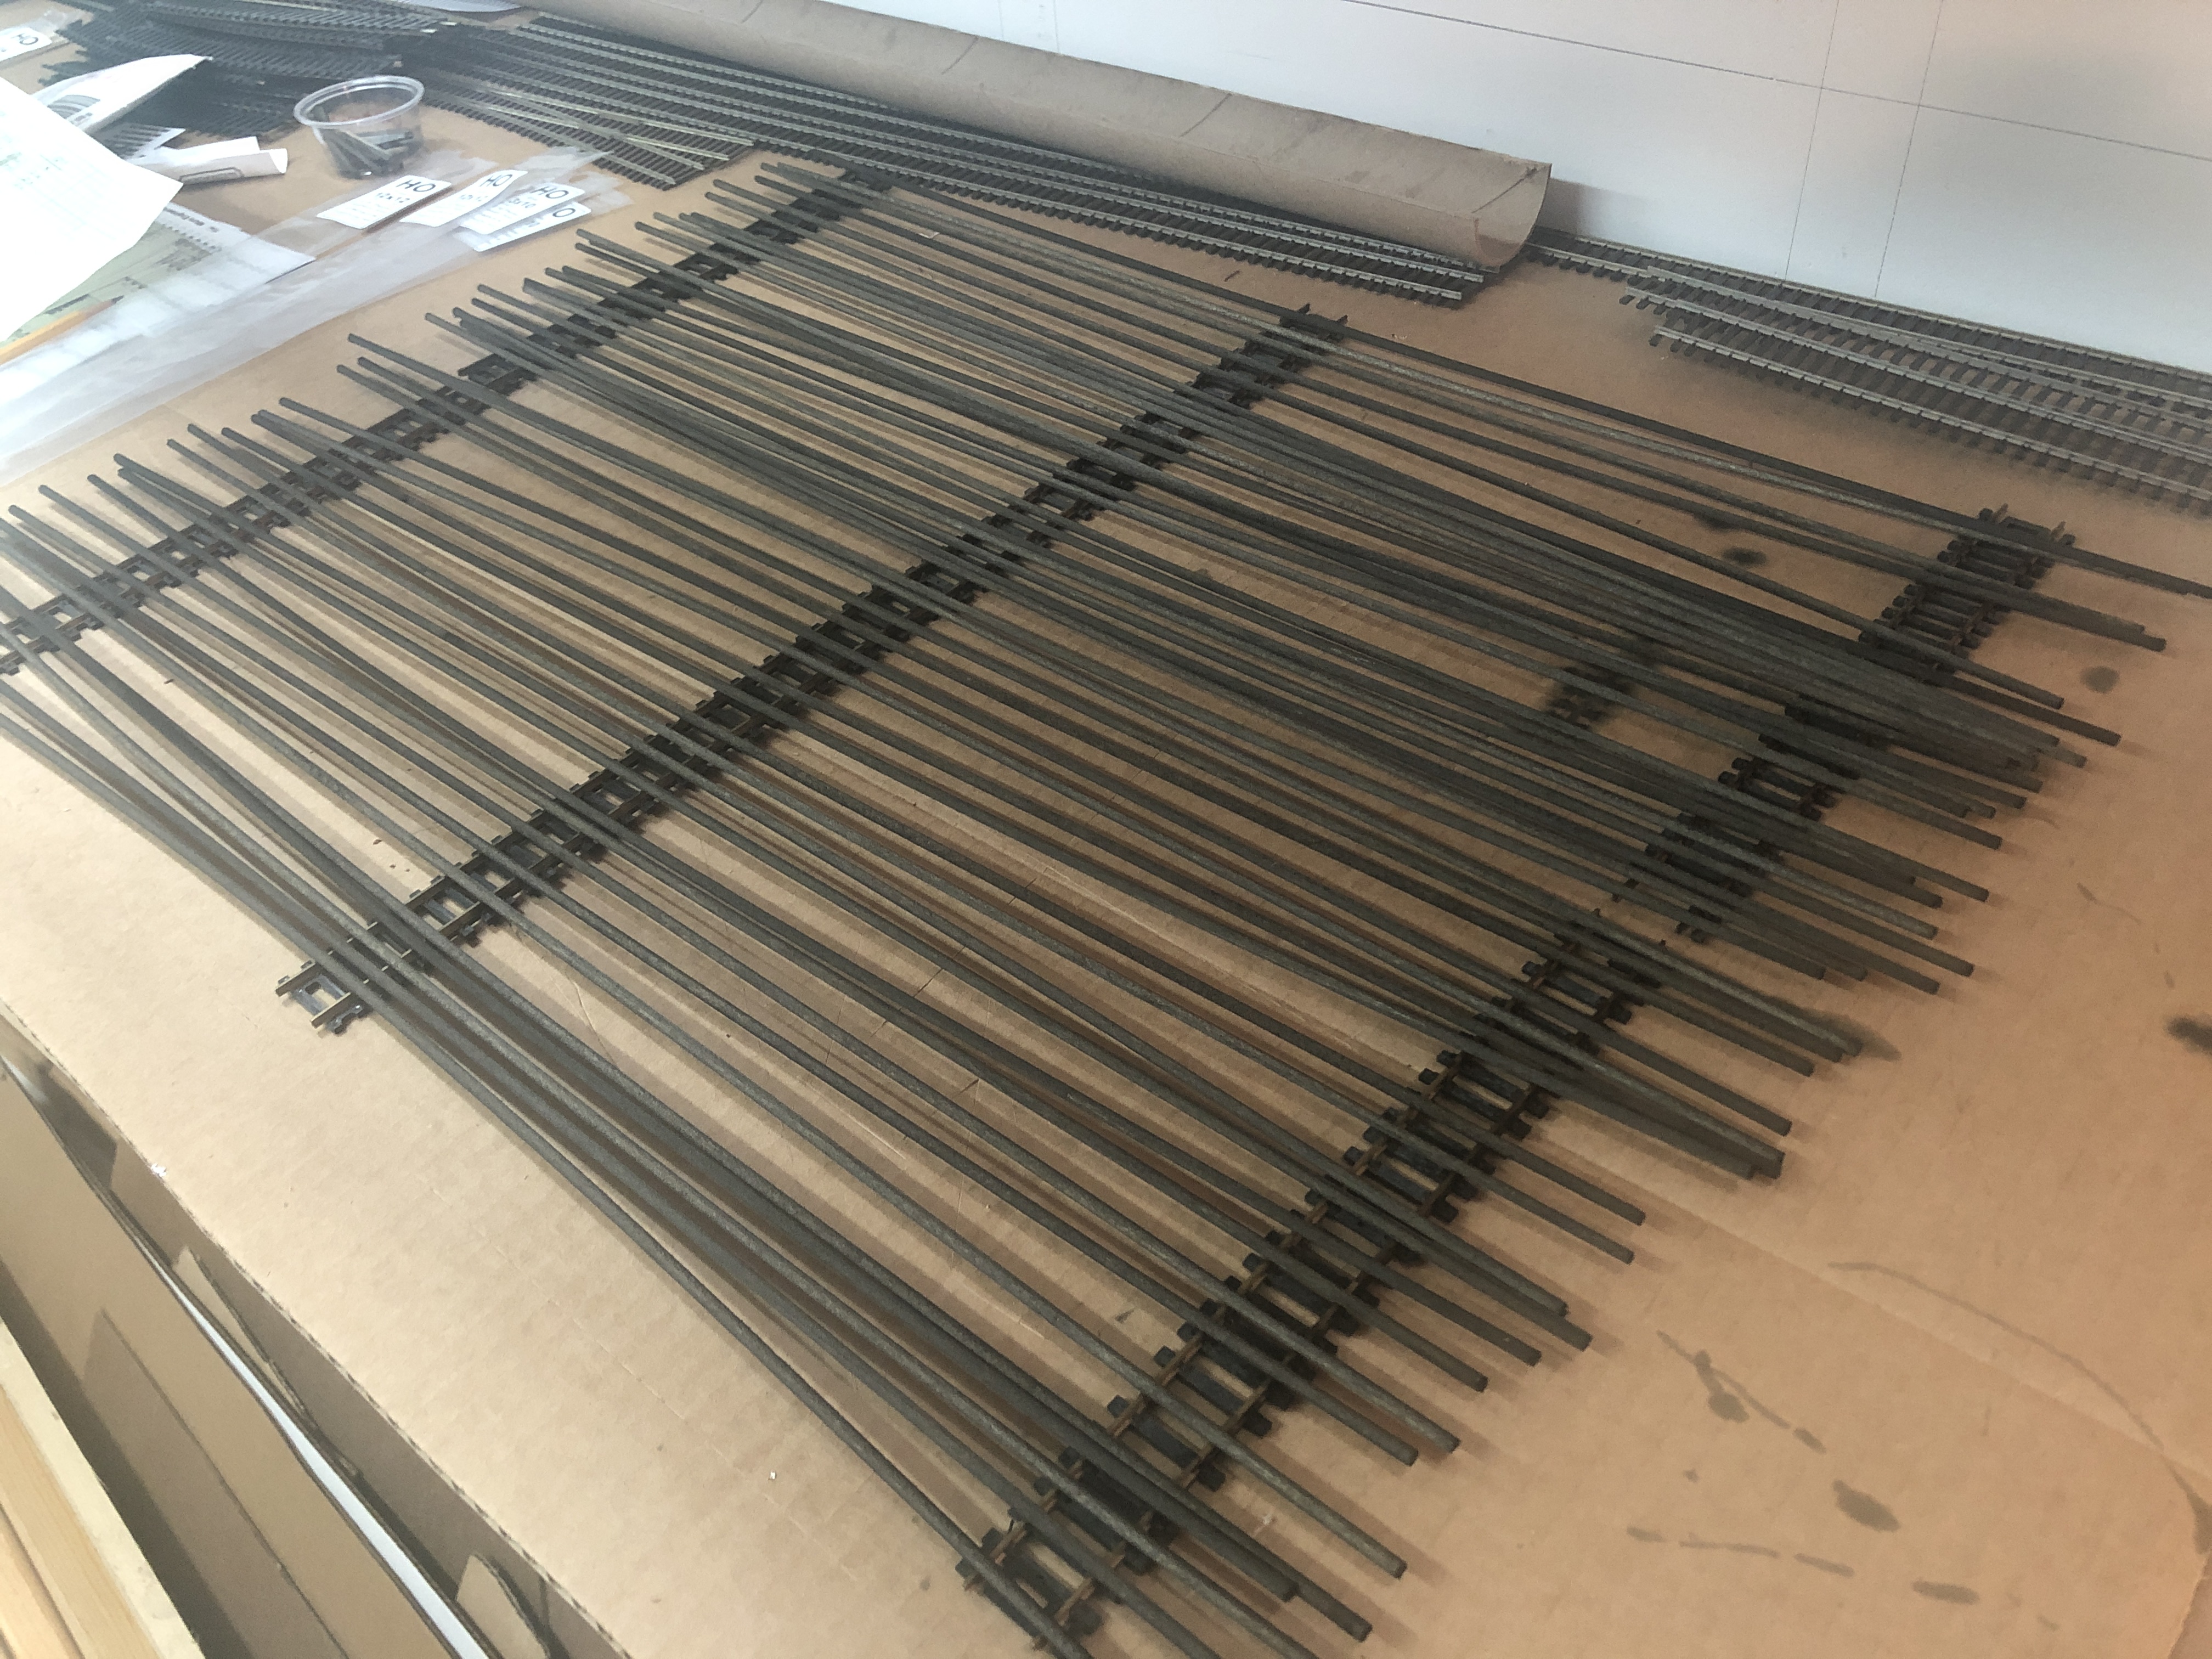
So now that I am waiting for that material to show up, let’s get busy staining the wood we DO have! But how do you stain 2′ long x 1/8″ pieces of wood? I had to figure out a solution, so I designed a trough out of foil, but that failed catastrophically. (Cleaning up stain is NO FUN.) I cut a rigid paper tube in half, lined it with foil and used some old clay to create ends that are adjustable. I then laid a sheet of plastic wrap in and held it in place with clay blobs. The whole thing was rubber-banded to a piece of wood to keep it steady. This gave me a nice place to hold the stain while I dipped wood in and set to dry on drying racks I made from old Snap-Track. In the future, I may try to get some Flex Seal to spray on the tin foil and make it a bit more robust, as I worried the tweezers or the wood itself could poke a hole in the saran wrap and cause a leak.
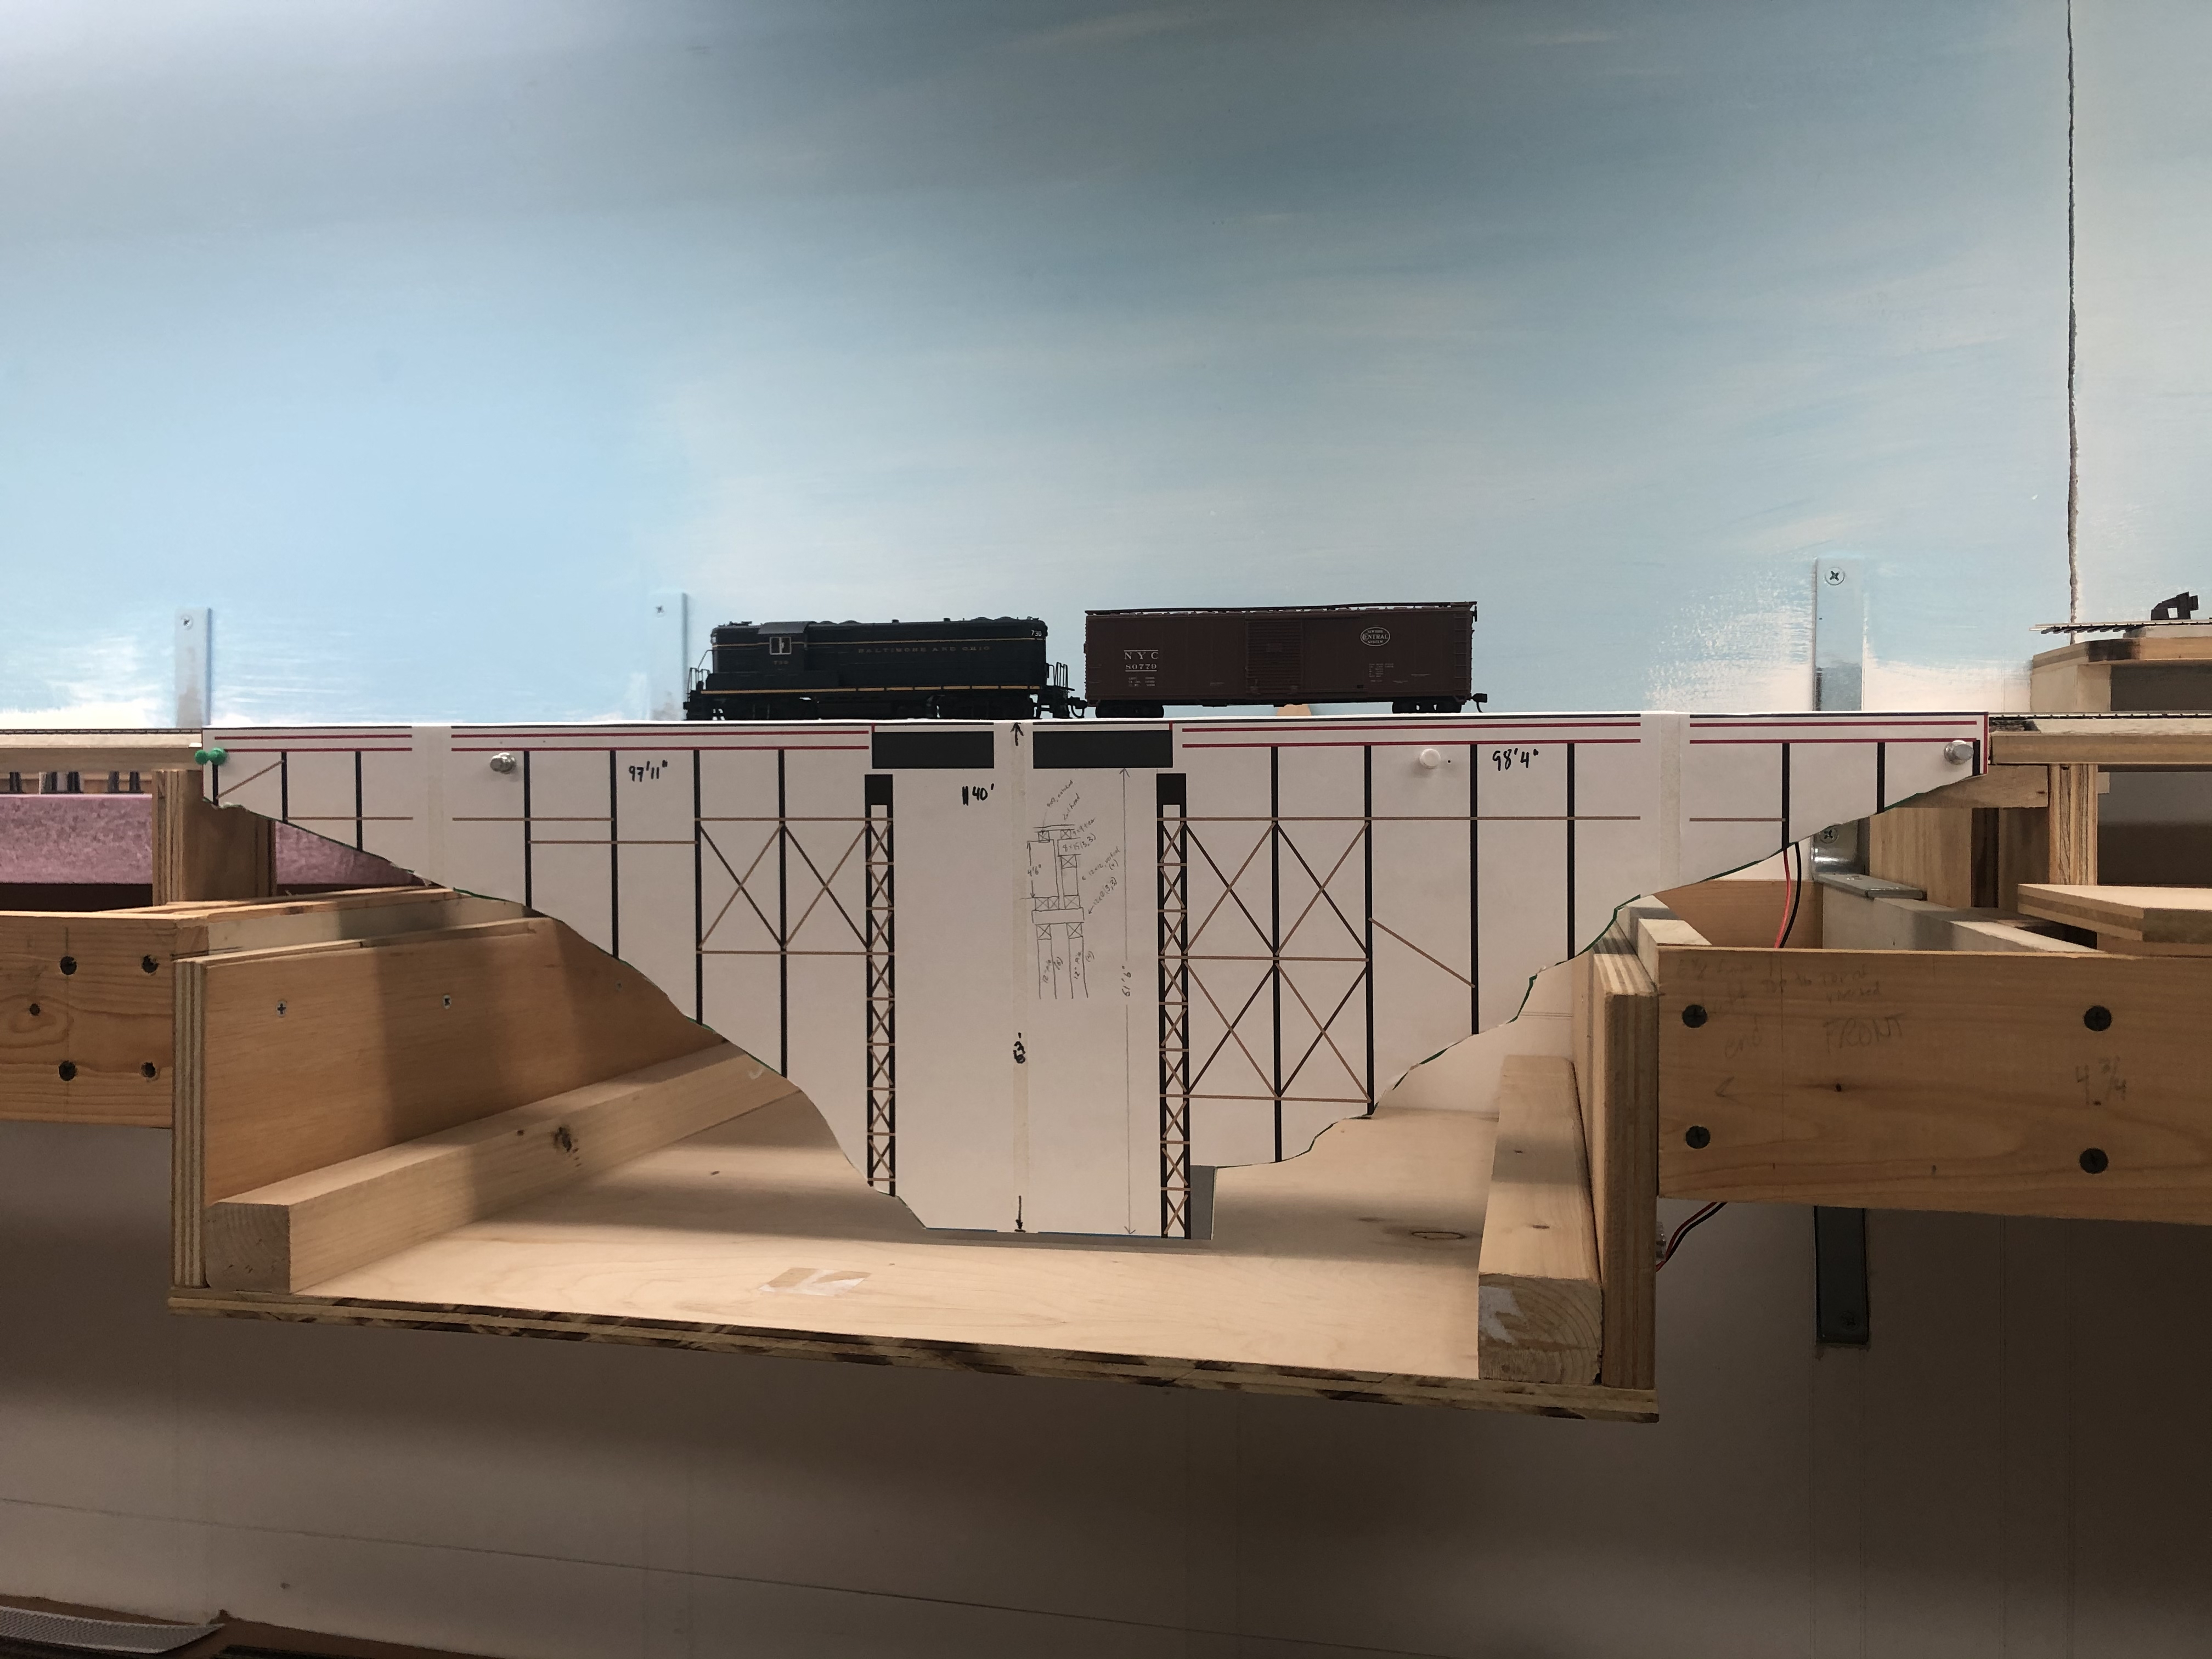
Tichy makes a 40′ plate girder bridge flatcar kit load, that is a very close approximation of the same sort of bridge span across Rock Creek. The major difference is that this one is 1’6″ taller than the B&O prototype.
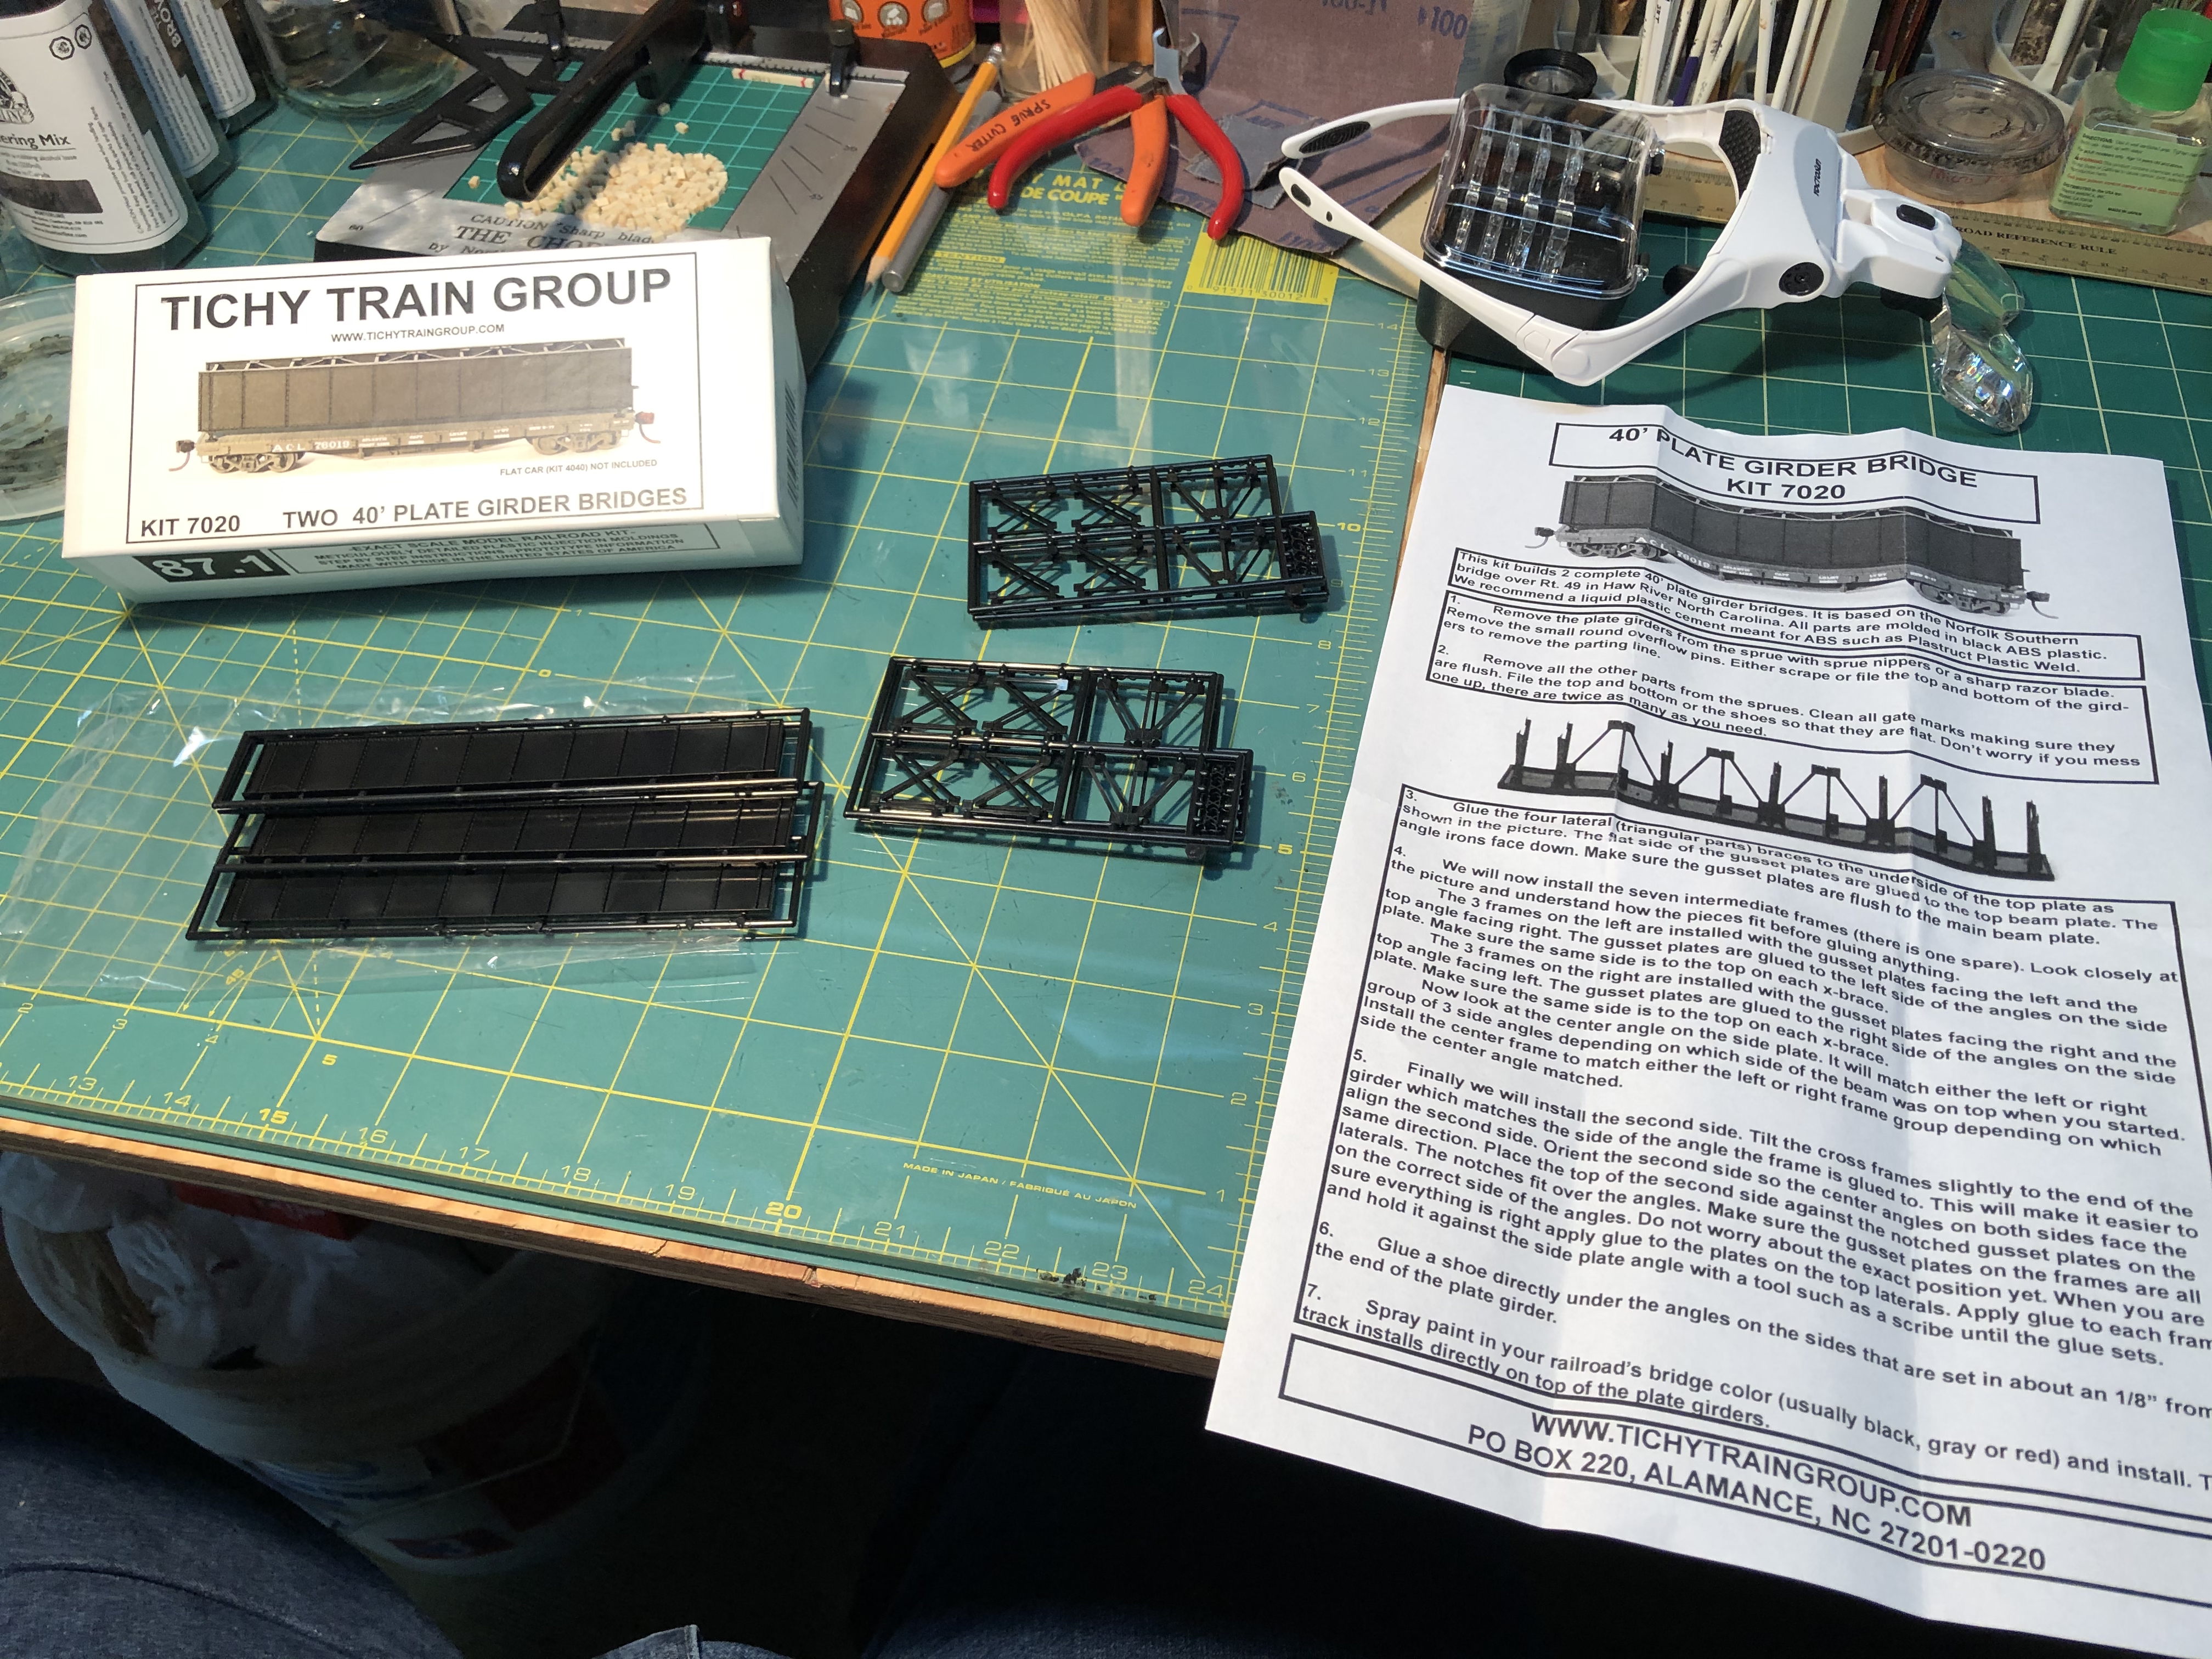

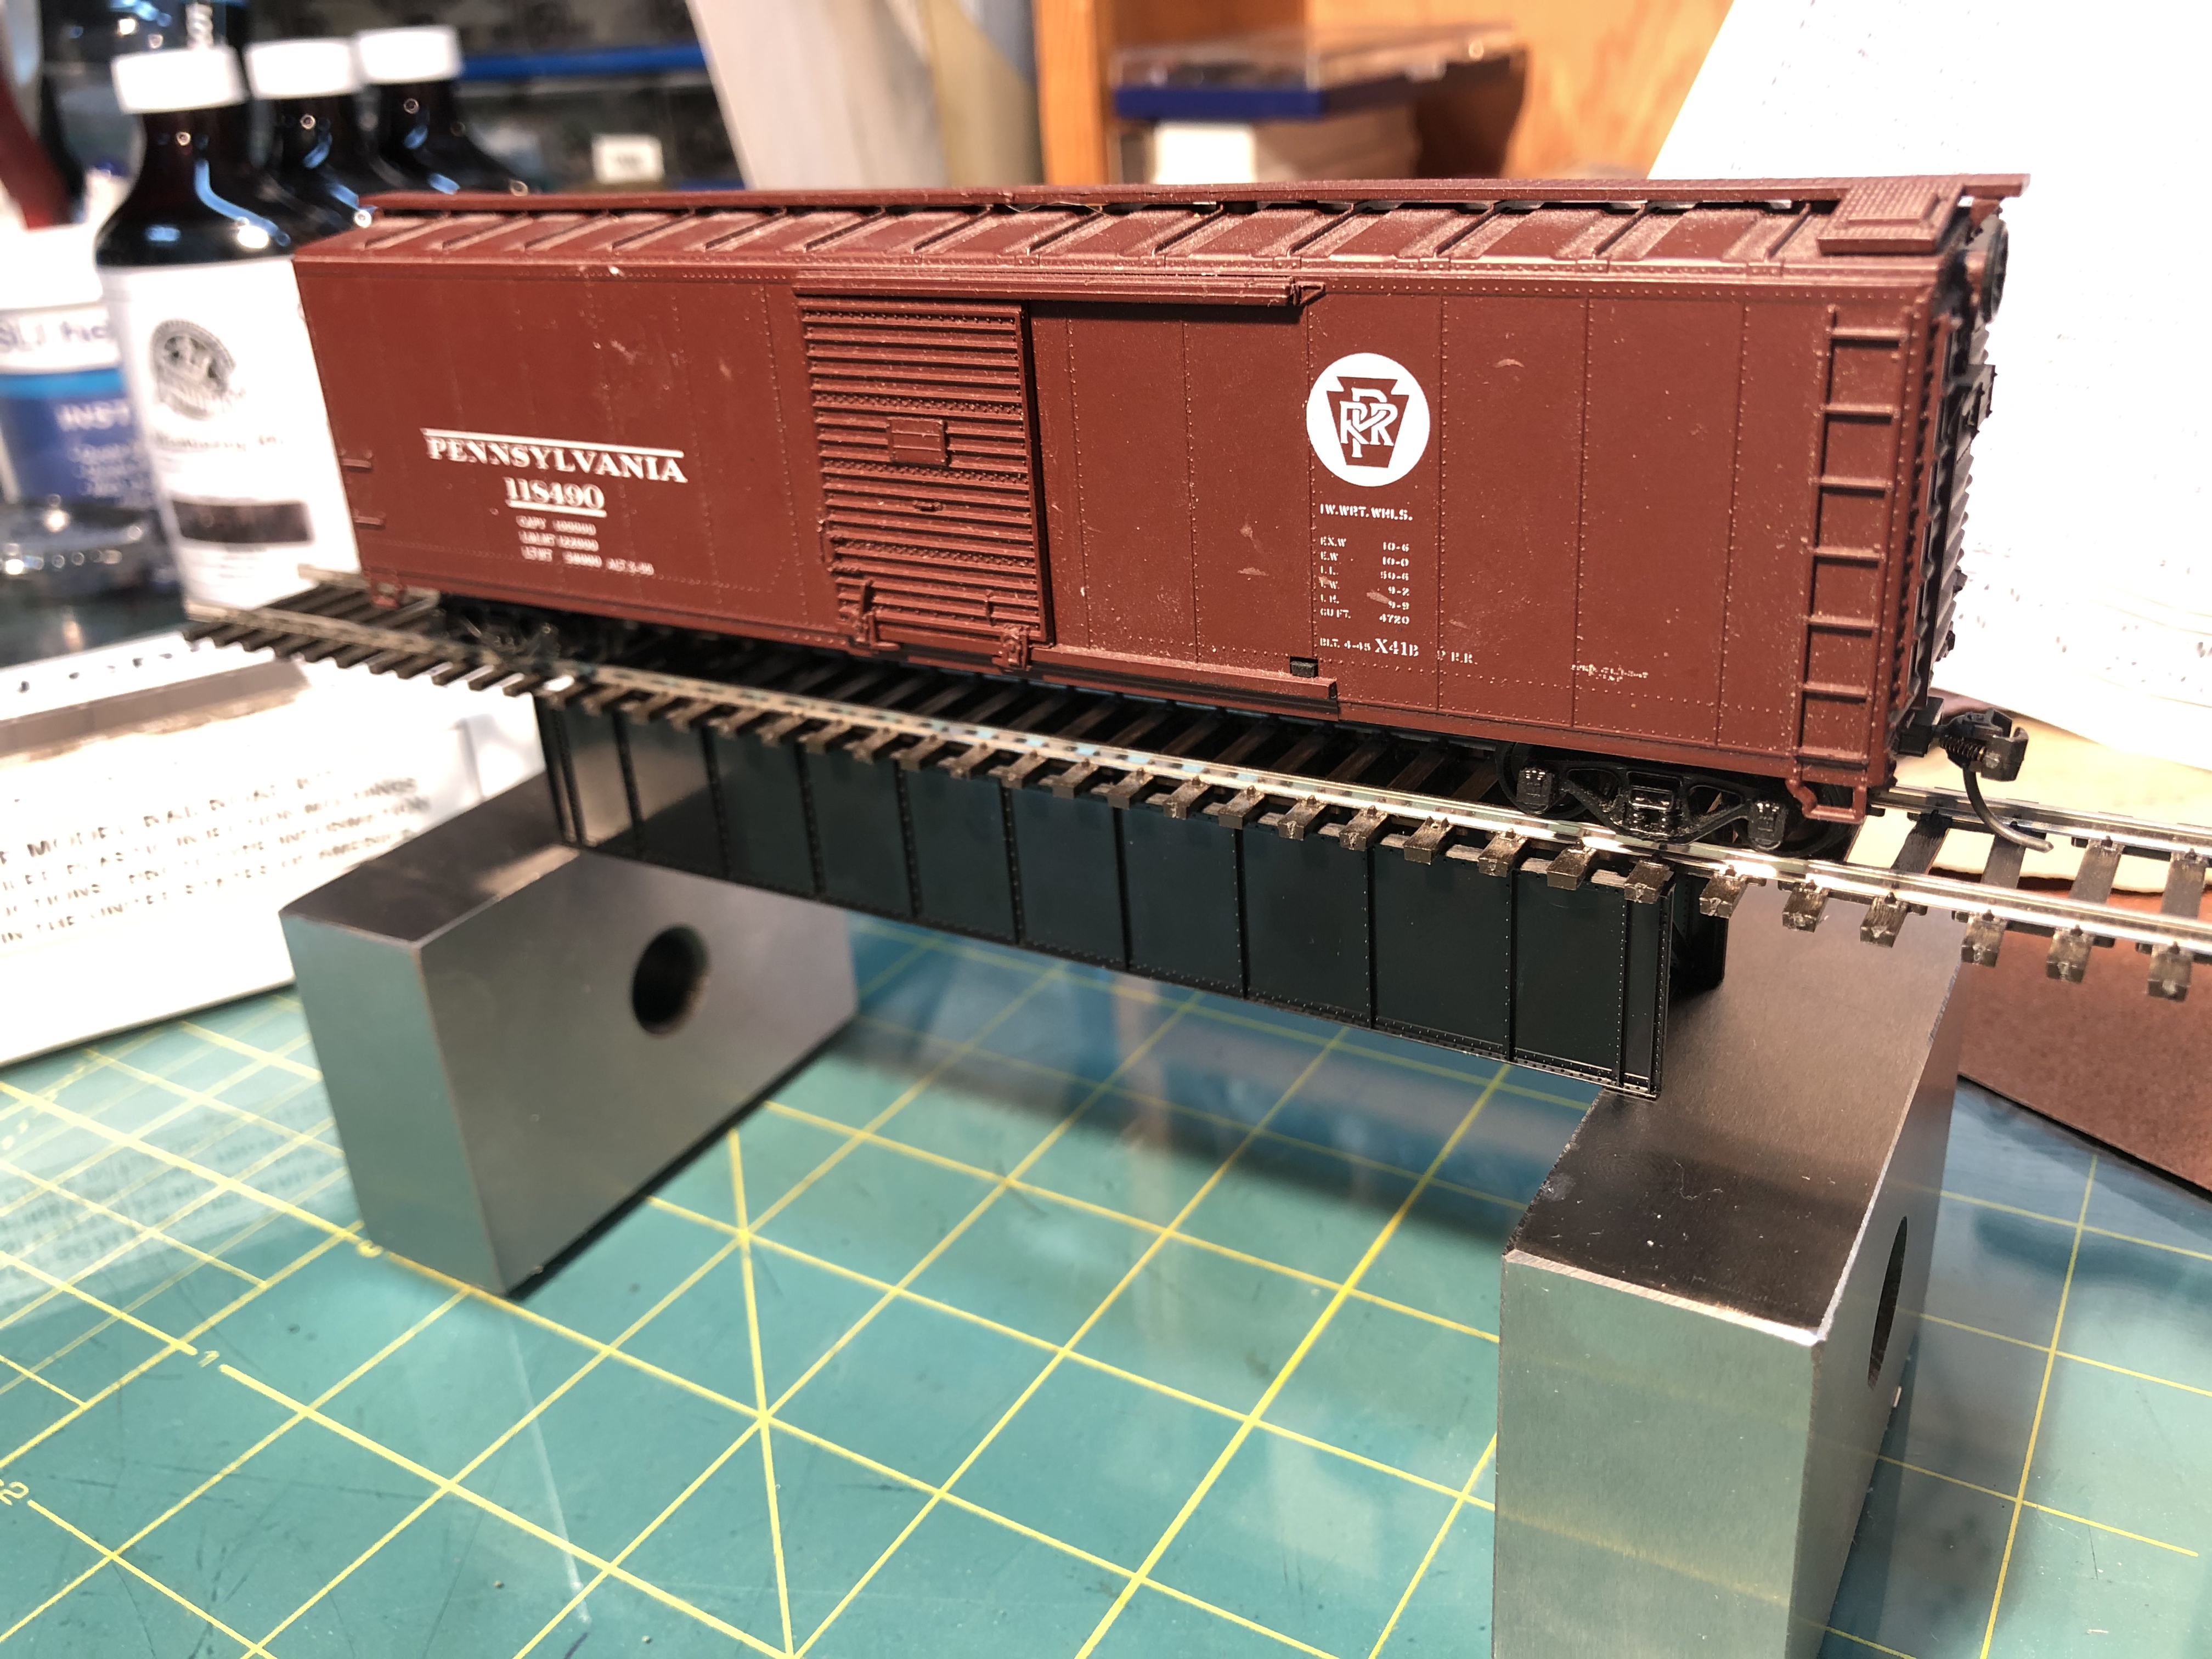
Story time. I spent a good while putting this post together, and when I got to this point, I stopped and realized there was a problem. I sat looking at the open deck girder bridge model and realized it looked a bit tall to me. I quickly opened up my drawings and reference materials and looked a the B&O plans. They clearly indicate that the trestle is to be 40′ long, 6′ 6″ wide (girder to girder) and 4′ 6″ high. This Tichy kit is 6′ tall. I then went down the rabbit hole for several hours while I tried to figure out what to do.
I opened up the plans I had drawn and started to modify the sections where this 6′ tall center span would sit. I had to lower the bents and adjust all the cross bracing in those areas. I did not like it. Some of it looked a bit odd and threw the whole thing off. I was not happy. I decided to keep digging.
Months ago, when searching for a deck girder bridge for my model, I had a very hard time finding a nice 40′ long kit in HO scale. The Tichy kit really fit the bill, but I didn’t pay close attention to the height of the girders. Micro Engineering makes a 30′, and a 50′ bridge, but not a 40′ one. The 50′ bridge is just over 6 scale feet tall. Just like the 40′ Tichy model I already have. The 30′ bridge, albeit too short, is a scale 4′ tall. I have decided that this will be my way forward. I feel that a scale 6″ is easier to forgive and blend versus a scale 1’6″ which is quite a bit more and really changes the characteristics of an iconic part of the structure. Now, some will say “there are only a small handful of people in the world who will know the difference. Who cares!?” Well, being that I’m making this model for me, and I care, I am going to spend the time to do the best job I can. I’m already knee deep!
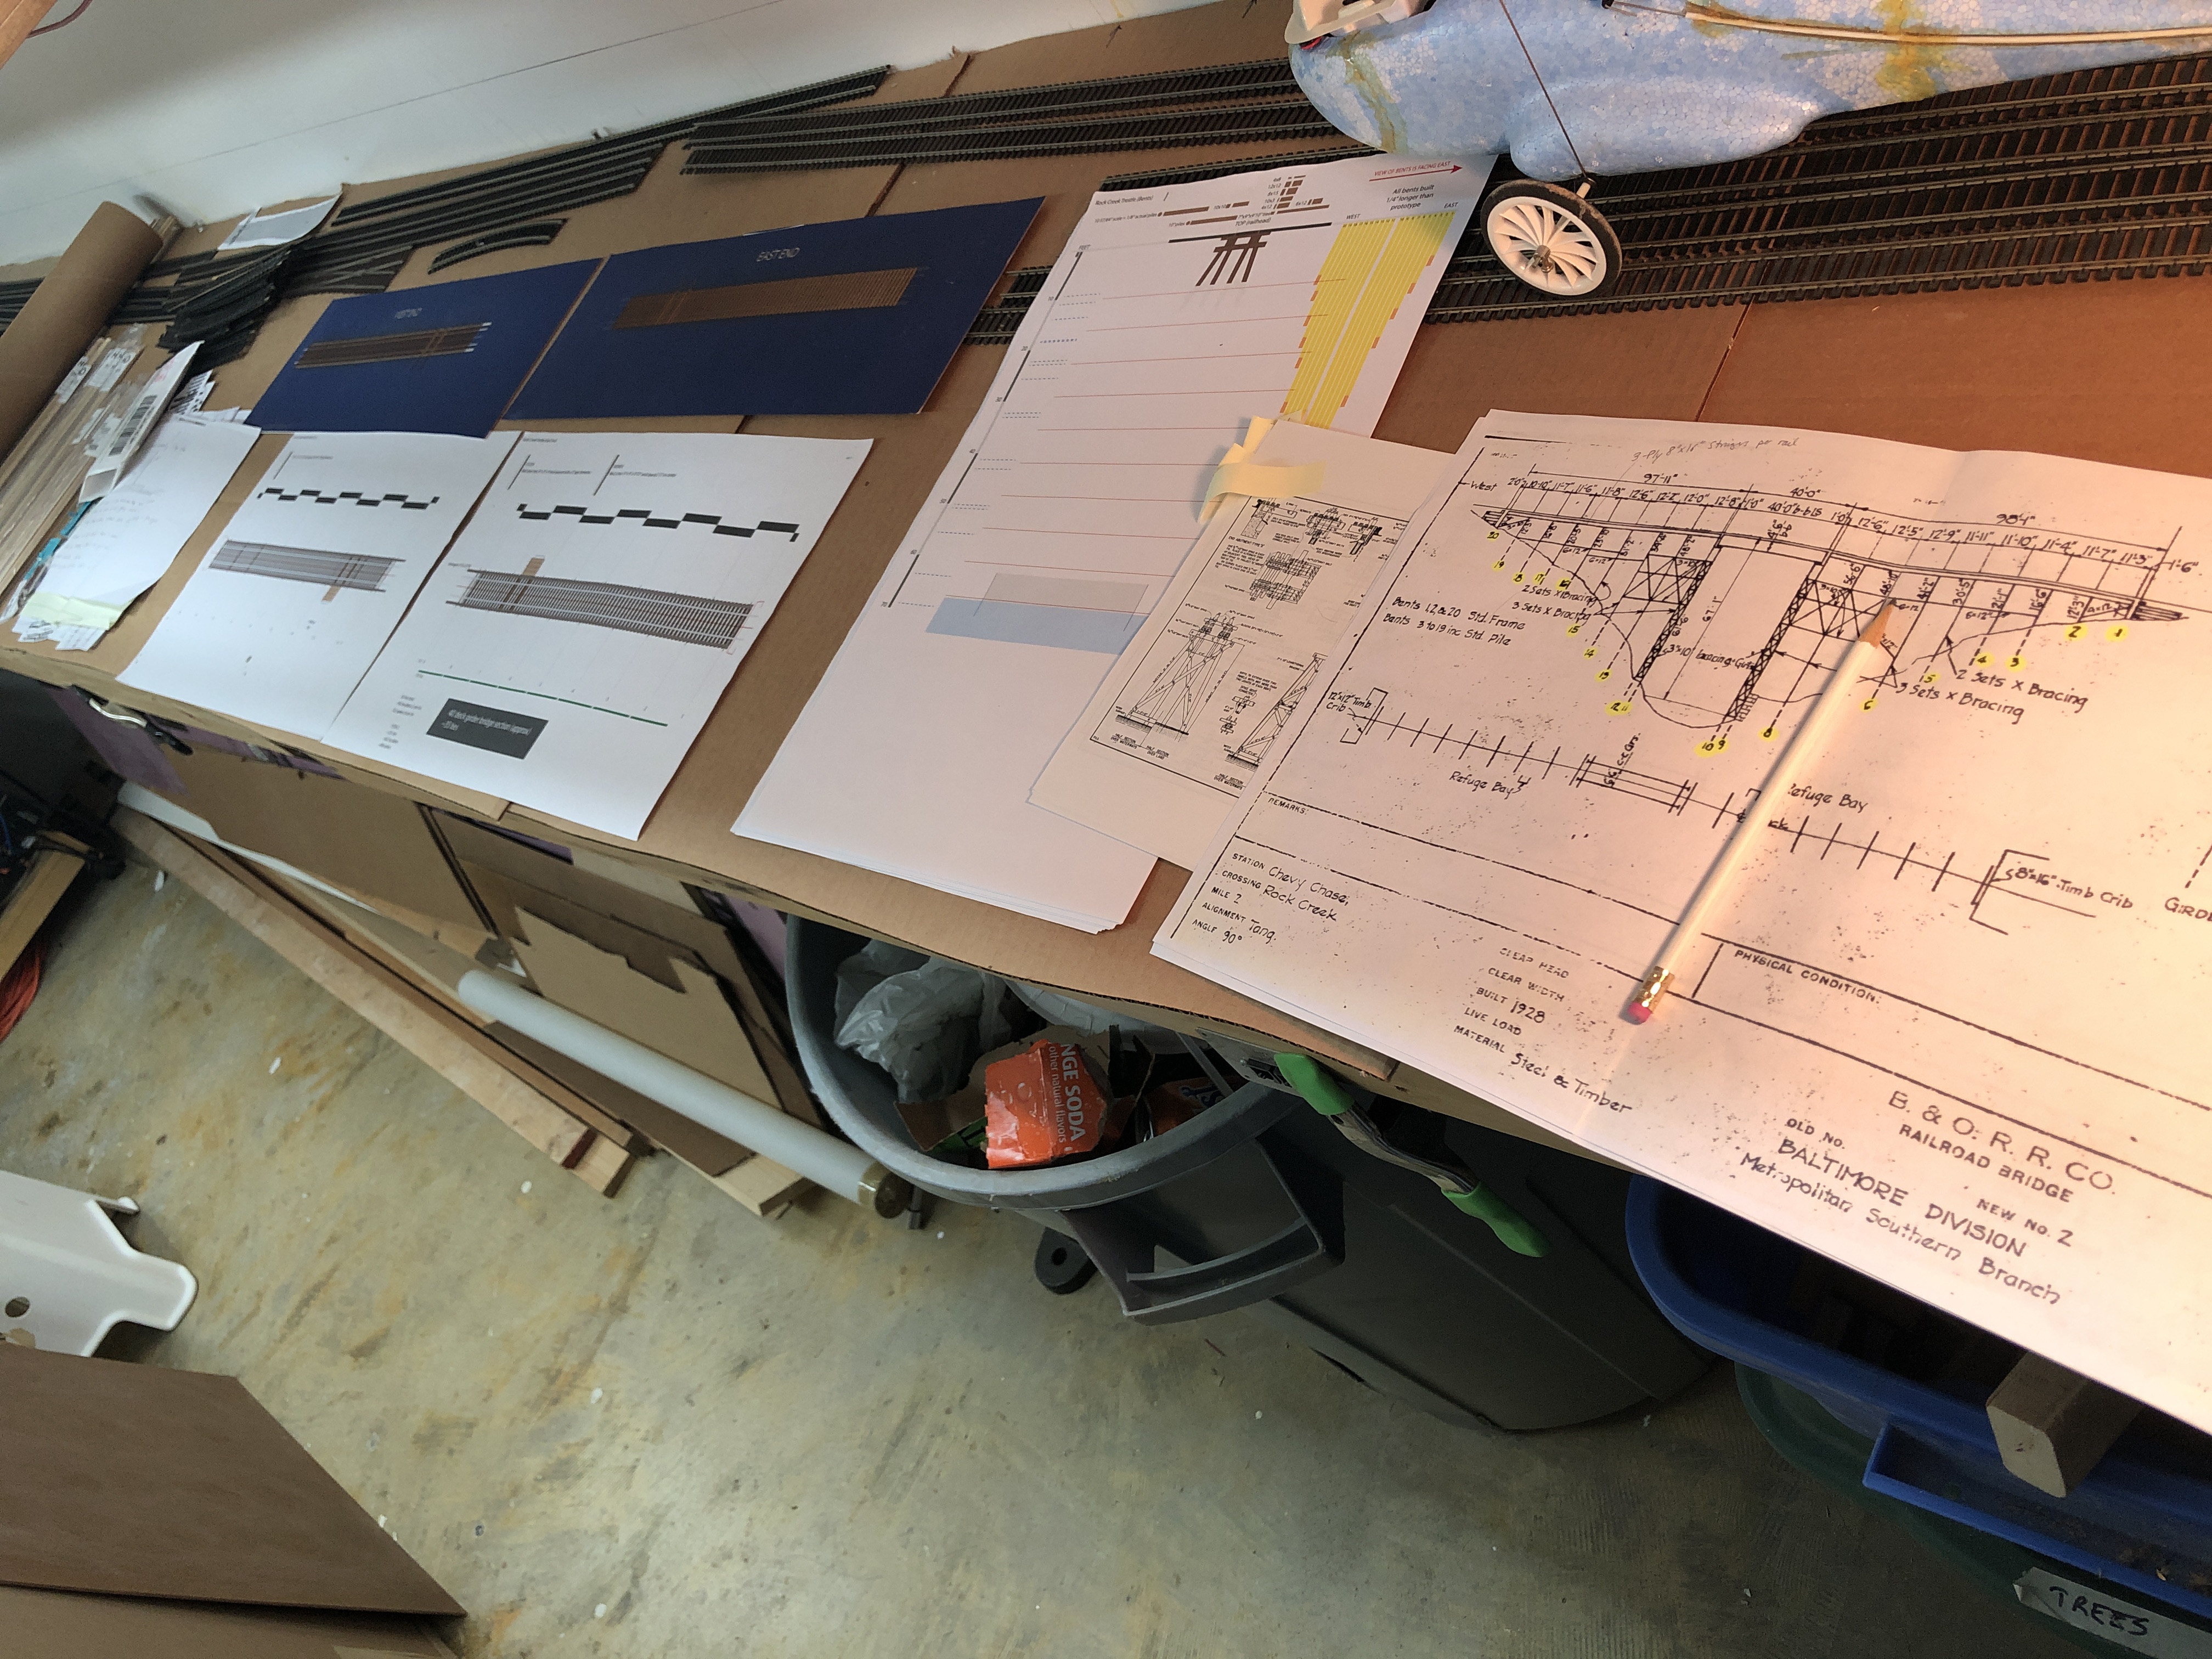
So I then set out to RE-adjust the plans for the trestle, now with this 4′ high girder. I will have to kitbash two kits into a 40′ span, but that shouldn’t be too difficult. I’m going to add slightly taller blocks under the bridge to add to the height just a couple more inches, to hide the disparity between the prototype and my model. In the end, we’re talking a few inches difference. As I went through the plans, I realized some other errors I had made, and I cleaned them all up. I also reformatted the plans to fit on 8.5×11 paper, so I can print at home, since I think I will be in it for the long haul. I will share my progress on the plans soon in a future post.
So, phew! This was a doozy. In a long period of time, not a lot has happened, but such is my life. I have been busy with other projects… *ahem*
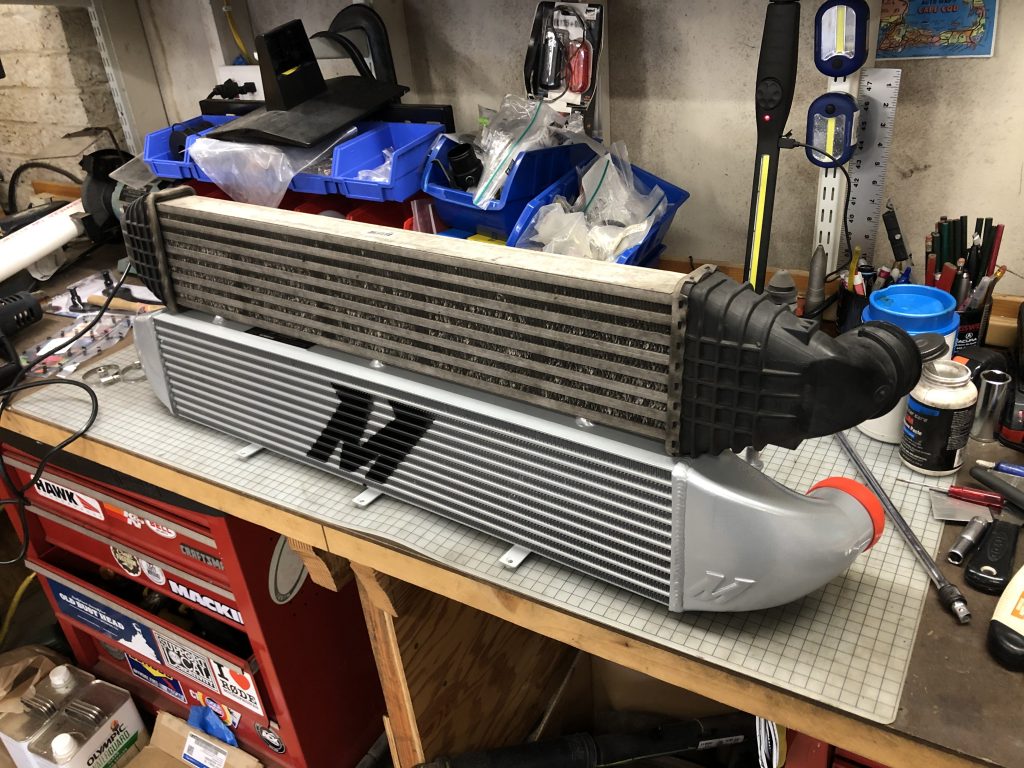
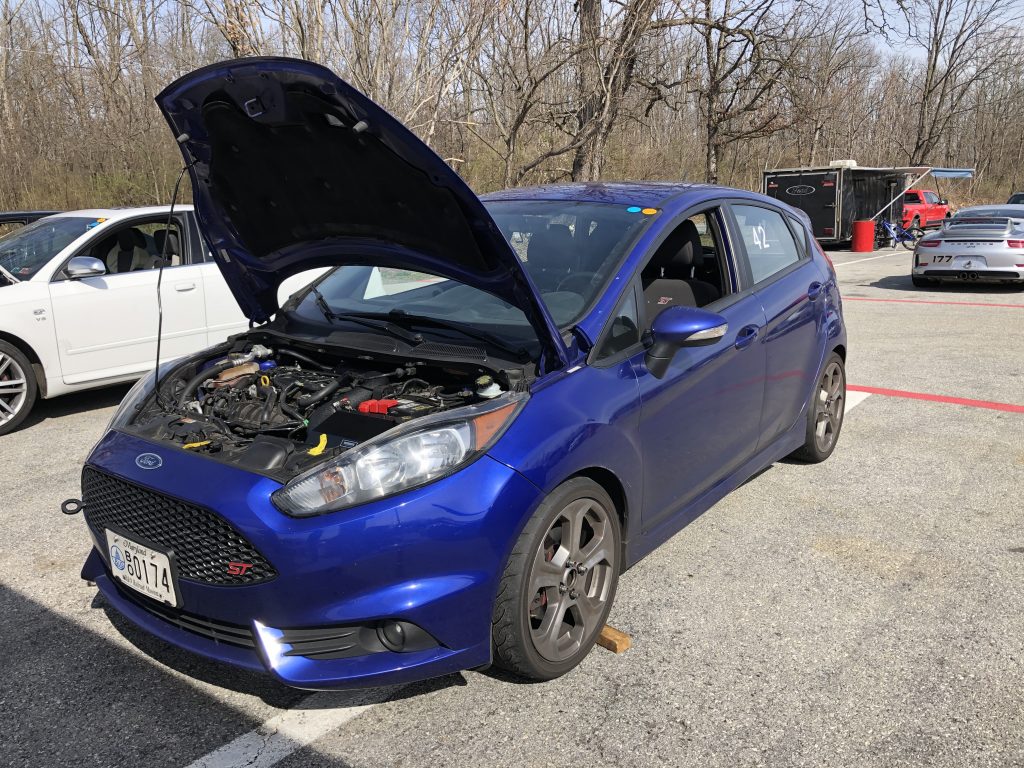
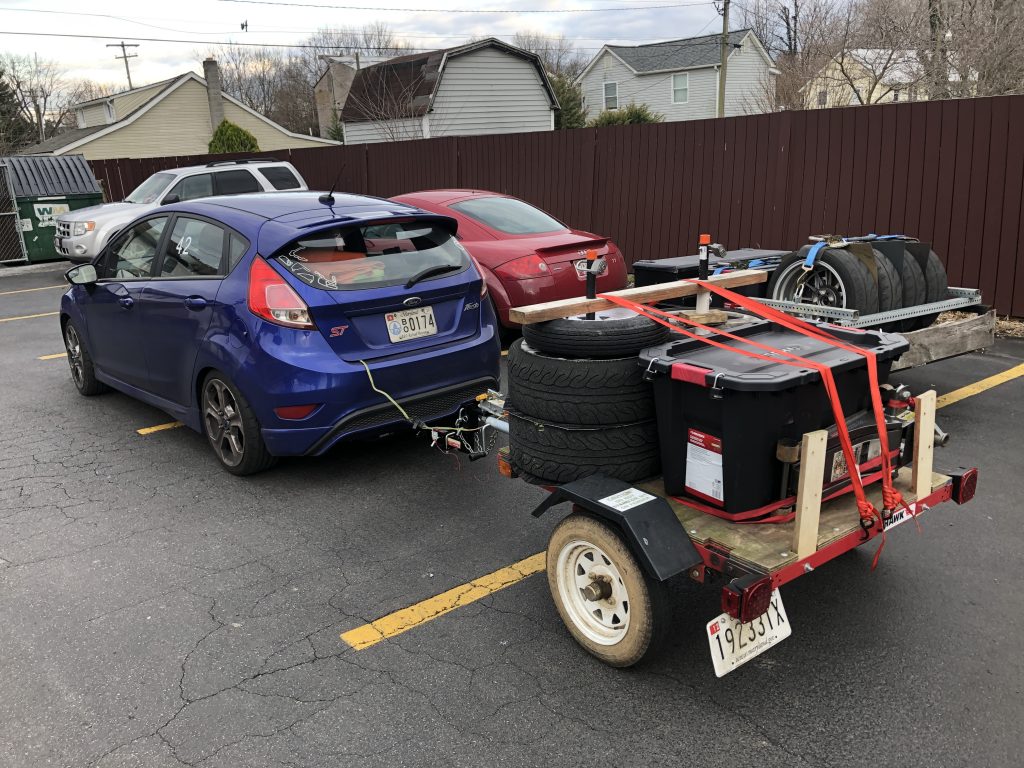
So, yeah. Been a lot going on. Second update coming SOON!
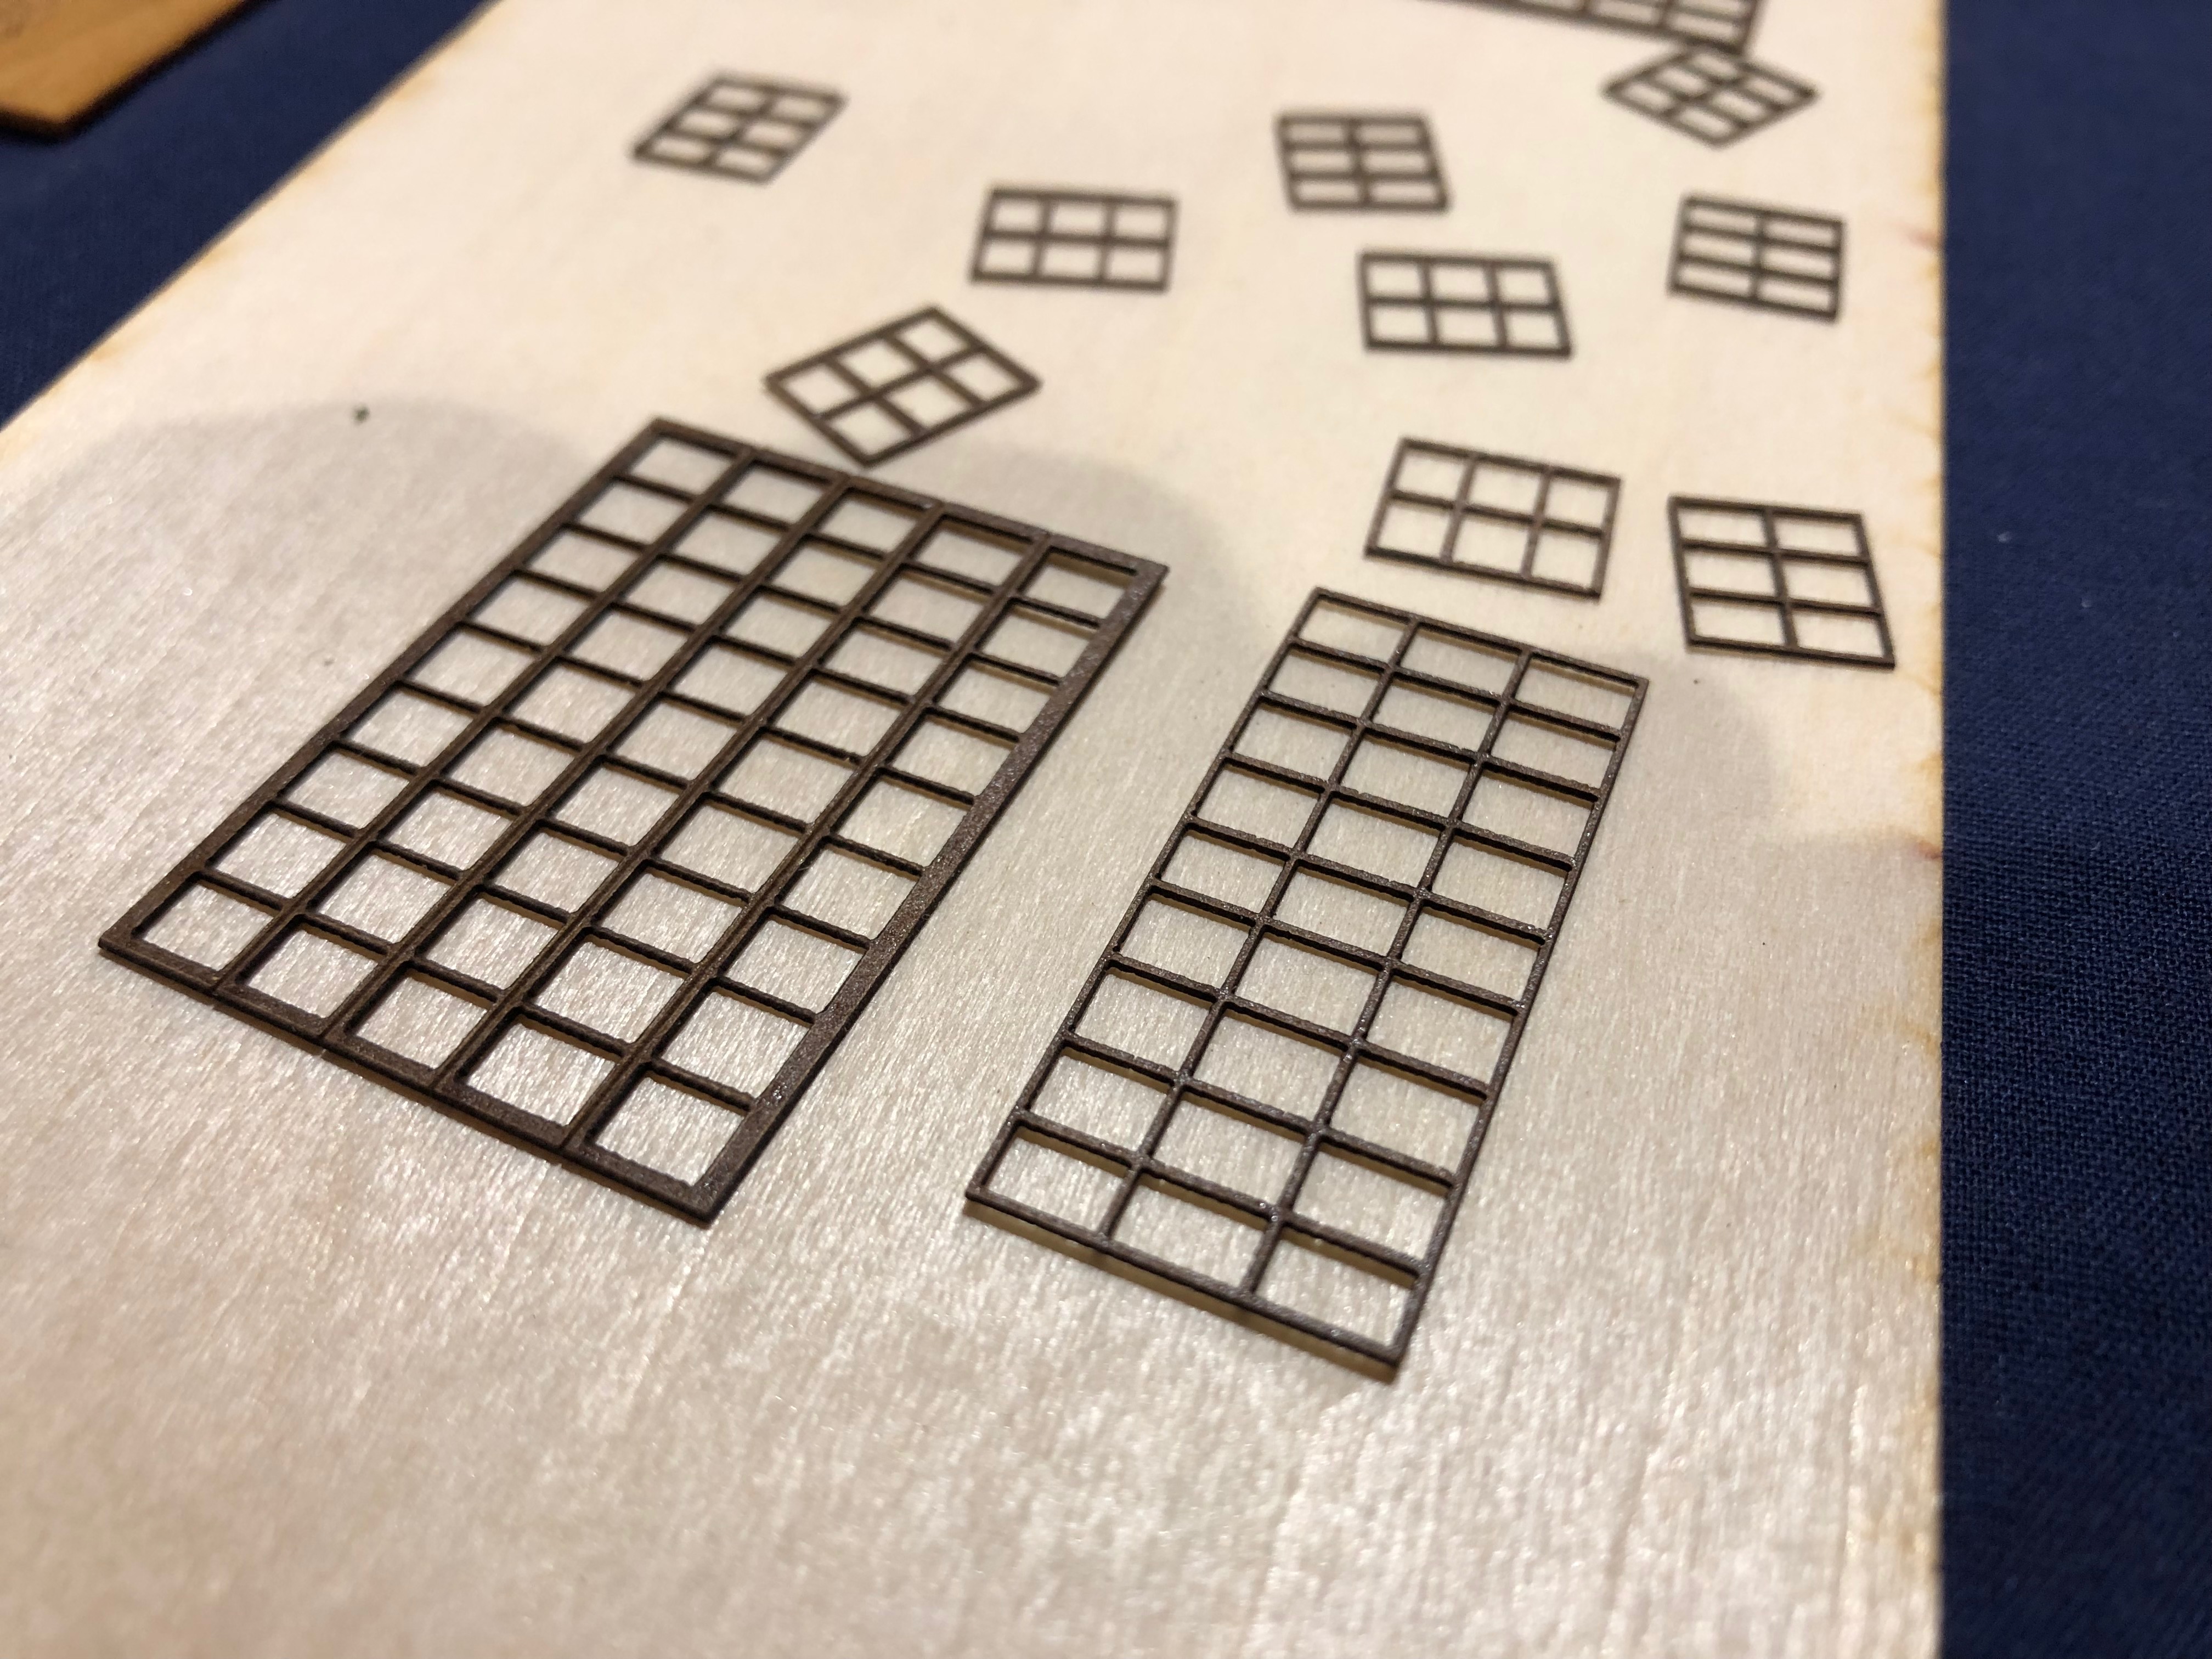
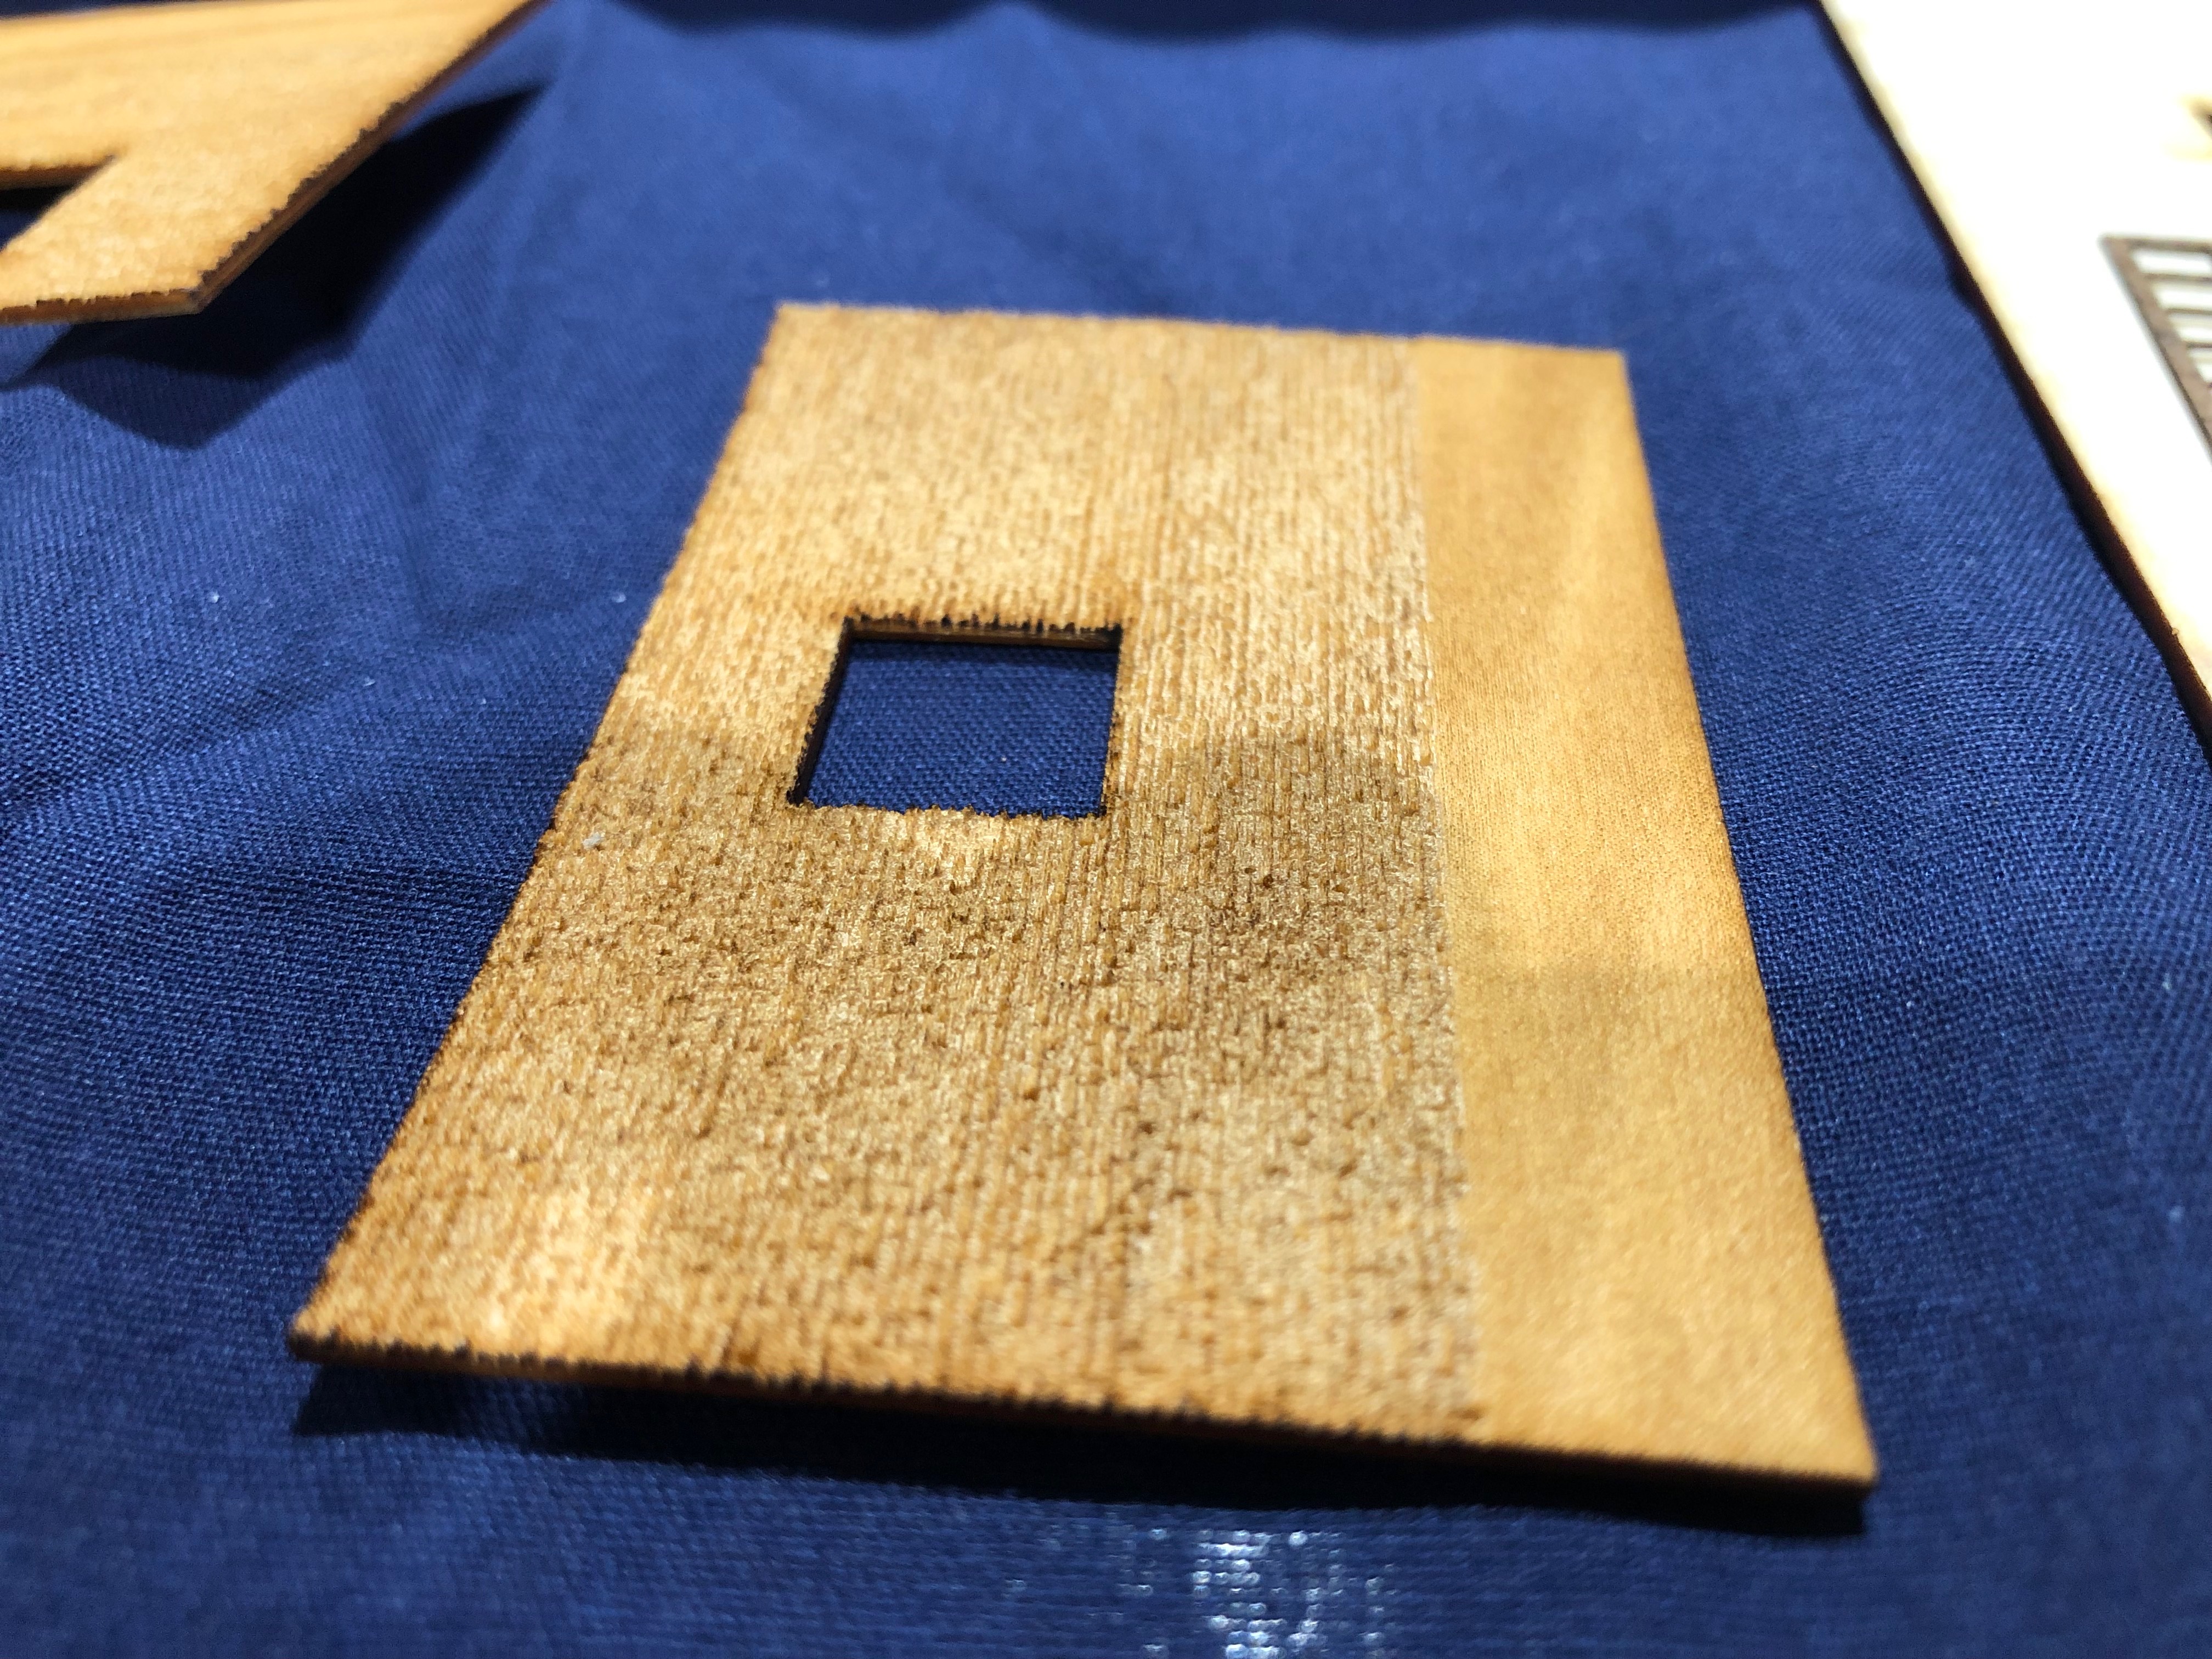
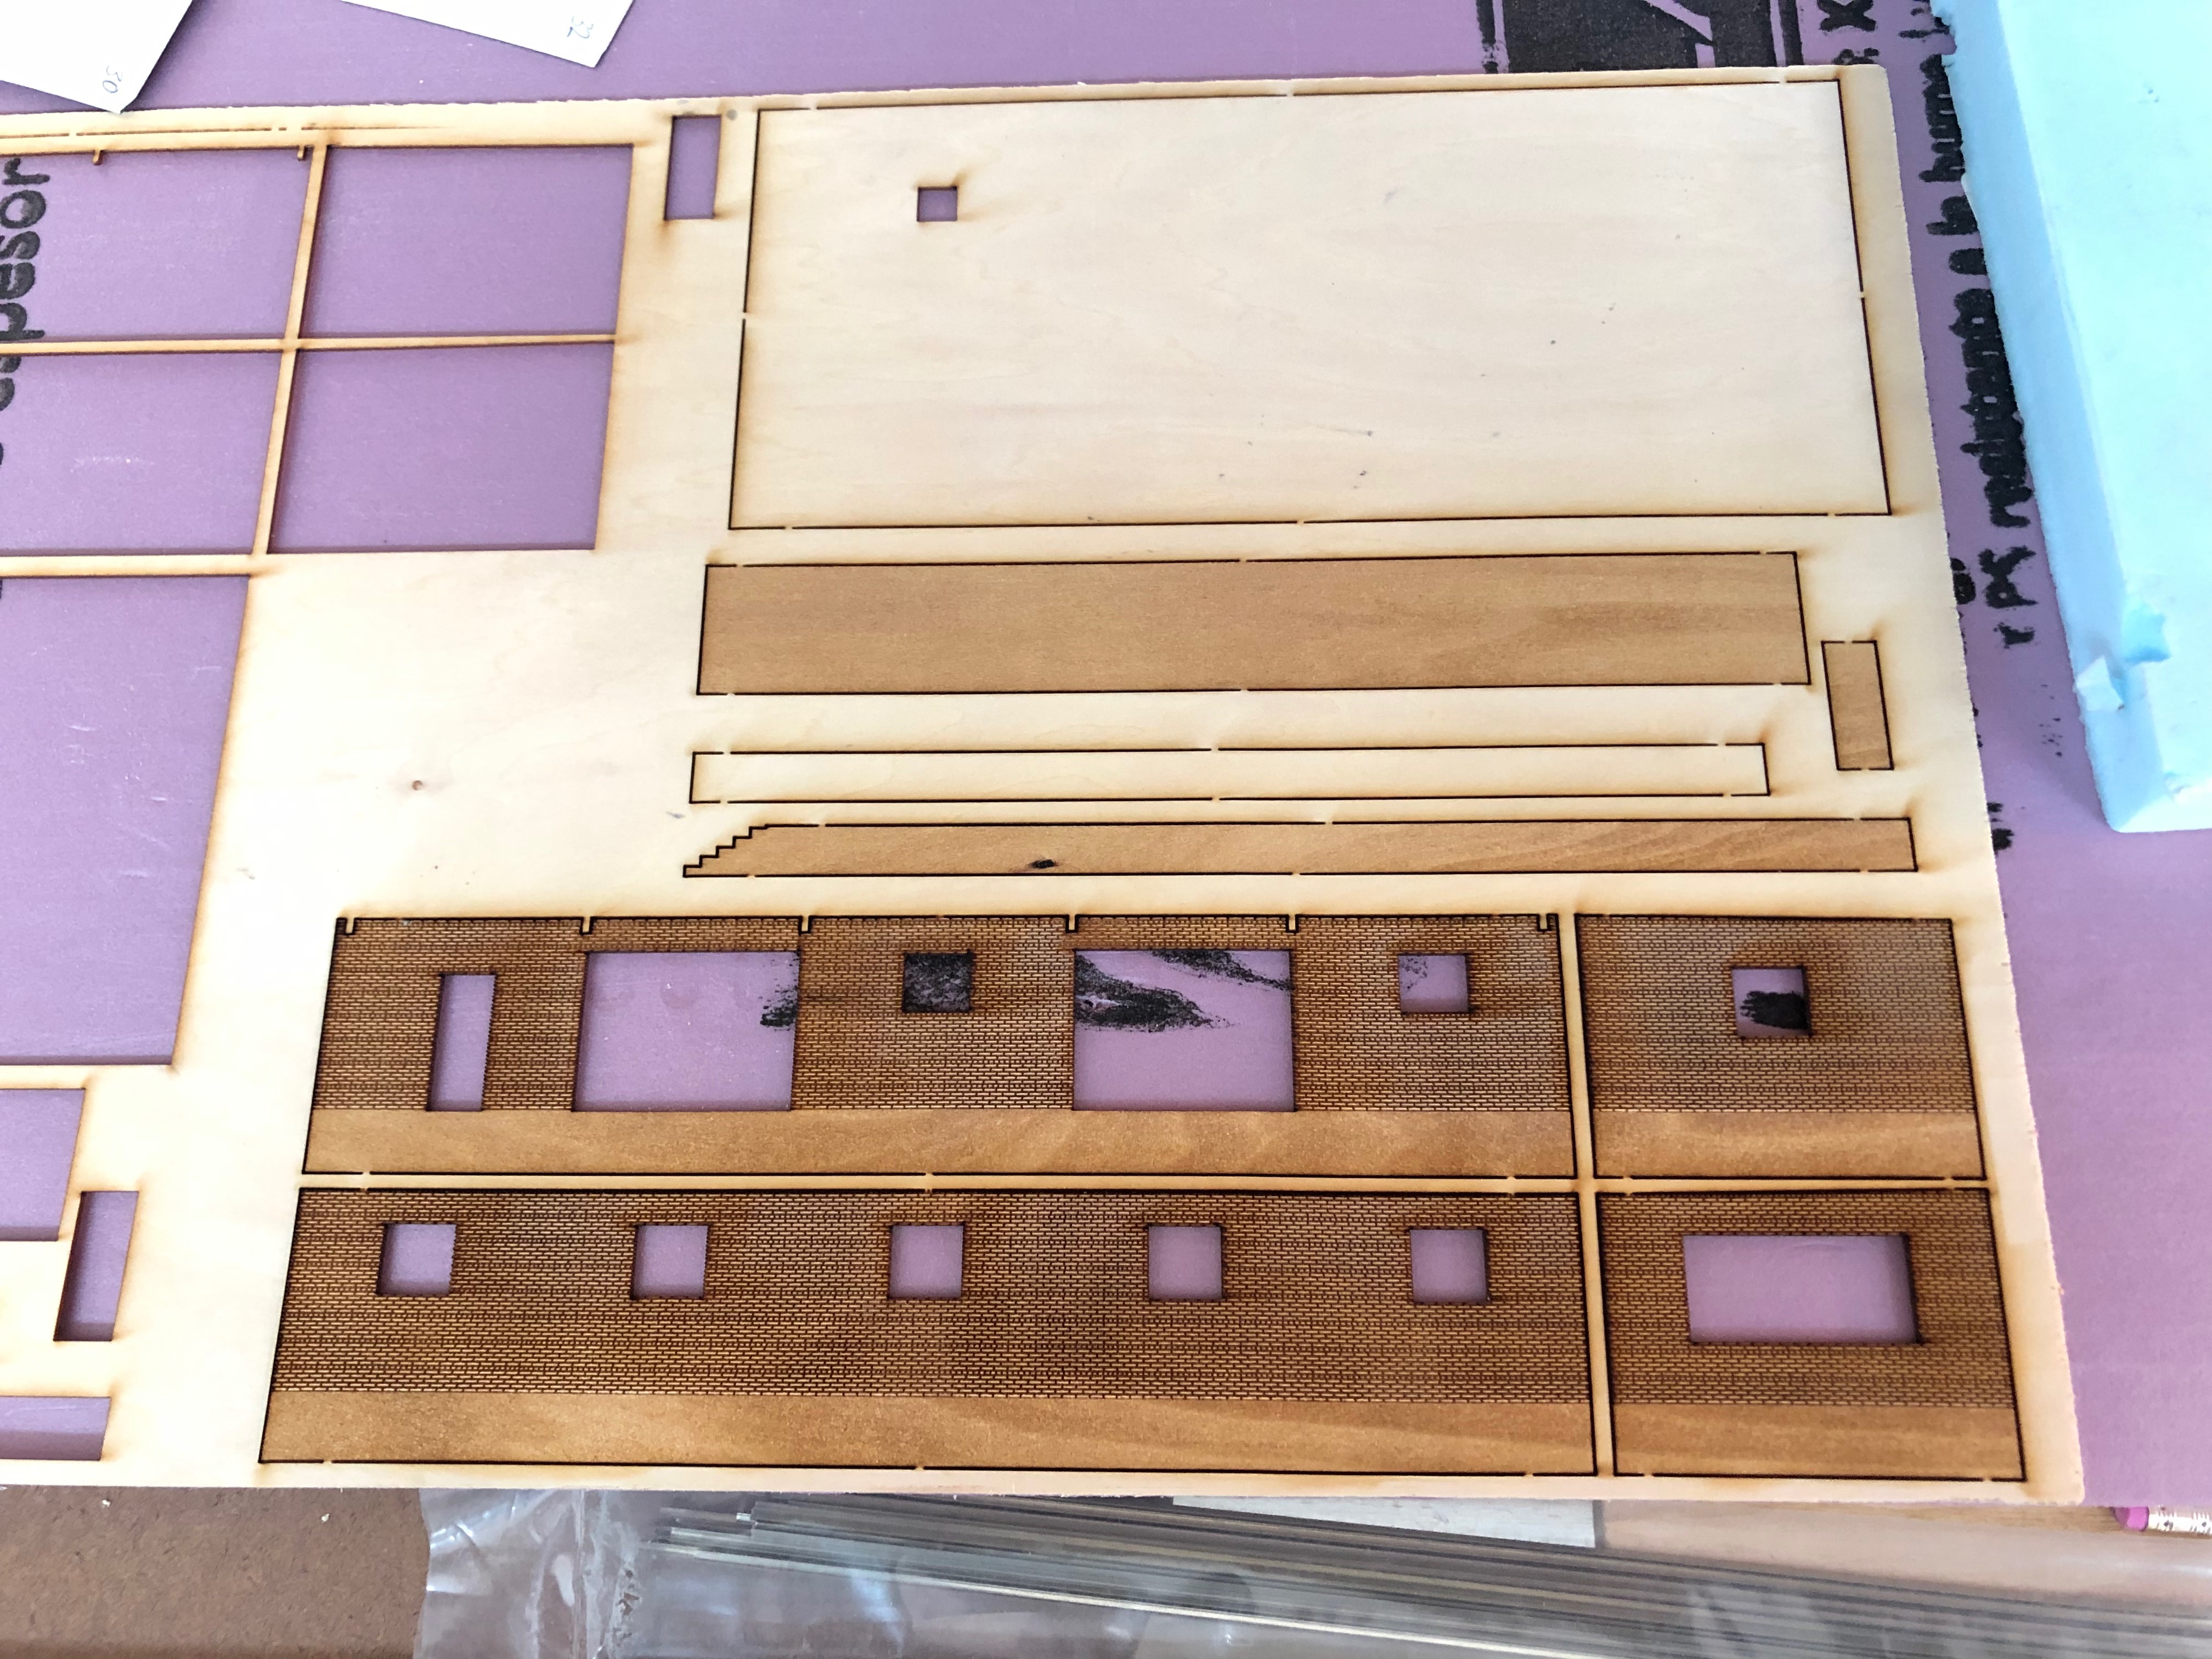
This is another long-overdue update on a project. This time I’m going to show off progress on the Bethesda freight station as a laser-cut model that I created. As long-time followers will know, I drew up blueprints for the station as a basis for a laser-cut model. I am still working on some details but after a few major revisions I’ve arrived with what I feel is a good design. The first version was incorrectly scaled horizontally, but was close. The second version is right on the money, as far as I can tell. The third version is largely just a change in textures and layout to allow cutting to work better. I am hoping that with this pandemic lockdown I will have time to give a go to putting this together.

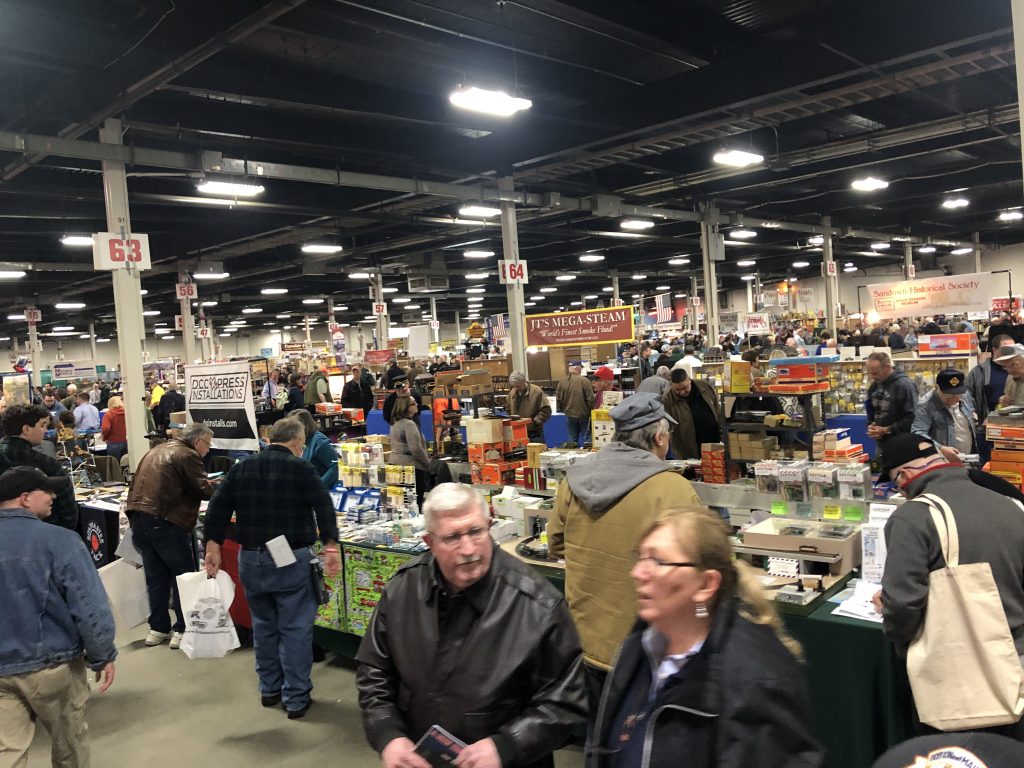
Went to the big Railroad Hobby Show in Springfield, MA this past weekend and wow, it was a doozy. The show was massive and loaded with great stuff. I picked up a few cool things for the Georgetown Branch, including a Sylvan Scale Models HO Barge with Coal resin kit. I also checked out the Sea Port Model Works tables and took a good hard look at some of their models. Just lovely. I have my eye on one of the harbor tugs for my own layout.
But, the whole thing got me thinking about what the barges looked like in Georgetown in the heyday of production down at the waterfront, by Smoot Sand & Gravel. Here are some cropped aerial images to get the juices flowing and get some ideas going. Enjoy!
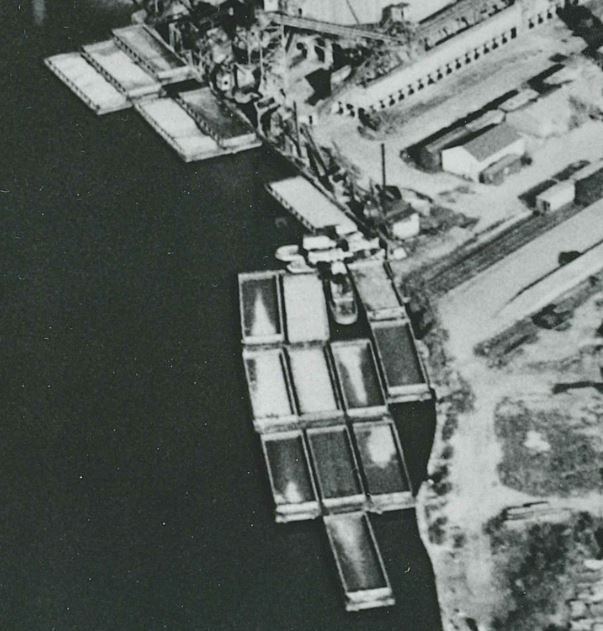
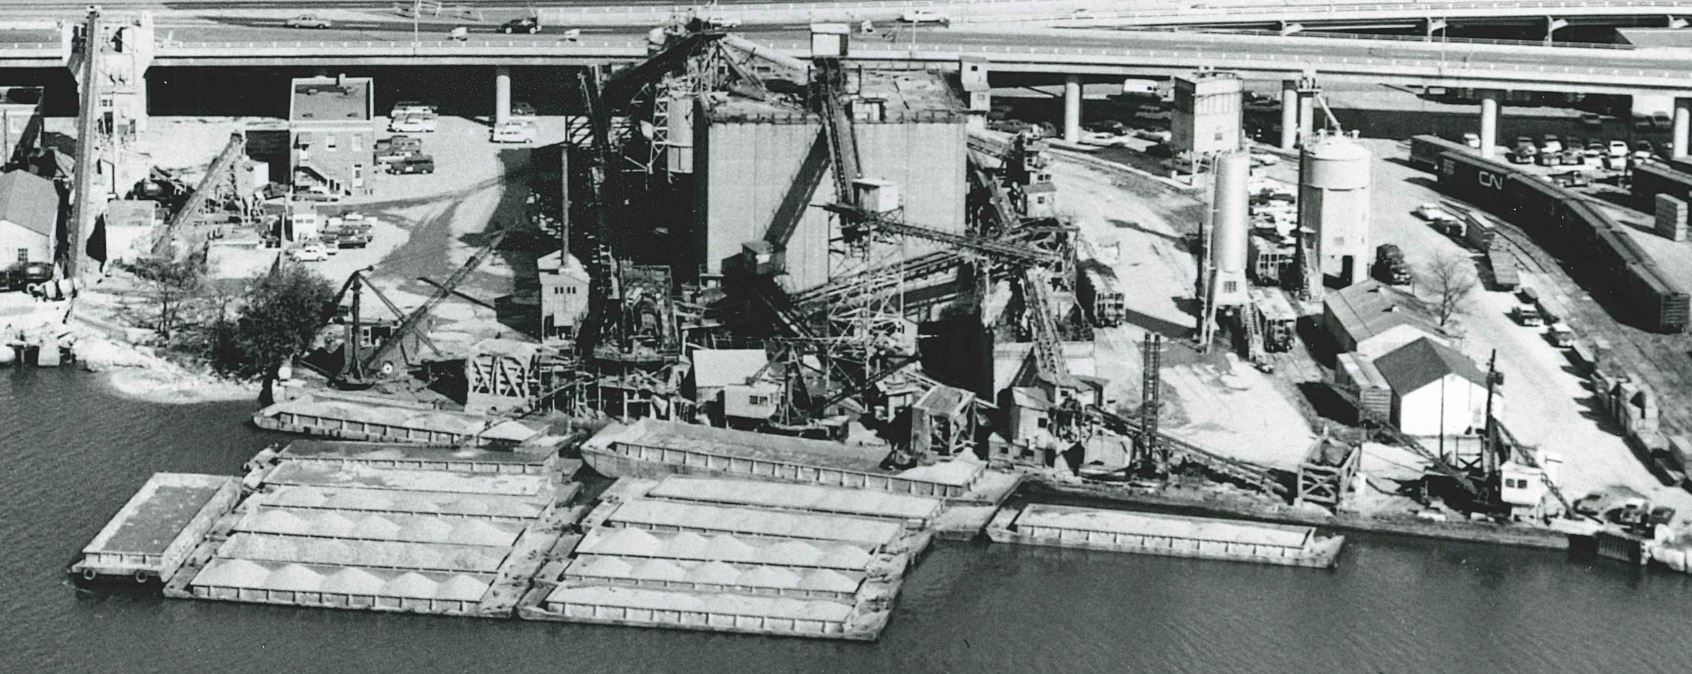
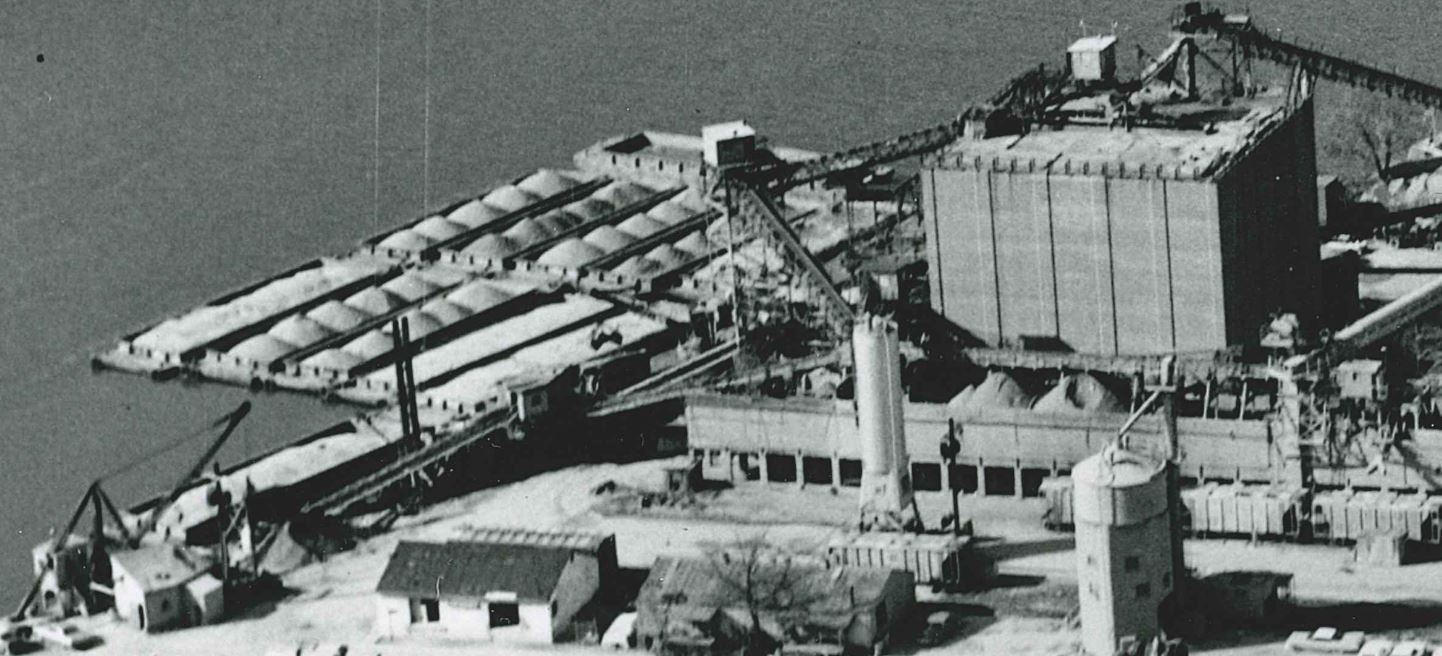
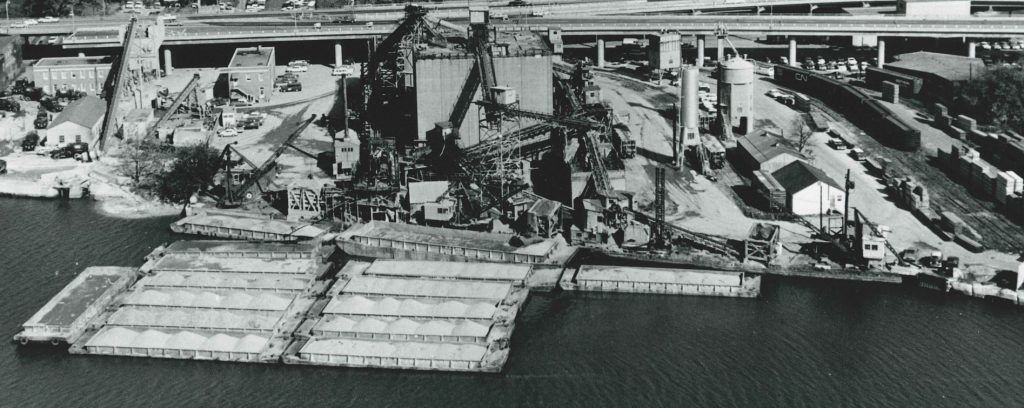
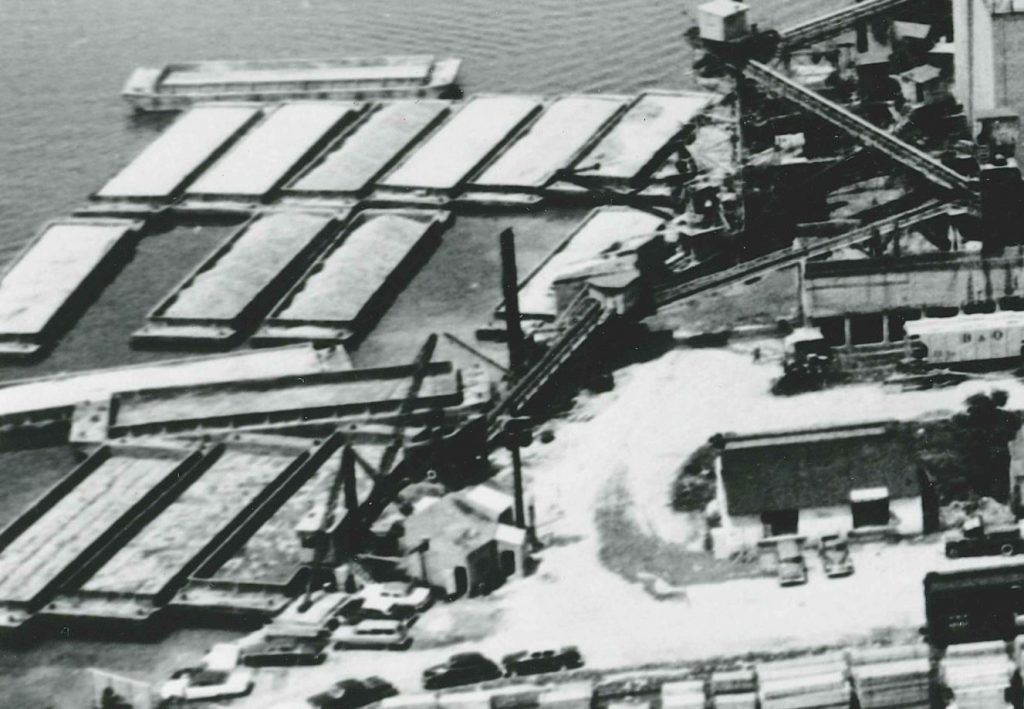
Unfortunately I don’t have dates for these images. They are part of a book that was loaned to me by H. Smith and now resides at the B&O RR Historical Society Archives in Eldersburg, MD. The images seem to date from the late 1940s to the early/mid 1960s. You can view these and more images from this collection, in full size, in my Gallery.
Yep. This video was shot just over a year ago. Why am I posting it? Because it’s been eating me up and I decided enough was enough. Sometimes seemingly simple goals become unrealistic whether because they were set too high or other things got in the way. In this case, it’s a bit of everything. The transmission repair project took over last Spring and dominated my spare time through the Fall. HPDE season prep and subsequent packing up/cleanup took the rest of the Fall away. I was burned out and it took a while to get back into the swing of things.
So, enjoy this video. There’s actually a good bit of track work and layout progress that is NOT depicted in this video, so I need to do a new one! I will work on cleaning up the layout room and getting a new video done. In the meantime, enjoy this. Post any questions/comments below.
One final note, this video was done without any real production. I just wanted to “get it done.” Forgive the lack of quality and I hope to do better in the future. I would also like to do some features on the side projects I’m working on like building the Bethesda station and the Rock Creek trestle. Lots going on!