Category Archives: Model RR

Things to do with my model railroad.

Maloney Concrete Sign Design

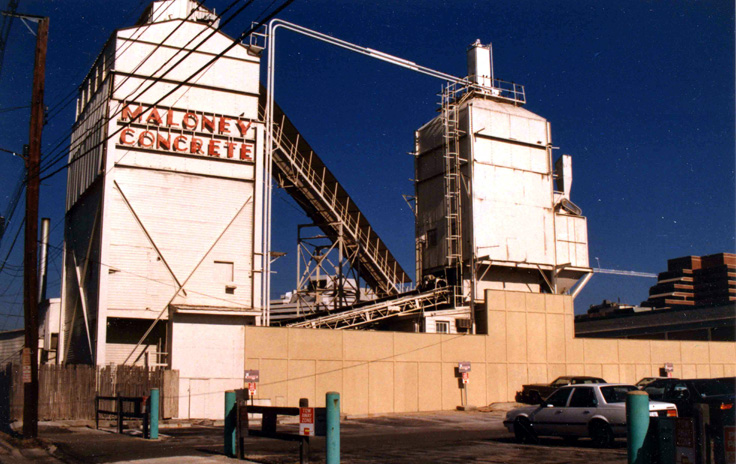
At the Maloney Concrete plant in Bethesda, MD there was an iconic lettered sign up high on both sides of the main tower of the plant. The beautiful Art Deco lettering was painted red at one point and really stood out  among all the industrial machinery that surrounded it.

Maloney Concrete, early 1980s. M. Vurek photo.
The Maloney plant, with the deco lettering painted red. Photo by M. Vurek, early 1980s.

I plan on modeling one face of this concrete loading hopper and as such need to include the gorgeous sign. Unfortunately the font is different than anything I have. The font “Broadway” is a close match but has significant differences. I contacted a friend who also confirmed my suspicions about its design and decided to draw it myself using Adobe Illustrator. The process was not too bad as most of the letters are geometric and consistent. Thankfully there’s some repetition, too.

Maloney Concrete sign drawing
my re-drawing of the Maloney Concrete sign in Bethesda, MD

My plan is to laser engrave this onto a piece of very thin wood which I will then paint and install in the model, eventually. This is a first draft, so comments are welcome!

Thinking About Track Layout in Bethesda

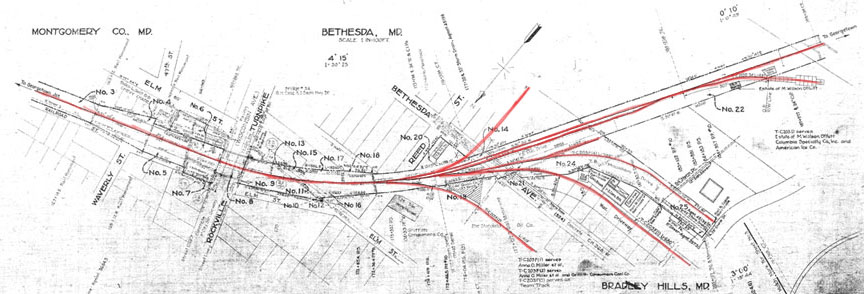
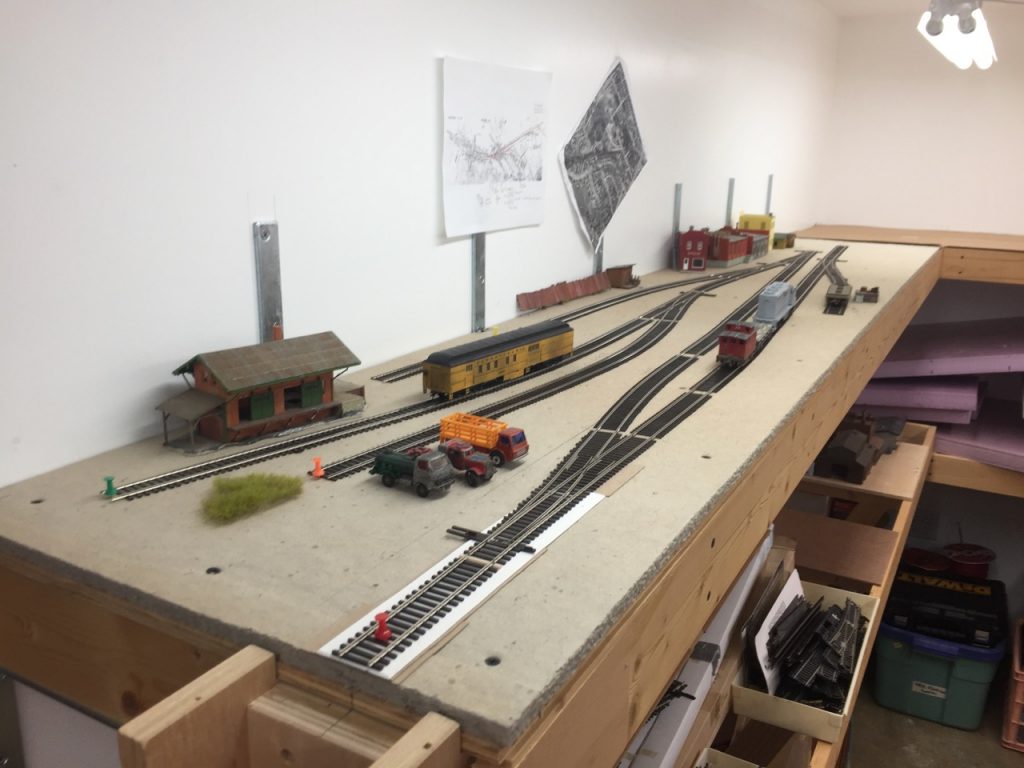
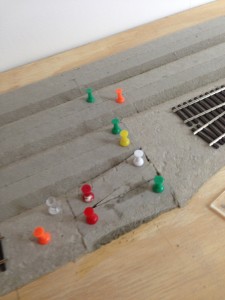
I’ve outlined many of the tracks in Bethesda as I plan for the track arrangement on my own layout.

I’m tossing ideas back and forth on how to represent the town of Bethesda on the layout. I have already laid much of the track and am fine tuning the details. I’ve yet to decide on the East end of the town (where the track heads under Wisconsin Av) and placement of building flats. I’m doing more research looking at photos of the area to decide exactly where things will go. Above is a quick sketch I did showing the various tracks in the town.

Bethesda

Layout Update: Templates, Grades & DCC++

My progress on the layout has been minimal for the last year, but over the last month I’ve cleaned up and made some great progress, figuring out solutions for some issues I was having. My friend Kelly helped me figure out track arrangement and grades at Georgetown Junction. I am planning on further reworking the track arrangement to be a bit more prototypical and easy for construction/structures. My friends Joe & Matt helped me visualize how to lay in the area West of Rock Creek and East of Bethesda which includes Chevy Chase. I had originally made a mistake of not figuring the grade separation between the trestle at Rock Creek and the level tracks at Bethesda. I decided to create one long grade from the trestle and Bethesda, cut from plywood out of a cardboard template. I’m working on this now.

I’ve also been experimenting with DCC++, a free, open-source, full featured DCC system. It uses an Arduino Uno, Arduino Motor Shield and a 15v power supply. I managed to get it up and running in an evening and will use this moving forward until I am ready to purchase a full featured DCC system… or maybe not! We will see how it works for me. Here’s a short video:

I’m recently enrolled in school at UMUC going for a Computer Science degree, so much of my time is devoted to class work, but I’ve got a reinvigorated interest in the layout so I’m hoping to make steady progress.

Layout Progress Update

It’s been too long. Over a year. I haven’t touched the layout since the summer of 2015. There, I said it. There have been many, many factors and excuses to explain this lapse, none more compelling than inertia and laziness. I’ve taken on lots of other side-projects and tasks and found many other ways to distract myself and burn time doing fun things that don’t involve working on the layout. Well, I’ve got the bug again and I’m back at it. I spent the holiday weekend cleaning out the layout room, reorganizing and getting myself mentally back up to speed with my progress on the layout.

I’ve posted a few photos of my progress here on my Flickr page.

When I had last left off I had completed much of the track in Bethesda but ran into a snag when on of my train club friends pointed out that there was a nasty S-curve in the yard entrance. I had also installed some spline roadbed at the Geo. Jct. area and that worked out quite nicely. Much of the rest of the layout was covered with “stuff”, and became staging for painting trim for our office renovation as well as other random projects. All of that stuff was cleaned up, moved out or reorganized to optimize space. I completely cleared the upper level of the layout so I could continue working on the track work I had started over a year ago. Once I got cleaned up, things really moved along nicely. I realized a few things:

  1. I really love this project and I’m excited to see where it takes me.
  2. I need glasses – reading glasses at least. My vision is not what it was.
  3. I need to set some goals and stay on task.
  4. I need to flesh out the layout design a bit more; I came across some issues that are going to prove to be challenging to overcome and will most likely require reworking some of the track plan. (oh well!)

All in all, it’s been a productive weekend and I’m moving ahead with a good head of steam. I just hope I can keep the momentum!

A Sketch of the Lower Level of the Layout

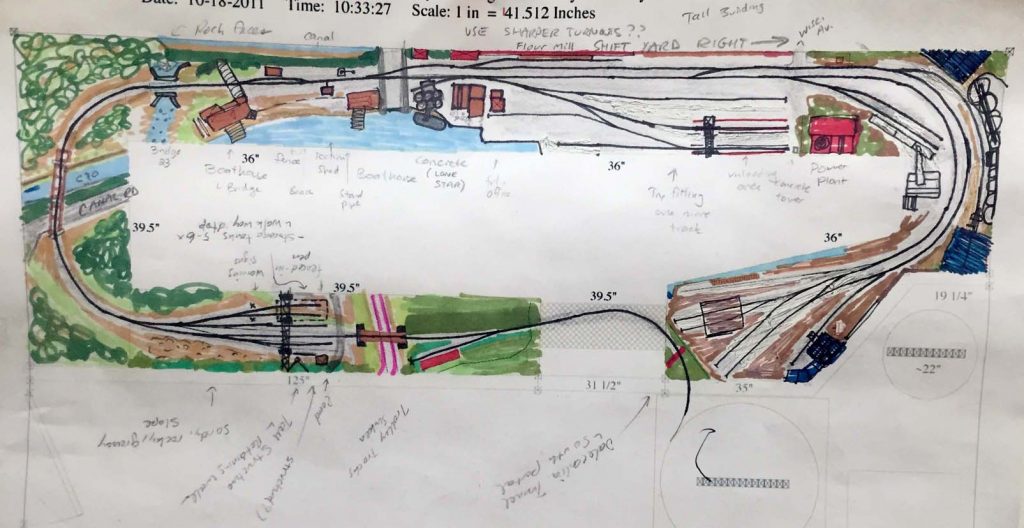
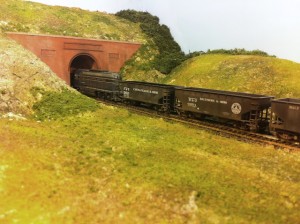
I created this a while ago but wanted to share it. This is a sketch I did showing rough scenery concepts for the lower level of the layout. What you have is the track entering from the helix at the bottom right. It exits from Dalecarlia Tunnel and then crosses a drop-down bridge, passes the Army Map siding and into the Dalecarlia water treatment facility yard area. From here the track continues down hill, crosses over the C&O canal, a Canal overflow/stream and into Georgetown. The line will pass the boat house, scale and under the Aqueduct bridge. In Georgetown there are several industries and yards for switching. The line continues through G-town  and ends at the Coal & Ash house and King Coal.

The idea here is to get a rough idea for what will actually fit and a slight reality check for my own sanity. I know that the track layout is relatively accurate but this exercise really allowed me to see what will fit and what won’t. I removed a few things I thought I would be able to fit and added others that I had missed. I hope to create one for the upper deck but it’s just a matter of time if I ever get around to it.

A colorized scenery and track layout sketch showing the overall concept for the lower level of the layout

Layout: Progress at Georgetown Junction & Bethesda

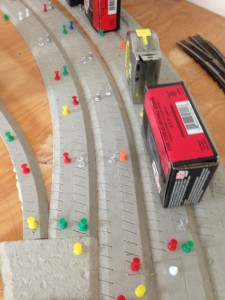
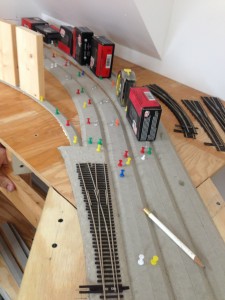
Got a bit of work done on the layout today. Laid down more roadbed at Georgetown Junction and laid in the sub roadbed (Homasote) in Bethesda. Did some thinking about track laid flush on the sub roadbed in Bethesda vs. laying it on roadbed. I was originally leaning toward all on the sub roadbed itself but thinking about Bethesda there was a nice track profile on much of it. This will be tricky. I do have some large Homabed panels that would work but I think it may be a waste here. We will see! Going to study some more photos and make a decision. Progress is good!

IMG_6898 IMG_6897 IMG_6896 IMG_6894 IMG_6892 IMG_6891

Layout Notes: Knife-Edge Blades For Cutting Homasote

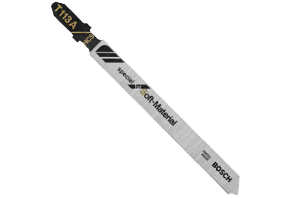
Bosch T113A3
Bosch T113A3

I purchased a 3-pack of these Bosch T113A3 4″ T-shank jigsaw blades to make a go at cutting some 1/2″ Homasote that I will be using as subroadbed on the layout. My intent was to avoid the legendarily bad dust that is created using conventional wood-cutting, teethed blades. I have seen these type of blades around  but never given one a shot.

My initial impression was that the blade appears to be sharp and is wedge-shaped. It loaded easily in my DeWalt jigsaw and operated well. The initial cut into the Homasote was smooth and steady, to be expected and at first it seemed that it would work well. There was little dust. However, there was another problem. Smoke. Yep, after about 3-4″ the material started smoking heavily. I removed the blade from the material and the blade itself had burn marks on it. I switched to a regular wood-cutting blade and went back to cutting and it all worked out fine.

TL:DR: Knife-edge jigsaw blades are inappropriate for cutting Homasote. Stick with wood-cutting blades outside, with plenty of ventilation and preferably with a breeze to blow the dust away. Wear a mask!

Drawing the C&O Canal Bridges

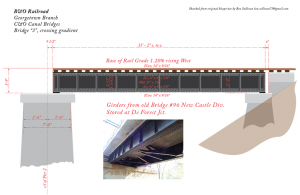
CO Canal Bridge 3
Drawing of Bridge 3

One of the signature items I have planned for my Georgetown Branch layout are the three bridges spanning the C&O Canal & Canal Rd. These bridges were cobbled together from other parts of the B&O system when the line was laid down in 1908-10. I have thought about options for modeling these bridges and I am leaning toward a mixture of brass, styrene and museum board (or mat board) that is laser cut. I obtained a copy of the blueprints of the bridges but they are many generations of photocopies old and need lots of cleaning up. I figured redrawing them in Illustrator is a good starting point so I had some fun with the first (easiest) bridge of the three, a simple 30′ deck girder span.

The biggest challenge is alignment of the drawing with the precise nature of the software. I know I’m not going to get this exact, and that’s OK. What I’m aiming for is something scale and relatively accurate that I can work with once I finally do start to build the model itself. Getting started is sometimes the hardest part and I’m hoping this will be the motivation I need to get things rolling.

This is a “sneak peak.” I still have the top view to do and a few details. Also, the rivets are approximated using photos; today I counted myself among the rivet counters of the world for the first time. 🙂  I hope you enjoy the preview and I hope I can keep up the momentum to produce more illustrations as time permits.

Kelly’s Georgetown Branch layout updates

Dale_Tunnel5My friend Kelly is moving along on his Georgetown Branch layout, making great strides and some impressive progress! My model RR club, RMRRS, visited his layout a couple months ago and were really impressed. He has since completed the “paving” in Georgetown and reworked and scenicked the Georgetown Jct. area. Very cool!

http://cs.trains.com/mrr/f/11/t/212970.aspx

I have some more photos in my gallery: http://gallery.sluggyjunx.com/railroad_and_industrial/2013_rr/Kelly-s-Georgetown-Branch-layout

UPDATE: Unfortunately a couple years ago the layout was dismantled. Kelly is considering a new GB representation in a smaller size.

Layout Construction update

Upper helix lead
The upper deck helix lead.

It has been a very, very long time since I posted an update here on the blog about my model RR progress. Let me get things up to speed. The benchwork for the layout is about 95% complete. I have a few odds and ends to do but that hurdle has been crossed. Now I am working on adding the subroadbed, roadbed and connecting bridges and track. I completed construction on the helix and recently constructed the upper bracket and transition to allow the track to transition off the helix and enter the layout room. Remember, my helix is mobile and must be able to detach and roll away from the wall whenever the HVAC is serviced (like today!)

The staging yard was completed and track laid. I also built and installed a hinged swing-up bridge (with neodymium magnets to hold it in the up position) that connects the staging yard and the staging lead going into the layout room.  With some assistance from my train club several areas were completed, including the base for Rock Creek, and the lower helix lead entry point through the wall. One member, Tom, came over and helped me figure out how to do the entire Georgetown Jct. area, including the subroadbed and track arrangement. I realized I needed to put in the upper helix lead first, so that is what I am working on currently.

All in all, I have not been terribly busy with the layout. There are many distractions and I have many hobbies so I come back to it when I can. Also, I have spent a good bit of time researching the GB and have many, many materials to go through and add to the catalogs and notes and that takes time, too. I’m having a heck of a lot of fun with it.

As always, I try to keep my Gallery up-to-date where you can see snapshots of my progress. Enjoy! http://gallery.sluggyjunx.com/railroad_and_industrial/georgetownbranch/modelrailroad/2010-11_model_rr